Week 8 - Challenge 1 - Draft Analysis on a Fan Cover
AIM
To Create the tooling axis for the given Fan cover model meeting the requirements of the draft angle and perform the Draft analysis on the model.
Creation of tooling axis for the given fan cover
- Firstly, the connectivity of the given Class-A surface must be checked, and ensure that there are no gaps between the surfaces.
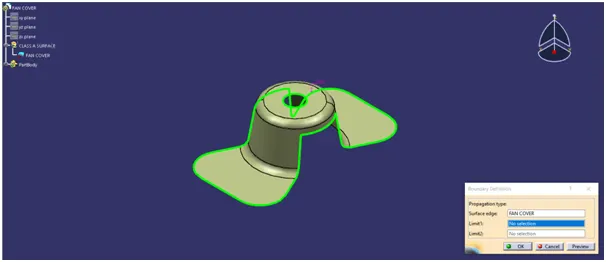
It is clear from the above image that all the surfaces are continuous without any gaps in between them.
We can further disassemble the boundary so that the continuity is clearly visible.
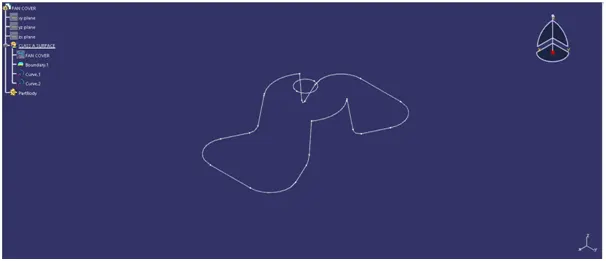
- Tooling Axis direction is the direction in which the core and cavity open.
- The selection of tooling direction depends upon the product and the features of the product.
- The tooling direction is selected by visually checking the part and in such a way that there are no additional side cores required for the moulding process. This ensures proper clearance of the part after the process.
- The fan cover has a hole on top, so taking that into considerations we need to specify the tooling direction.
- After visually checking the part, the Z-axis is considered as the appropriate tooling axis.
The below are the steps for creating the tooling axis.
- Create a point at the center of the fan cover to create a dummy tooling axis and create an axis system at that point.
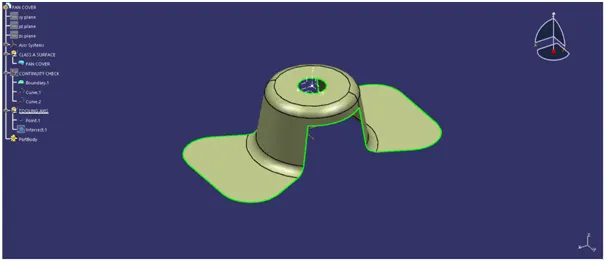
- Create an intersection between the part and the ZX plane, that will gives two curves as output.
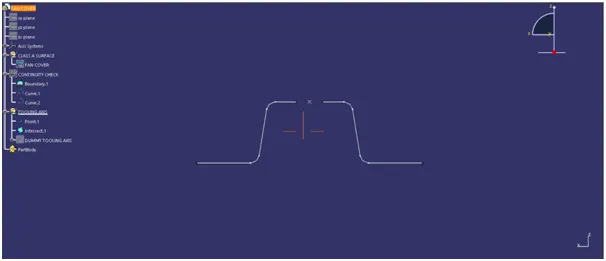
- A dummy tooling axis is created along the Z-axis to check for the tooling feasibility of each face of the fan cover. The faces perpendicular to the tooling axis will clear the tooling, but , it is important to check with the faces which are parallel to the tooling axis.
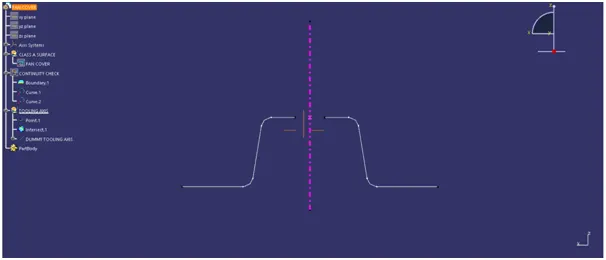
- Create lines representing the parallel faces to the tooling axis.
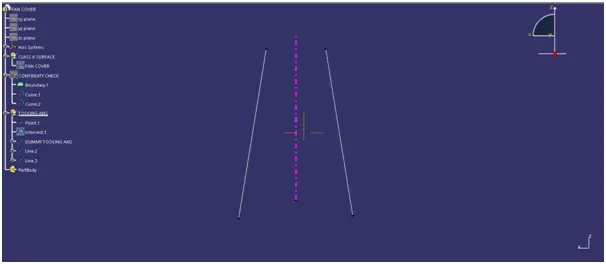
- Bisect the two lines to get the tooling clearing line in the X-direction.
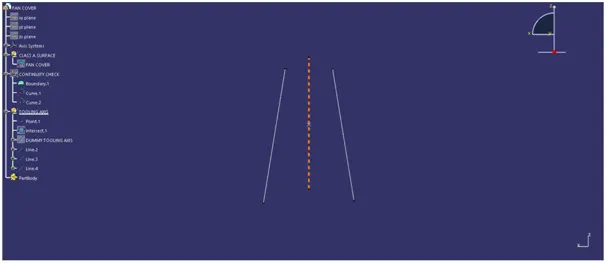
- Similarly, Create an intersection between the part and the ZY plane, that will give two curves as output.
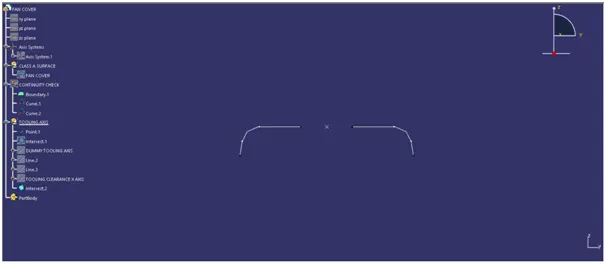
- With the same dummy tooling axis created along the Z-axis to check for the tooling feasibility of each face of the fan cover. The faces perpendicular to the tooling axis will clear the tooling, but, it is important to check with the faces which are parallel to the tooling axis.
- Create lines representing the parallel faces to the tooling axis.
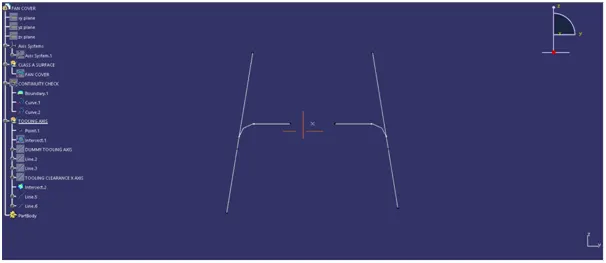
- Bisect the two lines to get the tooling clearing line in y-direction
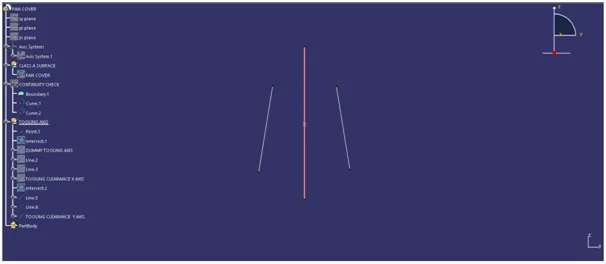
- Bisect the tooling clearing x-axis line with tooling clearing y-axis line. The resulting line obtained is the Tooling Axis.
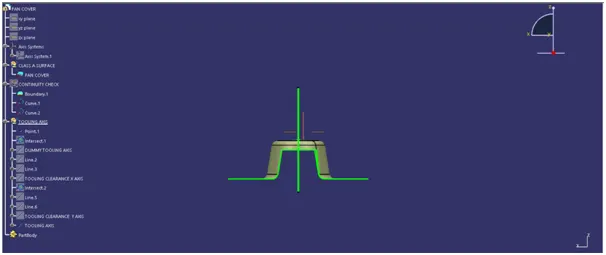
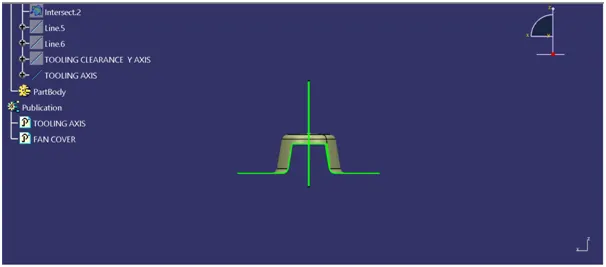
Publish the tooling axis and the fan cover for easy access when working with them in the future.
Draft Analysis
When developing parts for plastic injection molding, applying a draft (or a taper) to the faces of the part is critical to improving the moldability of your part. Without it, parts run the risk of poor cosmetic finishes and may bend, break, or warp due to molding stresses caused by the plastic cooling. Equally important, an absence of a draft may prevent parts from ejecting from the mold, damaging not only the parts but possibly the mold itself—a costly and time-consuming detour.
In CATIA the draft analysis can be found by Insert > Analysis> Feature Draft Analysis.
Generally, the nominal draft angle will be 3 degrees.
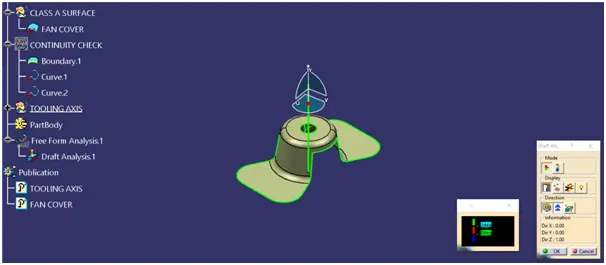
In the above image, the tooling direction is fixed by placing the compass on the tooling axis of the component. Once the tooling direction is locked, the component is selected and draft analysis is done.
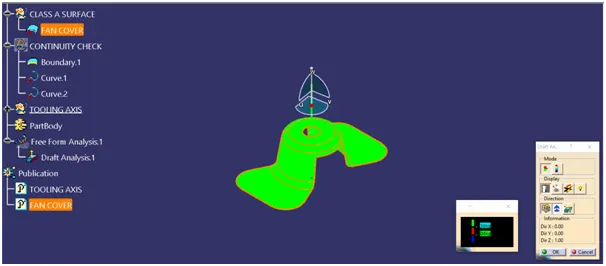
The value of the minimum draft angle is changed to 3 degrees.
The above image with all the faces in green color shows that all the faces have a minimum draft angle for the tooling. Hence, the design of the component can be finalized.
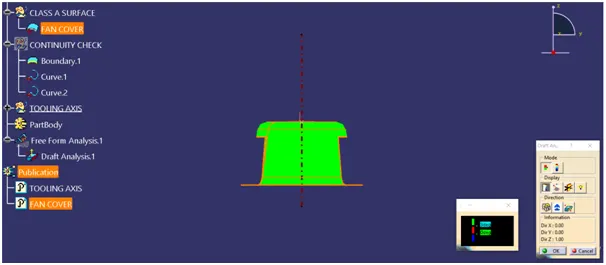
Front view of the draft analysis.
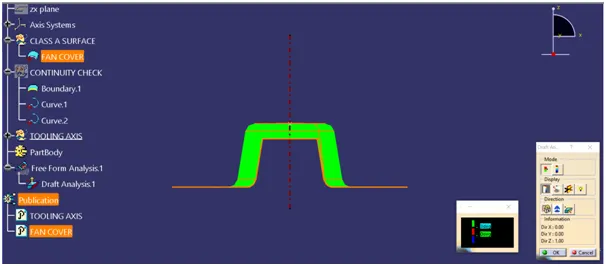
Side view of the draft analysis.
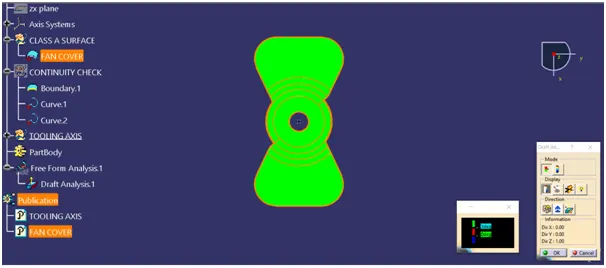
Top view of the draft analysis.
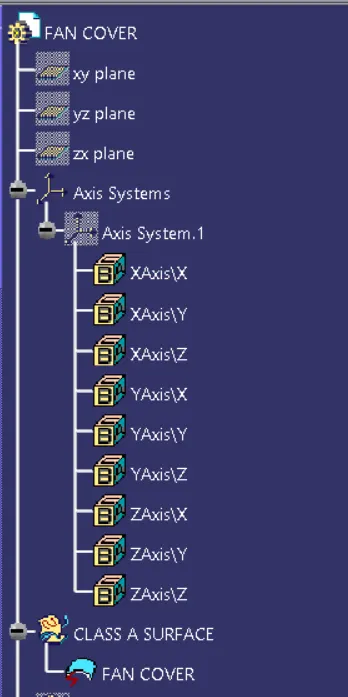
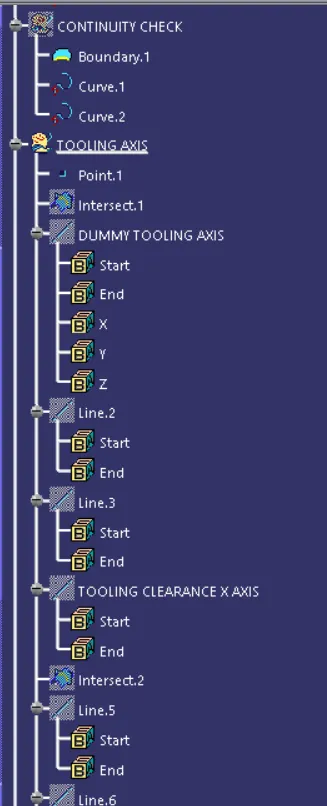
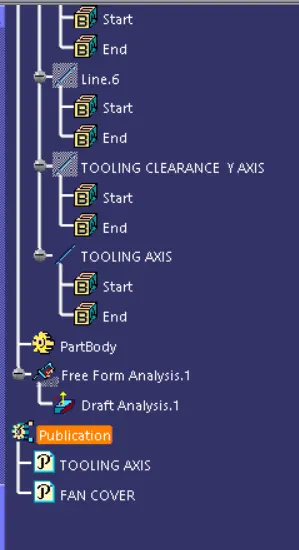
Tree structure for Tooling Axis and Draft Analysis.
CONCLUSION
The tooling axis was created for the given fan cover and draft analysis was performed for the required draft angle.