Week 8 - Challenge 1 - Base Bracket Design
CREATING A CLOSED SURFACE FOR THE BASE BRACKET OF GIVEN CLASS A SURFACE
- First observe the given Class-A and divide it into Seperate Parts.
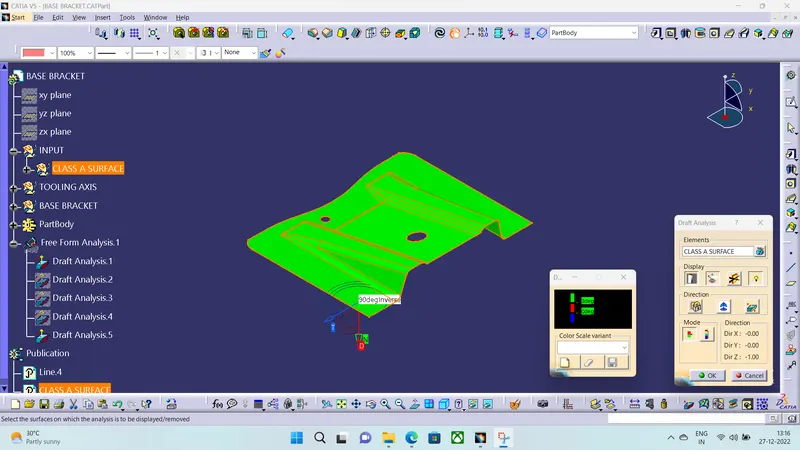
- After that we Should Analyze the Tooling direction as per Design rules.
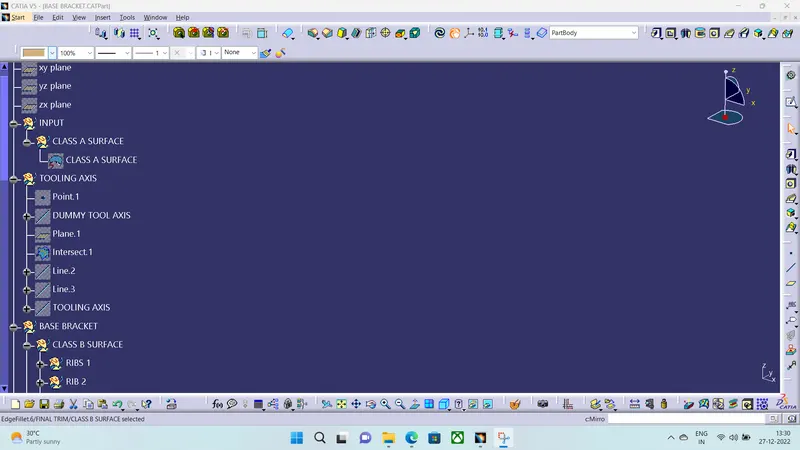
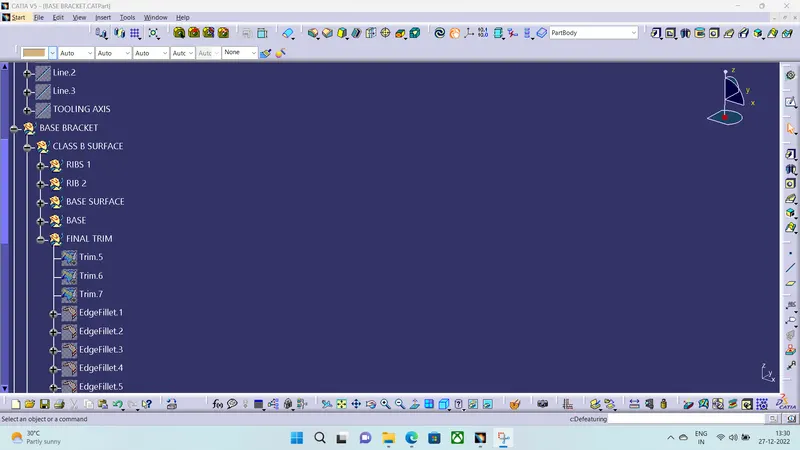
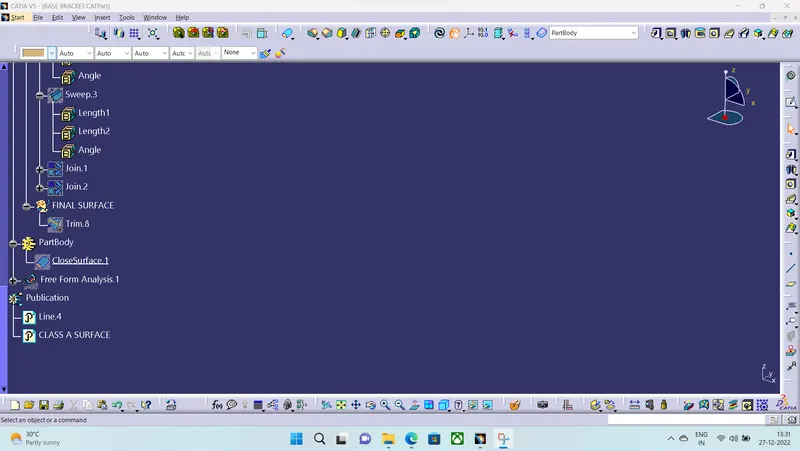
THE CLASS-A SURFACE
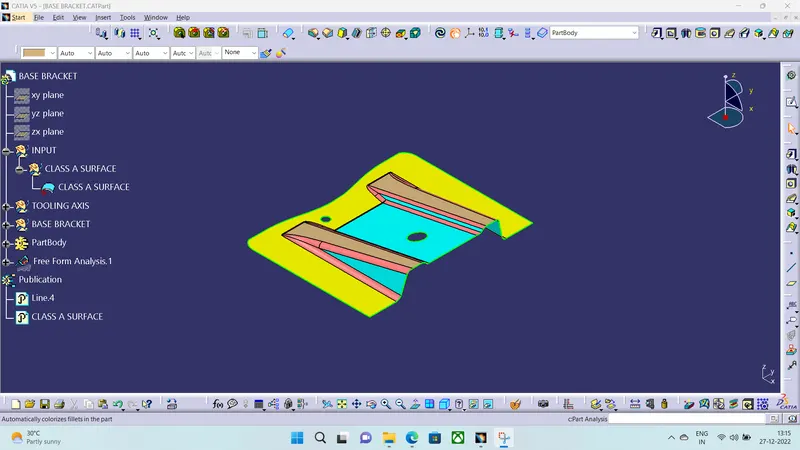
PERFORMING DRAFT ANALYSIS ON CLASS-A SURFACE
T00LING AXIS
- For defining the Tool Axis we are creating a intersection along YZ-Plane and drawing line which are creating a trouble for getting the axis.
- First we are creating the Dummy Tool axis and then from intersection we drawing a Bi-Secting which is our Tooling Axis.
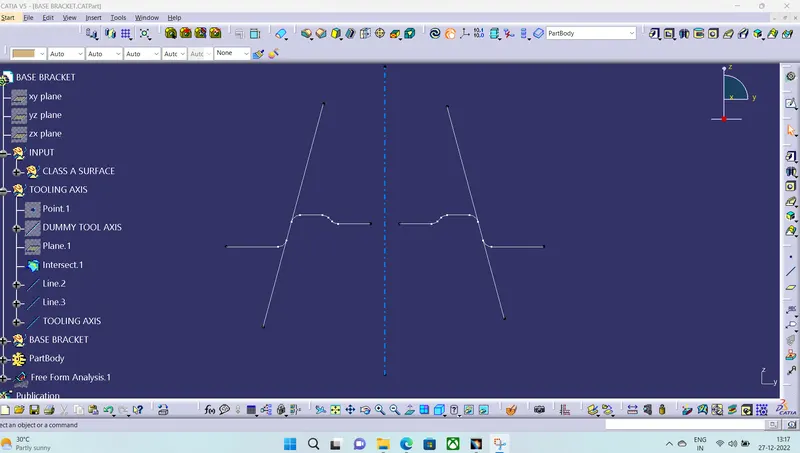
- After defining our Tool axis,now we can create Class-B Surface and Class-C Surface.
CLASS-B SURFACE
- For Class-B Surface we are seperating the Class-A Surface in to seperate parts.
- Then we are extracting surface and extrapolating it to a certain dimension and offset to the given Thickness Dimension and repeating this method for all seperate parts and trimming it as per Class-A.
- After that Fillets are given to the Surface And our Final Class-B Surface is Obtained.
Class-B Surface Before Trimming Operation
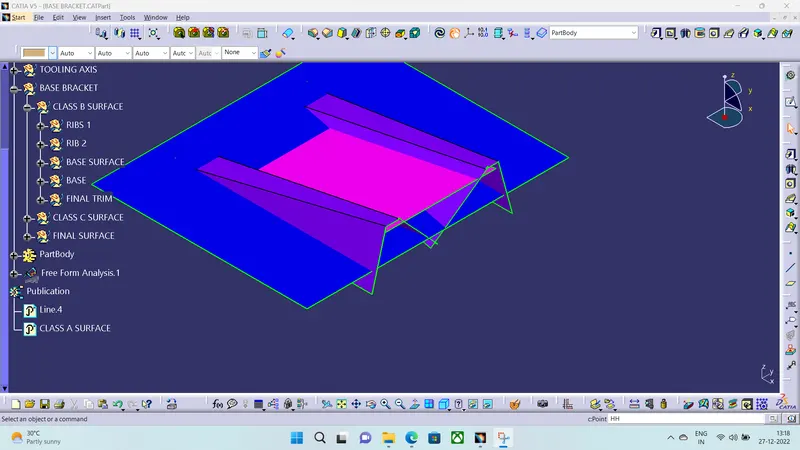
Class-B surface After Trimming and Fillets
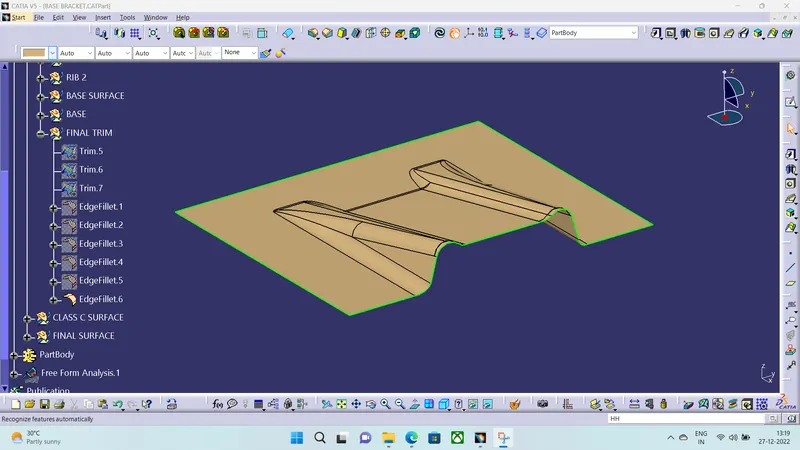
CLASS-C SURFACE
- Class-C Surface is Created From the Boundary Of the Class-A Surface and it is Obtained by Performing Sweep Operation Along With Draft direction With 3° towards class-B Surface.
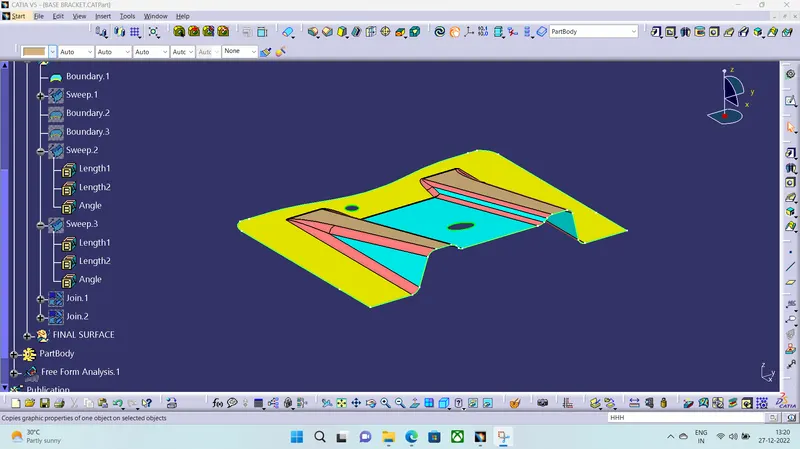
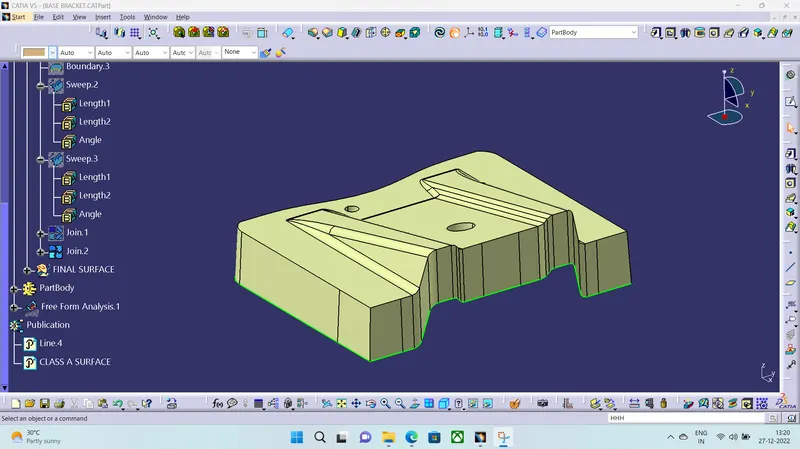
- After This We Are Gonna Trim the Class-A,CLass-B and Class-C Surface to get the Final Surface.
FINAL SURFACE
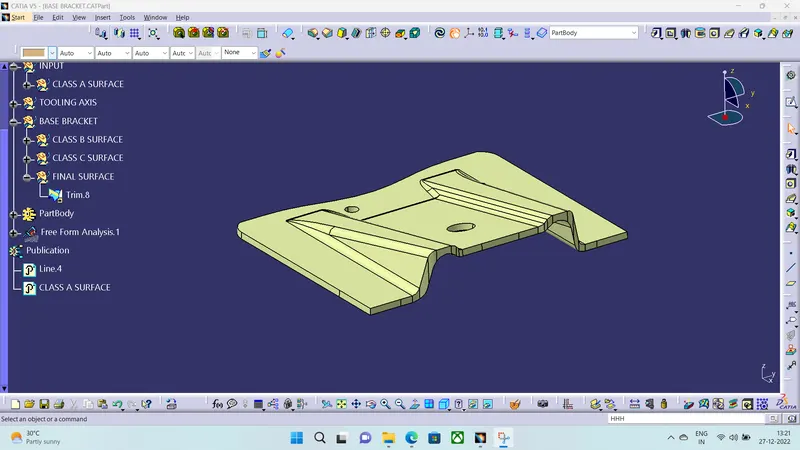
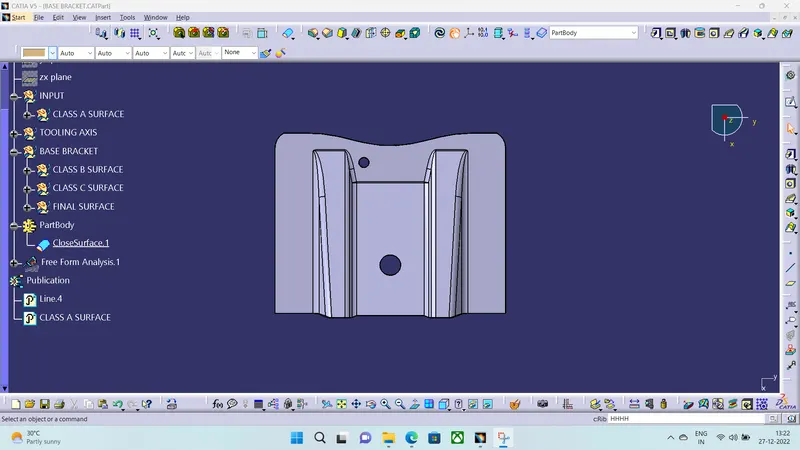
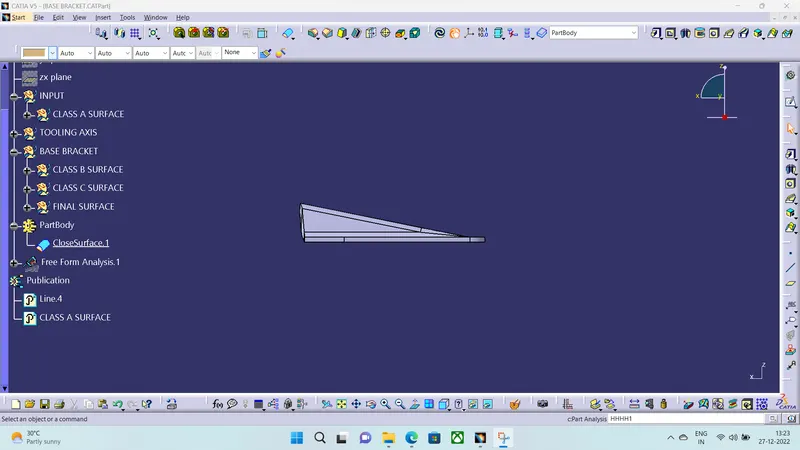
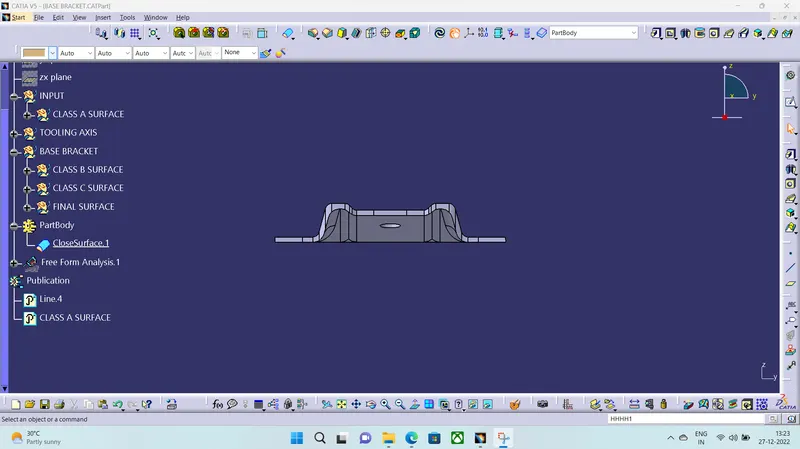
- Then it is defined in the partbody function and a Closed Surface is Obtained.
CLOSED SURFACE ISOMETRIC VIEW
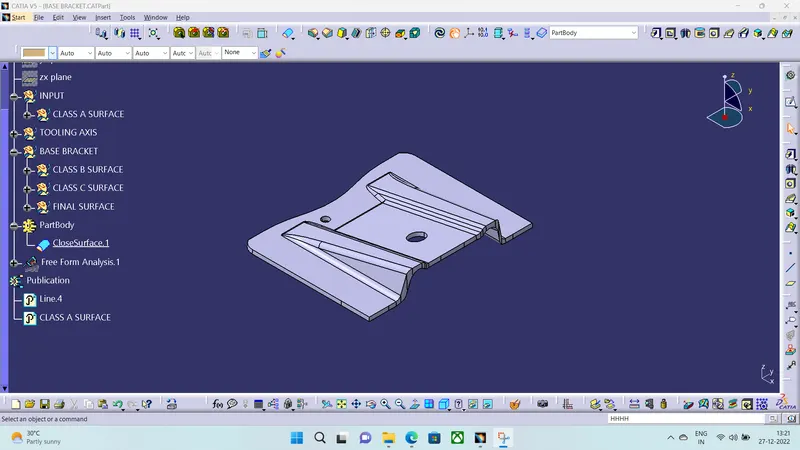
TOP VIEW
SIDE VIEW
FRONT VIEW
DRAFT ANALYSIS
- In the draft analysis we are checking if the final Closed surface within our design Conditions and the Draft angle limit is 0°-3°.
- we are doing the Draft analysis along the Tooling Axis.
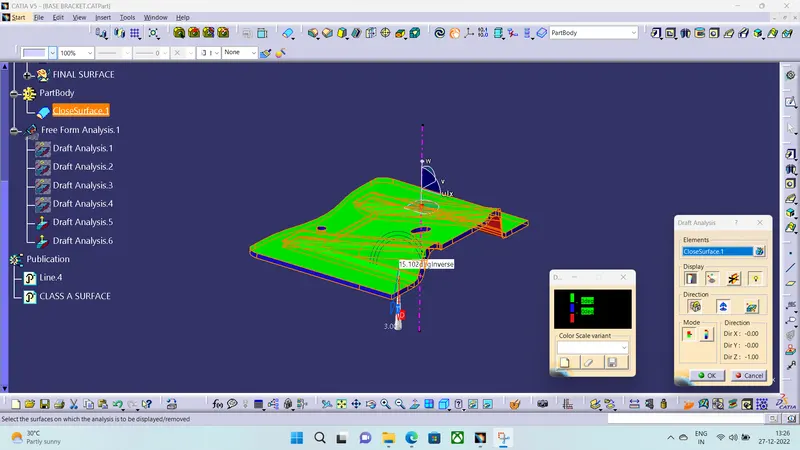
- our obtained surface is within the desirable conditions and hence the analysis and the final surface is obtained.