Week 8 - Challenge 1 - Base Bracket Design
BASE BRACKET
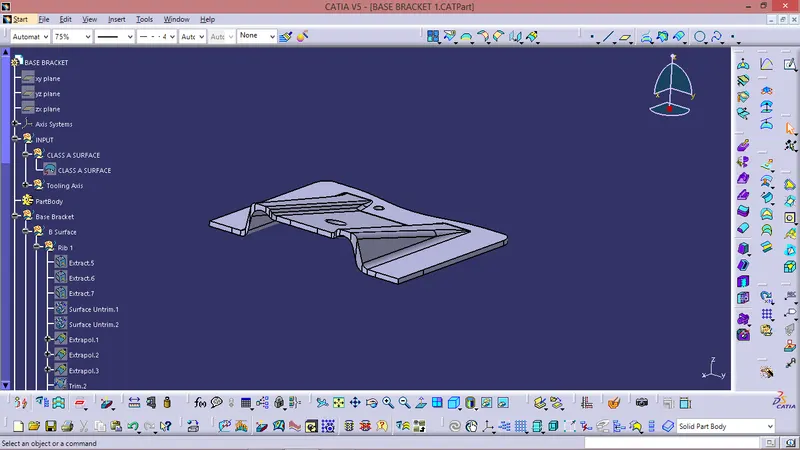
Aim / Objective : To design a model using Class A Surface after extraction by using Surface Workbench .
Introduction :
Class A Surface : An aesthetic and outermost surface which is made by the plastic designer and is given as an input to the plastic modeler to workon it .
Class B Surface : A surface below a certain thickness from the Classa surface is known as Class B surface .It is also known as engineering surface .
Class C Surface : The surface that joins the Class A surface and Class B surfaceis known as Class C surface .
Methodology :
In this design we will focus on the following steps
- Tooling Axis
- Draft Analysis
- Class B Surface
- Class C Surface
- Making a solid model from Class A surface
Following tools were used to reach the final Solid Model :
- Extract
- Un - trim
- Trim
- Offset
- Extrapolate
- Boundary
- Edge Fillet
- Sweep
- Join
- Close Surface ( Part Design )
FOR TOOLING AXIS :
- First we will take a point using circle /Ellipse .
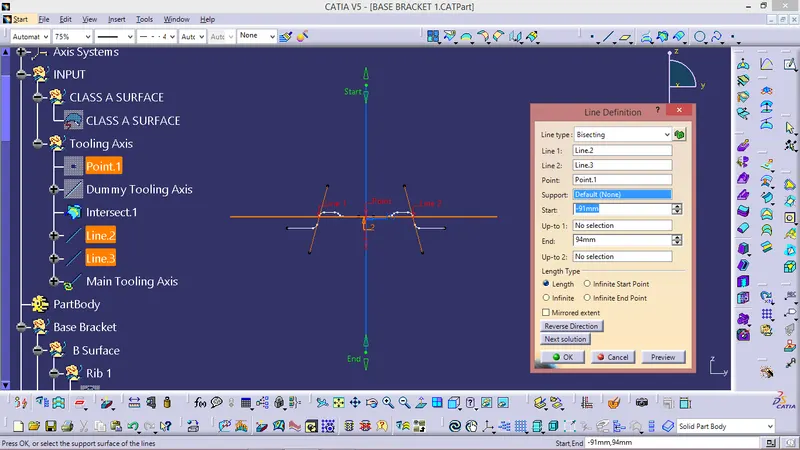
- After we will draw a dummy tooling axis using point and direction.
- Intersect the YZ plane or Take an axis system with input and we can see that there is no surface that can create problem during tooling in this direction .
- Intersect YZ plane or an axis system andwe are unsure of these two surfaces, so we make aline and bisect them both and this will be our tooling axis.
FOR DRAFT ANALYSIS :
- Go to < Insert > -
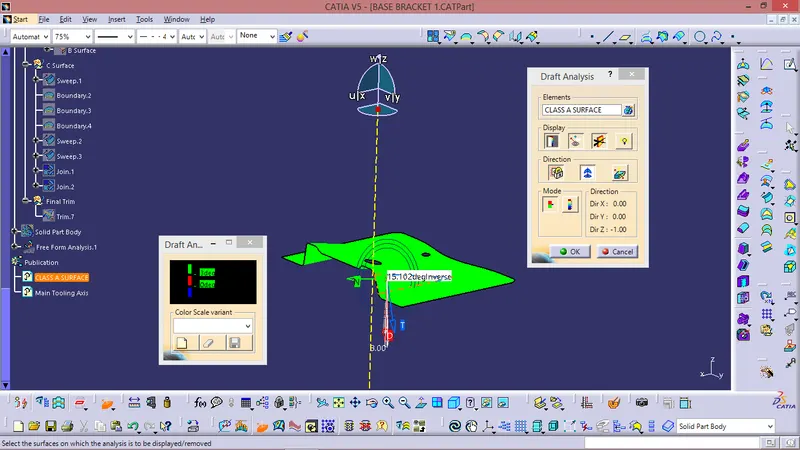
- < Feature Draft Analysis >. - Align the tooling axis with the compass .
- Click on the suface and see that the surface is within the permissible limit of the draft values .
- The surface should be green and in proper value ( 3 deg ) should be inserted .
RIBS SURFACES :
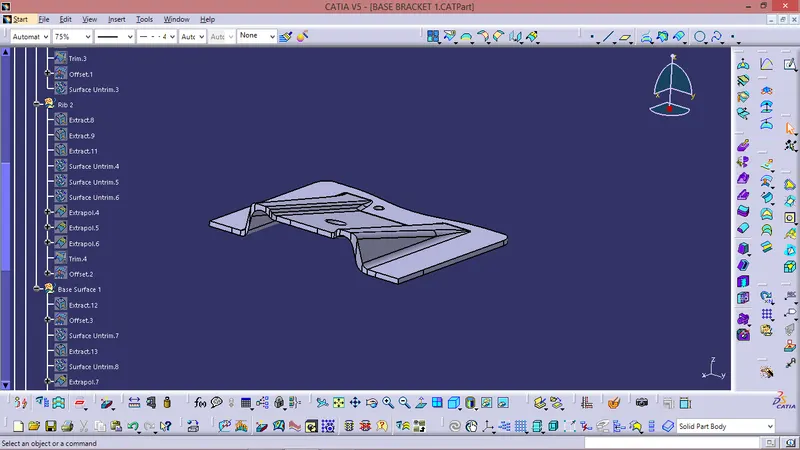
- Extract the rib surfaces ( 1 rib at a time ).
- Un-trim the surface .
- Extrapolate it .
- Offset it by 2.5mm i,e; thickness .
- Trim to get the desired shape .
- Repeat it with the second rib too.
FOR CLASS B SURFACE :
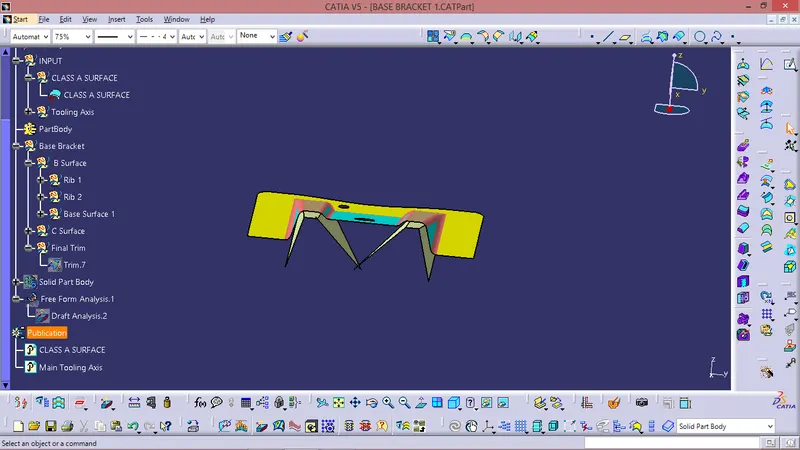
We can divide the sufaces as shown below fig . Then we will workon them one by one .
FLAT SURFACE :
- Extrapolate the flat surface .
- Un trim the surface
- Extapolate it .
- Offset it by 2.5 mm i.e thickness
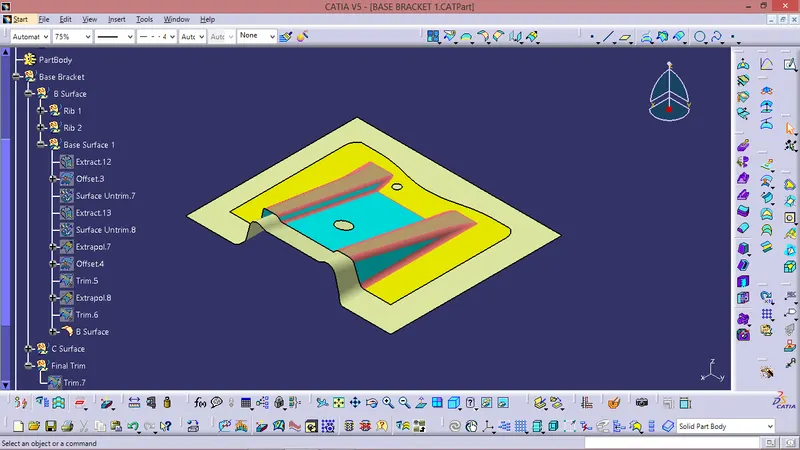
Once we have finished doing this, we have to trim the surfaces to get exat shape of the Class A surface ( without fillets ) below 2.5 mm . After the trimming part is done , fillet the model .
Formula for Filleting if the Surface is below the Class A surface is -
Fillet = Fillet Value + Thickness of the CLass B Suface
Formula for Filleting if the Surface is Above the Class A surface is -
Fillet = Fillet Value - Thickness of the CLass B Suface
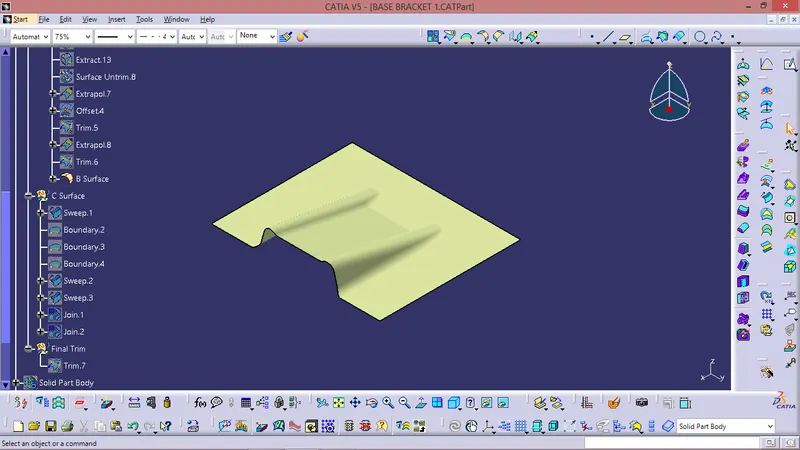
FOR CLASS C SURFACE :
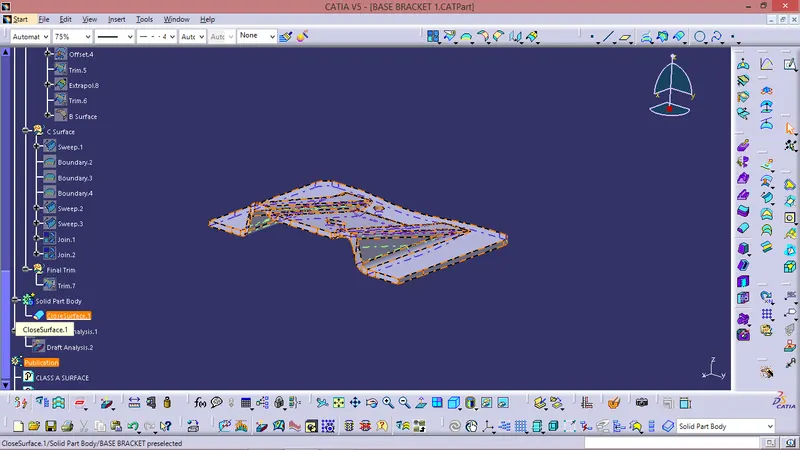
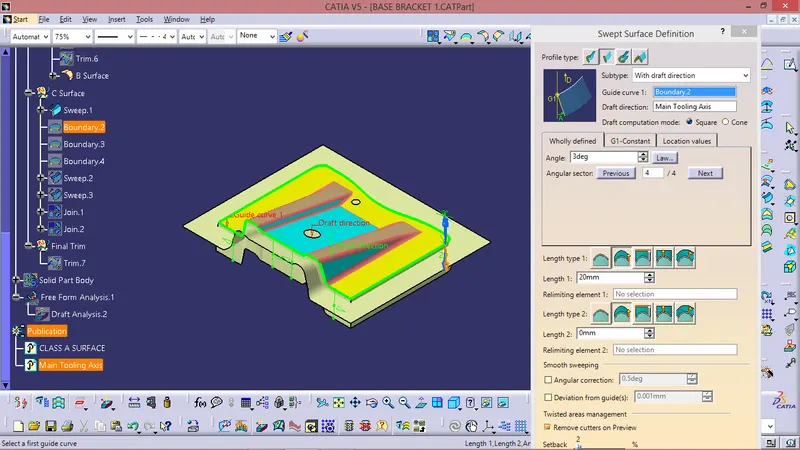
- Extract the boundary ofthe Class A Surface .
- Extract the boundary of the holeson the Class A Surface .
- Use Sweep command on the boundaries one by one to get the Class C Surface .
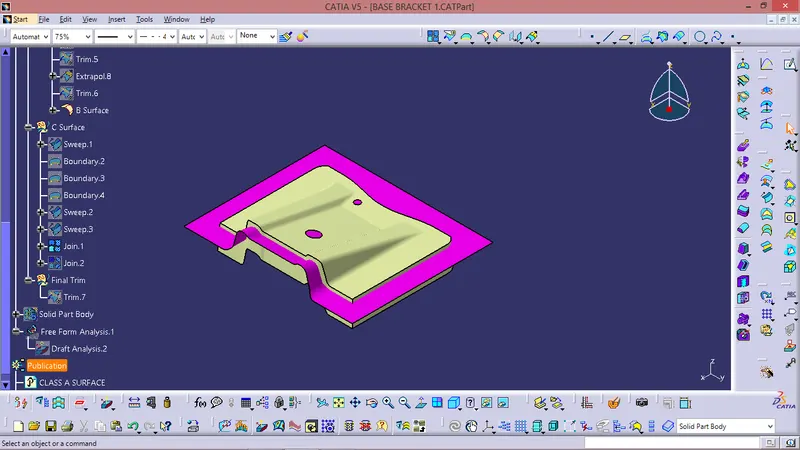
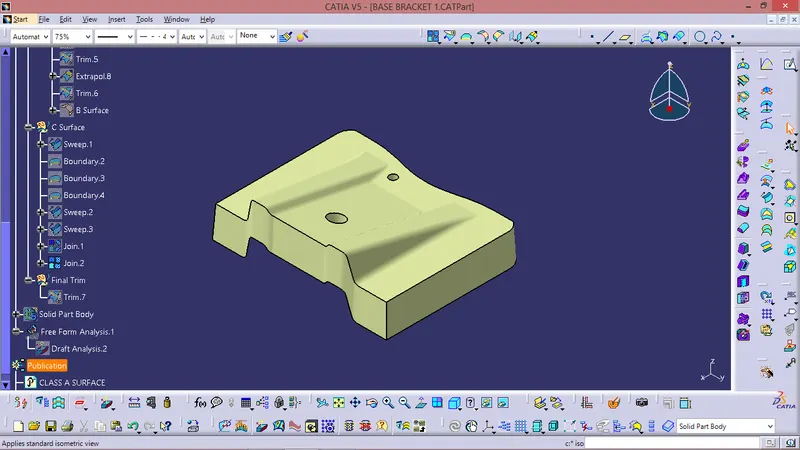
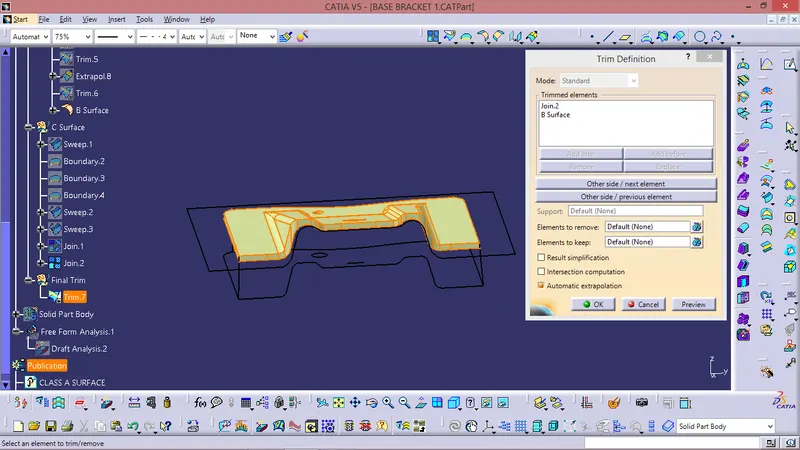
FINAL BASE BRACKET :
- Join the CLass A and Class B Surfaces together .
- Trim the Class B Surface with the join created earlier .
- Go to part design and Close the Model.
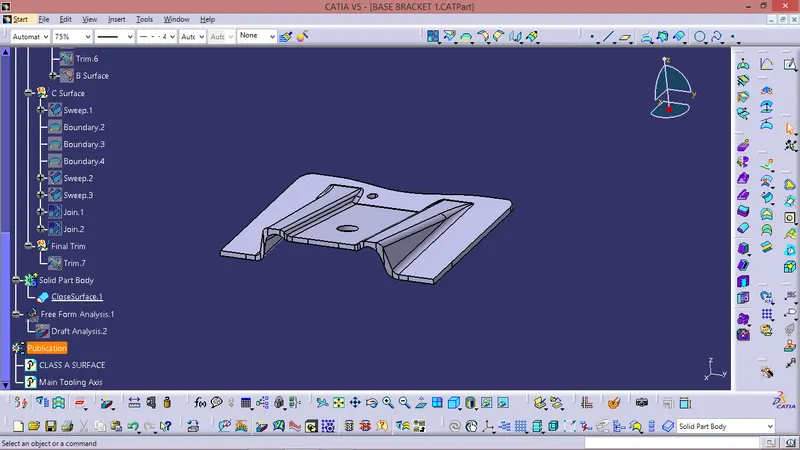
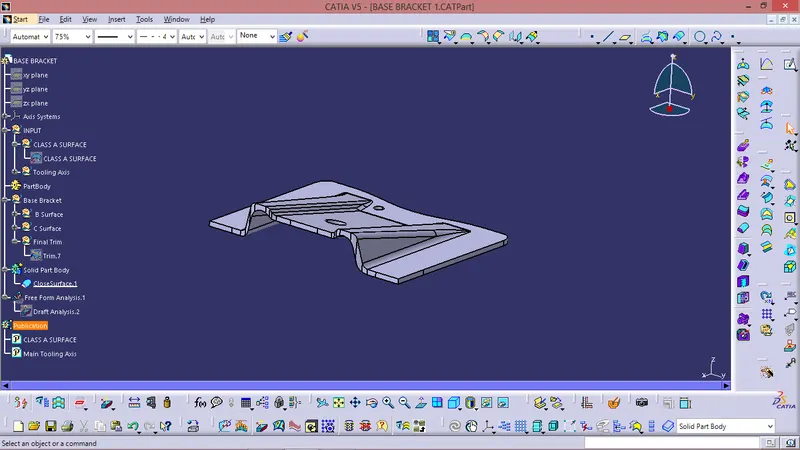
TREE STRUCTURE :