Week 8 - Challenge 1 - Base Bracket Design
DRAFT ANALYSIS
CLASS A SURFACE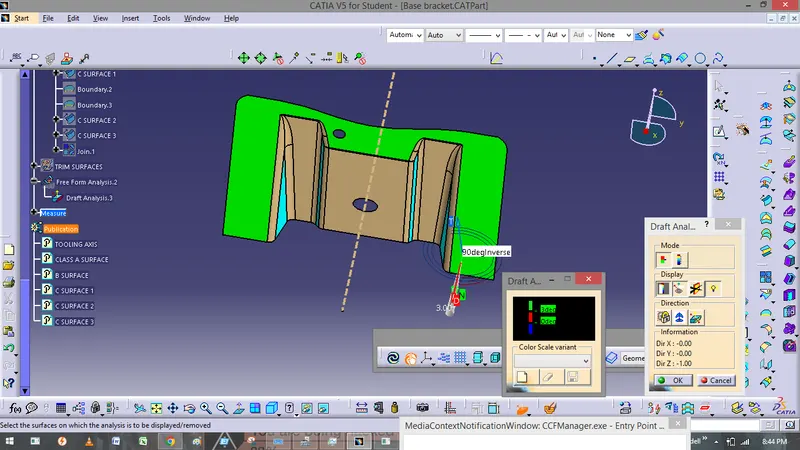
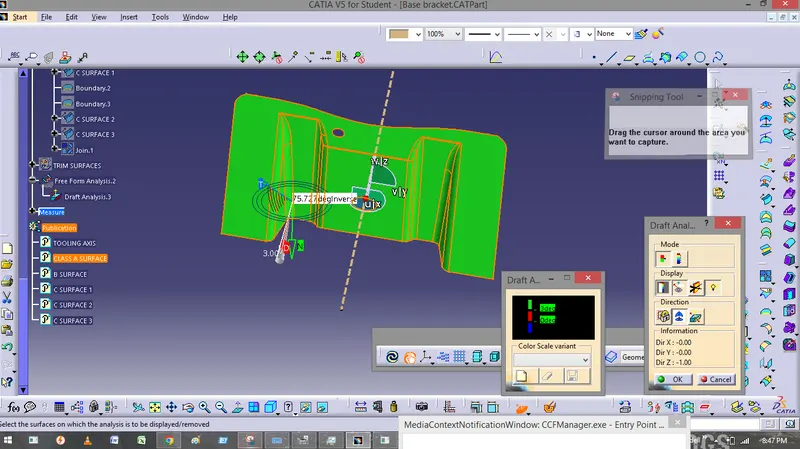
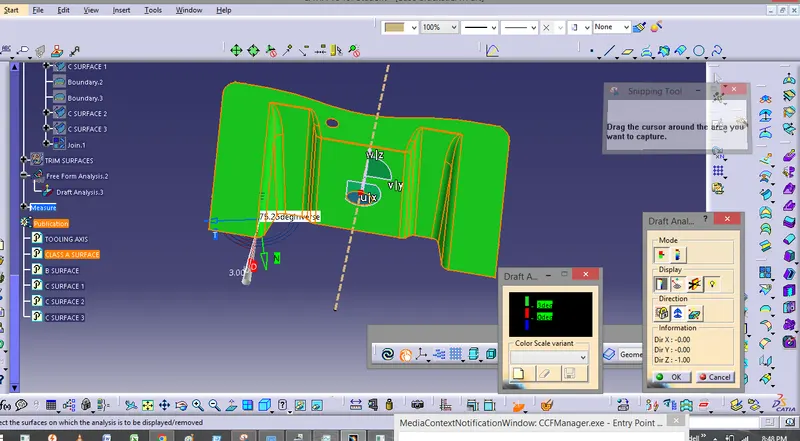
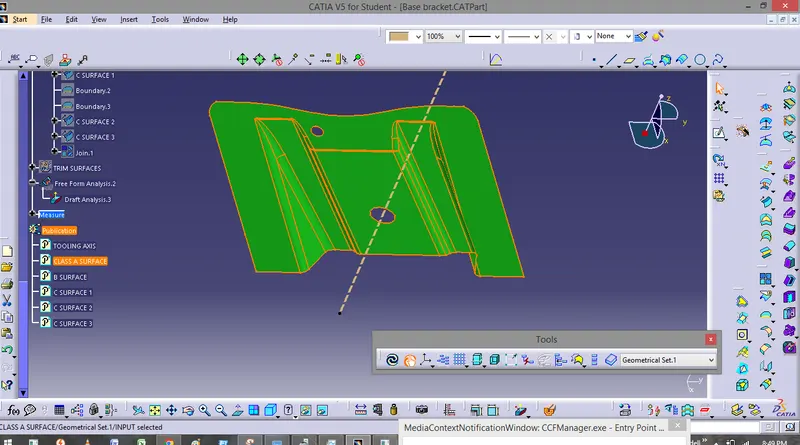
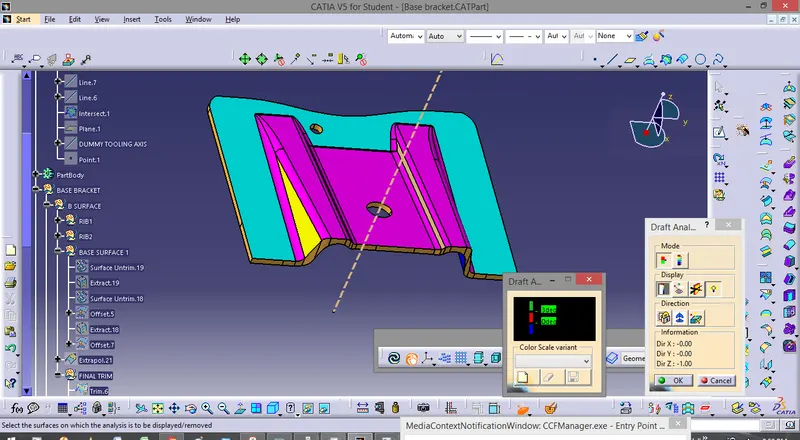
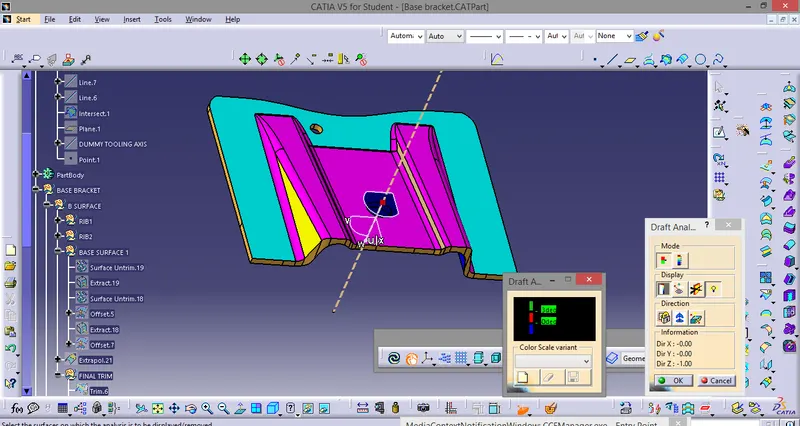
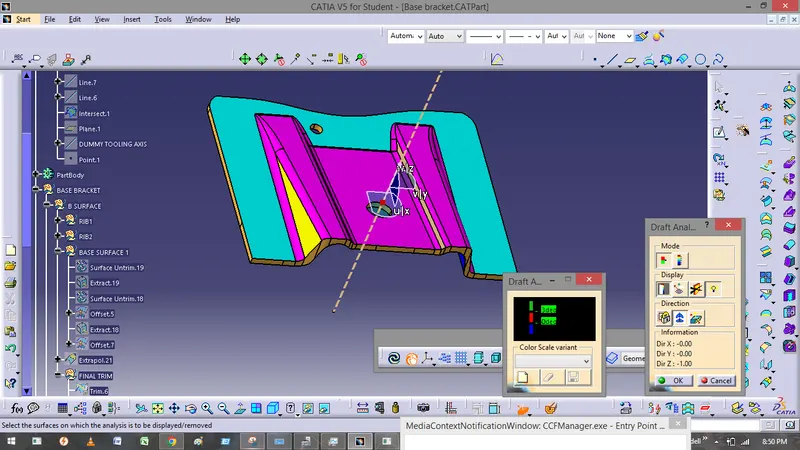
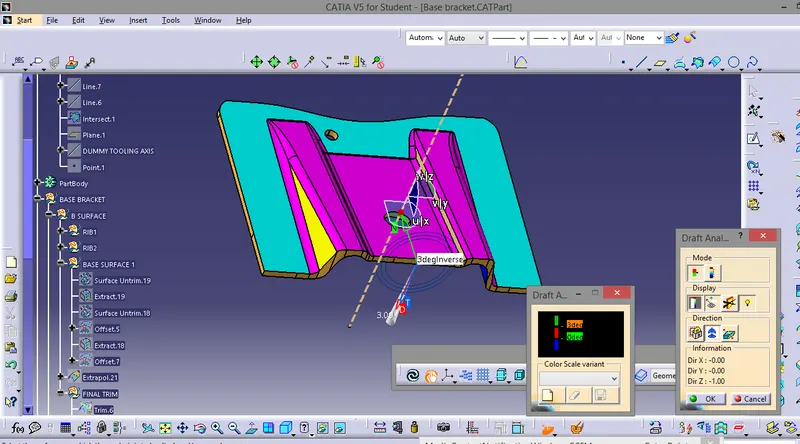
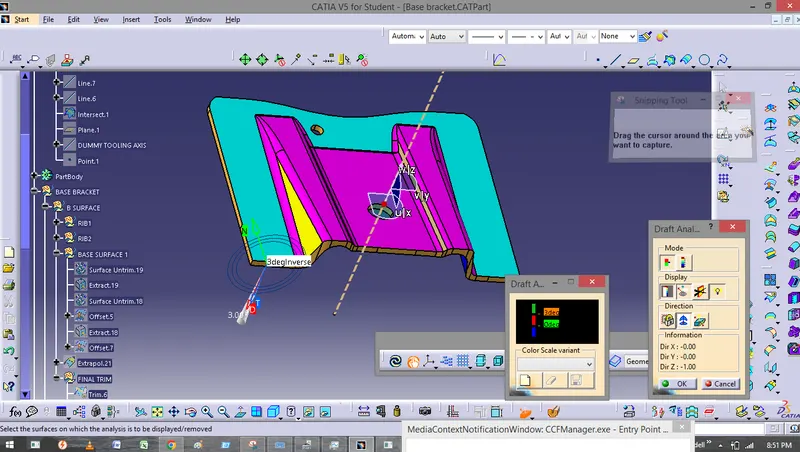
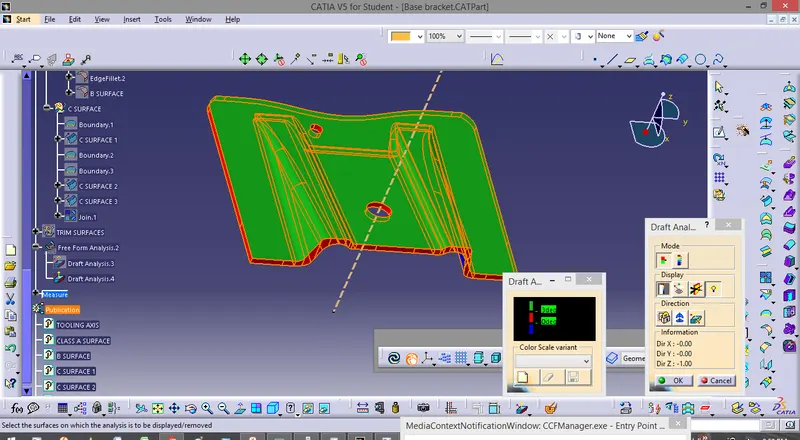
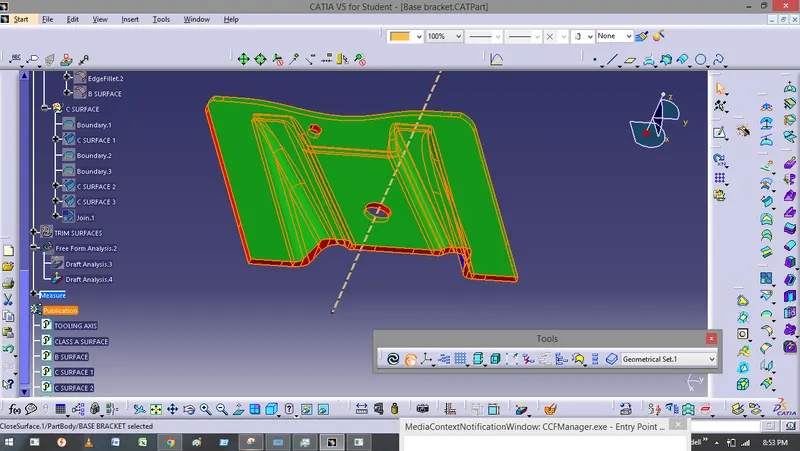
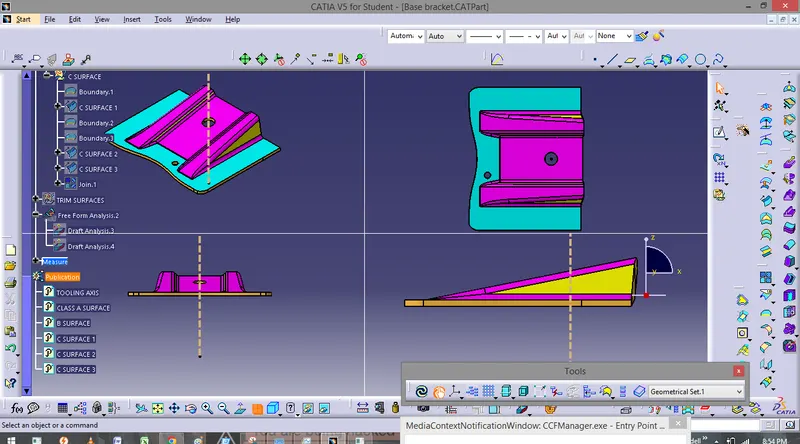
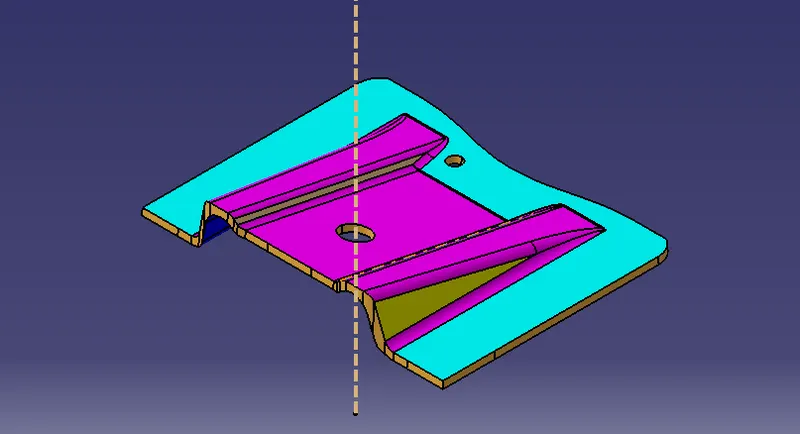
Report on draft analysis
The first step for draft analysis is creating a tooling axis.For making tooling axis one should first select a correct plane which covers all the complex parts like holes,tapered section etc
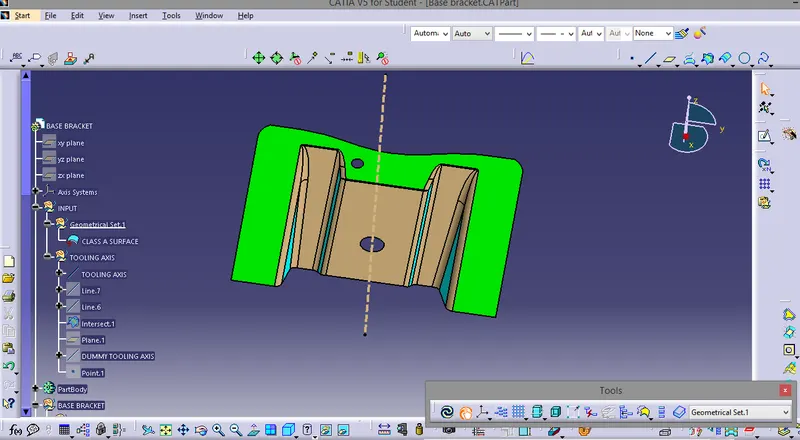
For this part zx was the correct plane as it covers all the holes and complicated sections.Selection of correct plane also reduces the cost of producing the mould by elemenating the use of side cores.
After the selection of plane we can make the tooling axis by bisecting method.In this step we will be creating the tooling axis and we will also be checking if there is any section having improper angle.
So first step in bisecting method is creating an intersection
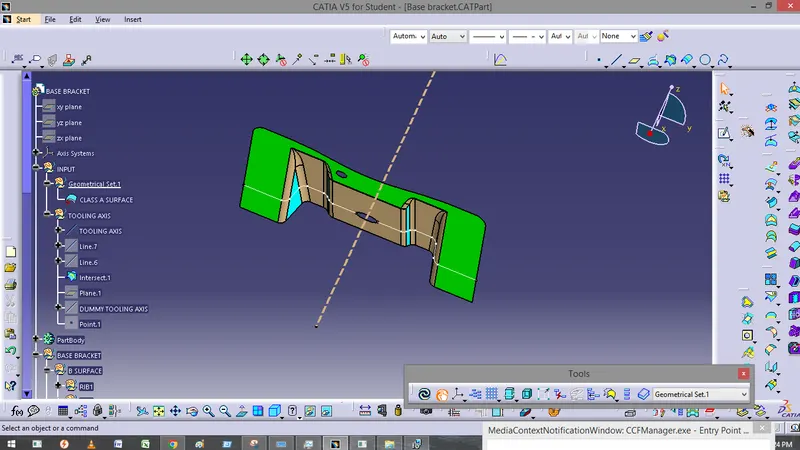
Now we have to draw line through the points of symetric complex sections which we want to test are at correct angle with the zx plane or not
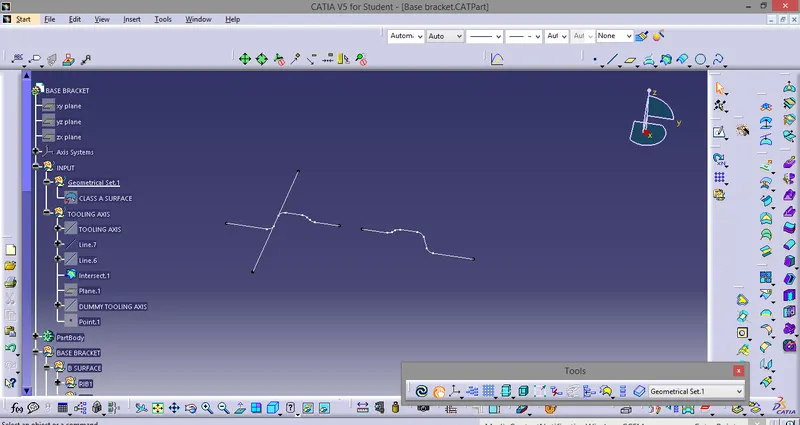
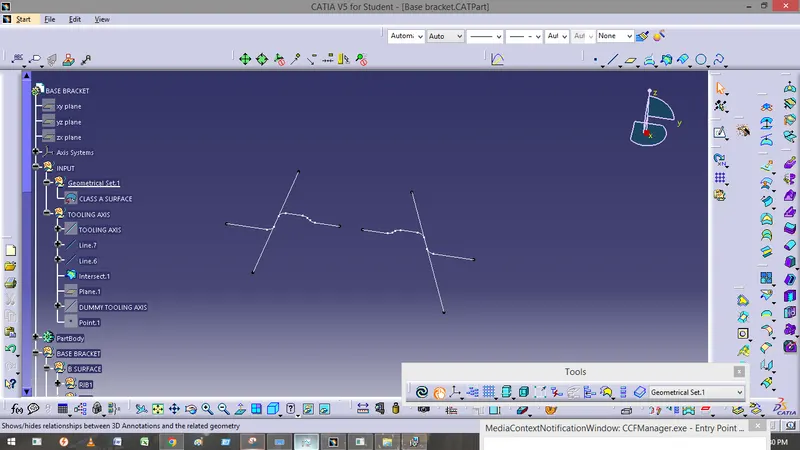
Next step is to use bisecting line command to bisect both of the line we drew before.If the lines have correct angle a line at the center of the intersection we created before which will be created in z axis and this will be our tooling axis
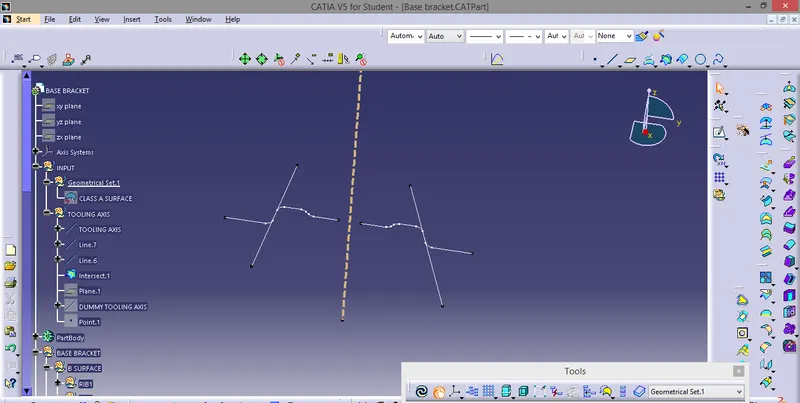
Since we now have the tooling axis now we can do the draft analysis.
First step is to go to material mode
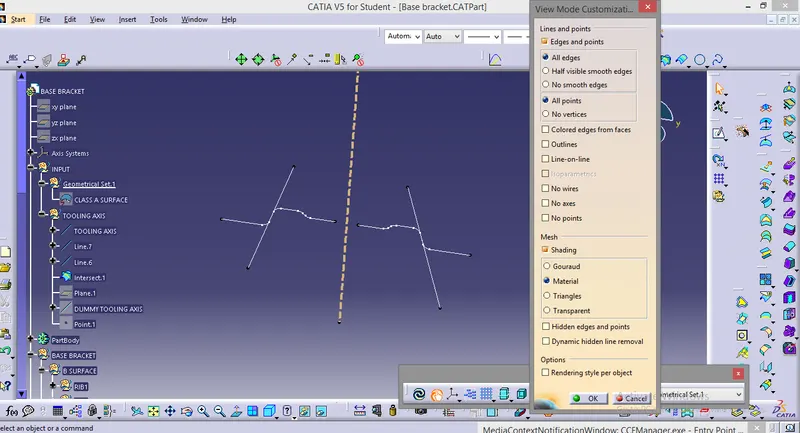
Then define the Class A in work object and go to draft analysis
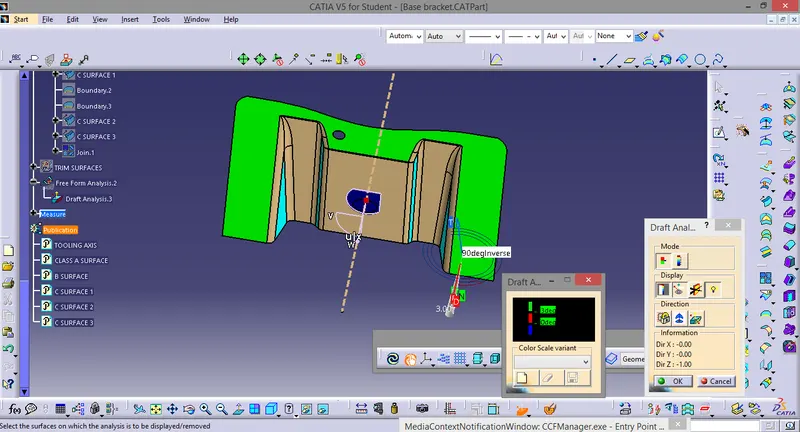
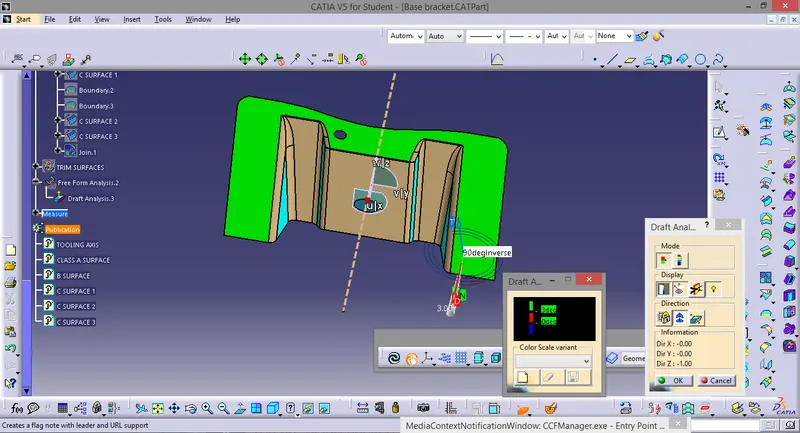
Now we have to bring the plane defining system on the tooling axis
and turn on compass
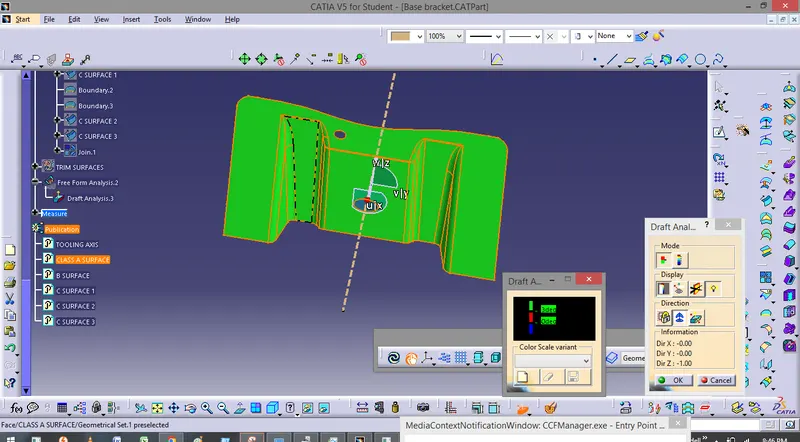
Now we can click on the Class A surface to do the draft analysis .If the surface turns green then the surface has correct angles at all of its surfaces
We can also check the angles at various sections by using analysis under the running point command
In this way draft analysis can help in finding if the part has correct draft angle or not and whether it is toolable or not. It ultimately helps in reducing defect cost.