Week 8 - Challenge 1 - Base Bracket Design
NOTE: I'm using latest version of Catia.
AIM
Create the Base Bracket Plastic component through the given Class-A surface and perform Draft analysis.
OBJECTIVES
- Creation of Tooling axis
- Creation of Class B and Class C surface from provided Class A surface.
- Creation of solid part out of surface modelling.
- Draft analysis of Class A surface and final part.
THEORY
CLASS A SURFACE: Class A surface is a surface made by the designer specially in automotive design which is the aesthetic part of a body and is given as an input to the plastic designer to work on it.
CLASS B SURFACE: It is a surface which comes below the class A surface with a particular thickness. This surface contains engineering features of a model.
CLASS C SURFACE: It is the surface which joins class A with class b surface.
TOOLING AXIS: Tooling axis is the direction in which the core and cavity opens. If we are using proper tooling axis, we can avoid adding side cores thus the cost of manufacturing the component can be reduced.
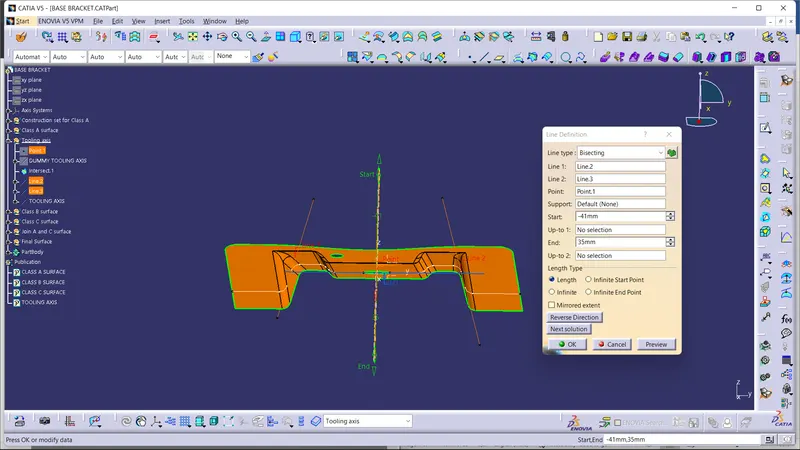
BISECTING METHOD: It is a method used to create tooling axis. Here, the tooling axis is created from other two lines which are inclined and a line (which the tooling axis) is created by selecting bisecting option from the line definition dialogue box. Thus, a line is obtained which is the bisecting line of those inclined lines and thus tooling axis is created.
Creation of tooling axis using Bisecting method:
Step 1: Rotate the model and finds the surfaces that are inclined and are supposed to affect the tooling axis of a component.
Step 2: By using intersection tool, a curve is obtained from the intersection of the plane we choose and the surface selected.
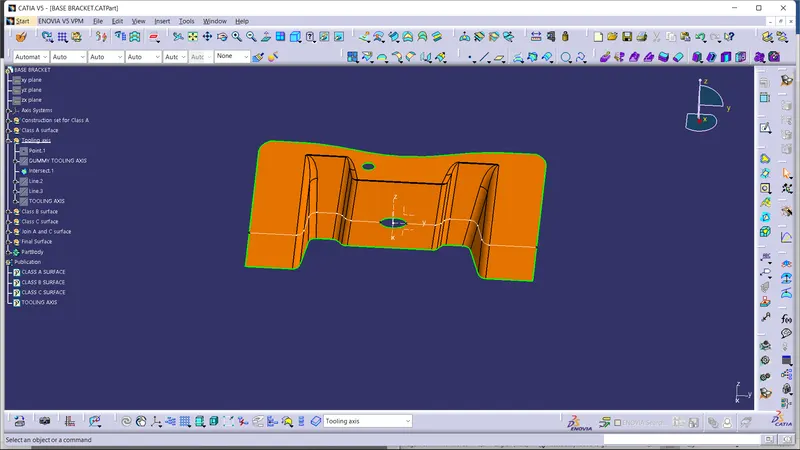
Step 3: From the curve, the inclined lines are opted as they feel to affect the tooling axis and from the end points, a line is created using point-point option in line definition.
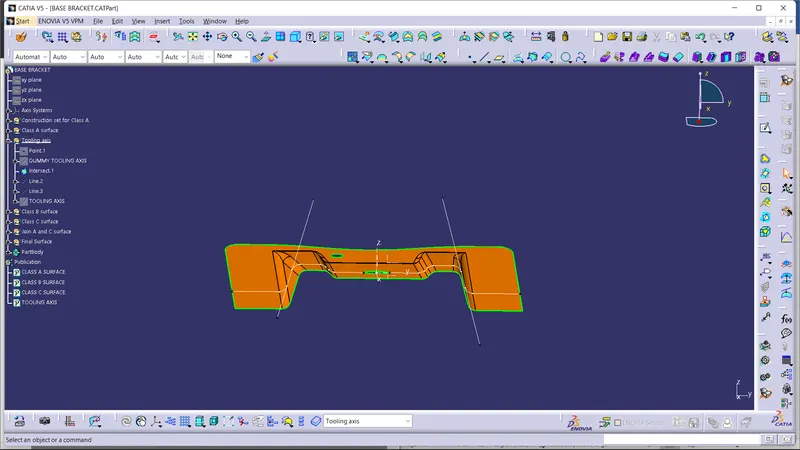
Step 4: Bisecting line is drawn from the two inclined lines by opting bisecting from line definition. Thus, tooling axis is obtained.
Step 5: From this tooling axis, draft analysis is done to check whether whole surface is clearing or not and thus confirms the tooling axis.
DRAFT ANALYSIS: From draft analysis, we can verify draft angles, examine the angle changes within a face, as well as locate parting lines, injection and ejection surfaces in parts.
Draft analysis in Catia:
Step 1: Ensure that customize view parameter is enabled and material mode is opted in view mode customization.
Step 2: Now go to insert > analysis > feature draft analysis.
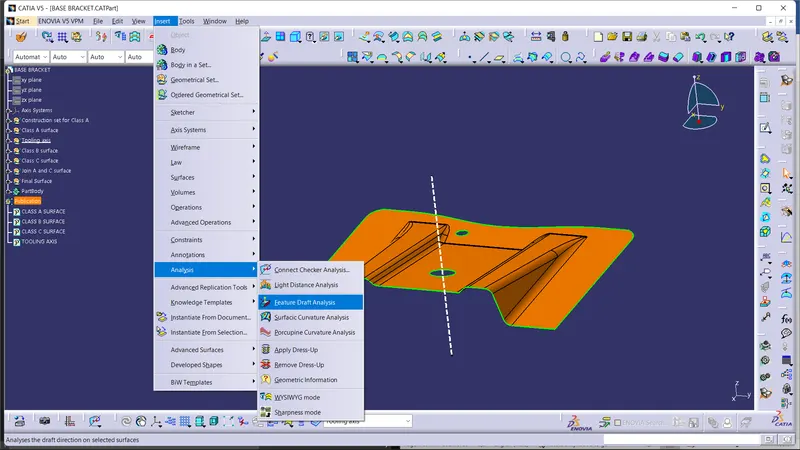
Step 3: Drag axis bar to the tooling direction of part.
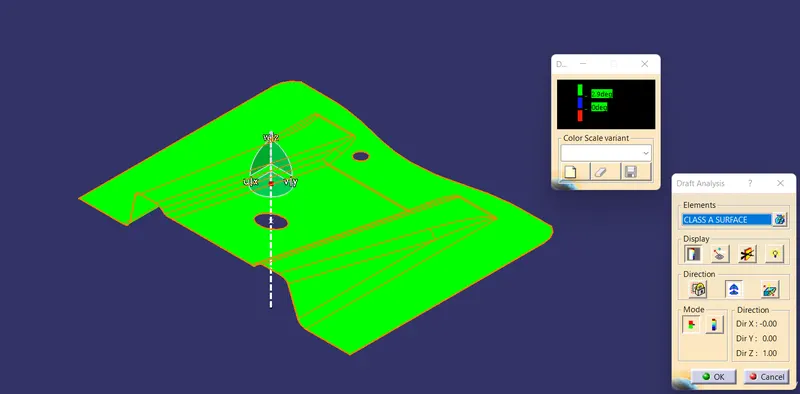
Step 4: Check for draft.
Surface will be in green if the draft angle is more than 3 degrees, blue if draft angle is between 0 to 3 degree and red if draft angle is less than zero degree.
Three degree is the nominal value for draft, whereas 0.5 degree can also be manufactured at ribs.
PROCEDURE
- Class A surface is obtained as the input.
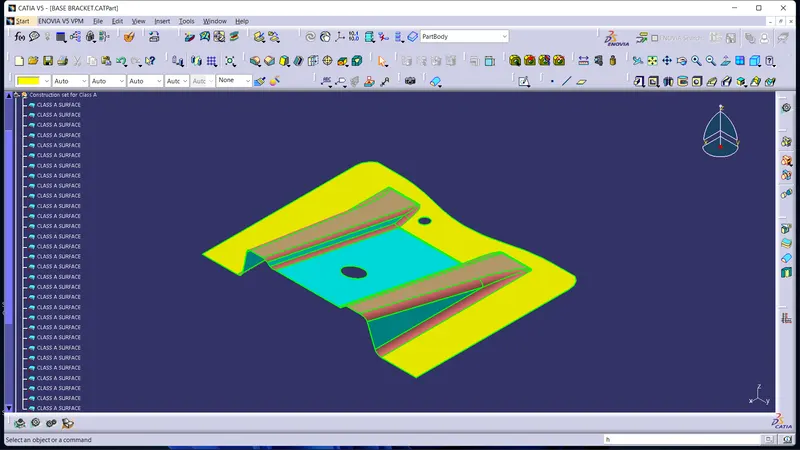
- Join all the surfaces to obtain Class A surface and ensure no gap is present between any surfaces.
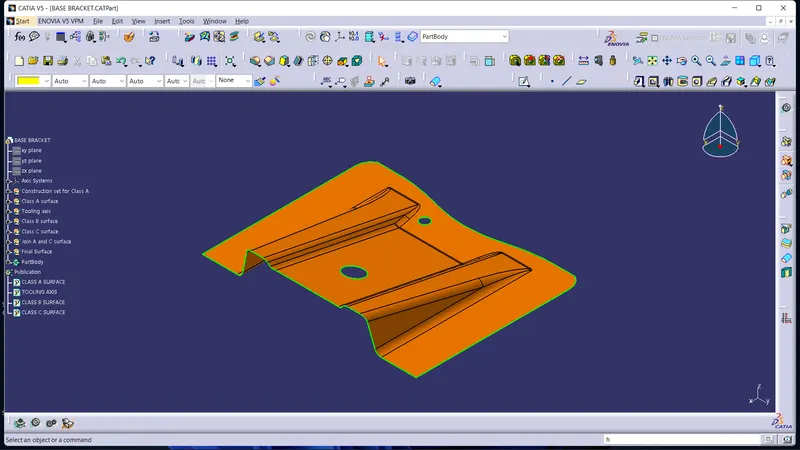
- Point is created at the centre of one of the holes to create an axis for identifying the tooling axis.
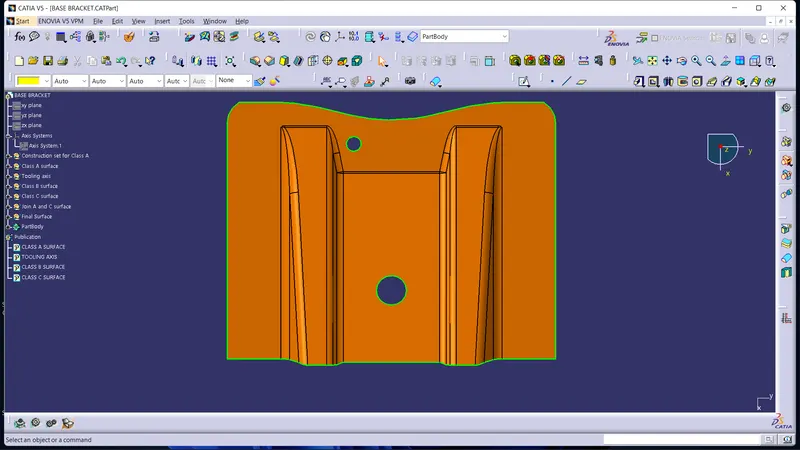
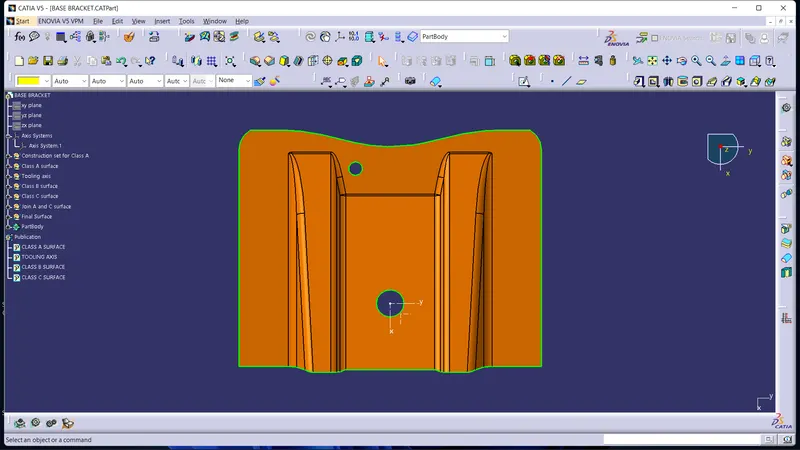
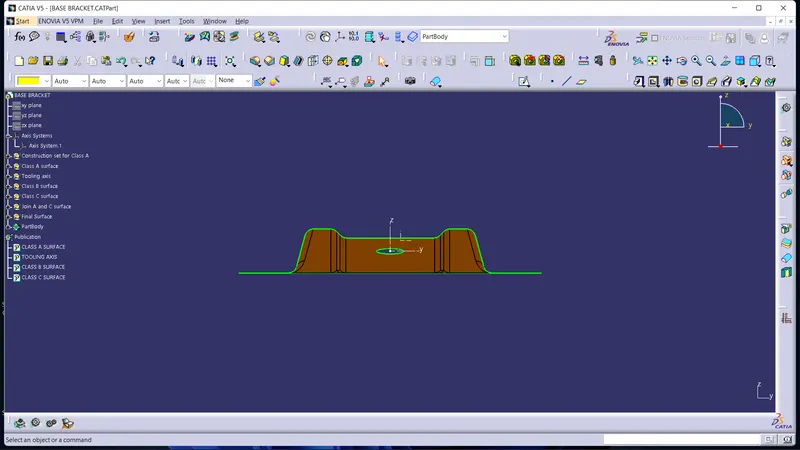
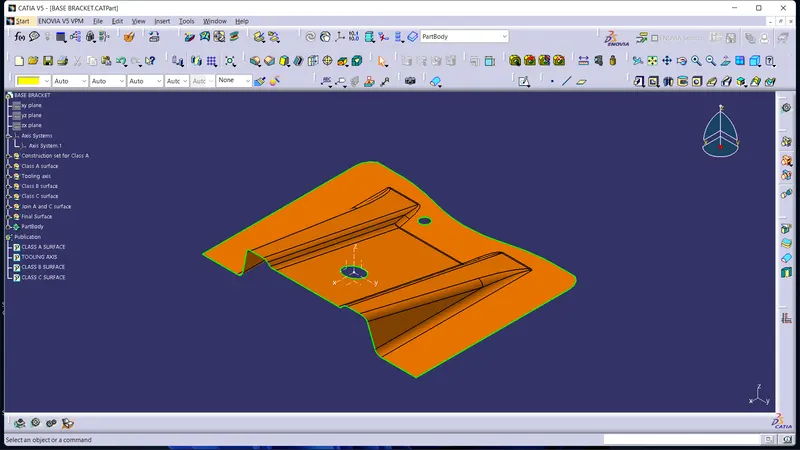
- Tooling axis is created using the Bisecting method as mentioned above and by following the same procedure.
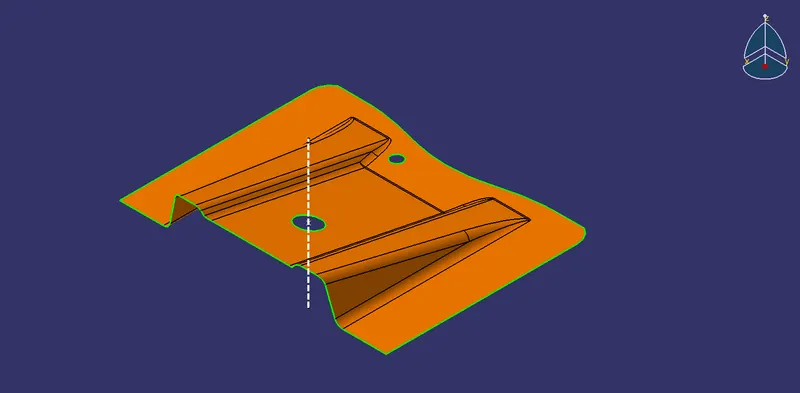
- Draft analysis is performed over Class A surface and every surface is obtained as clearing.
- Now, Class B surface has to be created. For this, flat surfaces of class A surface is extracted.
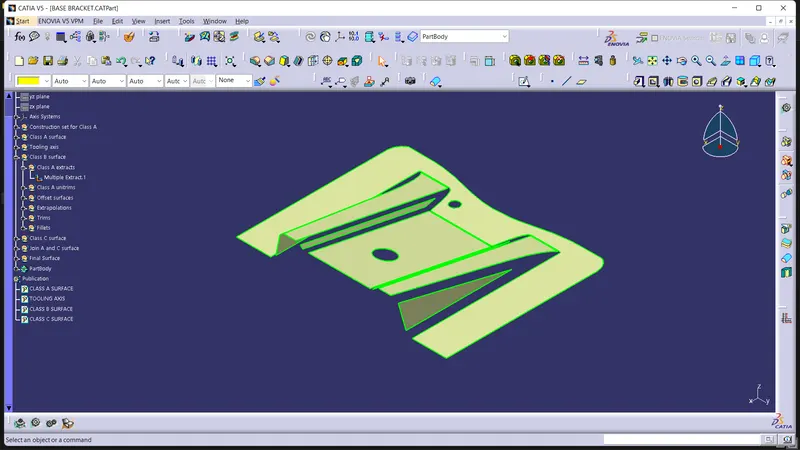
- Extracted surfaces are then untrimmed.
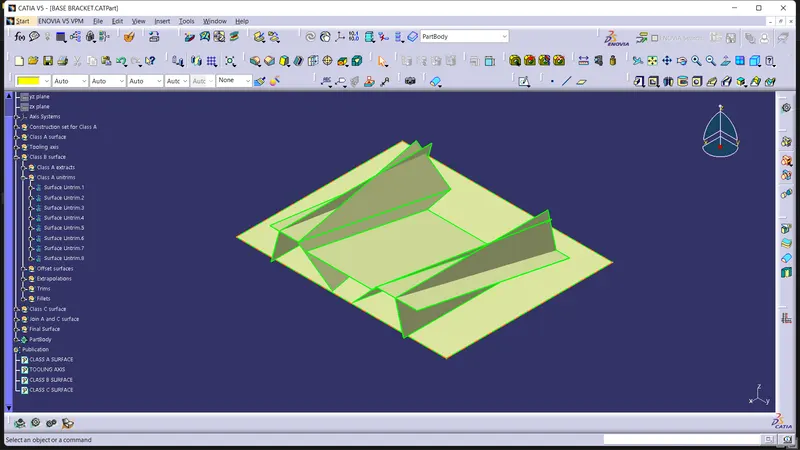
- Untrimmed surfaces are then offsetted to 2.5mm which is the thickness of the part.
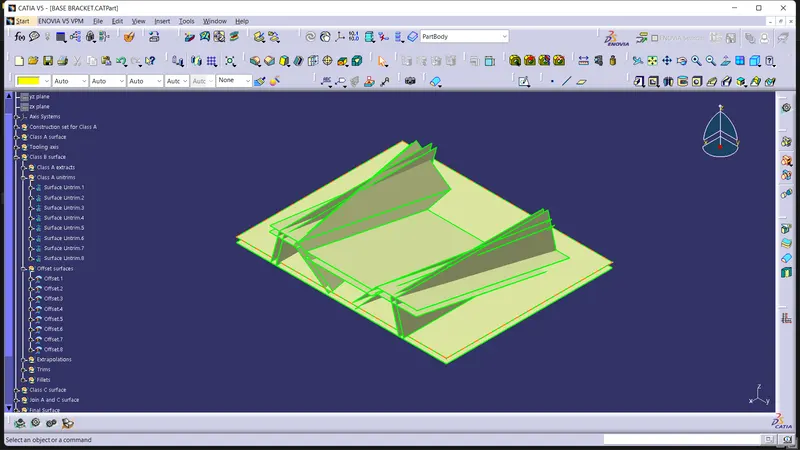
- Now those surfaces are then trimmed to obtain joined and remove unwanted surfaces.
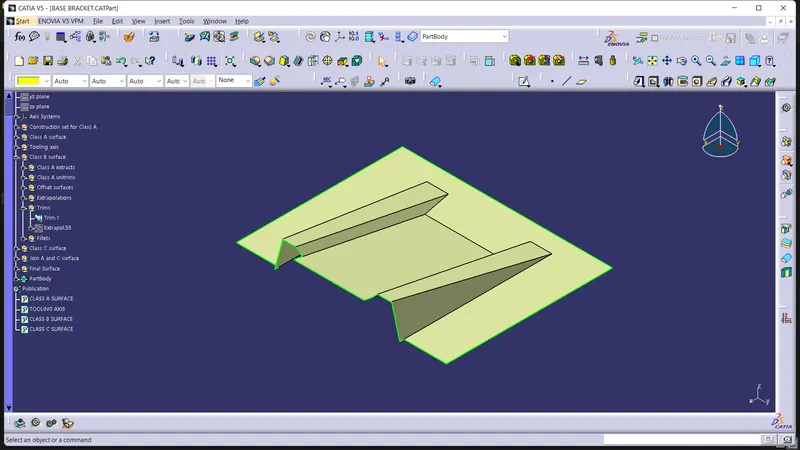
- Fillets are measured from the Class A surfaces and appropriate fillets are provided for Class B surface by adding or subtracting the thickness of the component to obtain correct thickness everywhere.
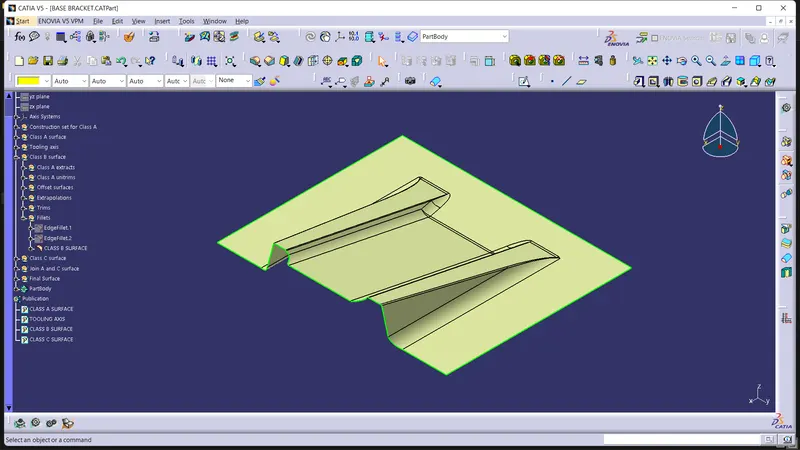
- Now class C surface has to be created and it is created from the boundaries obtained from the Class A surface. This boundary is provided as the input curve for sweep command and tooling axis as the draft direction and with 3-degree draft value.
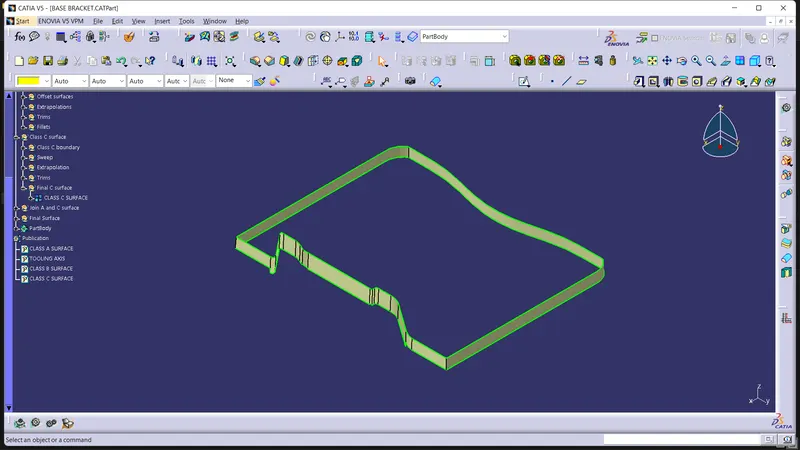
- Appropriate sweep is the provided considering the flash and considering manufacturing procedures.
- Now Class A surface and Class C surface is joined.
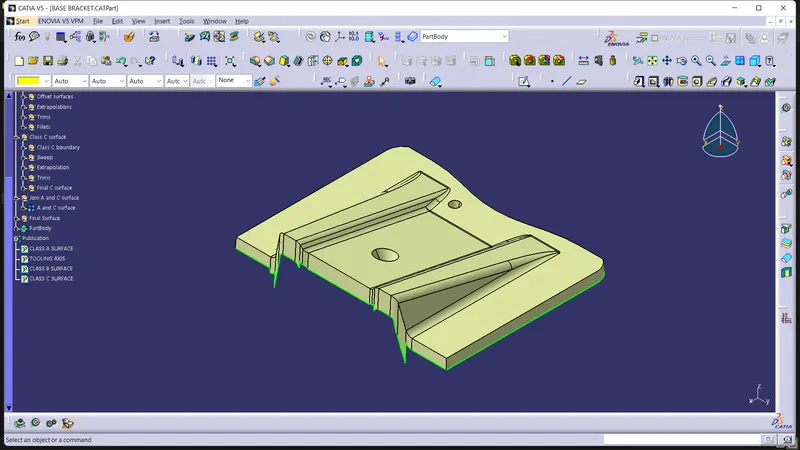
- Now Class B surface is also trimmed with the obtained surface to get the closed surface.
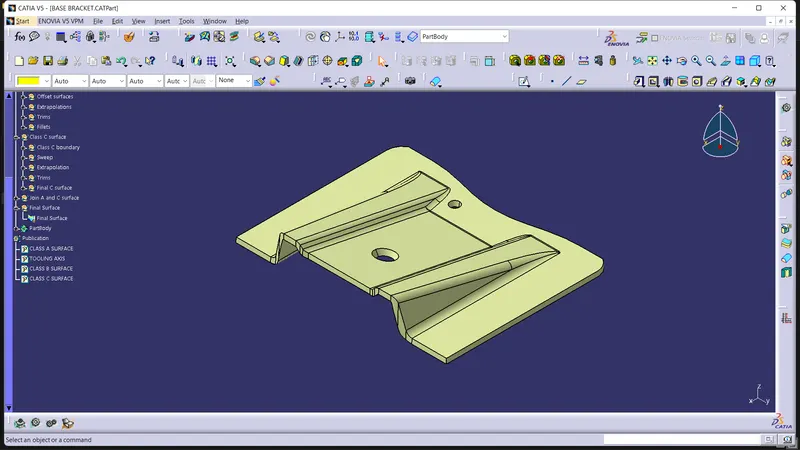
- Boundary check is done to check for any open boundaries in the part.
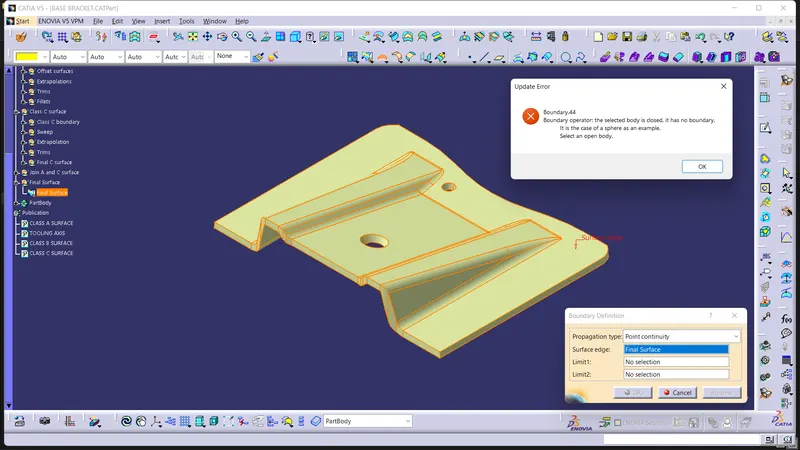
- The closed surface then obtained moved to part design and close surface tool is used to obtain the part.
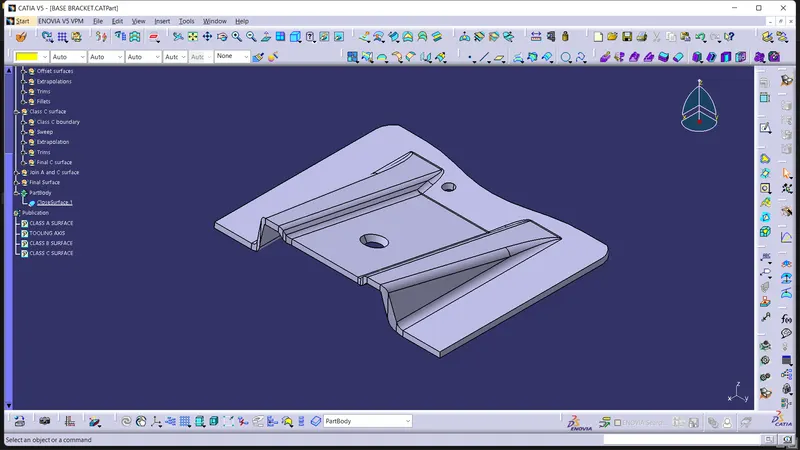
- The obtained part is draft analysed to check for the correctness of obtained model by following the draft analysis procedure mentioned above.
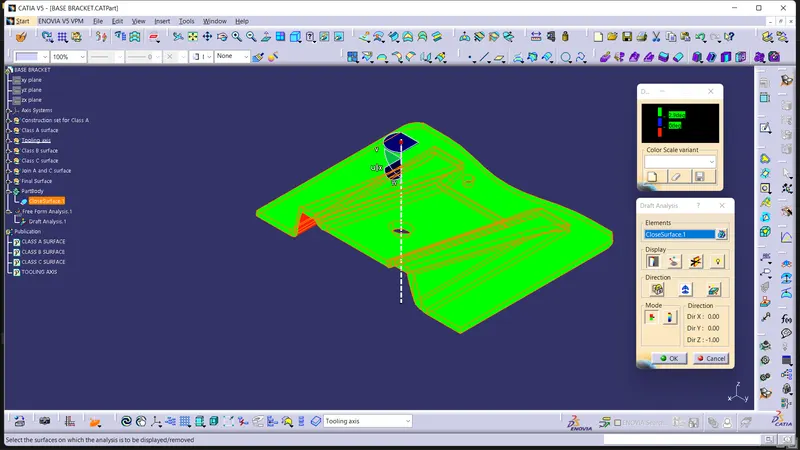
Screenshots of the Draft analysis report for both the given Class-A surface and the final plastic component
Images of the color scale variant: 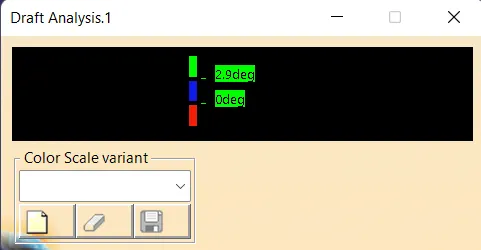
CLASS A SURFACE Draft analysis report:
Surface obtained is green in color, which means that the draft angle is more than 3 degrees. So, the tooling axis we created is correct.
Final plastic component Draft analysis report:
Ensure that customize view parameter is enabled and material mode is opted in view mode customization. Now go to insert > analysis > feature draft analysis. Drag axis bar to the tooling direction of part as shown in the figure.
Final plastic component obtained is also green in color which means that the draft angle is more than 3 degrees for everyside and it clears.
Screenshots of the solid model with the proper color code of the draft angle in various orientations:
Isometric view:
Front view: 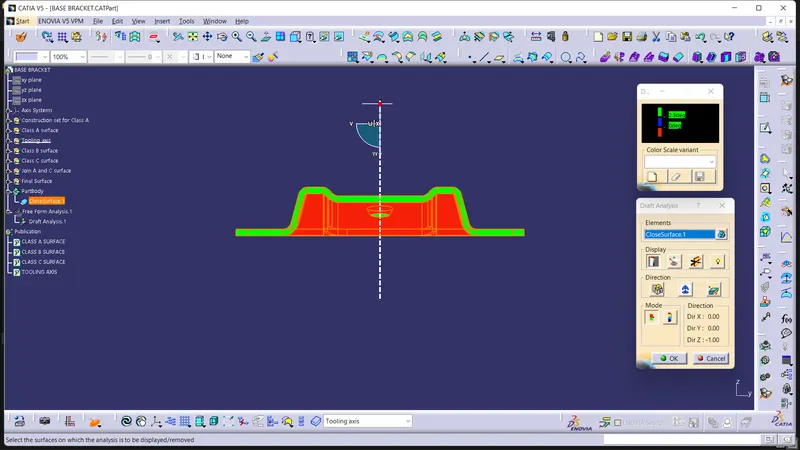
Right side view: 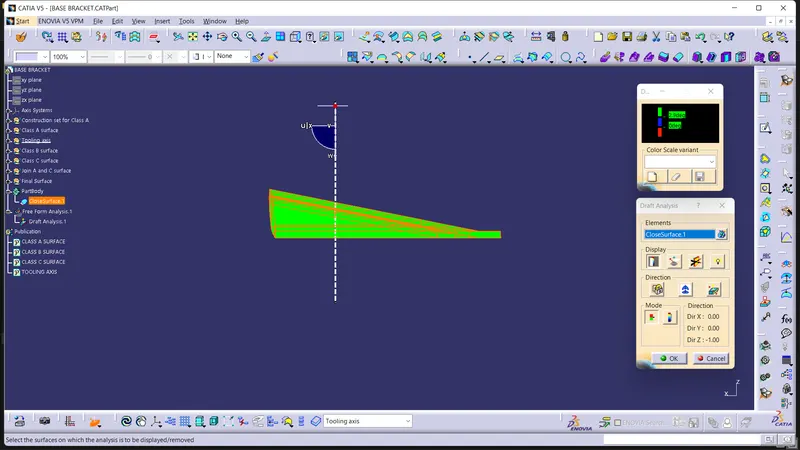
Top view: 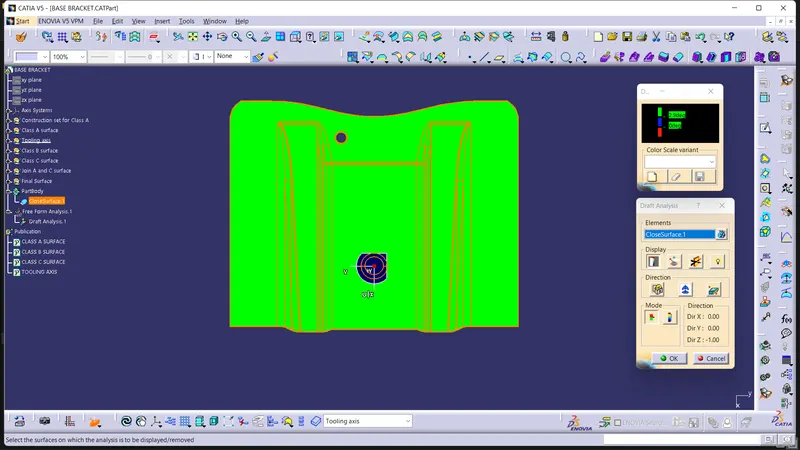
Bottom view: 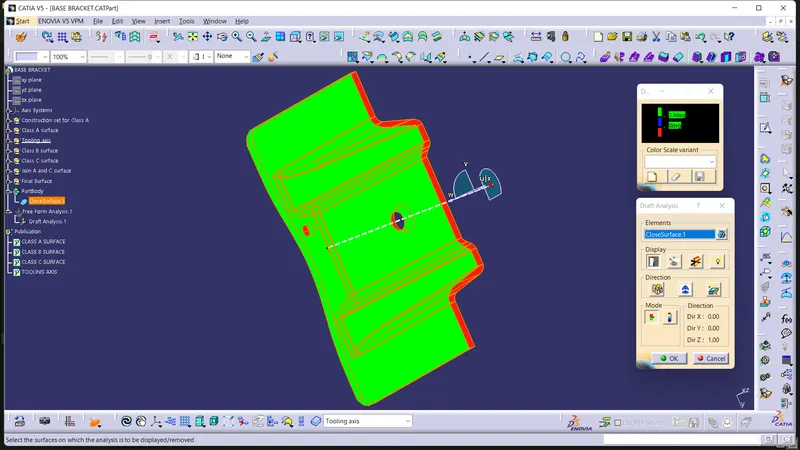
For the bottom view, the draft direction has to be reversed else the color shows red as it is the below surface. As the class B surface is along with the core side, it will aslo clears the draft analysis as it can be ejected by ejector pins.
CONCLUSION
- Created Tooling axis
- Created Class B and Class C surface from provided Class A surface.
- Created solid part out of surface modelling.
- Draft analysis of Class A surface and final part is also done.