Base Bracket Design
AIM:
To Create the Base Bracket Plastic component through the given Class-A surface. To begin with, the tooling axis for the given Class-A Surface should be created meeting the draft angle requirements and performing the draft analysis on the model at the end.
INTRODUCTION
The Draft allows the part to easily eject from the mold. The draft angle is to reduce friction between the core, cavity, and part and it also avoids damage. The minimum draft angle is 0.5 degrees and the most common draft angle used in the plastic design is 3 degrees.
In CATIA the draft analysis is performed based on color ranges identifying zones on the analyzed element where the deviation from the draft direction at any point, corresponds to specified values.
Tooling direction is the main element to be considered while designing a plastic component. In the molding machine, the arrangement is given to open the mold in the direction. It is the direction in which the core and cavity open.
CLASS A SURFACE
1. Visible surface and aesthetic look
2. Surface with textures
3. Surfaces provided by customer(OEM)
4. Don't have any features like(rib, snap, bosses, etc.) on class A surface.
5. Class A surface is made from scanned data with different software like alias etc.
6. Surfaces which is having CURVATURE CONTINUITY are CALLED class-A.
CLASS B SURFACE
1. Invisible Surfaces.
2. Surfaces mostly don't have textures
3. Surface needs to be created according to class-A surface.
4. Having all features(Rib, boss, snap, etc.) on the B-side surface only.
5. Surfaces which is having TANGENT CONTINUITY IS CALLED class-B
CLASS C SURFACE
Which join both Class-A and Class-B Surface,its like thickness of the component.
PROCEDURE
First the connectivity between the surfaces is to be checked, by using the join option to see how the surface is connected and ensure that there are no surface gaps in between the component.
The other method to check connectivity is using the boundary option. By Extracting and disassembling the boundary of the class-A – Surface we can check visually gaps between the surface.
Create a boundary for the hole in the Base bracket. Using Circle / Sphere / Ellipse centre option create a point w.r.t the boundary. Create a line using the point – the direction(z) option that line is a dummy tooling axis.
Create a plane w.r.t point created before and YZ plane
An intersection sketch is made using the YX plane and the class a surface
By using the point–point line option extend the line along the sketch. With the bisecting line option selecting the two lines the TOOLING AXIS is created.
DRAFT ANALYSIS
For plastic parts the Nominal draft angle is 3deg, but even 7deg is allowed for the subassemblies like ribs and slots
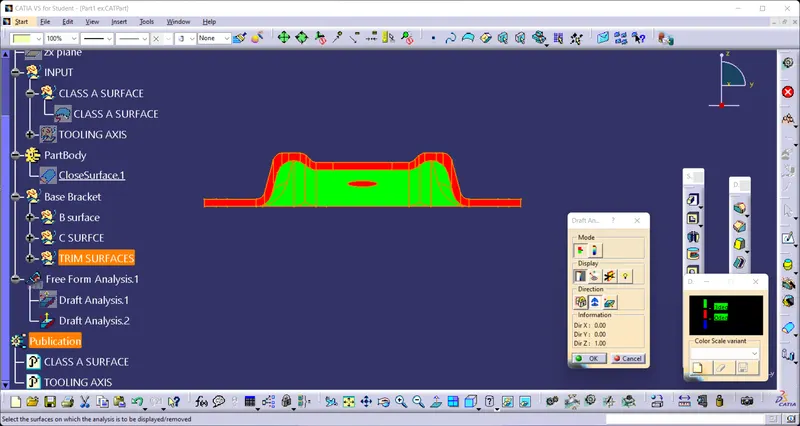
INSERT - ANALYSIS - FEATURE DRAFT ANALYSIS
First the compass is moved to the part (the compass should be placed on the tooling axis) which used to define the new current draft direction, then lock the draft direction using the lock icon
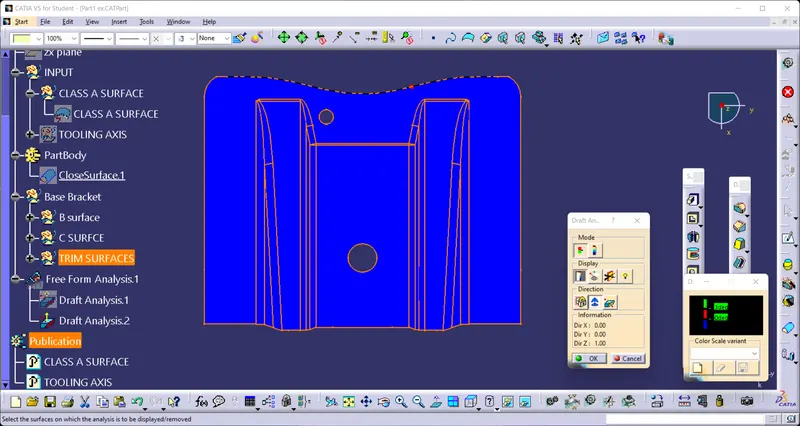
The color chart indicates the various condition of the draft angle. the green color indicates that the part passes and the and can be used for the further operations
By using the analysis under the running point icon we can check the draft angle at the various surfaces of the component
There are two modes in the Draft analysis quick mode and fully detailed mode
The Draft Analysis allows the user to easily analyze a part for proper draft angle. A Draft Angle describes the amount of taper for molded or cast parts perpendicular to the parting line. The ideal draft angle for the plastic component is 3 degree. the draft angle provided for the plastic features is 0.5 degree.
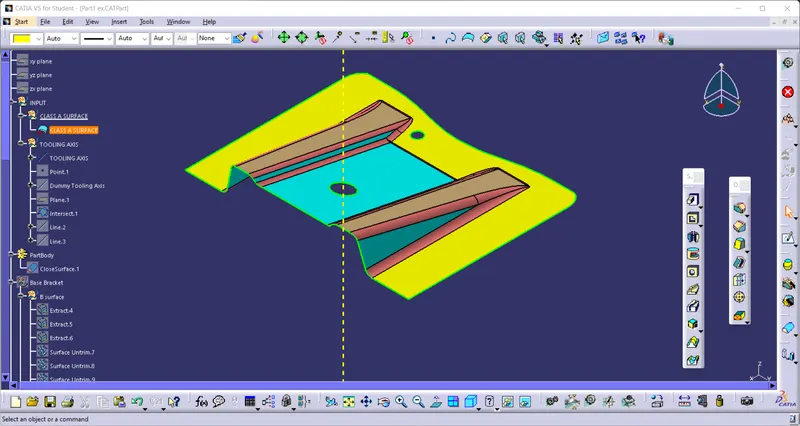
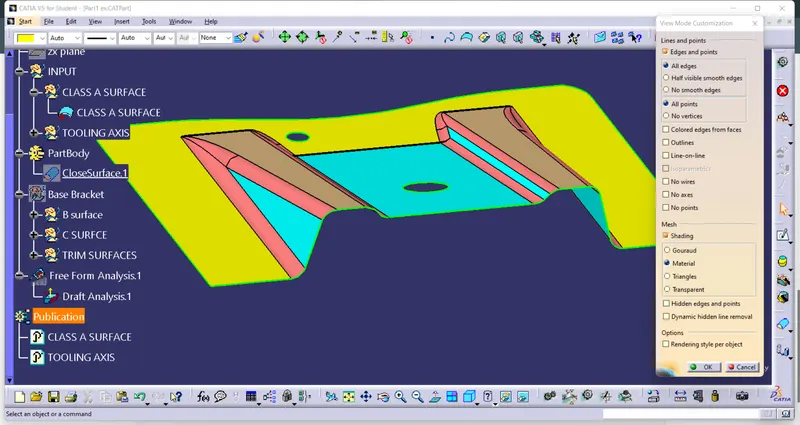
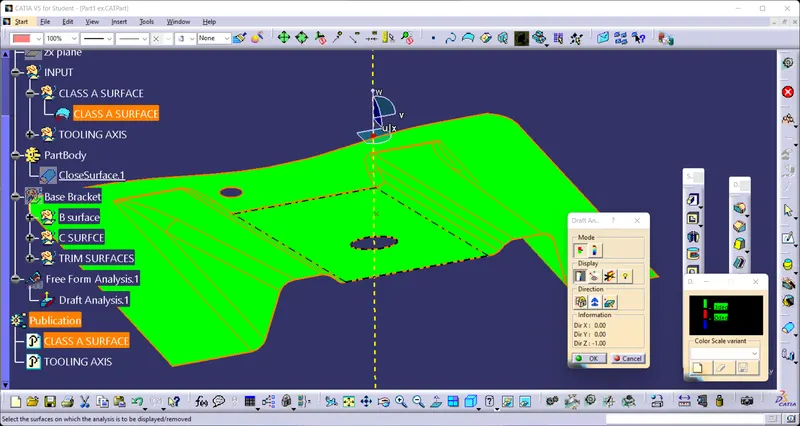
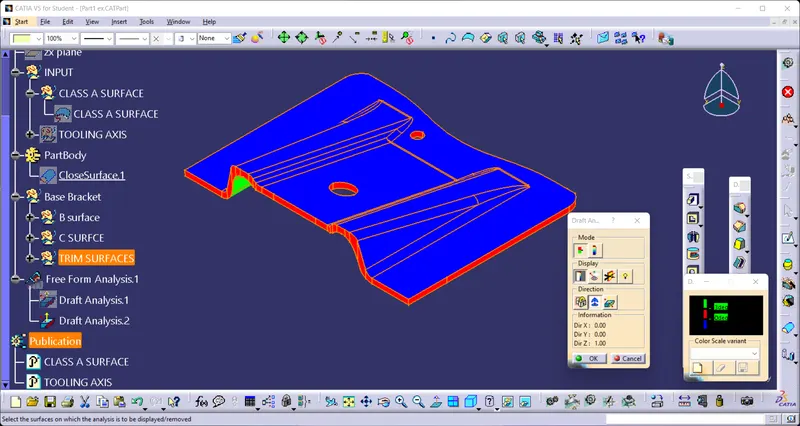
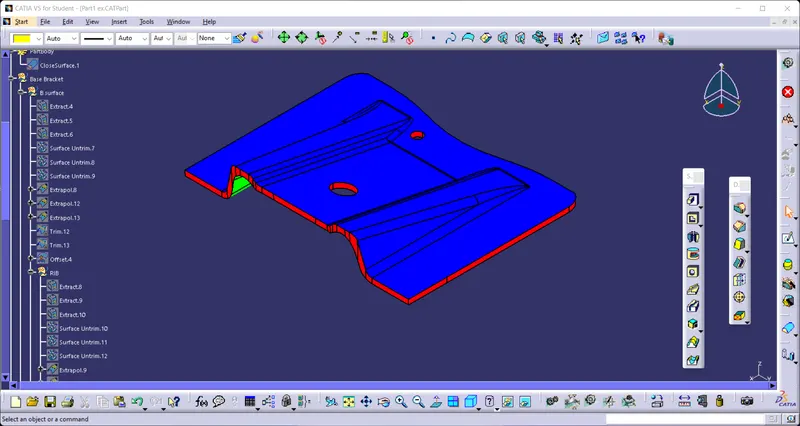
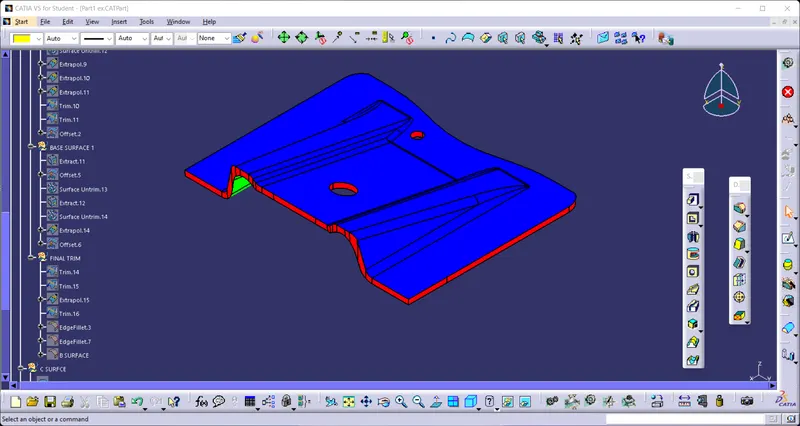
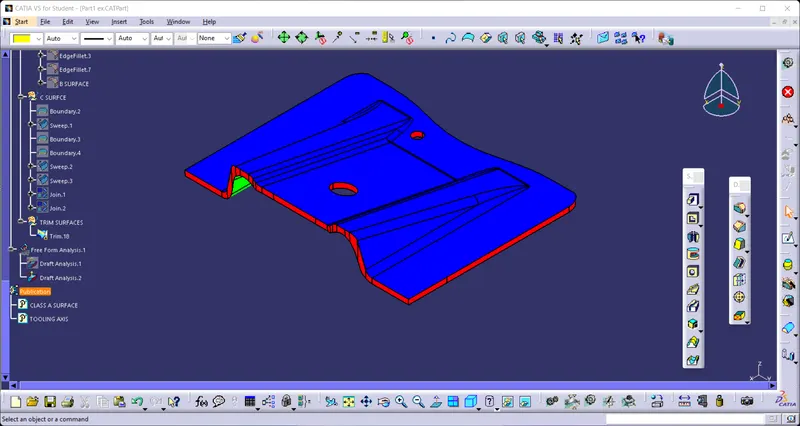
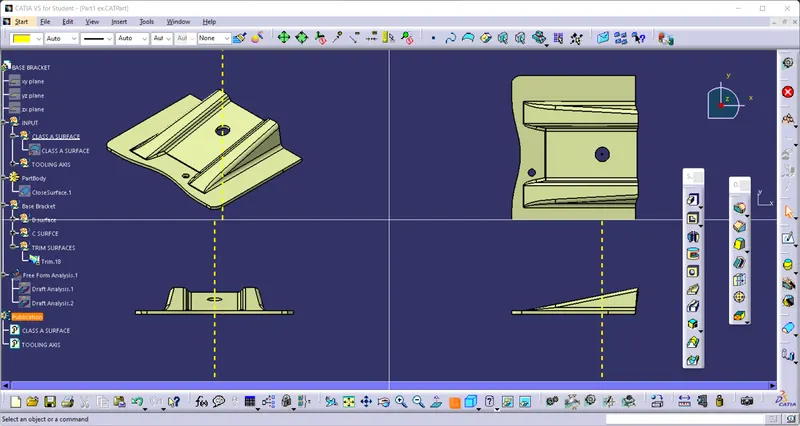
Tree structure
CONCLUSION
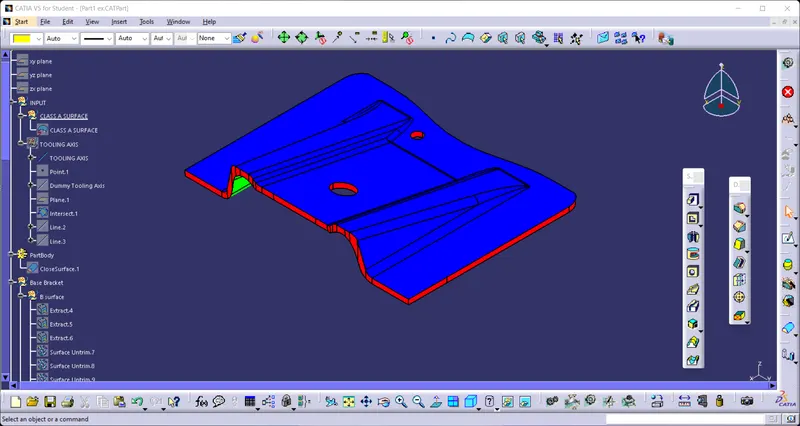
Finally from the given Class-A Surface, Class-B and Class-C Surface were created and tooling axis for manufacturing was created and draft analyses were carried out successfully.