Week 8 - Challenge 1 - Base Bracket Design
BASE BRACKET
Aim/Objectives: To make a model using the Class A Surface After extraction by using surface workbench
Introduction:
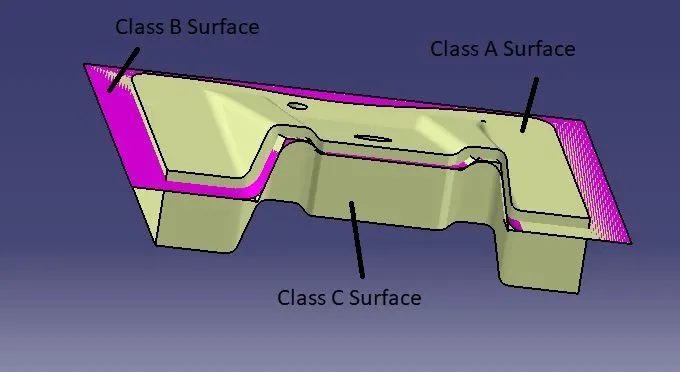
Class A Surface: An aesthetic & outermost surface which is made by the plastic designerand is given as an input to the plastic modeler to work on it.
Class B Surface: A surface below a certain thickness from the class A Surface is known as class B Surface. It is also known as engineering Surface.
Class C Surface: A Surface that Join the class A & Class B Surface.
Methodology: In this design we will focus on the following steps
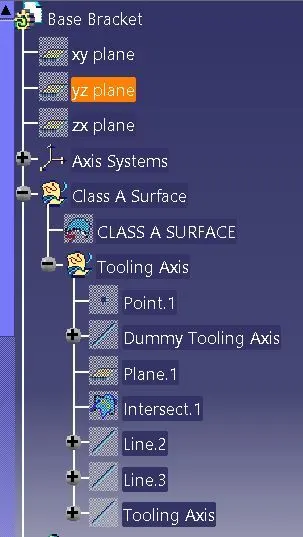
- Tooling Axis
- Draft Analysis
- Class B Surface
- Class C Surface
- Making a solid model from surface
Following tools were used to reach the final step:
- Extract
- Un-trim
- Trim
- Extrapolate
- Offset
- Edge fillet
- Boundary
- Sweep
- Join
- Close Surface (part design)
FOR TOOLING AXIS:
- First we will take a point using circle/Ellipse
- After we will draw a dummy tooling axis using point & direction
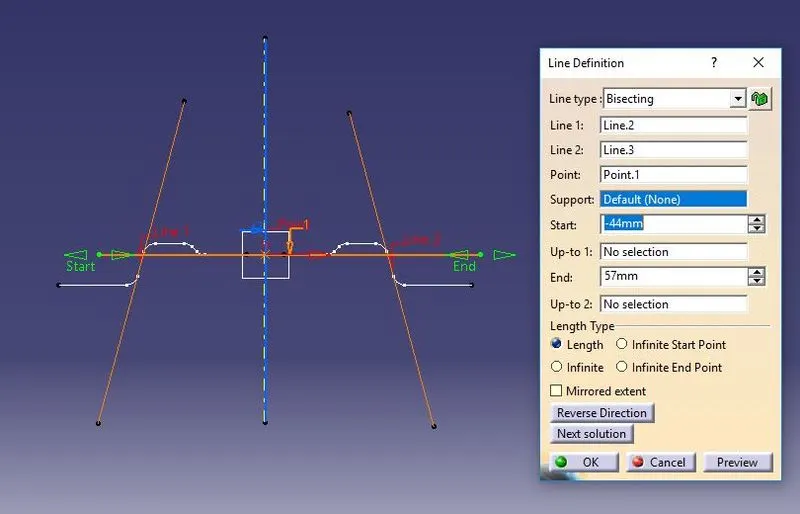
- Intersect the YZ plane of the axis system with the input and we can see that there is no surface that can create problem during tooling in this direction.
- Intersect YZ plane and we are unsure of these two surfaces, so we make a line and bisect them both and this will be our tooling axis
FOR DRAFT ANALYSIS:
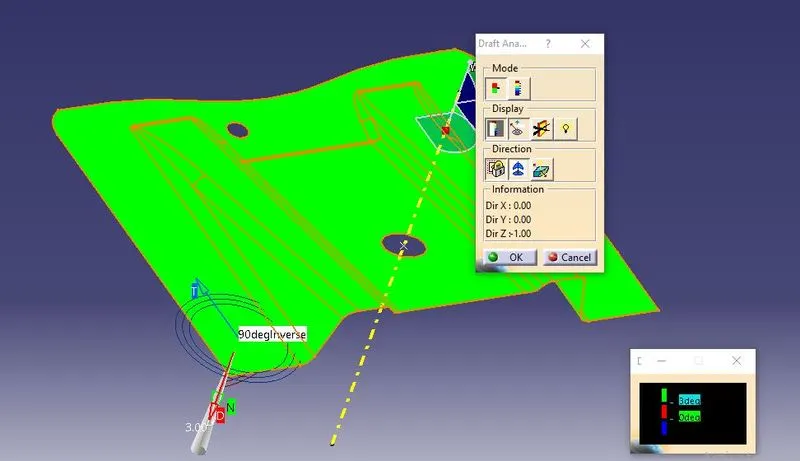
- Go to insert< analysis< feature draft analysis.
- Align the tooling axis with the compass.
- Click on the surface and see that the surface is within the permissible limit of the draft values.
- The surface should be green and in the column proper value (3deg) should be inserted.
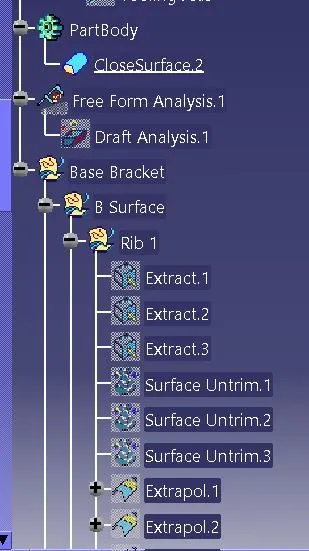
RIBS SURFACES:
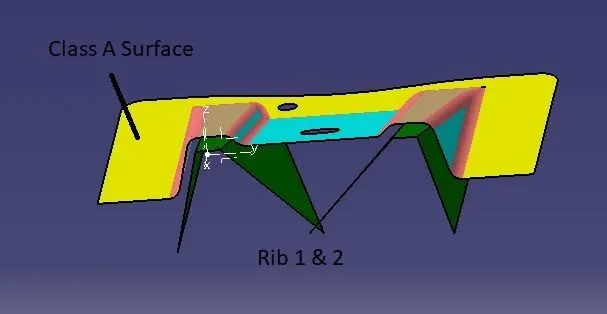
- Extract the rib surfaces (1 rib at a time).
- Un-trim the surface.
- Extrapolate it.
- Offset it by 2.5mm i.e. thickness.
- Trim to get the desired shape.
- Repeat it with the second rib too.
FOR CLASS-B SURFACE:
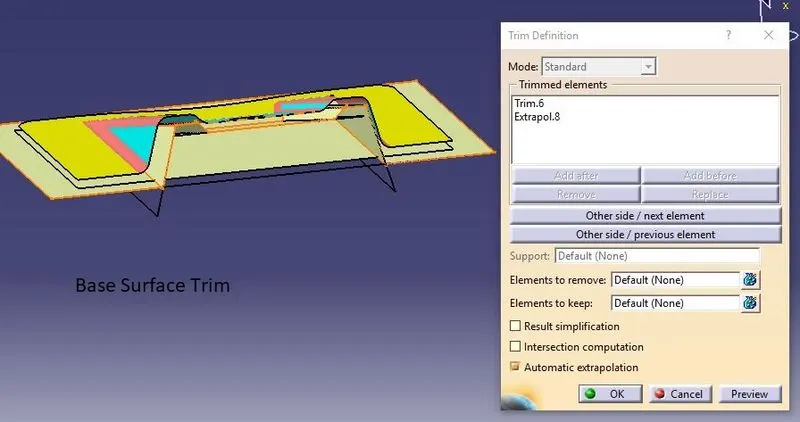
We can divide the surfaces as shown below. Then we will work on them one by one
FLAT SURFACE:
- Extract the flat surface.
- Un-trim the surface.
- Extrapolate it.
- Offset it by 2.5mm i.e. thickness.
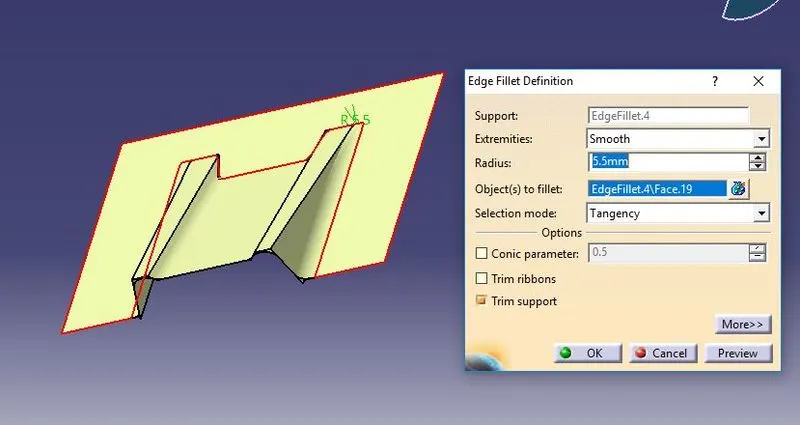
Once we have finished doing this, we have to trim the surface to get exact shape of the class-A surface (without fillet) below 2.5mm. After the trimming part is done, fillet the model. Formula for filleting= fillet value thickness (if the surface is below). We get our class-B surface.
FOR CLASS-C SURFACE:
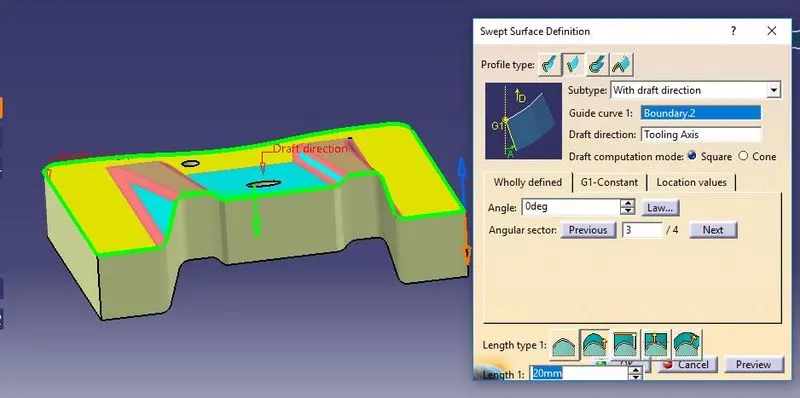
- Extract the boundary of the class-A surface.
- Extract the boundary of the holes on the class-A surface.
- Use sweep command on the boundaries one by one to get the class-C surface.
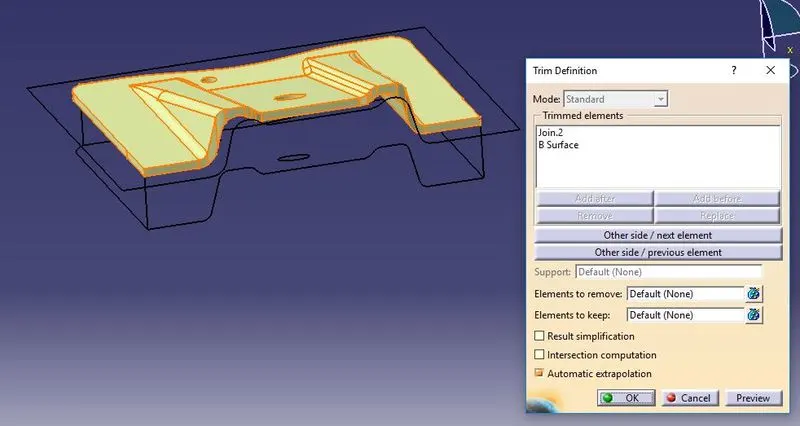
FINAL BASE BRACKET:
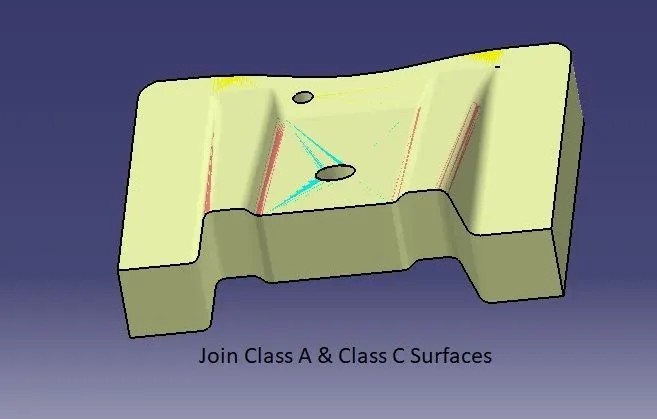
- Join the class-A and class-C surfaces together.
- Trim the class-B surface with the join created earlier
- Go to part design and close the model.
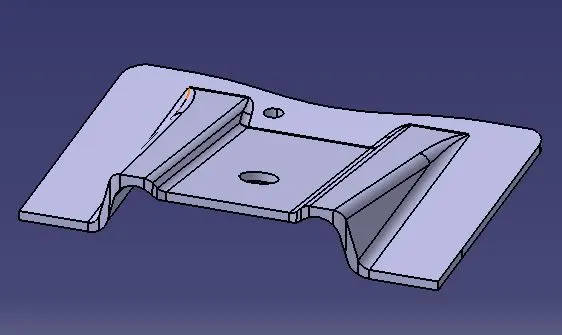
Feature Tree:
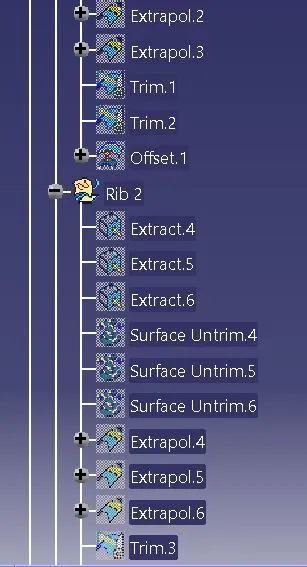
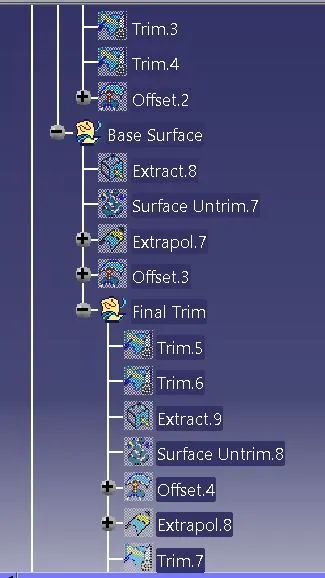
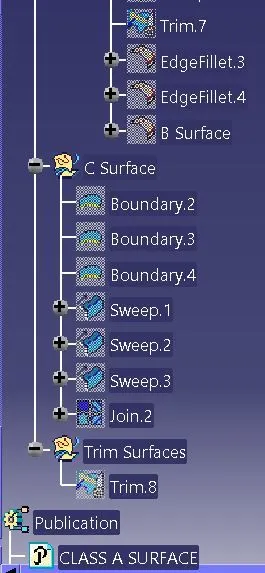
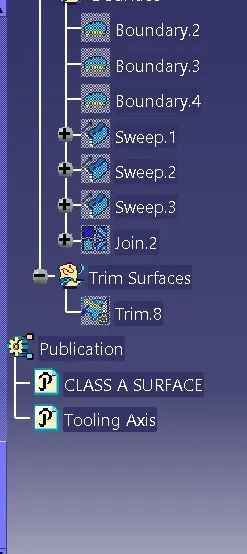
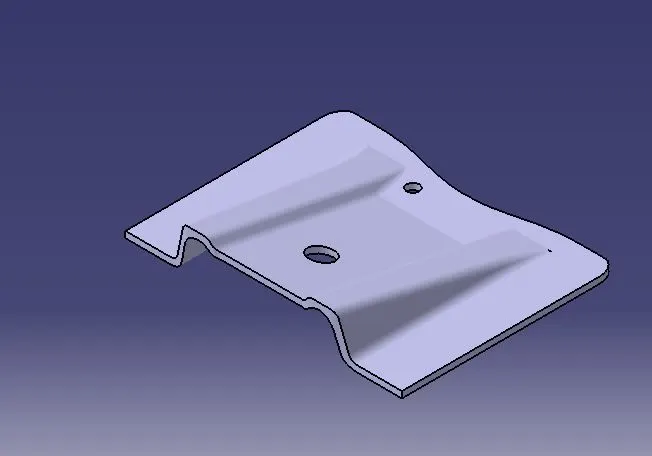
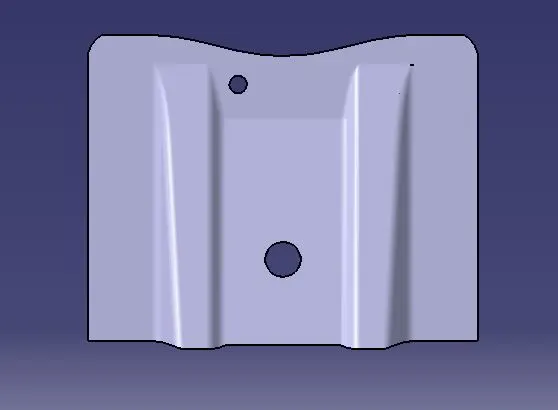
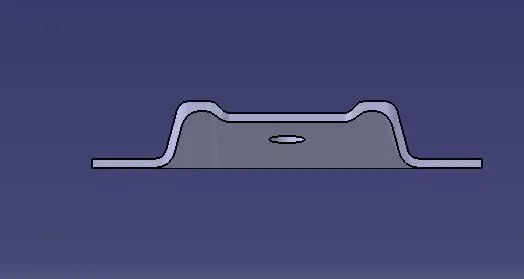
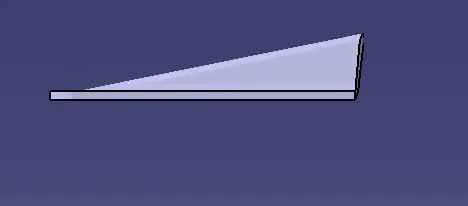
Different Views:
1). Isometric View:
2). Top View:
3). Front View:
4). Left side view:
Coclusion:
Thus i've created the design of Base Bracket using Class A Surface using Surface Workbench.