Week 8-3D Tetra Meshing Challenge
3D Tetra Meshing
AIM:- To do the 3D Meshing on given components.
Objective:-
- To do tetra meshing using different methods.
- To understand the ways of optimizing the tetra mesh element.
Introduction on 3D Meshing & Related
Terminologies:-
Tetrahedral is a four-nodded solid element that can be generated through the tria element by creating a volume and also through the existing volume of the geometry. These elements are used where the geometry has high thickness and complexity. The below-attached image is a representation of a Tetra element. Tetra element will have 4 triangular faces with four nodes joining them together.
Methods to generate Tetra Meshing:
There are three methods to generate Tetra Meshing as stated below:
- Conversion of 2D tria to Tetrahedral Elements, by using Tetra Mesh panel
- Using the Quick Tetra Mesh, from the Utility panel.
- Using the Volume Tetra Mesh panel.
Tet Collapse :
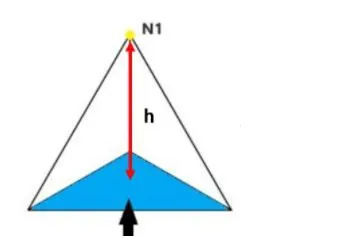
Tet collapse is one of the quality parameters, which will be checked while generating Tetrahedral elements. It can be calculated by measuring the distance of a node from the opposite face, then each of the four values will be divided by the Square root of the opposite face's area. The minimum of four resulting values is then normalized by dividing it by 1.24. Generally, tet collapse can be calculated by the
formula = Min of (h/sq.root(A)) / 1.24
In that formula,
"h” represents the Height, between the Node (N1) and the opposite face of the Triangle. “A” represents the Area of Opposite Face (area of the Triangle).
Methods to clear Tet collapse:
There are two methods to clear the Tet collapse as shown below:
- Using the "translate" command, to increase the height.
- Using the “Tetra remesh" panel, to remesh failed elements.
MODEL 1 :
Procedure:
Step 1 :
- Importing & Defeaturing
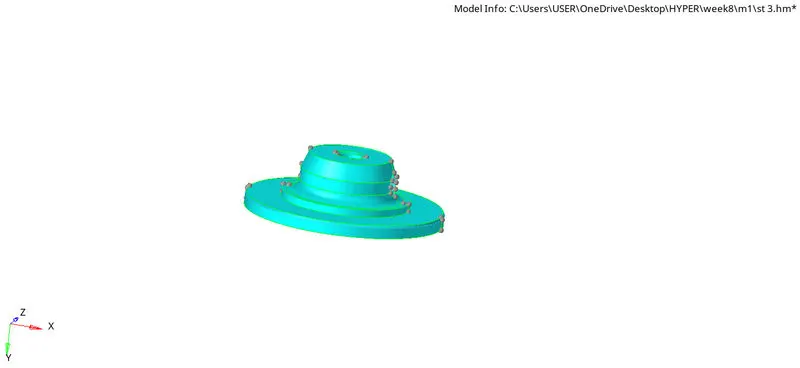
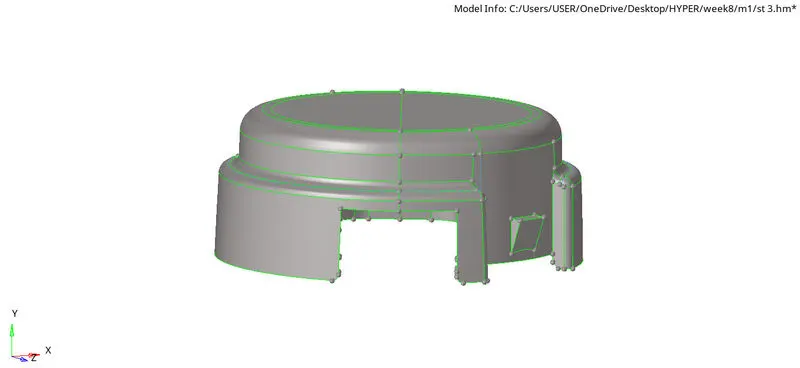
- Import the Model.stp file as geometry
- Clean/repair the geometry for any deformation in the surface such as collapsed faces, cracks, free edges are clear, also delete the unusual points which can disturb the mesh flow.
- Now we need to rearrange the construction line by toggling, if not required to prevent the element failure. We also need to edit/defeature the surface on fillet where the element size may fail.
Step 2- Meshing
- Now, we do the 2-D mesh on the surface of the components, providing the required parameters (element size criteria and tet- collapse)
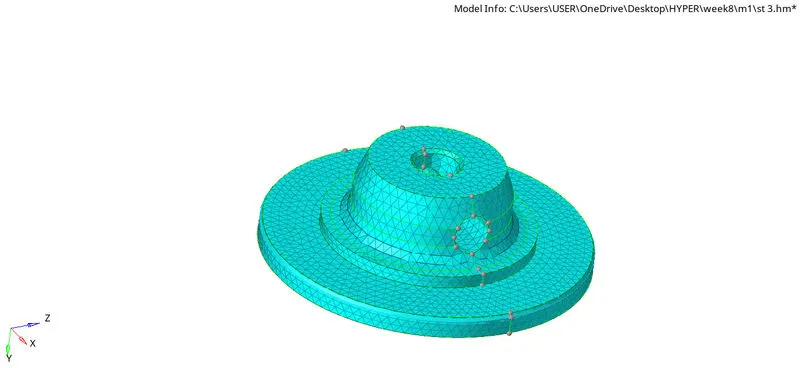
- In this method, we create a 2-D Tria shell element on the top surface of our geometry & then we have to check for the quality of the elements.
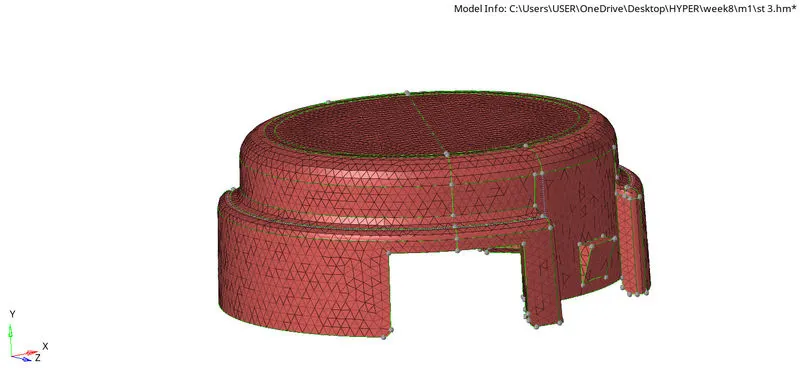
- Once all the elements pass the quality criteria, we can transform these 2-D tria elements into 3-D tetra elements.
- Now, creating a 3-D tetra element from 2-D tria elements.
- From Tetramesh in automesh, select elements displayed and hit mesh, this will automatically create the tetramesh.
Step 3
- Checking for Tet collapse and Optimizing Quality
- To check for the Tet-collapse we go to tools - check elems - 3-D - Tet collapse (0.15)
- As we found 75 elements failed for the quality criteria, so now we need to optimize it.
- For that, we can save the failed elements (save failed), then mask them and reverse them to view the failed elements.
- After that, we can use the translate command, to increase the height or can also increase the height from the distance option
- TOOL >> TRANSLATE >> SELECT NODE >> GIVE MAGNITUDE >> TRANSLATE

- GEMO >> DISTANCE >>SELECT NODE >> GIVE DISTANCE
- Also we can remesh the entire elements by giving mesh parameter
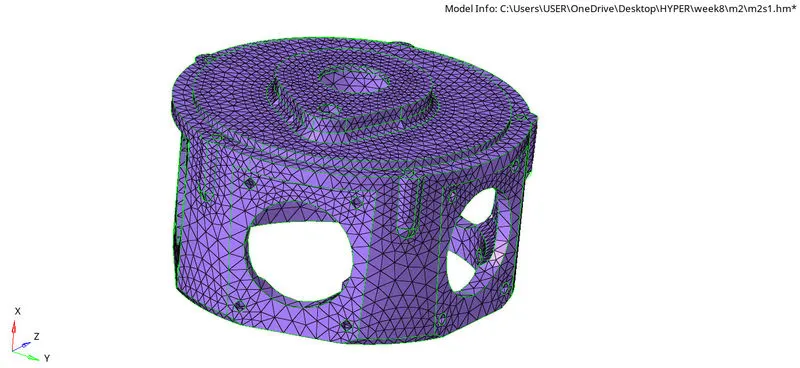
MODEL 2:
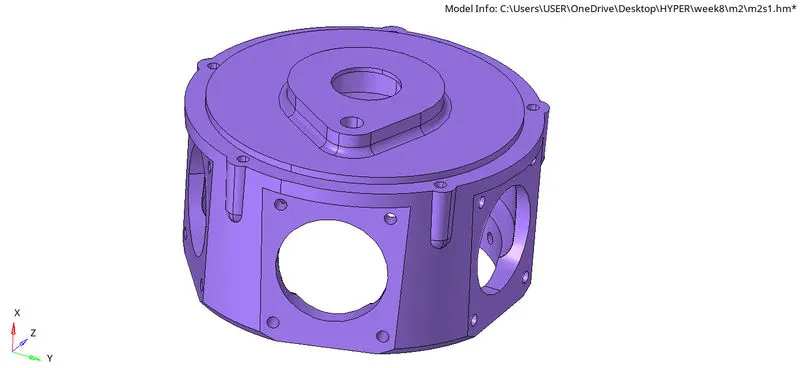
- Import model :
We have to import the model first
- FILE >> IMPORT >> MODEL >> SELECT FILE >> IMPORT
- Geometric clean up :
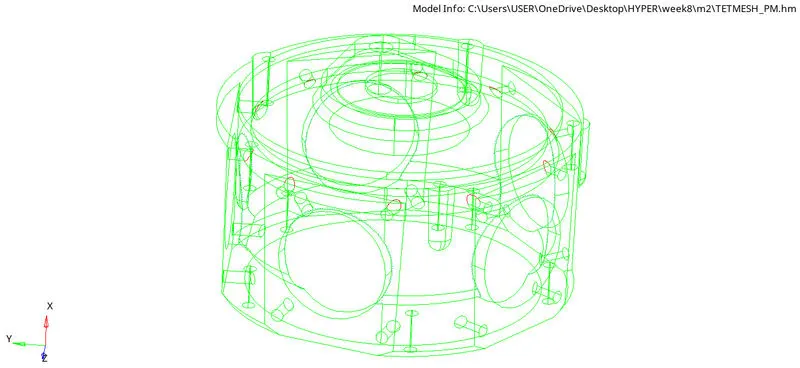
- The model is observed for all the areas where geometry clean-up (topology repair) is necessary. The areas and the tools required to execute the operation are identified.
- There are some surface discontinuity in the model surface it can be removed by toggle the red line.
- GEOMETRY TOOL >> QUICK EDIT >> TOGGLE >>SELECT LINE
- Volume tetra :
- After geometric clean up is done the teta mesh has to be done using volume tetra mesh option
- 3D >>TETRAMESH >> VOLUME TETRA >> SELECT (ELEMENT) >>MESH

- Give tick to fixed comp boundary and update input shell
- Check element :
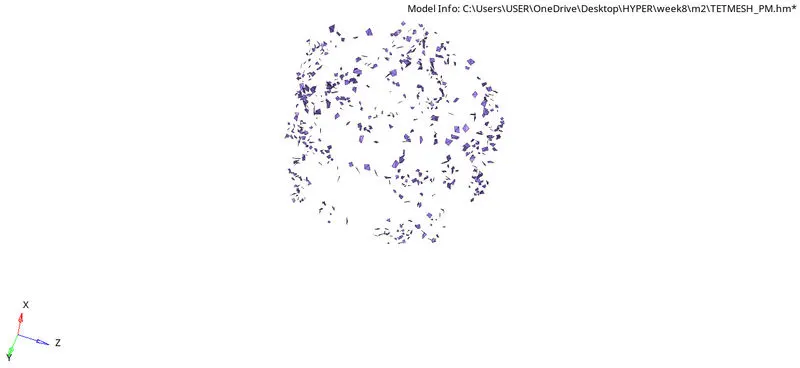
- Check the tet collapse (0.15) of elements
- TOOL >> CHECK ELEMENTS >> 3D >>TET COLLAPSE
- Tetraremesh :
- Save the failed elements and mas it and reverse it and remesh it using tetra remesh option
- Translate/distance element :
- If the tet collapse still there using translate or distance option make elements pass
- TOOL >> TRANSLATE >> SELECT NODE >> GIVE MAGNITUDE >> TRANSLATE

- GEMO >> DISTANCE >>SELECT NODE >> GIVE DISTANCE

- Process complete with elements with tet collapse of 0.15
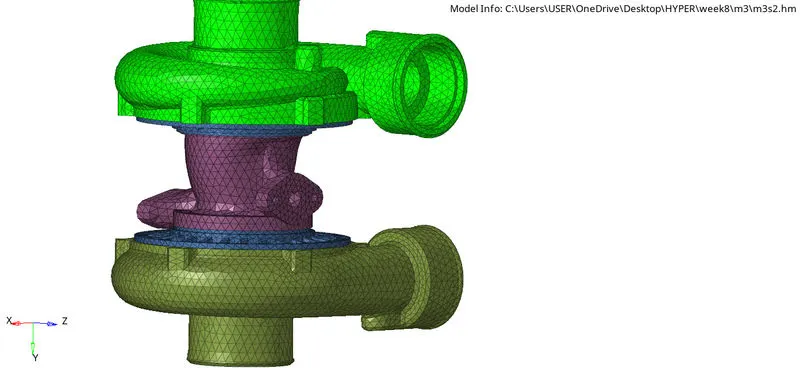
MODEL 3 :
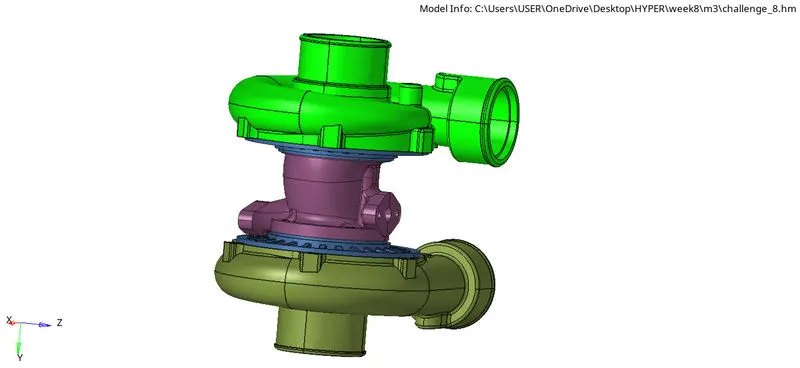
- Import model :
We have to import the model first
- FILE >> IMPORT >> MODEL >> SELECT FILE >> IMPORT
- Quick tetra mesh:
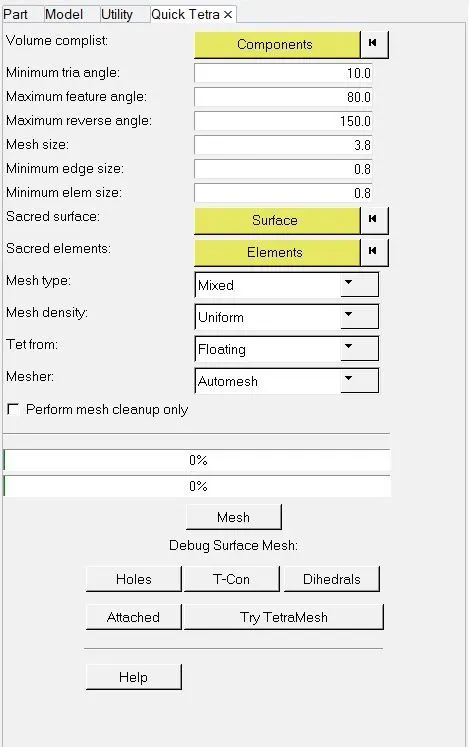
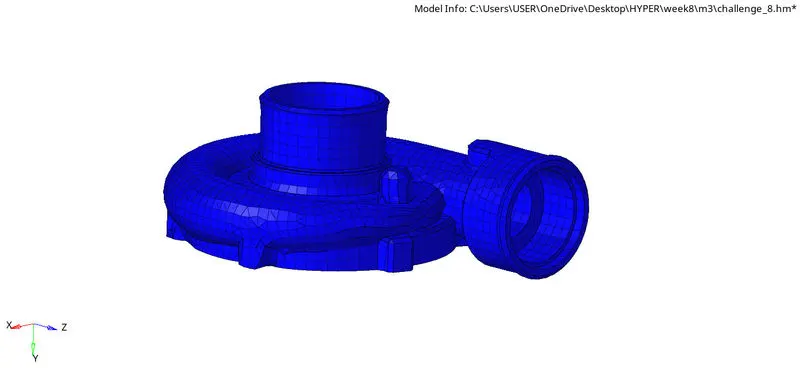
- After geometric clean up is done the teta mesh has to be done using quick tetra mesh option
- VIEW >> BROUSER >> UTILITY >> GEO/MESH >> QUICK TETRA MESH >> SELECT ELEMENT >> MESH
- Check element :
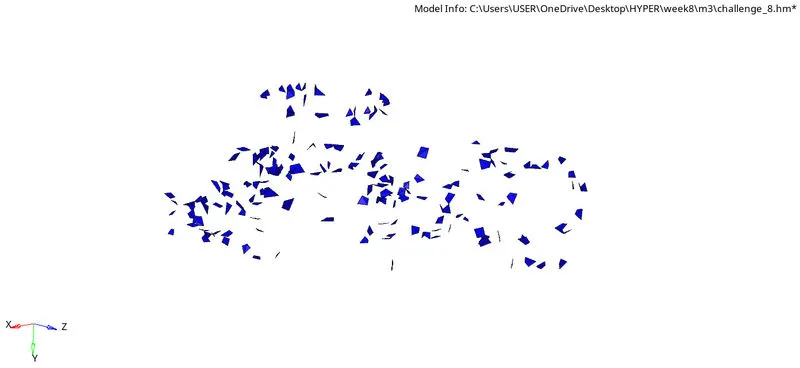
- Check the tet collapse (0.15) of elements
- TOOL >> CHECK ELEMENTS >> 3D >>TET COLLAPSE
- Tetraremesh :
- Save the failed elements and mas it and reverse it and remesh it using tetra remesh option
- Translate/distance element :
- If the tet collapse still there using translate or distance option make elements pass
- TOOL >> TRANSLATE >> SELECT NODE >> GIVE MAGNITUDE >> TRANSLATE
- GEMO >> DISTANCE >>SELECT NODE >> GIVE DISTANCE
- Process complete with elements with tet collapse of 0.15
RESULTS :
MODEL 1:
MODEL 2:
MODEL 3:
CONCLUSION :
Hence, by performing the project we conclude that the given model is tetra meshed according to the given quality criteria values and is ready for analysis.