Week 8-3D Tetra Meshing Challenge
Create a Tetra mesh for Housing component with the
following quality criteria.
Tetra mesh generation mesthod is 2D to 3D conversion
Elements sizes: Min- 2 Units, Target- 5 Units, Max- 7 Units
Tet collapse: 0.15
PROCEDURE :-
Import the given model is in STEP format we need to import
using Import > Geometry > STEP > Import. The below image
shows the procedure.
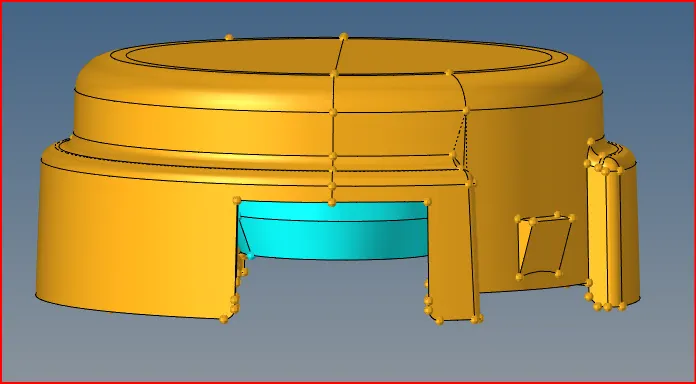
fig. imported Housing model
After that the surface is cleaned in the region to remove the any two lines
that is having the distance less than 2 mm .
For cleaning up we are using quick edit tool.
quick edit tool > Points > Replace
Then now the 2D meshing is performed using the only tria elements and
all the shell kept under the mentioned quality criteria.
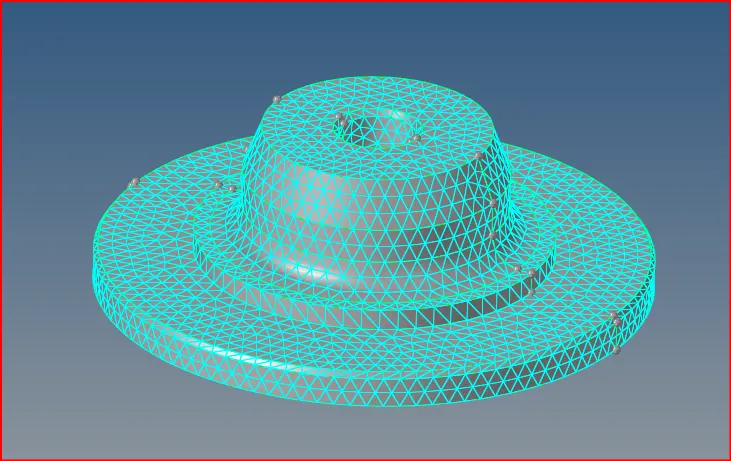
fig. 2D Mesh
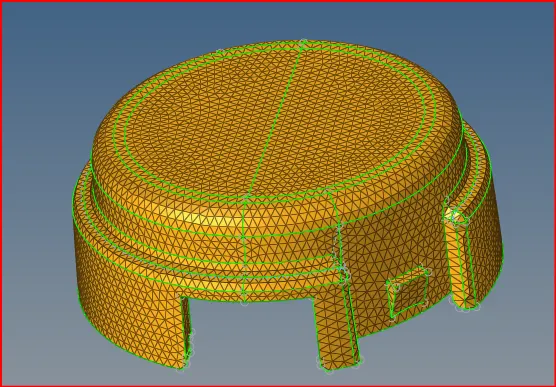
fig. 2D mesh
After that 2D mesh converted by 3D mesh is performed they
need to be converted into solid tria elements.
So select 3D > tetramesh option.
Then select the eements under the fixed tria/quad to tetra
option and then do the mesh.
Fixed tria to tetra option ensures the connectivity of the tria
with the tetra.
Use the mask option to see the if the volume mesh is performed
correctly.
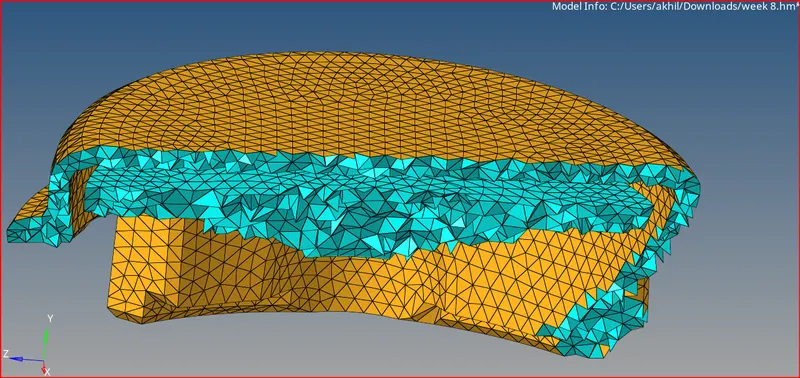
fig. Tetra meshing for housing model
Method 2 Automatic Solid Meshing
This is the one of the approaches the automatic 3D meshing .This method
is using the utility option.
The steps to perform are as follows:-
Import the model into the workspace and perform some clean up.
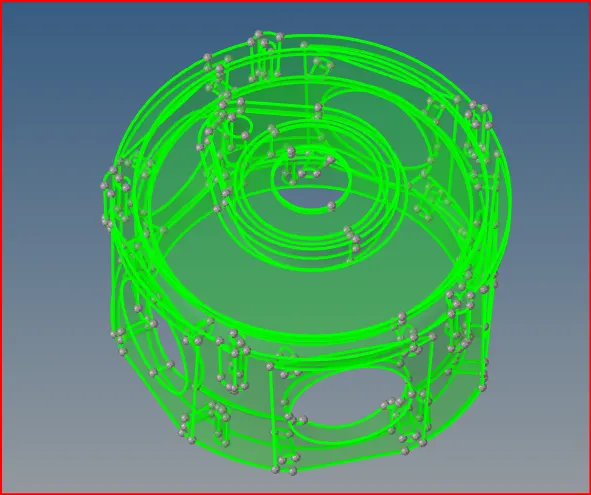
fig . solid model
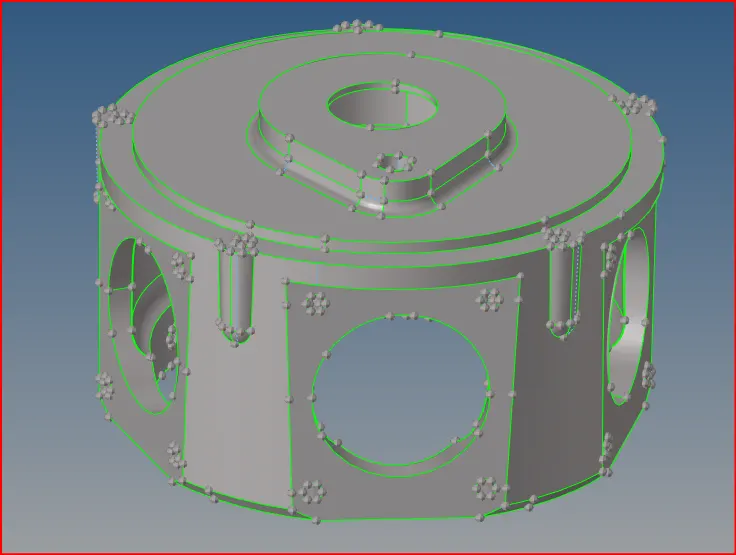
fig. imported model
There is no need to delete the solids since this is only surface geometry.
Then click on the View > Browsers > Hypermesh > Utility
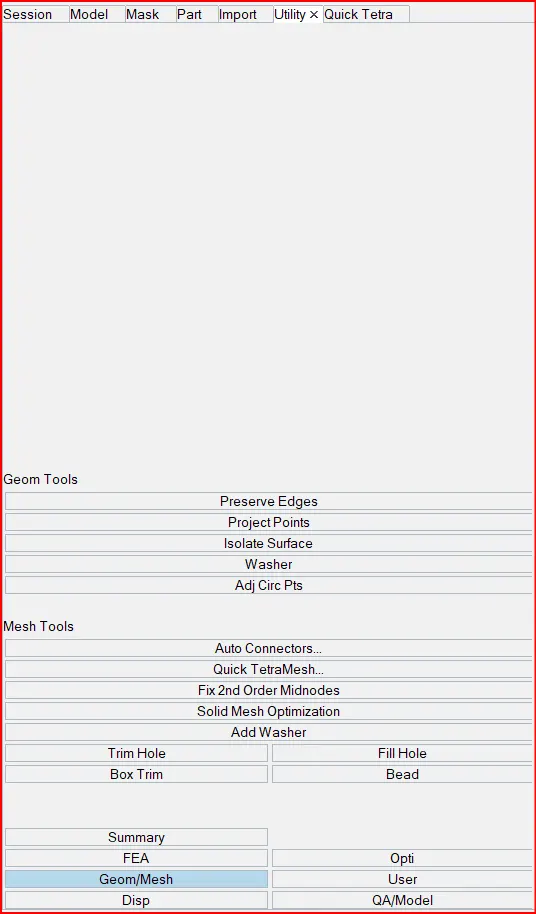
Then select the geom/mesh from the utility menu and then
select the quick mesh.
After that a new sub panel opens for the quick mesh to input
the parameters.
Then select the component.
Input the mesh size as 3 as mentioned.
After that select the element type as tria only and then mesh.
After that the surface mesh is performed a small dialog box
pops to ask to perform the tetra mesh and press OK.
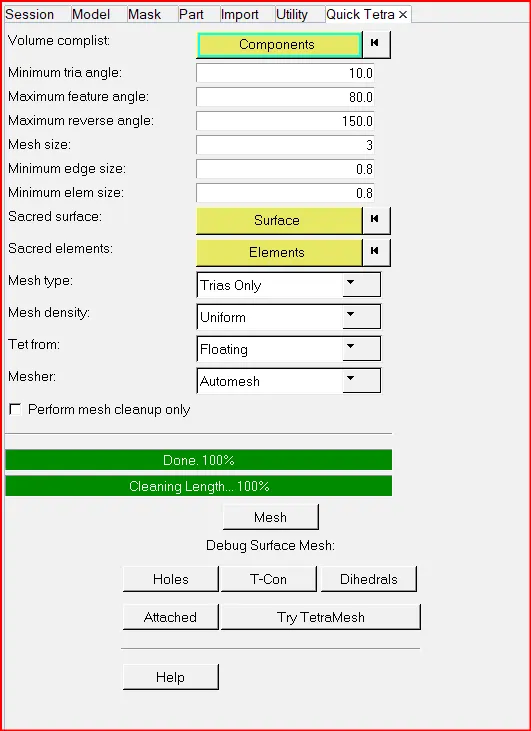
Then the new tetra mesh model is saved under the name quick
test.
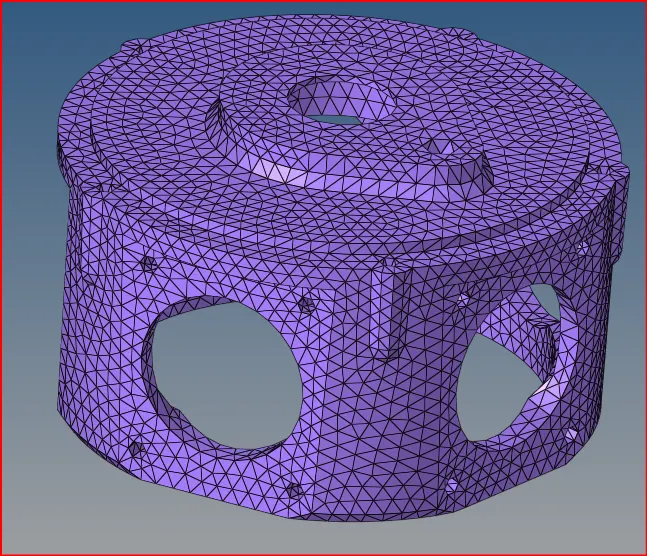
fig. quick test tetra mesh
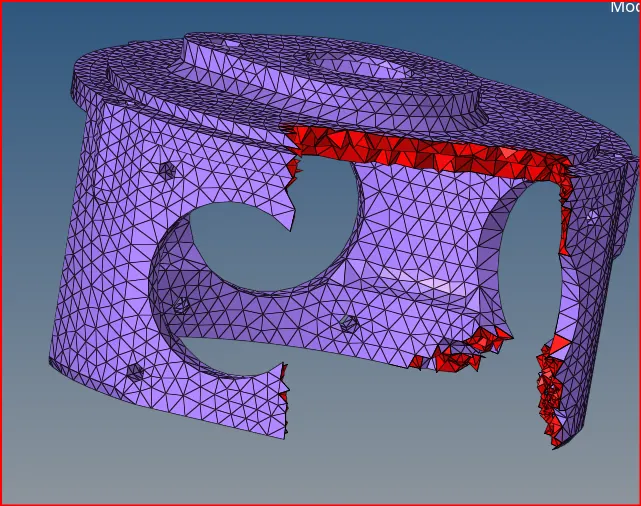
fig. Tetra mesh
For the given assembly model, create a 3D Tetra mesh Using the Volume
tetra using following quality criteria.
Target Element size: 4 Units.
Tet Collapse: 0.15
This method is one of the quickest methods to perform the tetra meshing
The steps to perform the volume tetra are as followed.
PROCEDURE :-
This given model is in hm format, we imported the model using import
Tool > Model. Below image shows the method.
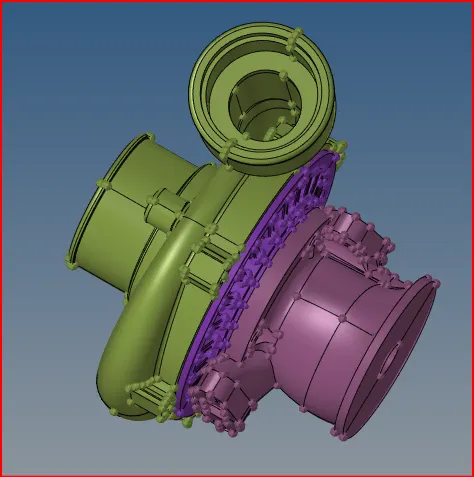
fig. imported model
After that checking geometry and clean up the geometry and defeaturing.
Once the model is imported we will view the model in wireframe view to check
any issue. Then the model did not had geometrical issues.
After that go to the meshing. In the given we have volume method, in
order to use this we have to make the geometry is closed. We will go to
3D > Tetra Mesh > Volume Mesh. We isolated each component and mesh
one by one.
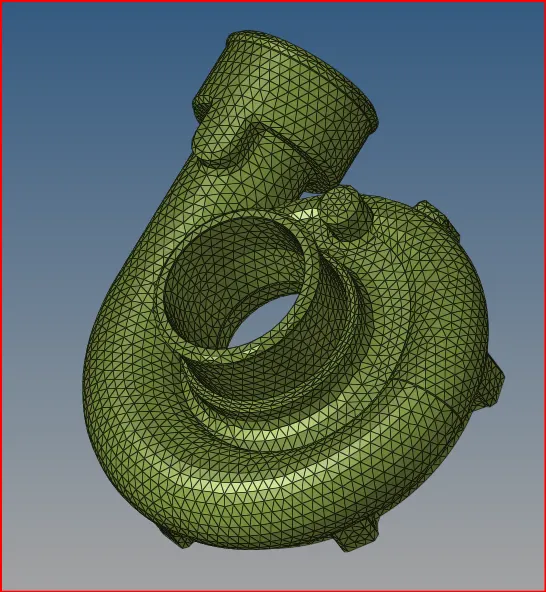
fig. casing volume mesh
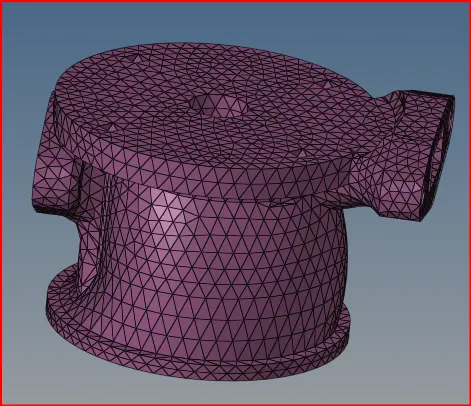
fig. Hub volume mesh
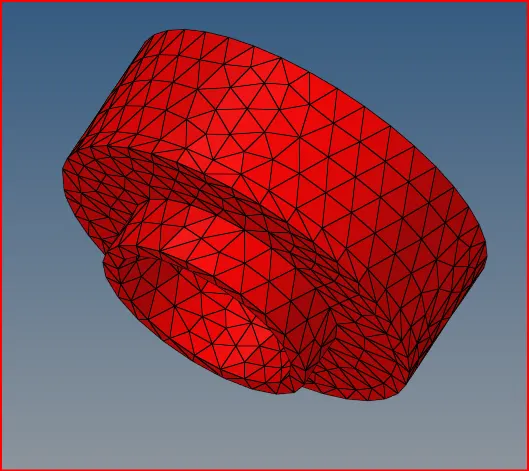
fig. holder housing volume mesh
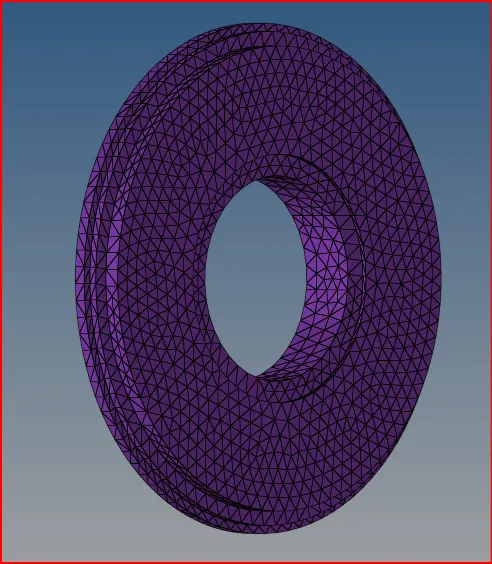
fig. support plate volume mesh
Once meshing is done we will check for tet collapse in the meshing,
the below image shows off elements in the casing component.
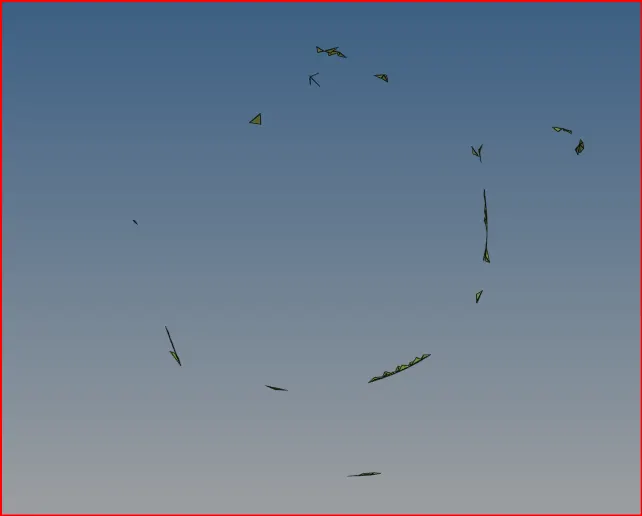
fig. failed elements
The off elements were removed using remeshing the tetra mesh and another
method is manually increase the size of tet elements which is resolved the
issues.
FINAL RESULTS:-
Model 1
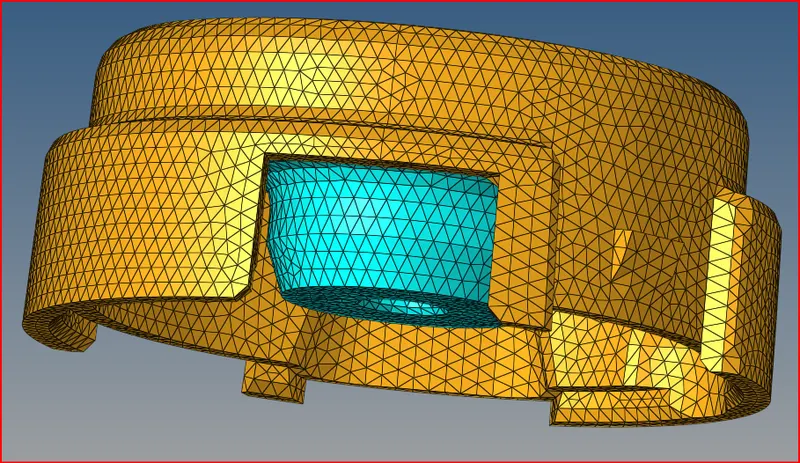
Model 2
Model 3
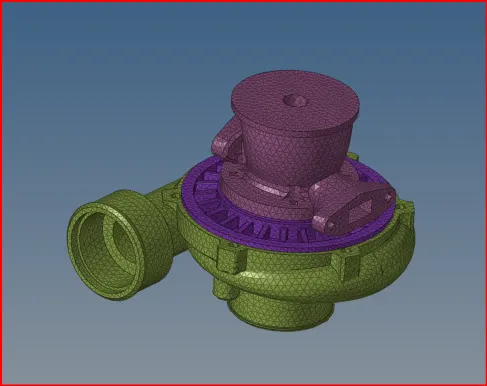
CONCLUSION :-
Hereby, we have meshed all the models with 3D tetra mesh using
different methods with given quality criteria. By doing this challenge
we got to learn about tetra meshing and different methods through
which it can be achieved.