Week 8-3D Tetra Meshing Challenge
Aim : Create a 3D Tetramesh for the given models with given quality criteria.
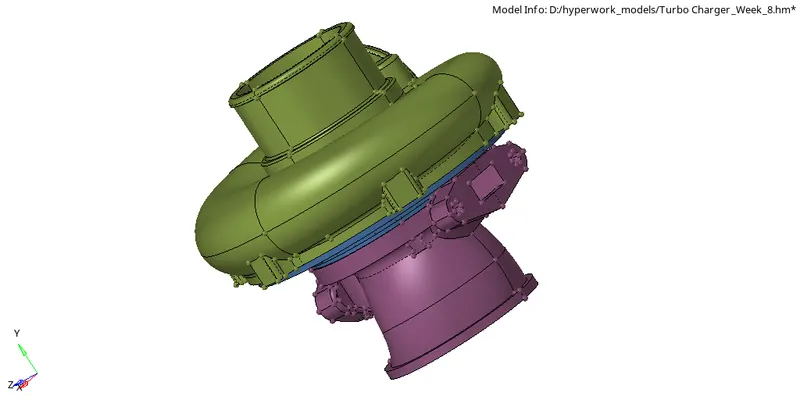
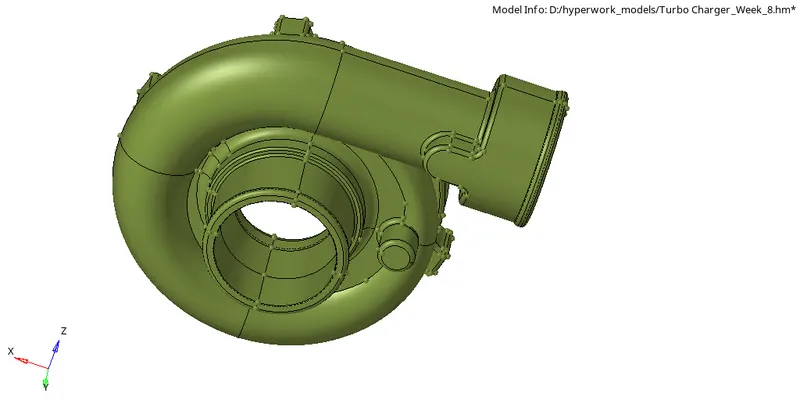
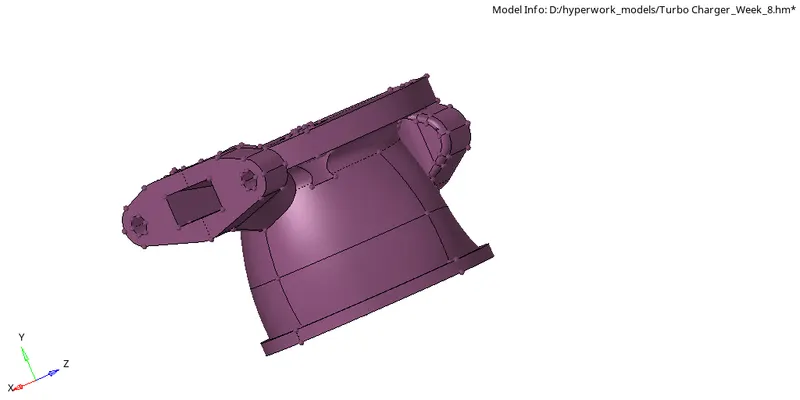
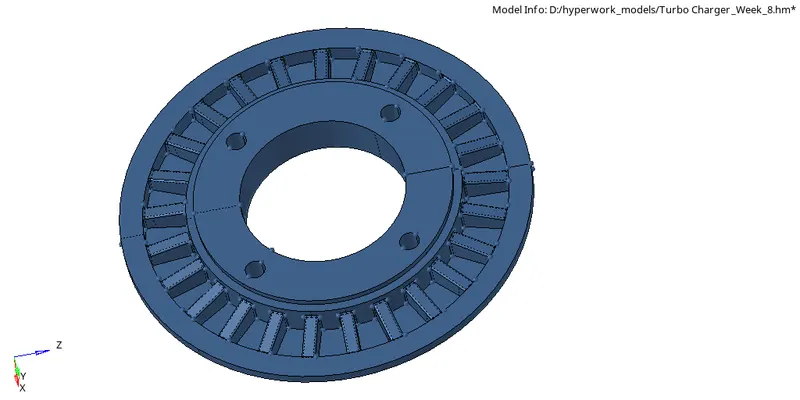
CAD Models:
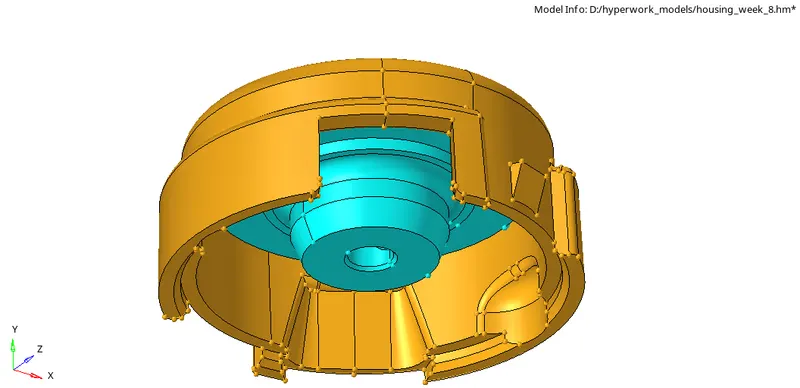
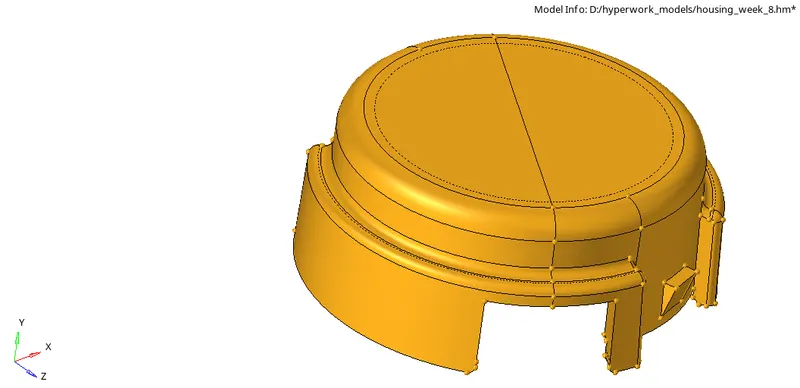
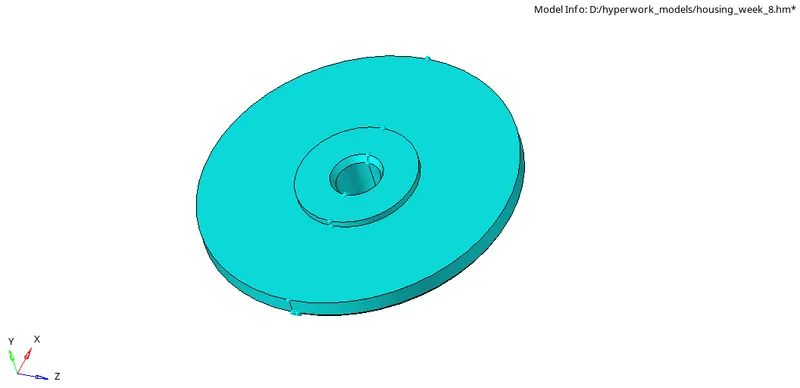
model 1:
model 2:
model 3:
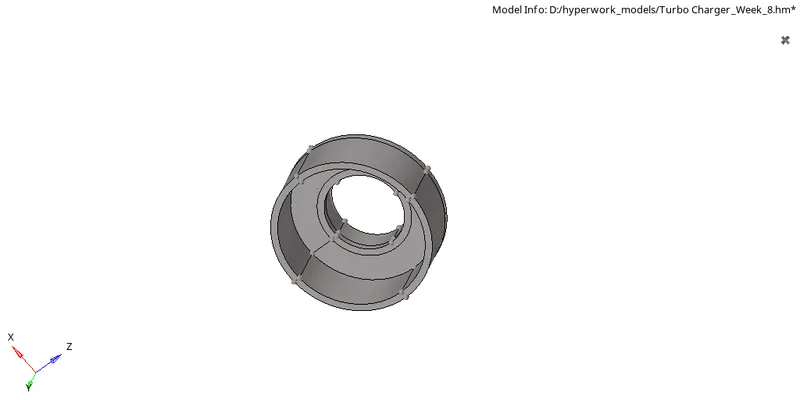
Procedure:
model 1 (Housing model) :
- Import the geometry model and check for geometric errors in the models like free edges, gaps etc.
- remove unwanted features (fillets with very small size , small holes etc), for this we can use "defeature" option in "Geom" menu
- geom -> defeature -> surf fillets
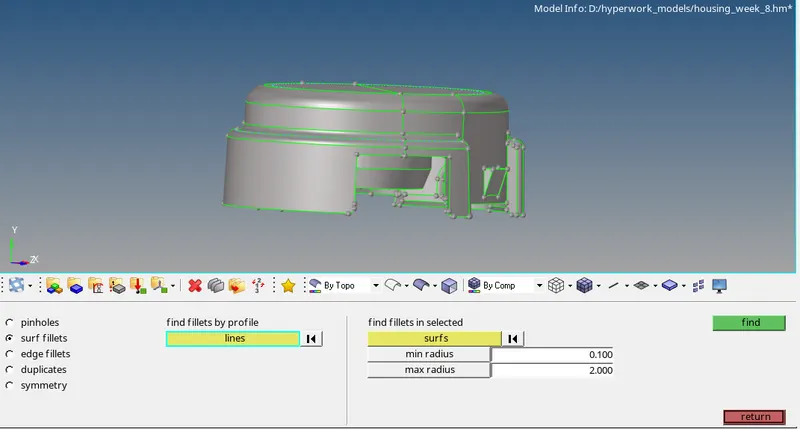
- toggle unwanted feature lines (either lines close to each other or line that will affect the quality of the elements)
- geom -> quick edit -> toggle edge
- Next we move on to meshing. Initially Mesh the surface using 2D tria elements
- Check for minimum and maximum element size error in the 2D mesh we made
- We can improve the quality of the mesh using rebuild mesh, smooth , cleanup tools in quality index etc.
- after making sure there are no errors in the mesh we move on to creating 3D mesh using 2d elements we previously made.
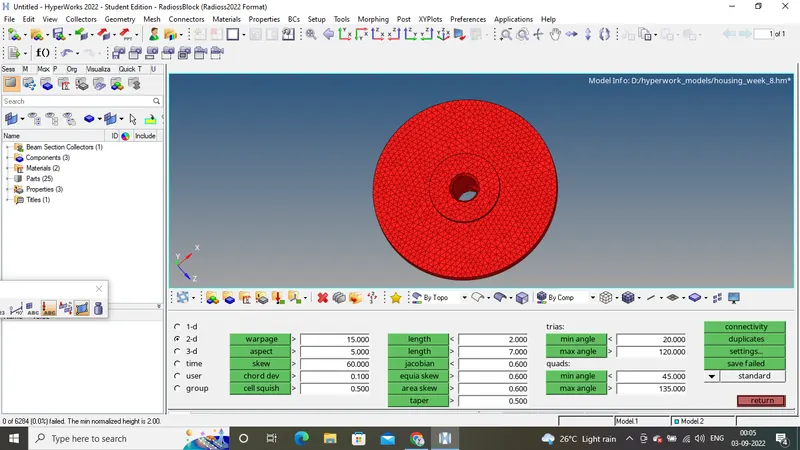
- for this go to 3D menu -> tetramesh -> change from components to elements and 2D elements we made -> click on mesh

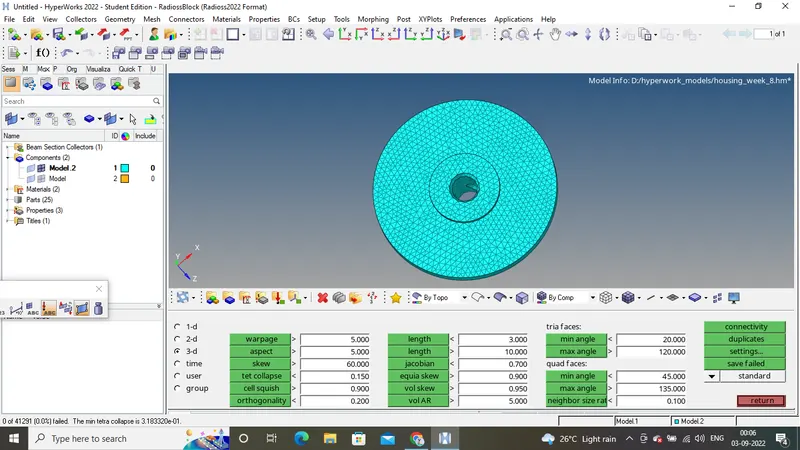
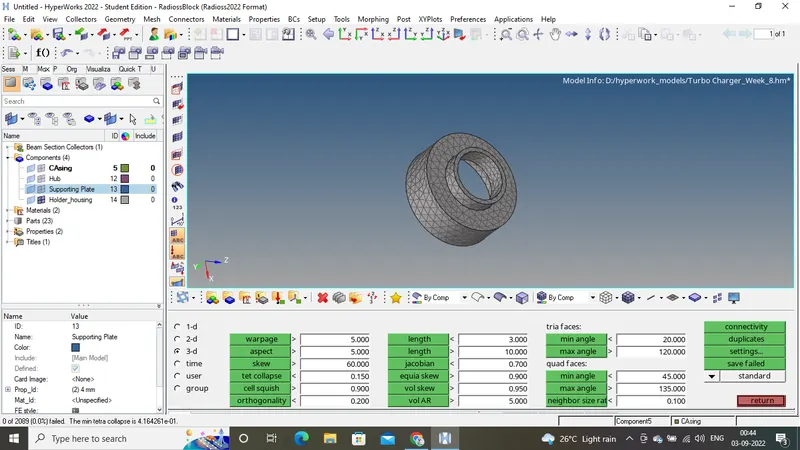
- Check tet collapse for 0.15, in tools>check elements>3d>tet collapse, fix the errors by tetra remesh or manually by moving the nodes
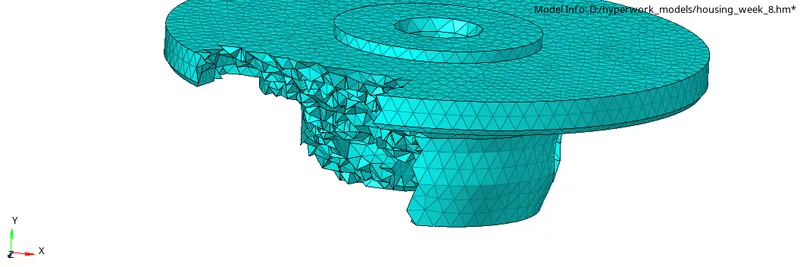
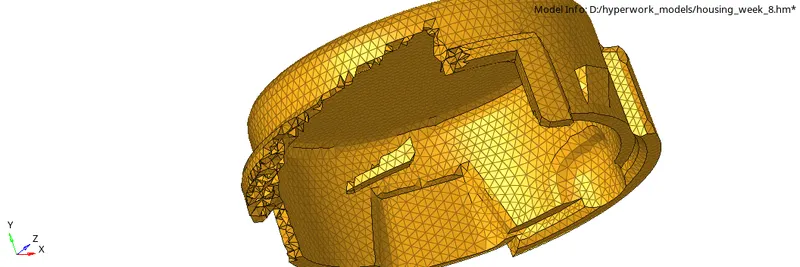
- Below image shows there is no tet collapse error
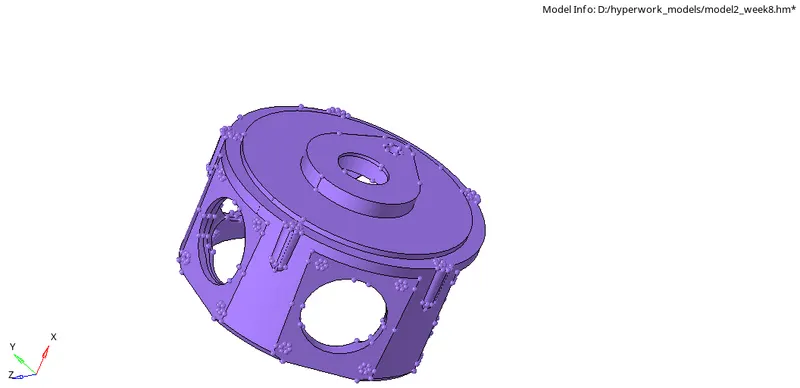
Model 2 :
- Import the geometry to the software
- remove unwanted features (fillets with very small size , small holes etc), for this we can use "defeature" option in "Geom" menu
- geom -> defeature -> surf fillets
- toggle unwanted feature lines (either lines close to each other or line that will affect the quality of the elements)
- geom -> quick edit -> toggle edge
- next we move on to 3D meshing , for this either go to tetramesh and use volume tetramesh or view ->browser -> hypermesh -> utility -> quick tetramesh
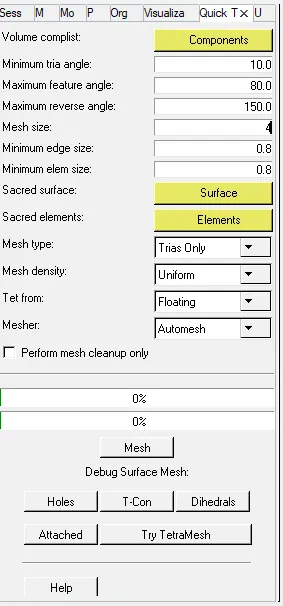
- here we used quick tetramesh. In quick tetrameh give the element size and select mesh type as "trias only" ,select component and surface on which we are meshing, then click on mesh
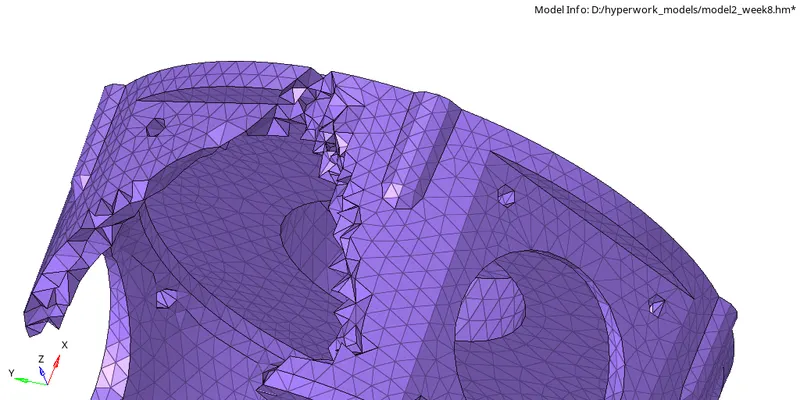
- After meshing check for tet collapse in "Check elements" (tools -> check elems or f10)
- If there is error we can correct it using "tetra remesh" in "tetramesh"
- we can also use "translate" or "distance" to adjust the distance between nodes in tetra element to correct tet collapse
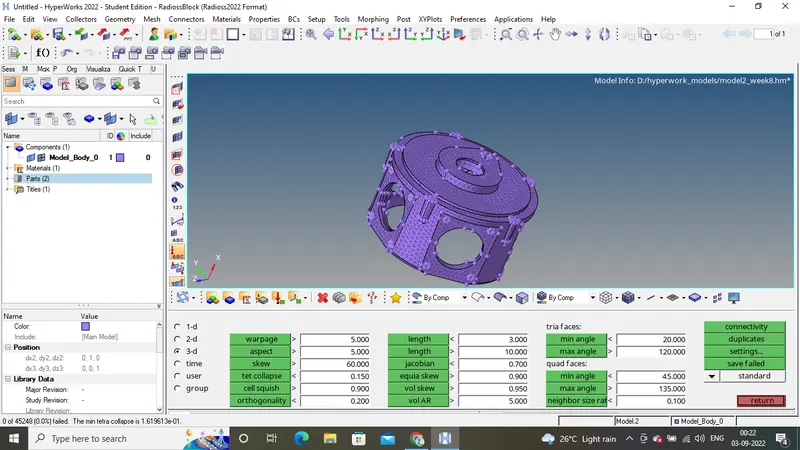
- make sure that tet collapse is zero
Model 3:
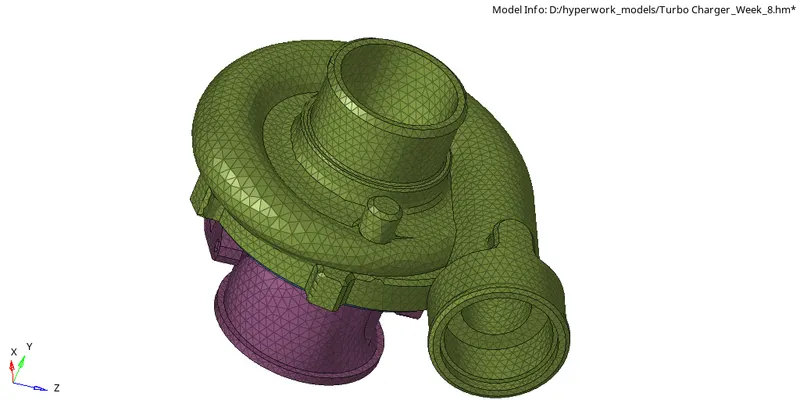
- Import the geometry to the software. the model consist of 3 components.
- remove unwanted features (fillets with very small size , small holes etc), for this we can use "defeature" option in "Geom" menu
- geom -> defeature -> surf fillets
- toggle unwanted feature lines (either lines close to each other or line that will affect the quality of the elements)
- geom -> quick edit -> toggle edge
- next we move on to 3D meshing , for this either go to tetramesh and use volume tetramesh or view ->browser -> hypermesh -> utility -> quick tetramesh
- here we used quick tetramesh and volume tetramesh. In quick tetrameh give the element size and select mesh type as "trias only" ,select component and surface on which we are meshing, then click on mesh.
- for volume tetrameshing go to 3d menu -> tetramesh -> tetramesh parameters (set required parameters) ->volume tetra (select surface since the model we got is not solid and is surface) -> click on mesh

- check tet collapse for the mesh we made. If there is error we can correct it using "tetra remesh" in "tetramesh"
- we can also use "translate" or "distance" to adjust the distance between nodes in tetra element to correct tet collapse
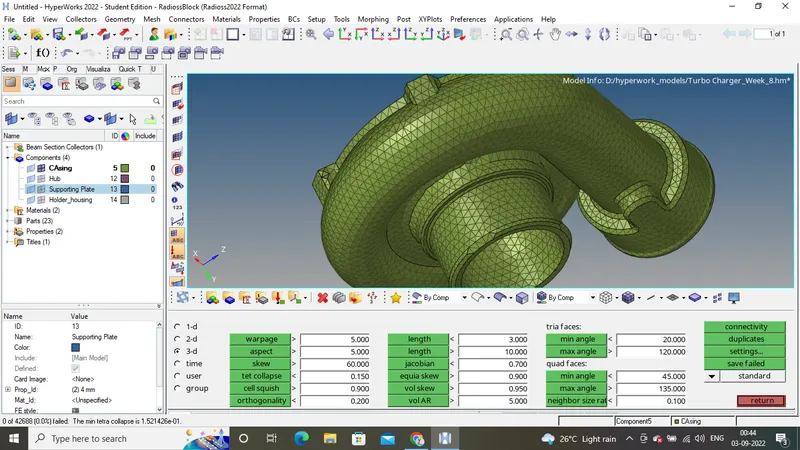
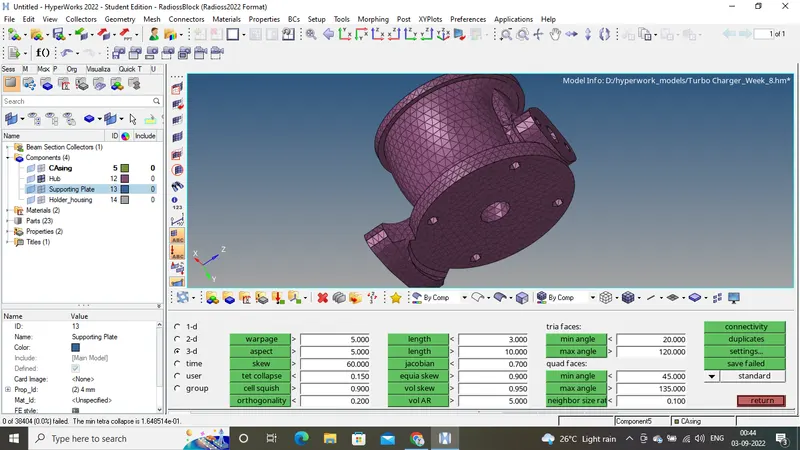
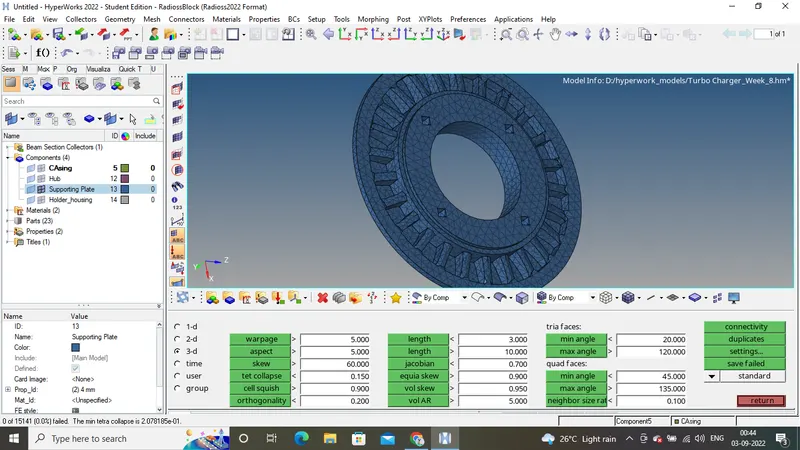
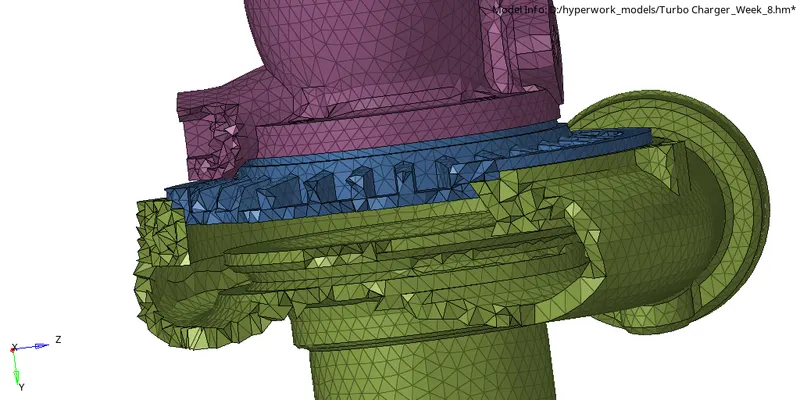
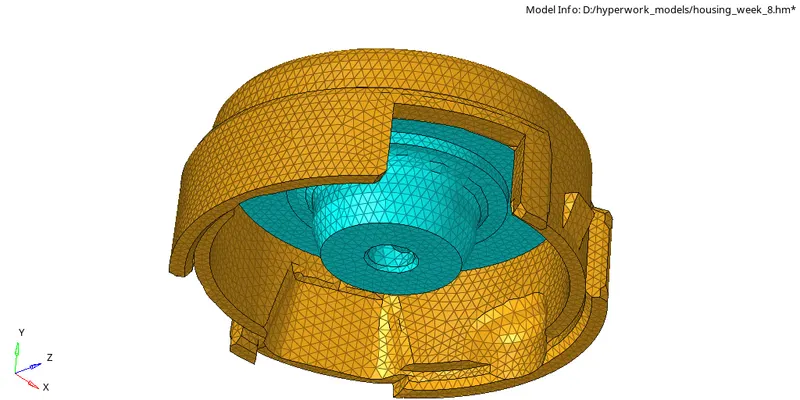
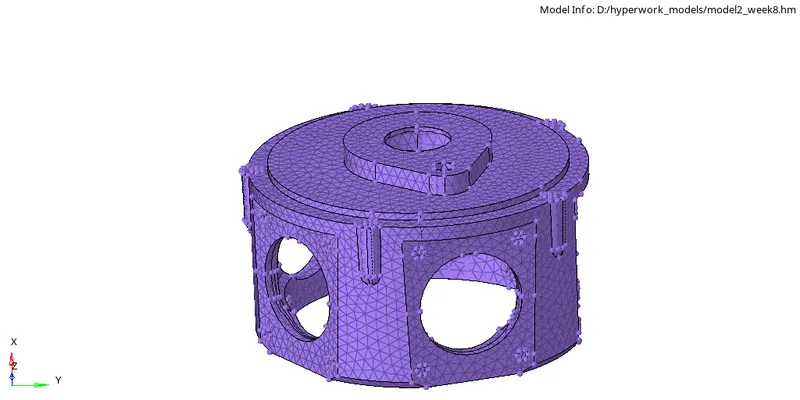
Final model image:
CONCLUSION:
- Understood how to 3D mesh using 2D elements for better control of the elements
- Understood the types of 3d mesh used in different scenario
- The given model is meshed using 3d tetra elements