Week 8-3D Tetra Meshing Challenge
AIM: To create Tetramesh for the given models.
INTRODUCTION:
3D elements:
3D elements are used to mesh volumes instead of 2d shell surfaces, They are derived from 2d elements that are used when the model is having a thickness of more than 6mm. 3D solid elements only account for translational displacement.
Types of 3D elements:
- 4 Node (Tetrahedral)
- 5 Node (Pyramid)
- 6 Node (Prismsor wedges)
- 8 Node (Hexahederal)
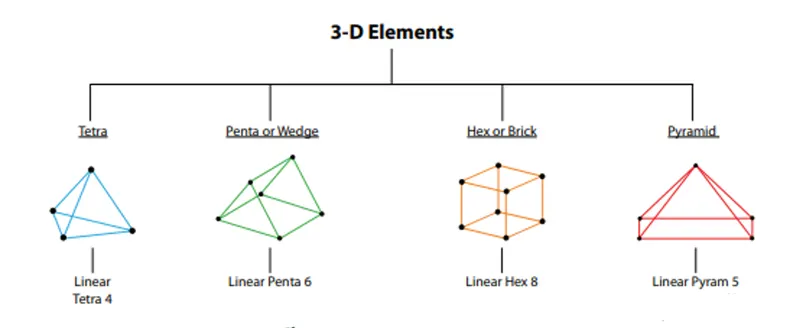
Tetramesh:
Tetrahedral is a four-noded solid element that can be generated through the Tria element by creating a volume and also through the existing volume of the geometry. These elements are used where the geometry has high thickness and complexity.
Mesh generation methods:
1. 2D to 3D Conversion:
First, the 2D mesh is generated on the surface, with all element quality checked, then select 3d -> Tetramesh option select elements under fixed trias/quads to tetra mesh and select mesh to generate 2d to 3d.

2. Quick Tetramesh:
Open the utility tab from view-> browser-> hypermesh
Select Geom/mesh and click on quick tetra mesh following tab opens, select all the required options to generate the mesh from solid or surface.
3. Volume Tetra mesh:
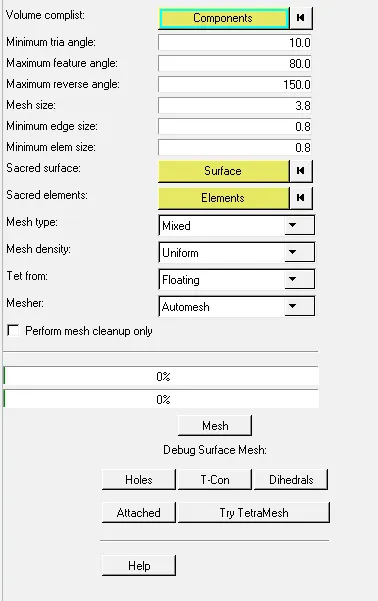
First, import the Model into HyperMesh, keep the solid of the model, then select 3D -> tetra mesh. Second, Click on the Volume tetra option, select the solid of the model. Tick all the checkboxes as shown in the below figure, Click on the “Mesh” button to generate the Volume Tetra Mesh.

ELEMENT QUALITY CRITERIA:
Tet Collapse:
Tet collapse is one of the quality parameters, which will be checked while generating Tetrahedral elements. It can be calculated by measuring the distance of a node from the opposite face then each of the four values will be divided by the Square root of the opposite face's area. The minimum of four resulting values is then normalized by dividing it by 1.24
Method to clear Tet Collapse:
1. Use the Translate command to increase the height of the element node of the opposite face which is failing.
2. Use the tetra mesh remesh option to clear all the failing elements. NOTE: In the parameters option of tetra mesh tick all the boxes that say fill voids, fix mid nodes, smoothing, and Max tetra size.

MODEL 1:
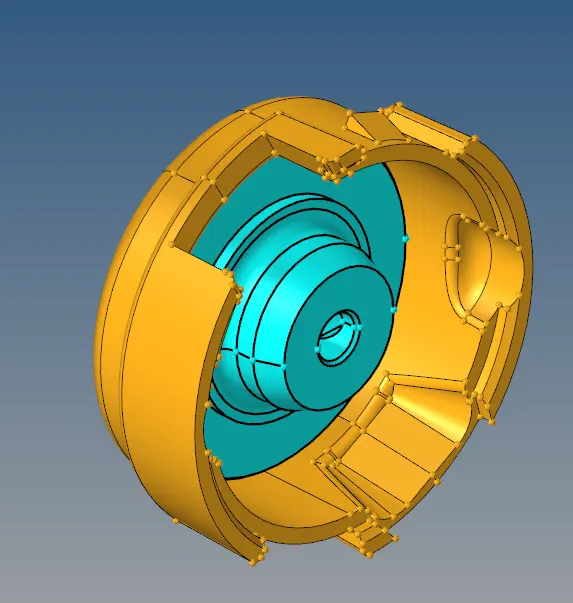
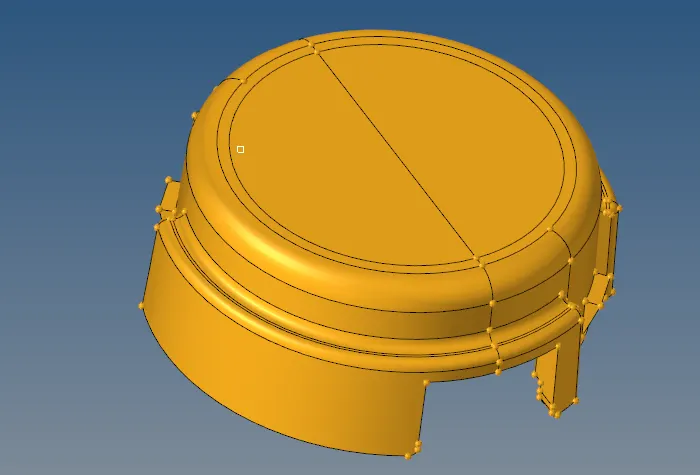
First, create 2d shell elements via 2d mesh as trias with a target element size of 5.
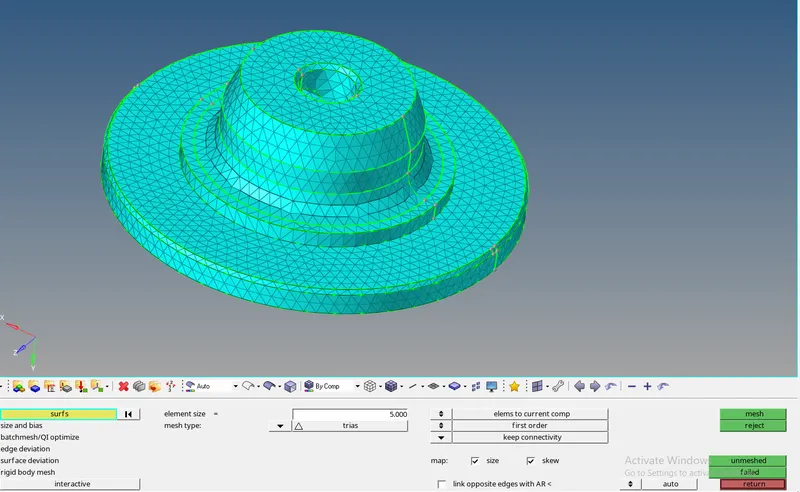
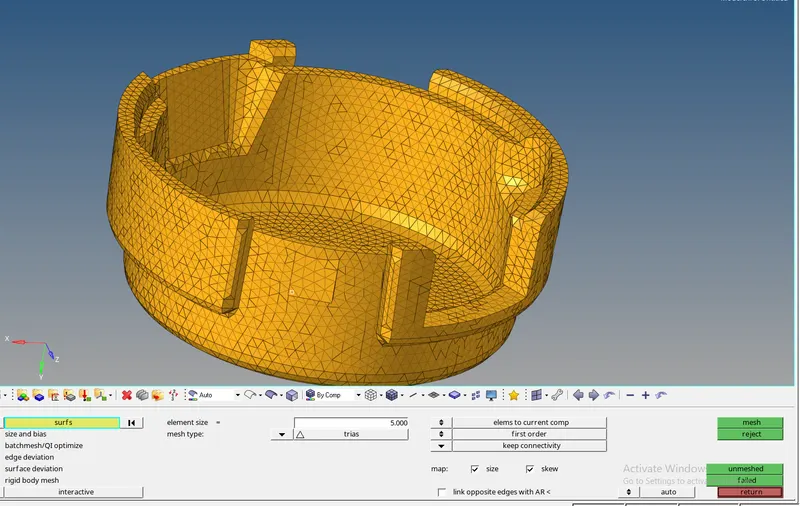
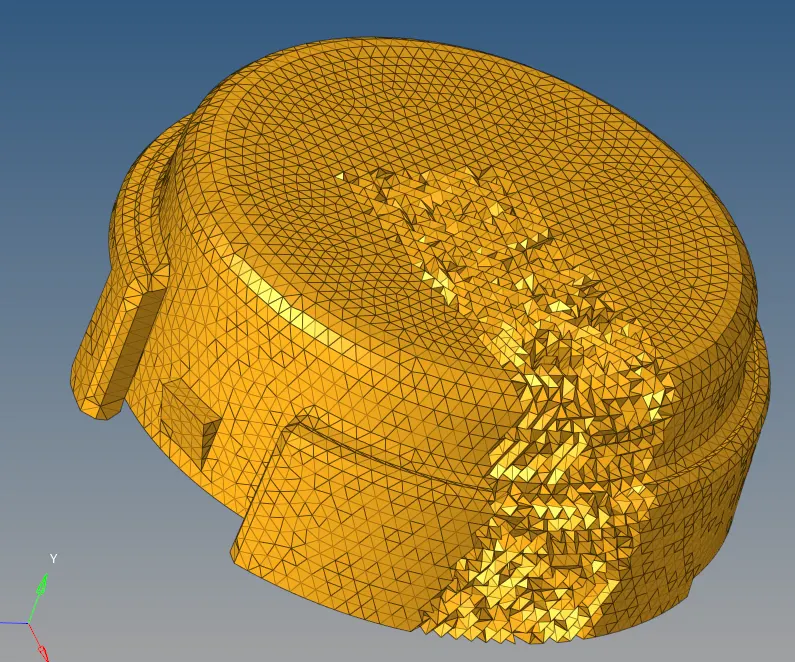
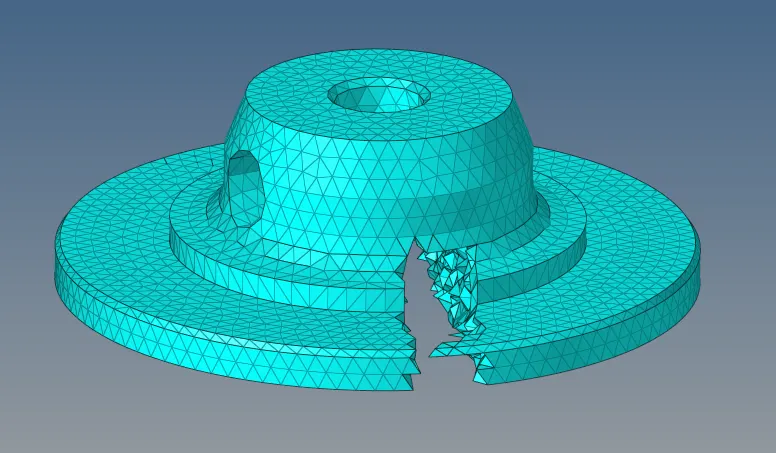
Second, use tetra mesh from 3d to create 3d elements with parameters set as below:


Below elements have been masked to show the 3d elements that have been created
MODEL 2:
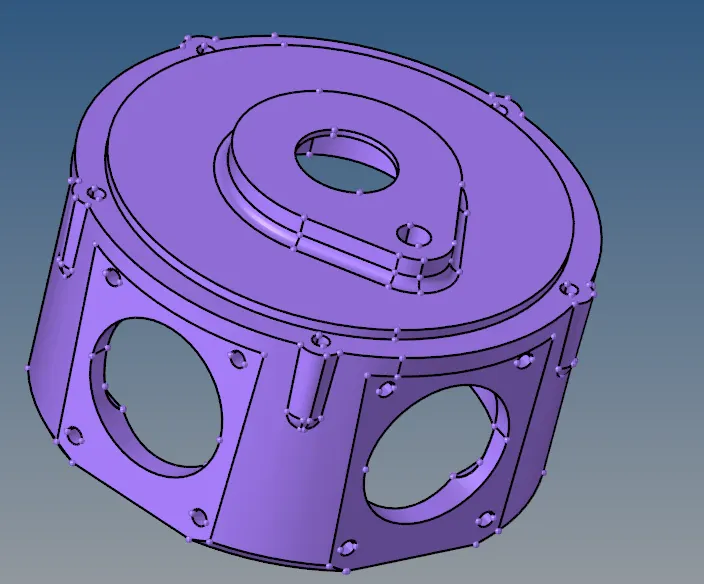
Select the Volume tetra mesh option from 3d, but before that, we need to set the parameters in the tetra mesh parameters tab with tet collapse as 0.15 and target element size as 3.
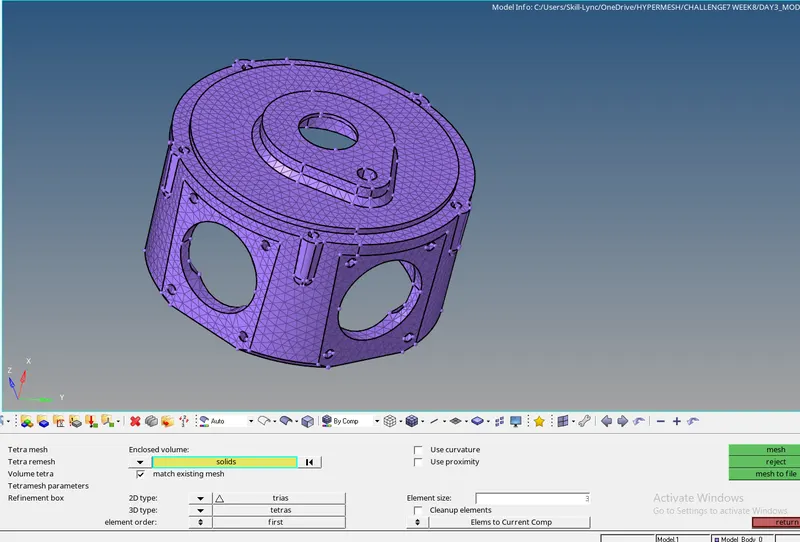
Below elements have been masked to show the 3d elements that have been created.
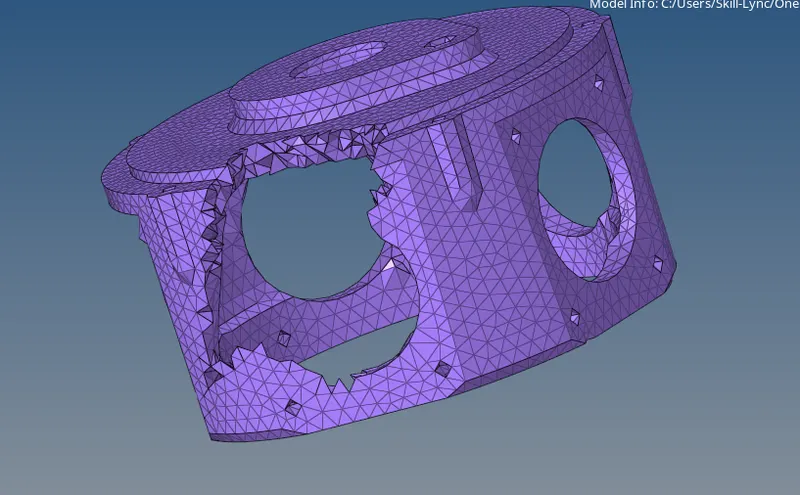
If any tet collapse occurs with elements less than 10 then use the translate command to manually clear the tet error but if the numbers are large then use the tetra remesh option with remeshmable option selected to clear the tet error collapse.
MODEL 3:
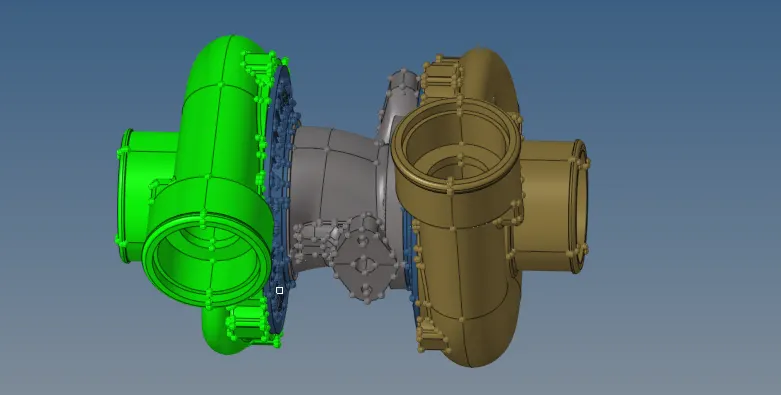
I divided the parts into 5 parts as follows:
1. Green Outer Hub
2. Brown Outer Hub
3. Middle Connector Hub
4. Greenside Cover
5. Brownside Cover
Similar to Model 2 select the volume tetra mesh option to mesh the solid component but here the target element size is 4.
1. Green Outer hub:
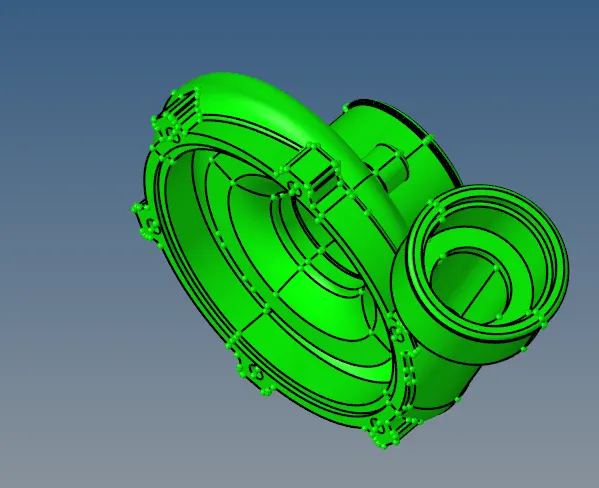
After volume tetra mesh generation:
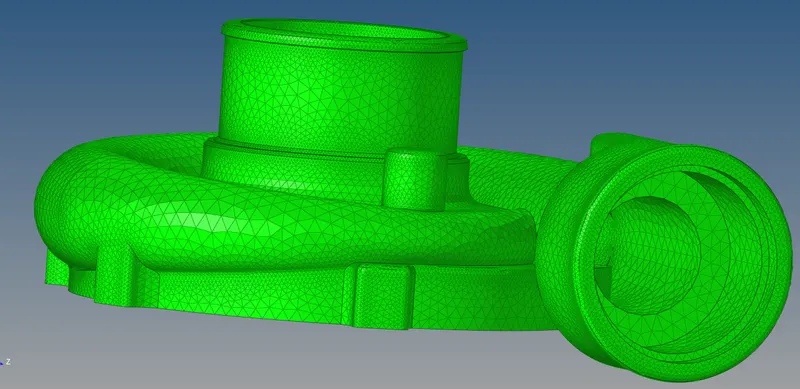
2. Brown outer hub: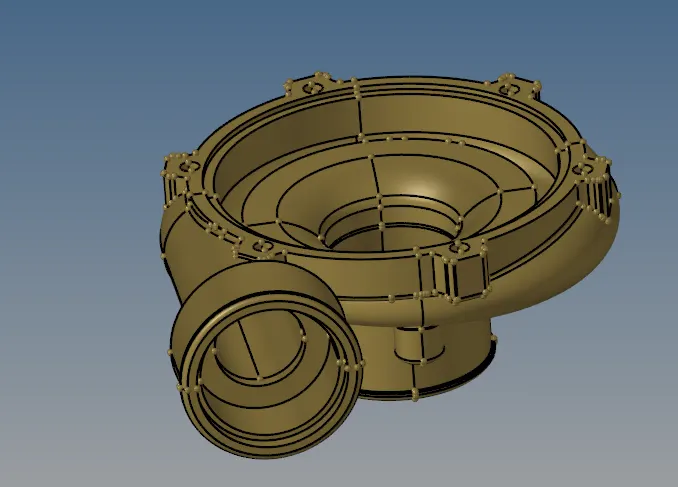
After volume tetra mesh generation:
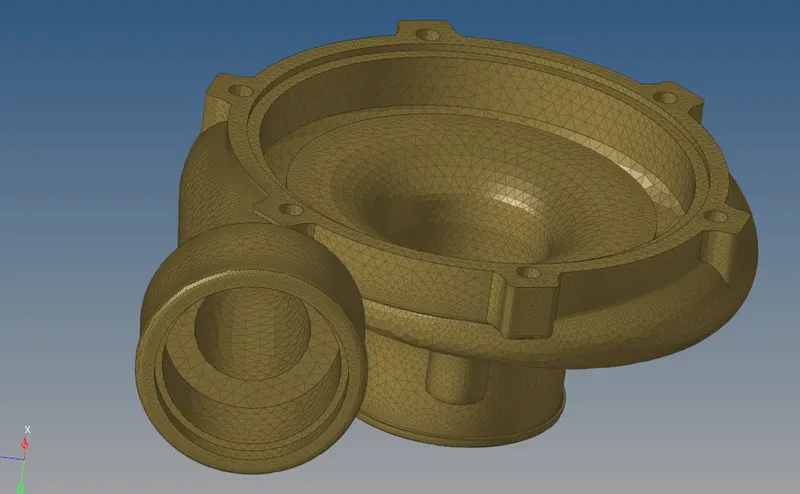
3. Middle Connector Hub
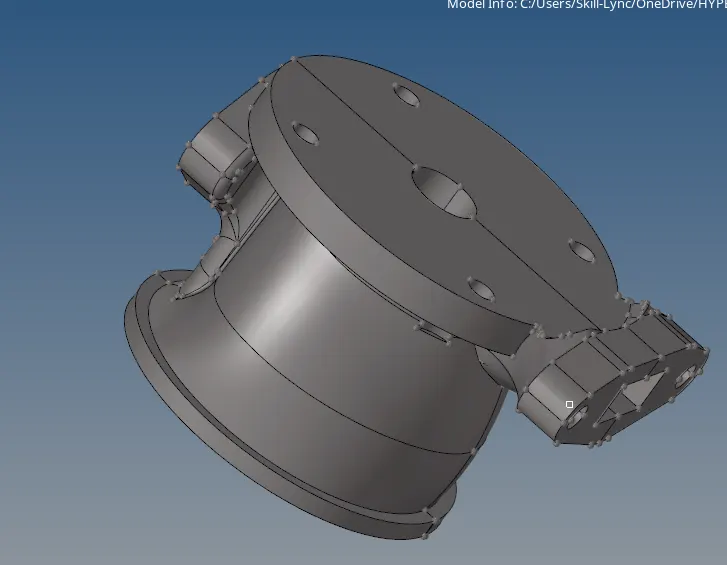
After volume tetra mesh generation:
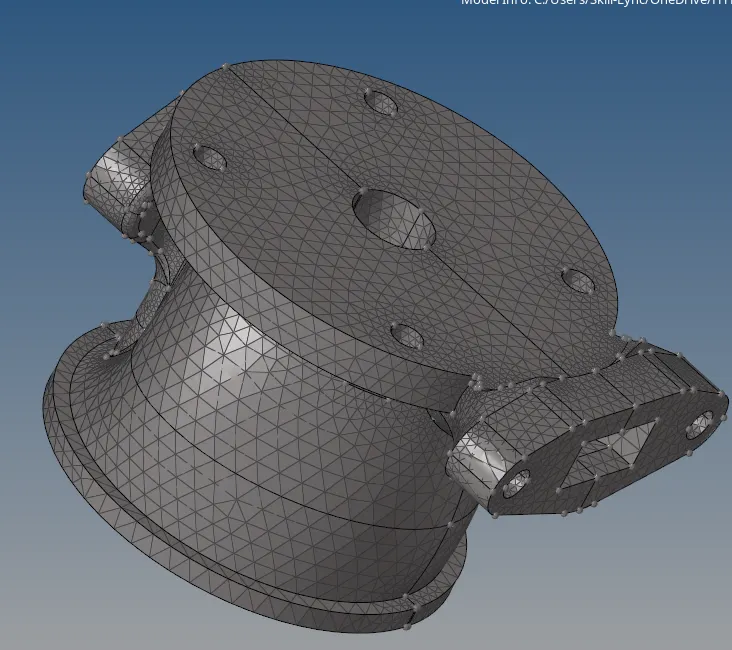
4. Greenside Cover
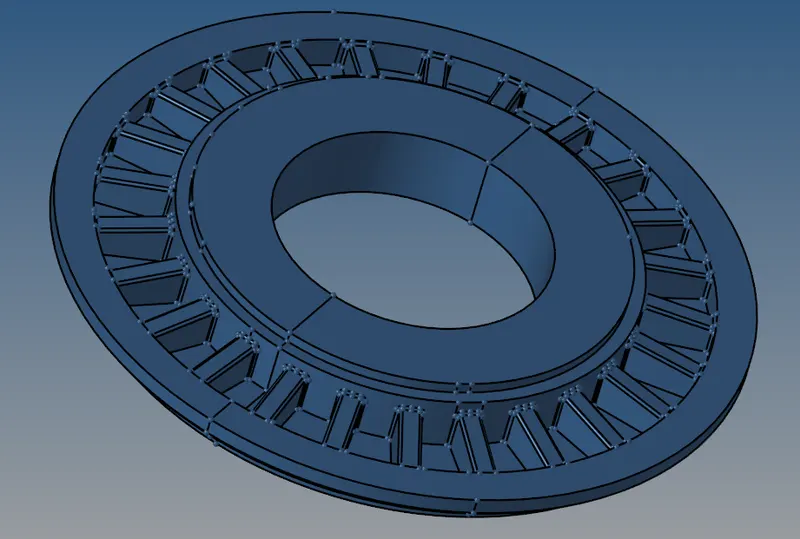
After volume tetra mesh generation:
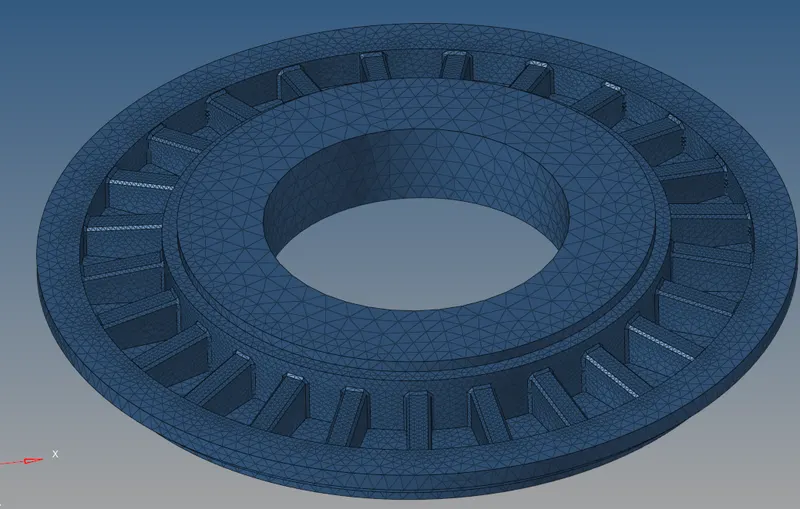
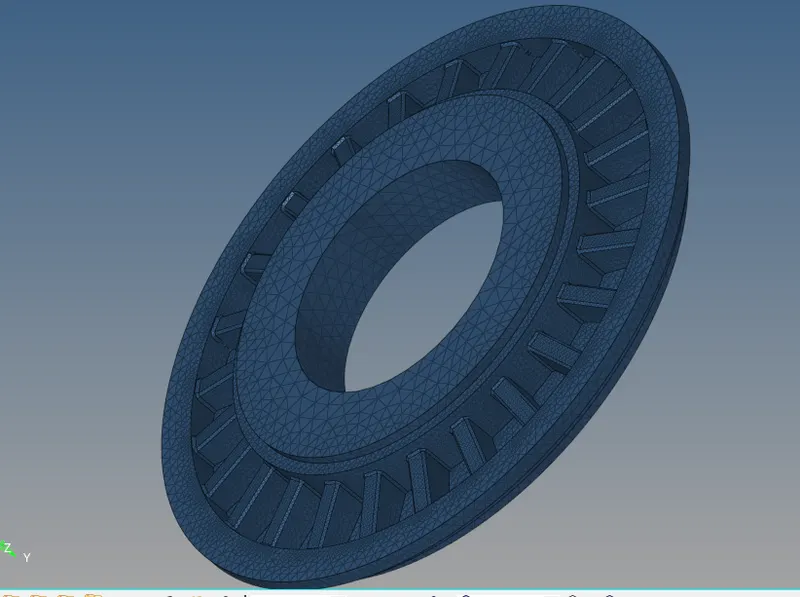
5. Brownside Cover
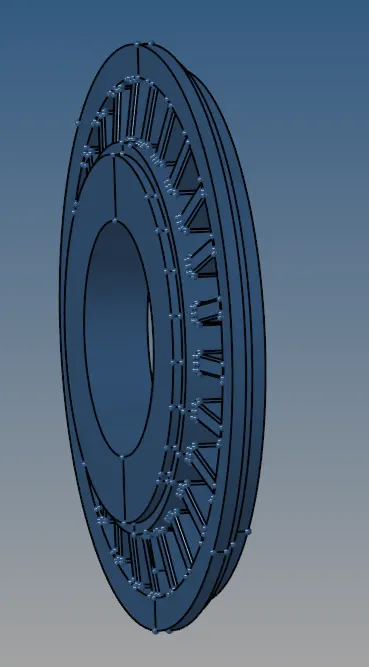
After volume tetra mesh generation:
CONCLUSION:
Successfully created 3d tetra mesh using the 2 methods of volumetric tetra mesh and 2D to 3D tetra mesh also learned the element quality criteria to clear the Tet collapse.