Week 8-3D Tetra Meshing Challenge
TETRA MESHING IN HYPERMESH
Aim
To mesh the given components with tetra elements using various hyper mesh options.
Procedure
- For the first model, we first create a 2d mesh on the surface of the component and then generate a tetra mesh for the component.
- For meshing, we use normal tria elements for flat surfaces and ortho tria elements for curved features for better solver accuracy.
- Ortho Tria elements take longer solver time and are hence limited to curved features
- While Meshing, change the mesh to trias or ortho trias respectively as quad elements will lead to formation of hexa elements which will take a lot of solver time.
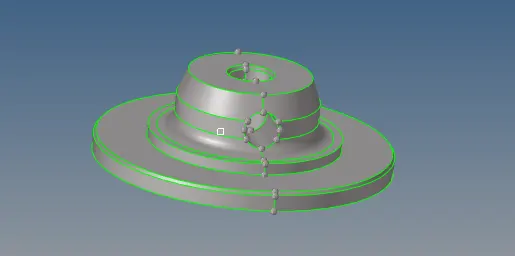
Figure 1
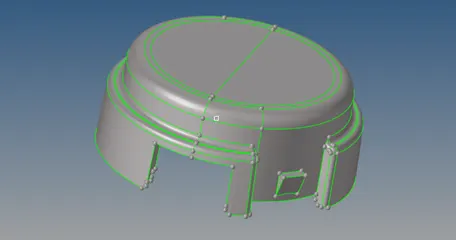
Figure 2
- While meshing it is considered acceptable to ignore minimum and maximum element errors because after generating the volume we are only concerned with the volume mesh and tetra collapse errors.
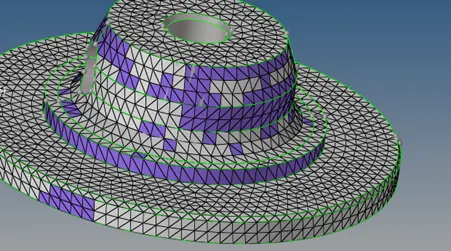
Figure 3
- After meshing,check for any edges using the tools edges command if you do not get any edges then you can proceed to volume generation.
- If you get any free edges, mesh the respective surface and check again.
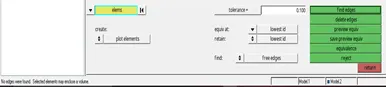
Figure4
- After this go to 3D menu and select tetra mesh.
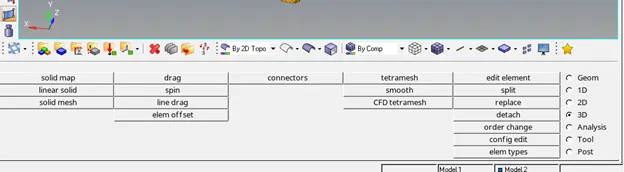
Figure 5
- In tetramesh option, go to tetra mesh parameters and fill as displayed
Figure 6
- Now, go to tetra mesh,select displayed elements and generate the mesh.
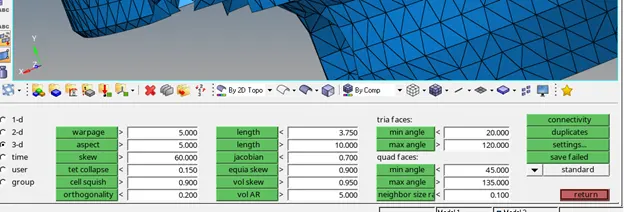
Figure 7
- After generating the mesh, we can mask a few elements to see the generated volume.
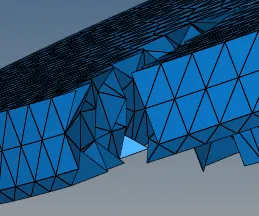
Figure 8
- After generating the volume, we need to check for tetra collapse of 0.15 for the mesh.
Note:It is better to store the volume mesh in a different panel to make remeshing of tetra elements simpler.
- In tools, go to check elements 3D panel, change tet collapse to 0.15 and check
Figure9
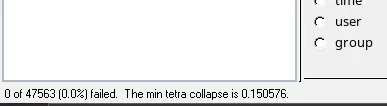
Figure 10
- Since we have 0 tet collapse failures, we can move on to the next component and repeat the process.
- In the second component, there are certain areas where we can toggle unnecessary construction lines for better mesh.
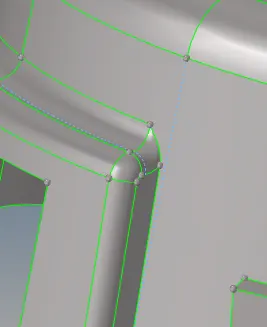
Figure 11
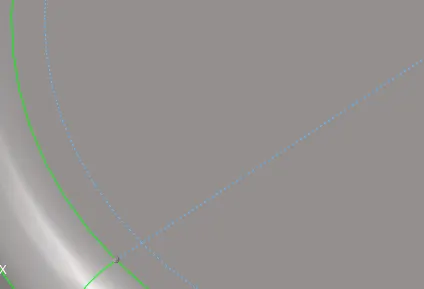
Figure 12
- After meshing with tria elements, we generate the volume and check for tet collapse of 0.15.
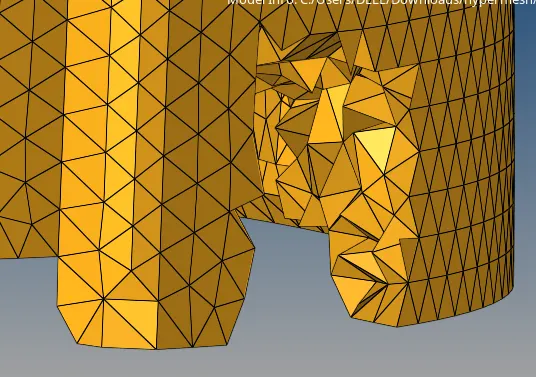
Figure 13

Figure 14
- The final generated mesh is displayed below.
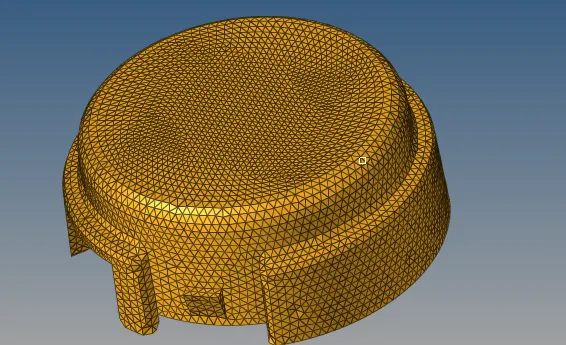
Figure 15
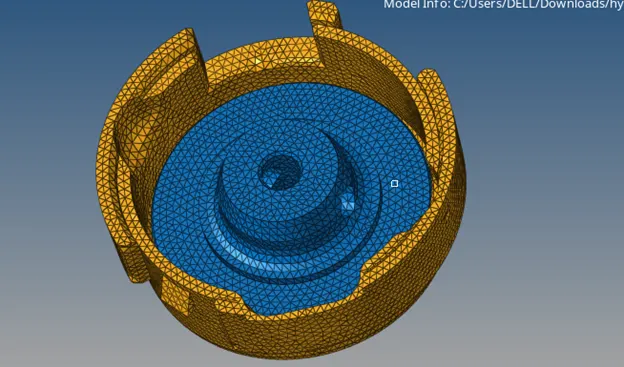
Figure 16
- In the second model, we will perform quick tetra mesh on the model.
- First we enable utility menu from view->browsers->hypermesh->Utility.
- In utitlity,select quick tetra mesh this opens it in a new tab.
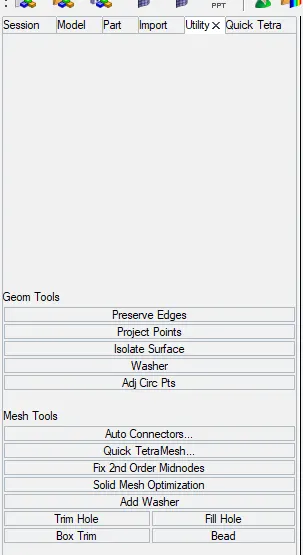
Figure 17
- In Quick Tetra, select the component and set the element size and type accordingly.
- Select mesh and let hypermesh generate the mesh, after completion you should get the message displayed in figure 18.
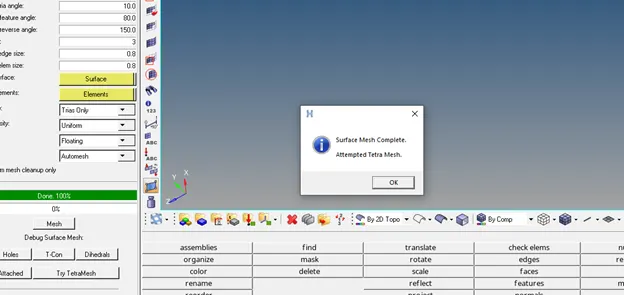
Figure 18
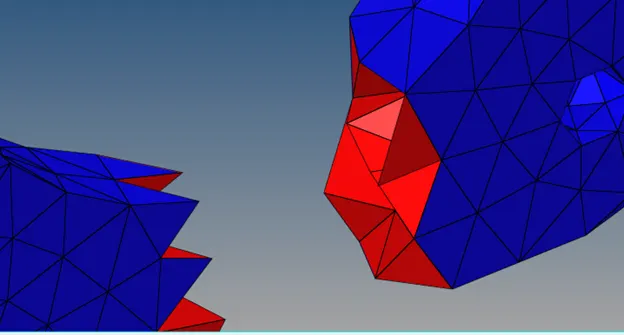
Figure 19
- Hypermesh stores the volume in a different component.Check for tet collapse of 0.15.
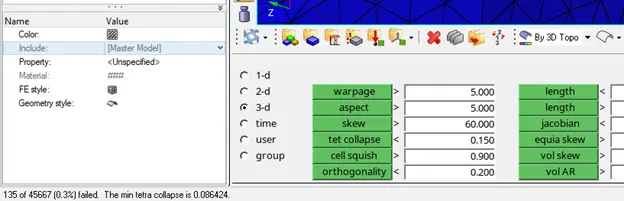
Figure 20
- It is needed to solve these tet collapse,we can try remeshing the generated volume to fix them.
- For remeshing, go to tetramesh in 3D panel and go to tetra remesh,select all the elements and proceed to remesh the model.
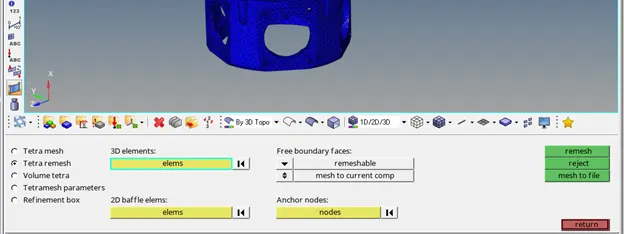
Figure 21
- After remeshing,check for tet collapse once again
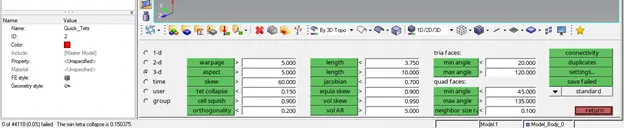
Figure 22
- The final mesh is shown in figure 24
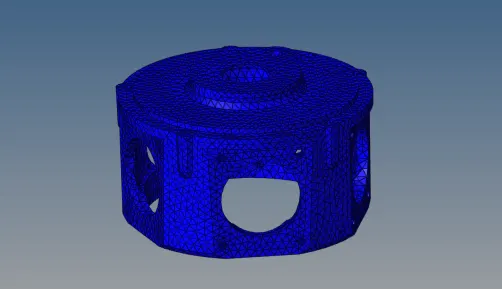
Figure 23
- In the third model,we use volume tetra option,which directly generates the tetra mesh from the solid
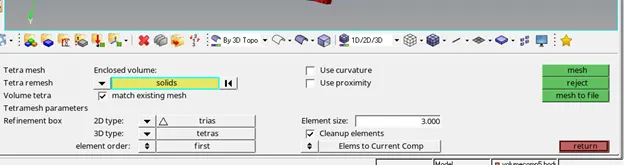
Figure 24
- Select the solid and mesh the component.
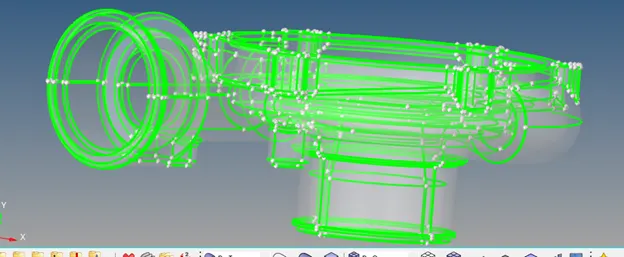
Figure 25
- Mask elements to view the generated volume.
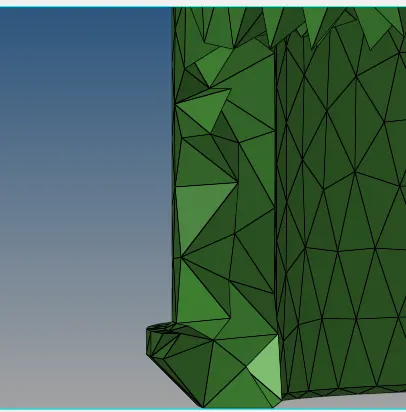
Figure 26
- Check for tet collapse.

figure 27
- Remesh the volume with tetra remesh and check for tet collapse again.
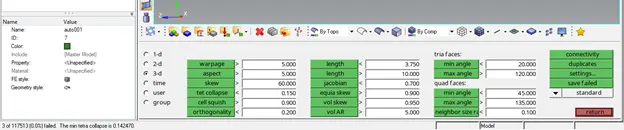
Figure 28
- Its observed that only 3 elements out of 117513 fail with an extremely small deviation of less than 0.01.Hence, they can be considered negligible and left as is, it is also possible to solve them by using the translate command to move the nodes appropriately.
- In the solid 1 body 0 component we get an error at this location for volume mesh.
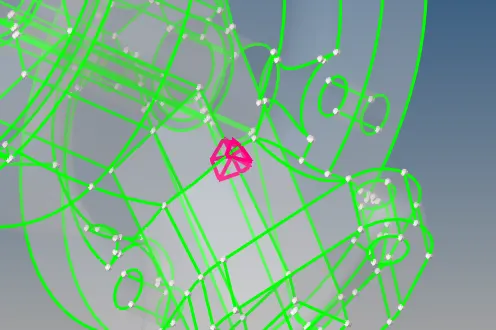
Figure 29
- After deleting the solids , in 2D topo it is observed that this area is not proper.
- Delete component 5 body 0 as it is just a line.
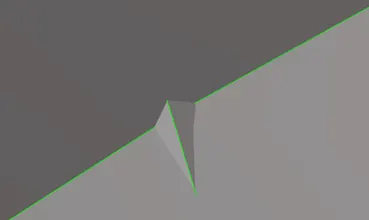
Figure 30
- Toggle the lines off and volume mesh the component.
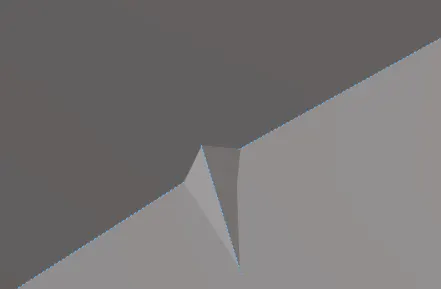
Figure 31
- Remesh the volume to solve tetra collapse elements and proceed with the same process for the other components
- The final mesh is shown in figure 33
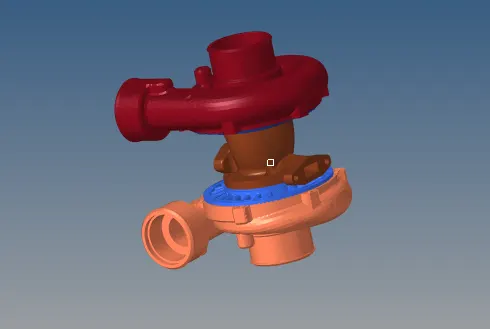
Figure 32
- It should be noted that quick tetra and volume tetra mesh should only be performed when quality of the mesh can be neglected.
- Always proceed with 2d->3d generation when quality of mesh is needed.
- Model 3 is uploaded in different parts due to high node count of each component.
Learning Outcomes
- Volume meshing in hypermesh using various options
- Remeshing of tetra elements
- Solving tet collapse in hyper mesh
Result
The given models were meshed with tetra elements and checked for a tet collapse of 0.15.