Week 7: Shock tube simulation project
WEEK 7: SHOCK TUBE SIMULATION PROJECT
AIM: -
To set up the shock tube simulation as the transient flow by using Converge 3.0.
INTRODUCTION: -
The shock tube is an instrument used to replicate and direct blast waves at a sensor or a model to simulate actual explosions and their effects, usually on a smaller scale. Shock waves are characterized by an abrupt, nearly discontinuous change in the characteristics of the medium. Across a shock, there is always an extremely rapid rise in pressure, temperature and density of the flow. A shock wave travels through most media at a higher speed than an ordinary wave.
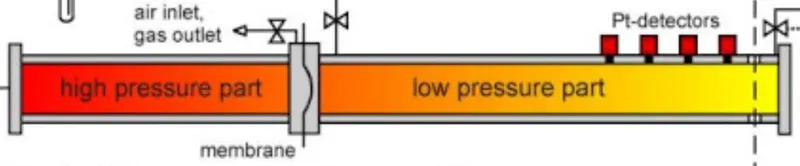
Figure 1. Shock tube pressure regions
PROCEDURE: -
Step 1: Creating the 3D model of the rectangular tube using modeling software in the format of the .stl file.
Step 2: Import the .stl file from the file location and hide the one layer and delete the intermediate boundary from the shock tube.
Step 3: The tube is set as one side is a high-pressure side and another side is set as a low-pressure side.
Step 3: After that selecting the boundary option and select the flag, setting up boundary 1 as for the high-pressure side select the three faces as boundary 1.
Step 4: For boundary 2 select the one side of the high-pressure side and set the name as HP 2d _ 1.
Step 5: For boundary 3 select another side of the high-pressure side tube and set the name HP 2d_ 2.
Step 6: Next for selecting the low-pressure side select the three faces are boundary 4 and it's named as Low-pressure boundary.
Step 7: For boundary 5 select the one face of the low-pressure side and it is named LP 2d 1.
Step 8: For boundary 6 select another face of the low-pressure side and it is named LP 2d_2.
Step 9: After that creating the case setup is very important for the shock tube setup problem. For that first selecting the application is time-based and click apply and done.
Step 10: For material, selection selects the predefined mixture is air and select the species click to apply and done.
Step11: After that selection of global transport parameters remains the same and click to apply and done.
Step 12: For the species selection, select the O2 and N2 as the gas species for the shock tube simulation problem.
Step 13: In the case of simulation parameters, select the run parameters division set the solver as transient solver and simulation mode is full hydrodynamic click to apply and done.
Step14: Duration of the simulation is fixed with the case setup of simulation time parameters start time is 0 sec, total simulation time is 0.003 sec, Initial time step is 1e-9, Minimum time step is 1e-9 and the maximum time step is 1 second.
Step 15: For the solver parameters existing setup is taken and click to apply and done.
Step 16: Before the boundary conditions, select the region and initialization select the two regions for the simulation process, for the first region is high pressure region and another region is set as low pressure region.
Step 17: For the For the high pressure region,the pressure value iss set as 600000 Pa and the low pressure region, the pressure value is set as 101325 Pa.
Step 18: The boundary conditions case setup, selected all the boundary coditions are wall boundary and all the wall boundaries are should be in slip condition.
Step 19: For the inlet boundary, O2 added to the inlet condition and the outlet boundary N2 added to the outlet boundary condition.
Step 20: For the physical modeling, added the new case as event, in that event case setup is used to connect or disconnect the various regions, in this event setup selecting the sequential process, for the start time is 0 , the event is closed. For the next step time 0.001 s the setup is opened.
Step 21: For the grid selection process, as per the initial set up grid size is 0.004m is selected for the shock tube problem.
Step 22: For the adaptive mesh refinement, minimum cell calculation is set as 1, Maximum cells are set as 200000, embedded frequency is 1, releasing frequency is above 25.
Step 23: For the output/post-processing section, the post variable is selected as species and output time, the time interval for 3D output data is 1e-5, writing text output 1e-6 and the time interval for restarting the output is 10.
TRANSIENT SHOCK TUBE SIMULATION
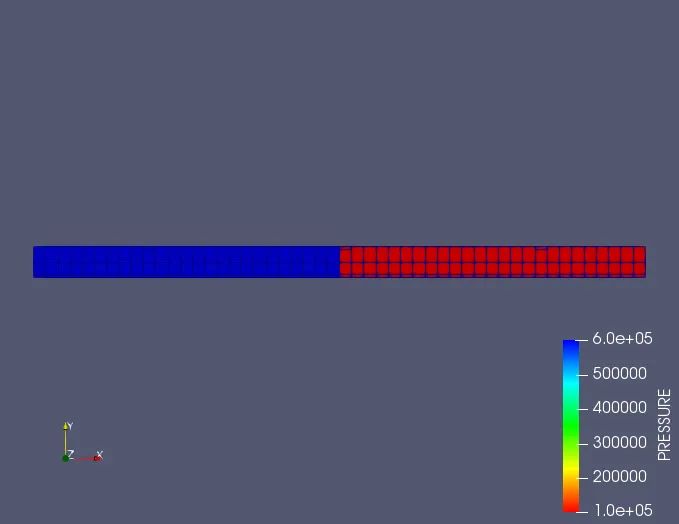
Figure 2 : Grid formation of the transient shock tube simulation
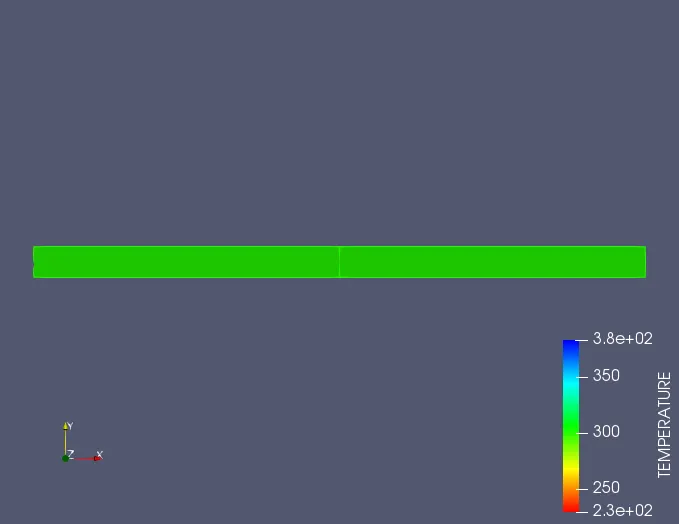
Figure 3. Initial temperature flow contour of the shock tube
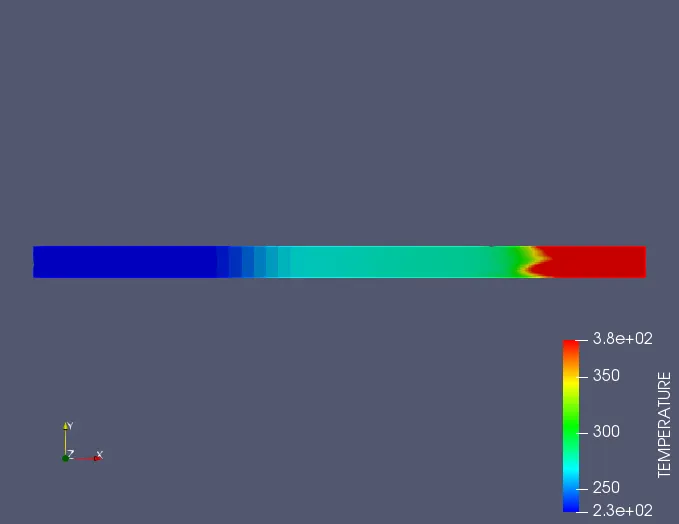
Figure 4. Final temperature flow contour of the shock tube
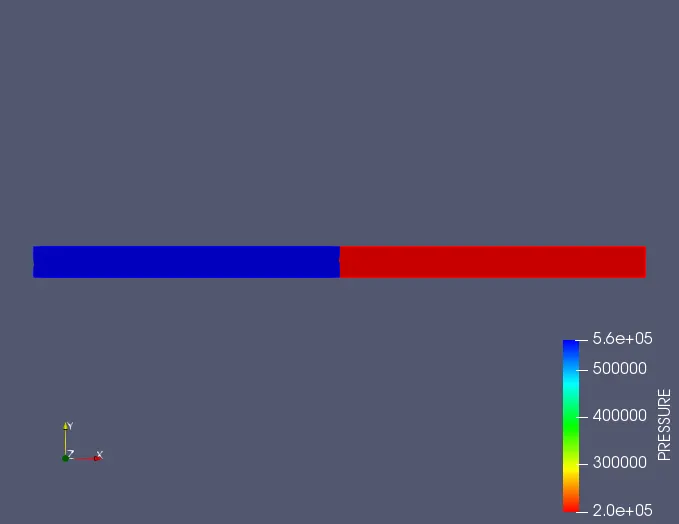
Figure 5. Initial pressure contour of the shock tube
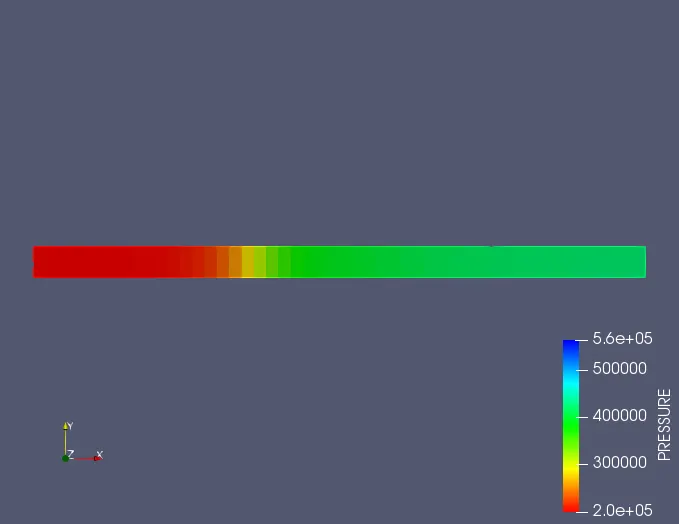
Figure 6. Final pressure contour of the shock tube
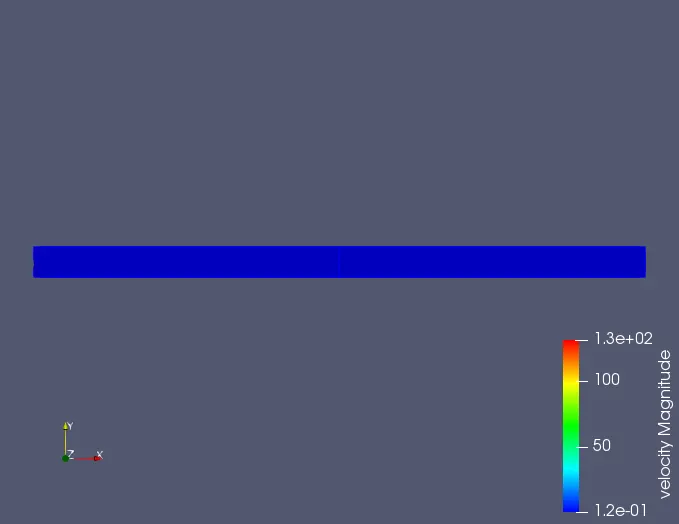
Figure 7. Initial velocity contour of the shock tube
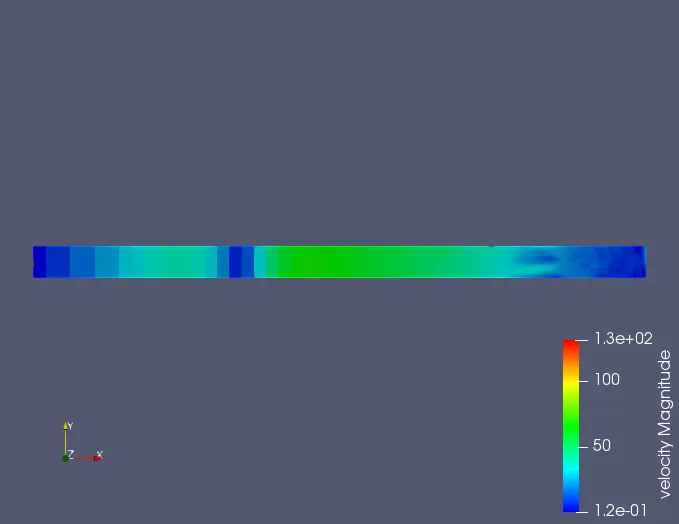
Figure 8. Final velocity contour of the shock tube
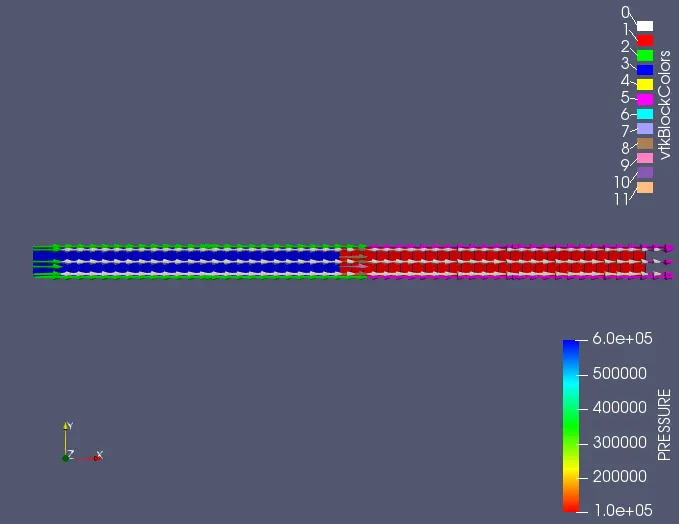
Figure 9. Velocity vector contour plot for the shock tube simulation
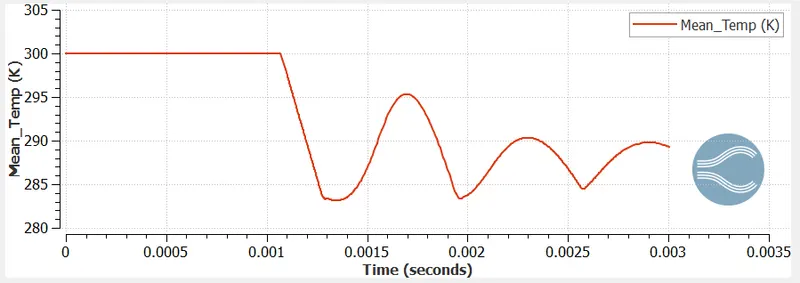
Figure 10. Mean temperature of the shock tube simulation
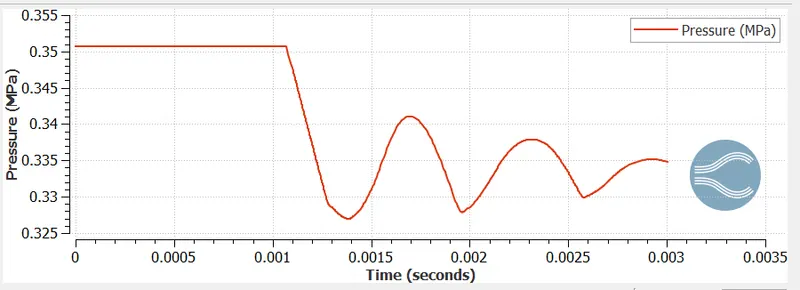
Figure 11. Pressure variation plot for the shock tube simulation
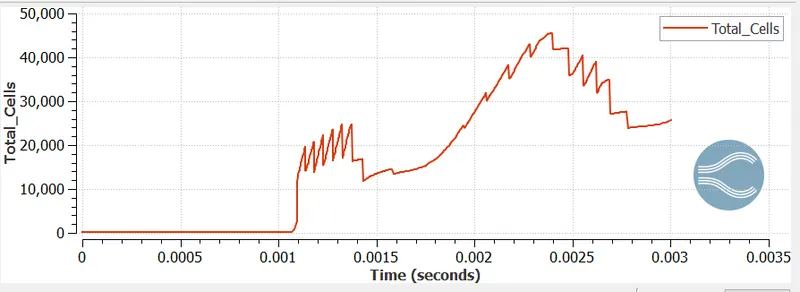
Figure 12. Total cell count for the simulation of shock tube
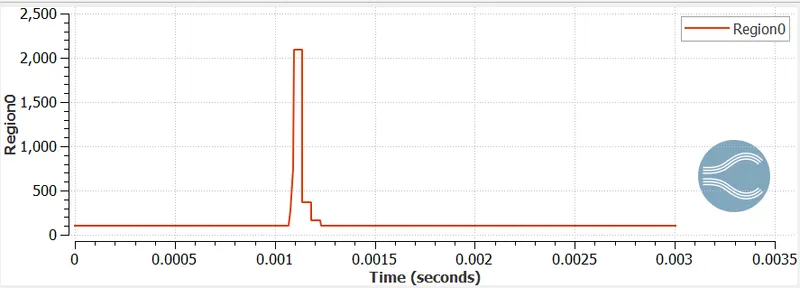
Figure 13. High-pressure region pressure-flow vs time for the shock tube
EXPLANATION: -
The diaphragm suddenly bursts open under predetermined conditions of high-pressure regions contain 60000 Pa and low-pressure region contin 103215 Pa pressure to produce a wave propagating through the low-pressure section. The shock that eventually forms increases the temperature and pressure of the test gas and induces a flow in the direction of the shock wave. The boundary condition of the shock tube is a widely used assumption is that the gas forms a semi-infinite homogeneous wall with slip condition. The cell count of the flow remains the same for the 0.001s after that suddenly it's increased 20,000 and finally 0.025s it will reach a high cell count of 41235. Then suddenly decreases at 0.03s again 20000.
CONCLUSION: -
The shock wave simulation has been successfully created in the tube with two regions by using Converge 3.0 software.
Video YouTube Link: https://youtu.be/AYvsEGifcxk