Week 7 Challenge - Assembly Workbench
AIM: To create 2 assemblies that is provided with 2D diagrams of the components with links 1 and 2 by first creating the individual part files and then creating a complete assembly of those part files in the assembly workbench. After creating the assembly the drafting tools was used to create a 2D drawing similar to the one given in the assignment folder.
OBJECTIVE: To perform Assembly Workbench by first creating the individual part files and then creating a complete assembly of those part files in the assembly workbench. After that we need to sketch the 2D drafting sheets with Title Block and Frame. Then those drafting sheets should be created with the required views such as Front, Top, Side, Isometric and Section View. Draft should be created by following all the standard procedures mentioned in the video. Then the required images should be attached as mentioned in the submission requirements along with drawing file and .PDF. After all that Frame and title Block inside the 2D drafting Sheet are added. The Do's and Don’ts in sketching are followed and maintained.
PROCEDURE:
1) Open CATIA V5.
2) Select Files-> New-> List of Types-> Parts-> Part name
3) In the Parts, design a 3D part through part design process with positioned sketch and ISO constrained status.
4) Name the first part for each assembly as 'Part1'.
5) Repeat the above process for 'Part2', 'Part3', 'Part4' and 'Part5'.
6) After all the part design were done, select Start-> Mechanical Design-> Assembly Design.
7) Copy all the parts made for QRM and paste it in Assembly Design for that QRM.
8) Perform the process of manipulation to fit and move the circles and surfaces of parts with each other.
9) Perform the process of coincidence and contact constraints for fitting and fixing cylinders and surfaces of the parts with each other.
10) Fix the nessesary parts with fix components.
11) After the Assembly Design, attempt the drafting workbench for each parts and assembly, the process done in previous challenge.
12) After completion, all the files with .CATPart, .CATProduct, .CATDrawing and .pdf extensions was saved in a .zip file.
OUTPUTS:
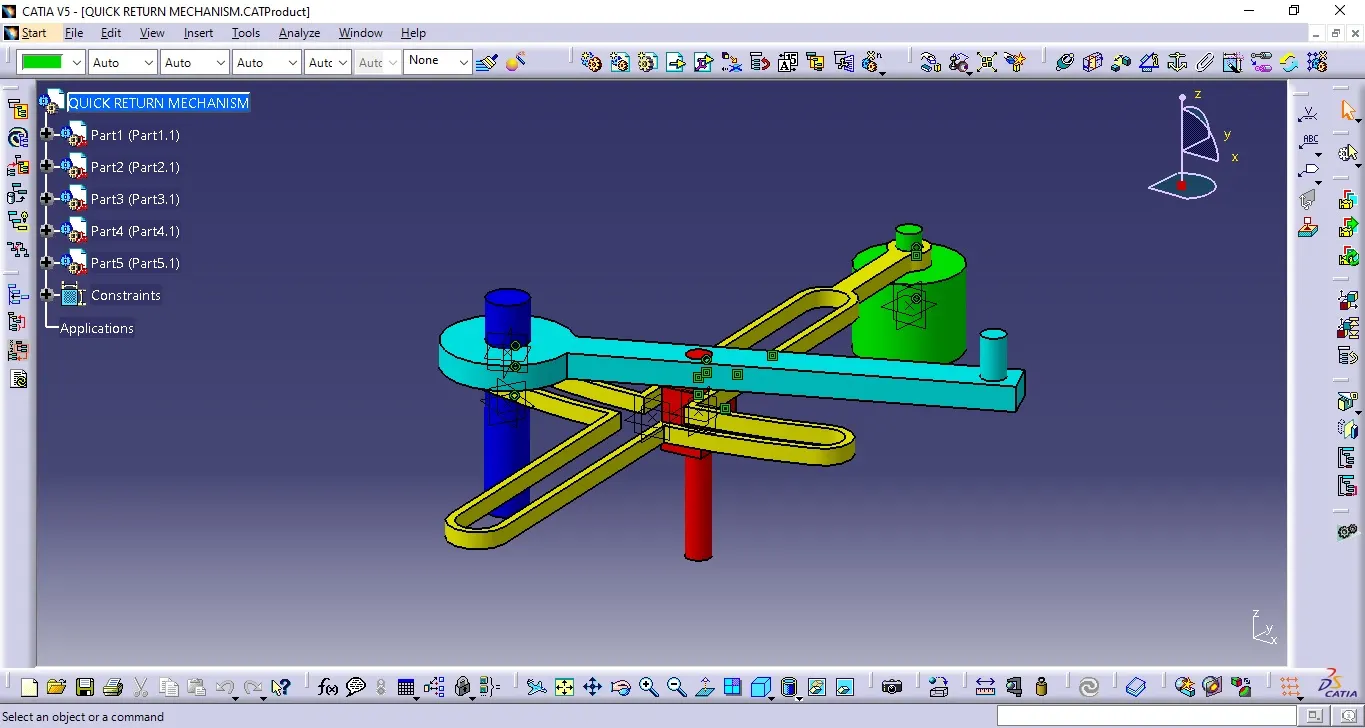
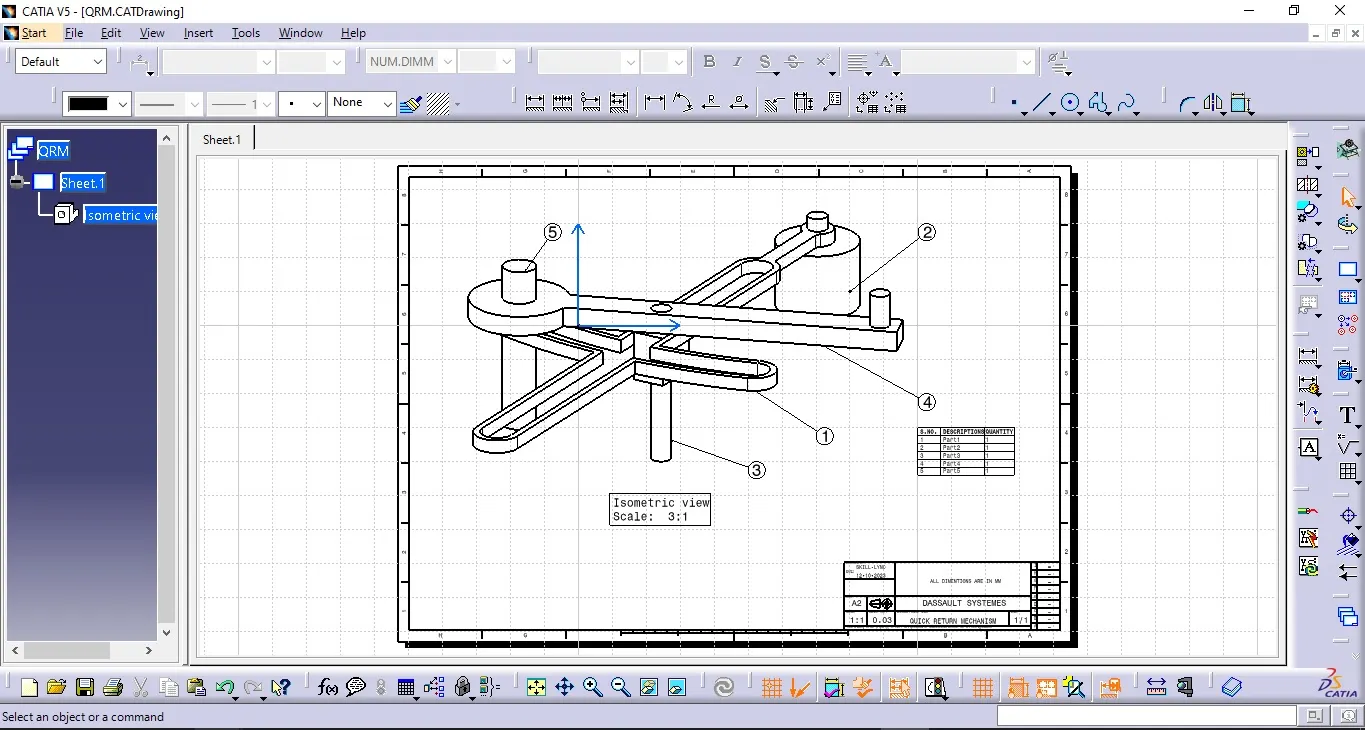
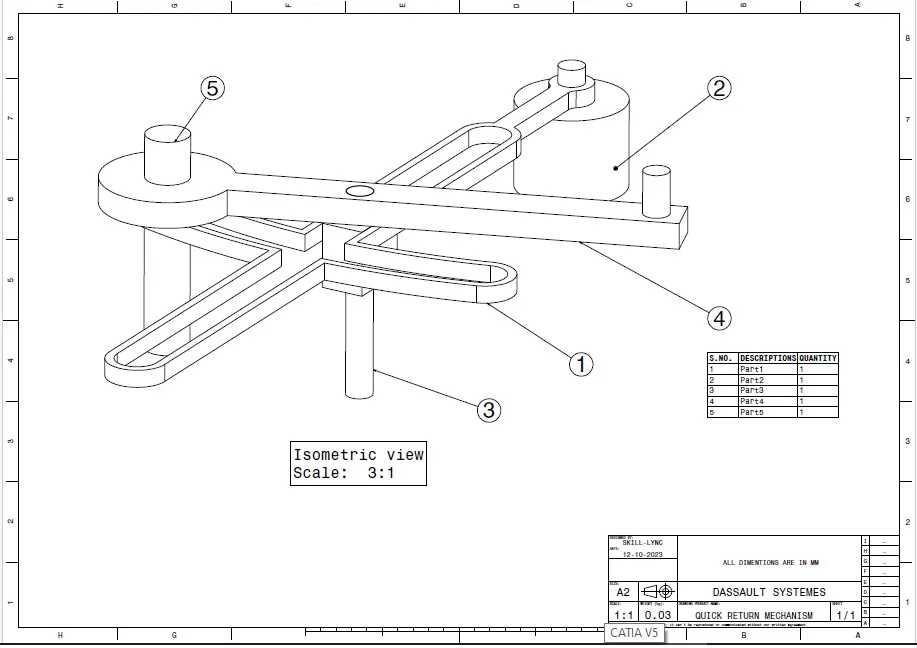
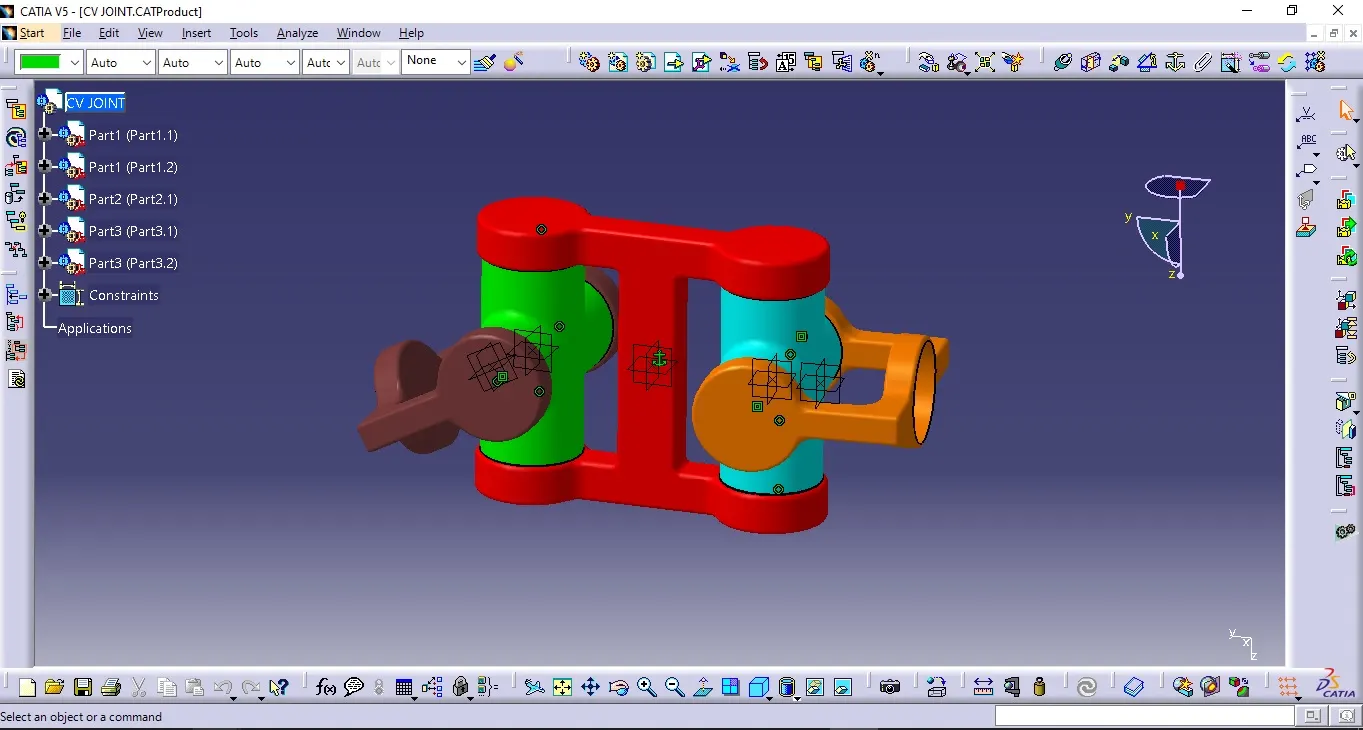
The outputs are given in the form of screenshots of .CATProduct, .CATDrawing and .pdf file as instructed above in the question for the 2 completed models from Week 4 Challenge - Part Workbench.
Quick Return Mechanism:
1) .CATProduct:
2) .CATDrawing:
3) .pdf:
CV Joint:
1) .CATProduct:
2) .CATDrawing:
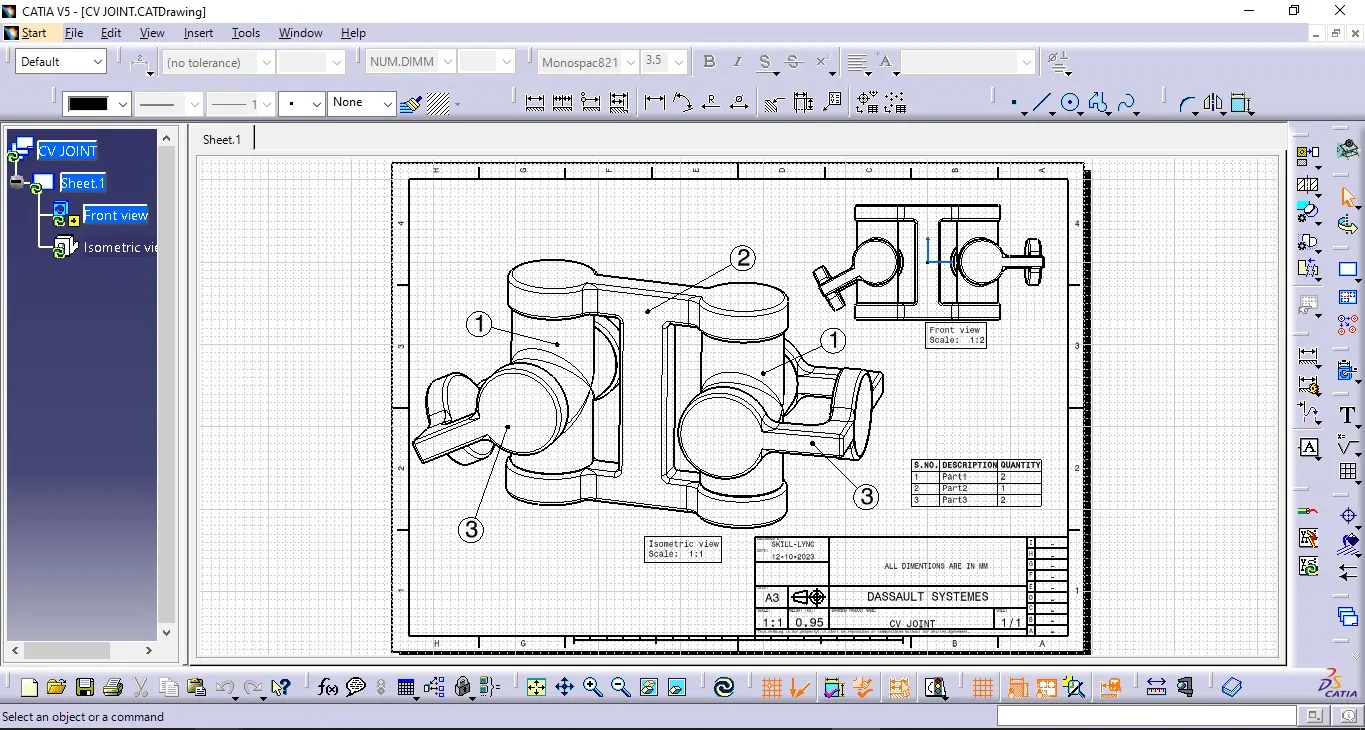
3) .pdf:
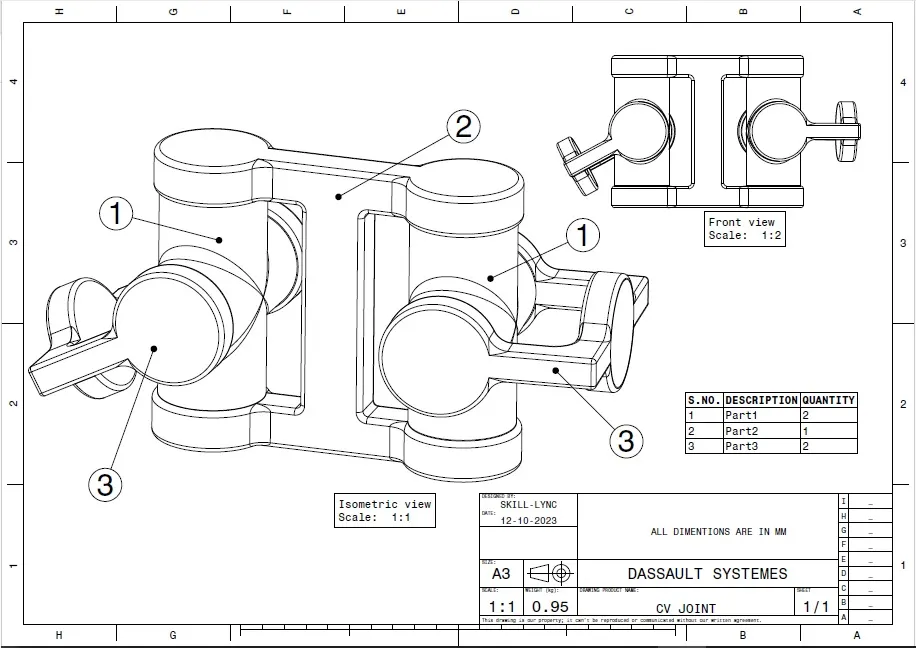
INFERENCE:
The Assembly Design was done considering the standard procedures. Then it's 2D Drawing Workbench was performed. All the parts, assemblies and 2D drawings were given below as a single .zip folder.