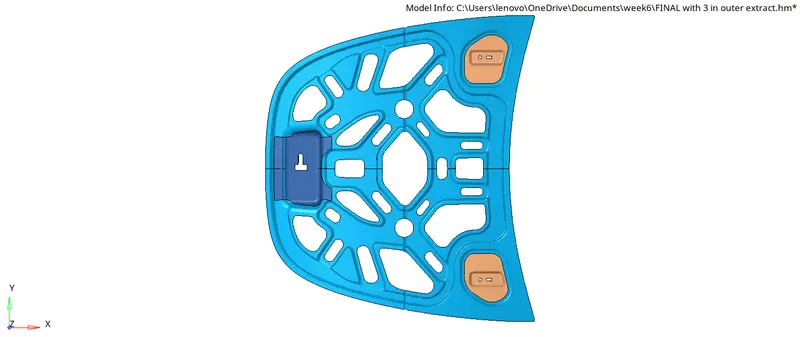
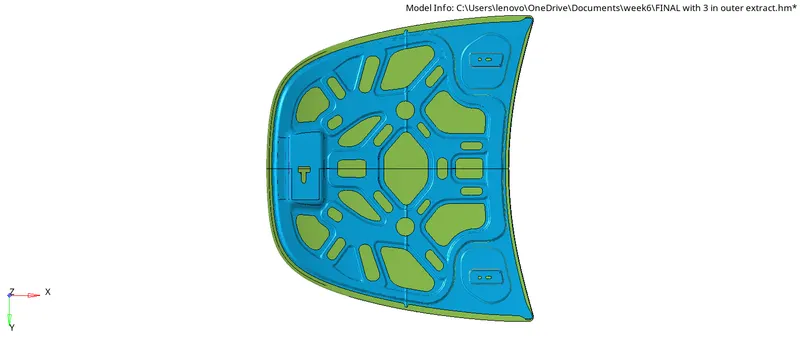
Week 6-Meshing of Hood Challenge
AIM: Meshing the hood component with target element size 5 mm.Following the quality criteria mentiond above.
There are 3 different component in hood as given in the challenge so we need to do it separately alond with seperate geometry cleanup of each part.
1.LATCH REINFORCEMENT EXTRACT:
procedure:
- In the latch portion first we will try to extract middle surface once we deleted the solids of latch.
- we can choose different different methode of midsurface extraction buthere we choose offset+sweep or skin offset for better results.
- Then we do geometry cleanup like proving washer and fixing the edges acording to the geometry of the component.
- Now we will go for automesh tool and select target element size of 5 mm as per requirements.
- There is alot improvement we need to do like avoiding opposite trias and rotational quads also we will make sure that mesh flow should be good.
Along with we put all the value of quality criteria and make them to satisfy along with the limit. We do it in quality index panel with cleanup tools.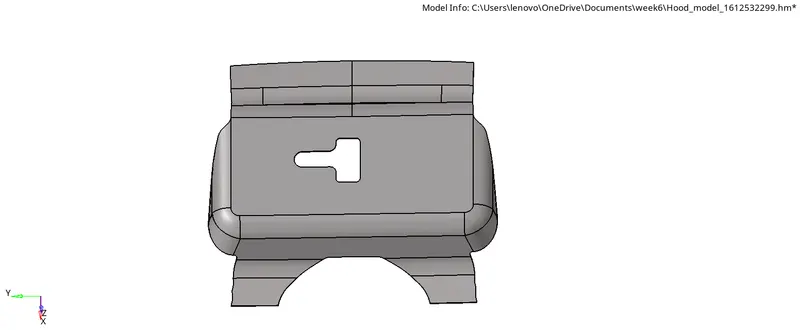
a. latch reinforcement solid
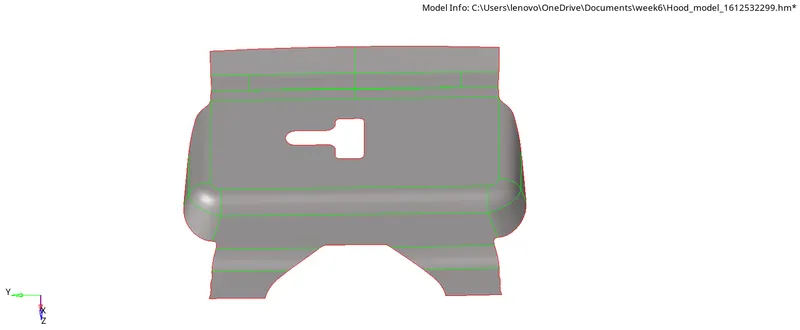
b. Latch midsurface without geometry cleanups
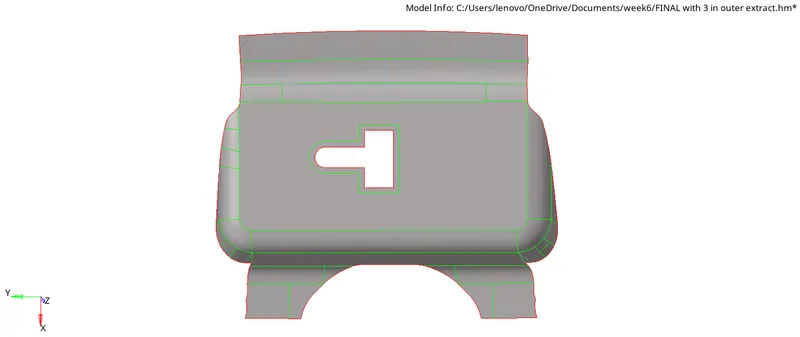
c. Latch reinforcement with geometry cleanup
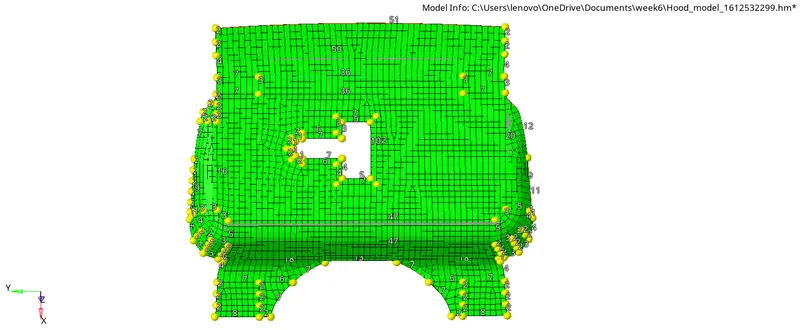
d. Meshed with target element size 5mm.
RESULT: Lacth reinforcement geometry after all the cleanups and following all quality criteria.Here we should also check for all elements should fall on the surface completely.
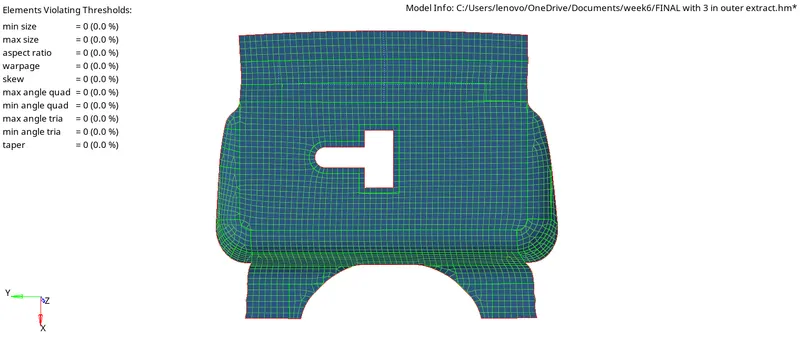
2.HING REINFORCEMENT EXTRACT:
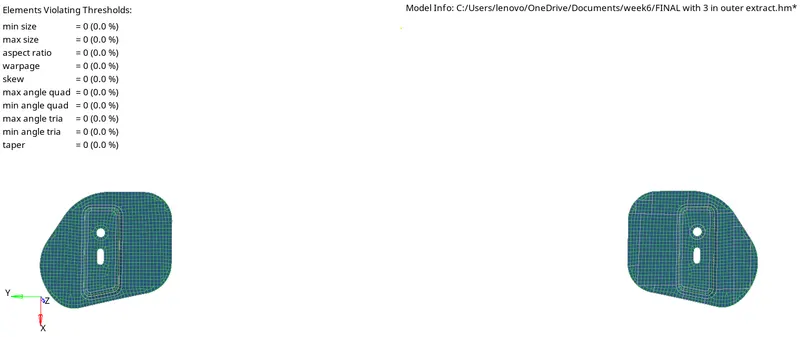
As we can see in the the parent geometry that there are two hing portion parallel to each other. So here we perform meshing on one single portion then we reflect the mesh on other side by using reflect tool from tool panel.
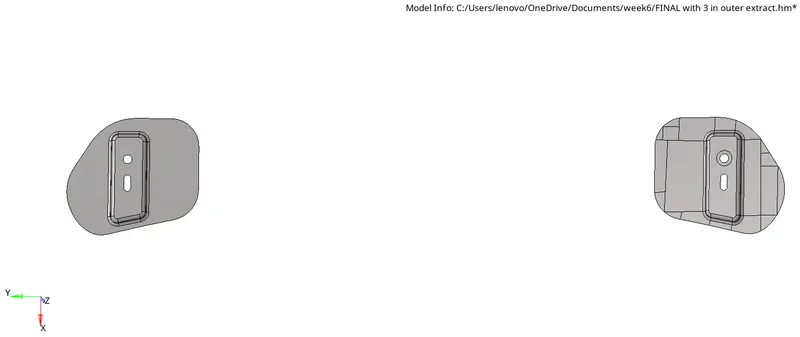
Procedure:
- procedure of meshing and cleaning geometry here is similar to the latch.
- Here edges are curved so we do provide rectangular section on the midsurface for better mesh flow.
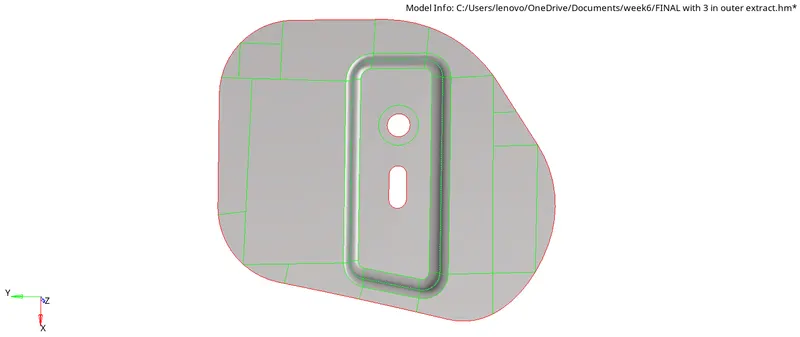
a.Hing reinforcement middle surface after geometry cleanup.
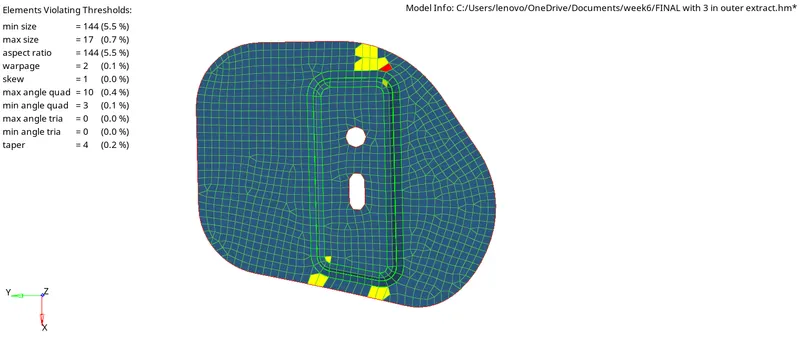
After meshing these are the quality index we need to check.
- There is alot of way to avoid these fail elements. At some places we can remove fail elements just by draging the tria elements which fails due to maximum size limit.
- Also we use element optimization and place node as per the requirement of the geometry.
RESULT: After doing all quality criteria cleanup we reflect the mesh to the other side to get the final results.we should reflect the mesh only after completing the quality cleanup to avoid the reflection of fail elements on other side.
3.OUTER EXTRACT:
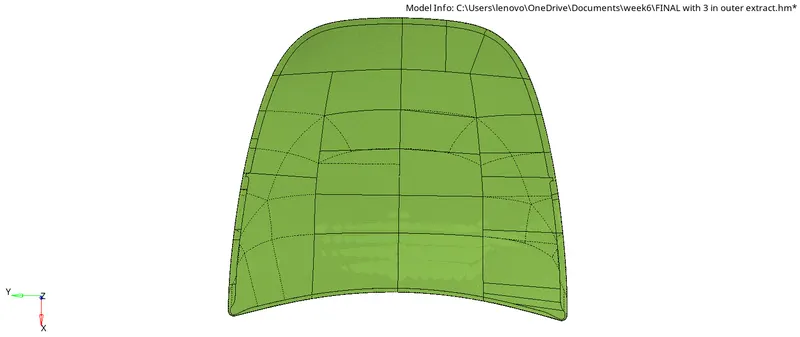
In outer extract there is not much complexity in meshing.But yes there is alot of tricks we have to use in spliting the surface to get better mesh specially at the outer edge.
Procedure:
- Starting procedure is simmilar to other components like deleting the solids and extracting midsurface.
- Here we need to focus on geometry cleanups and making split line to cover the mesh element on the surface properly.
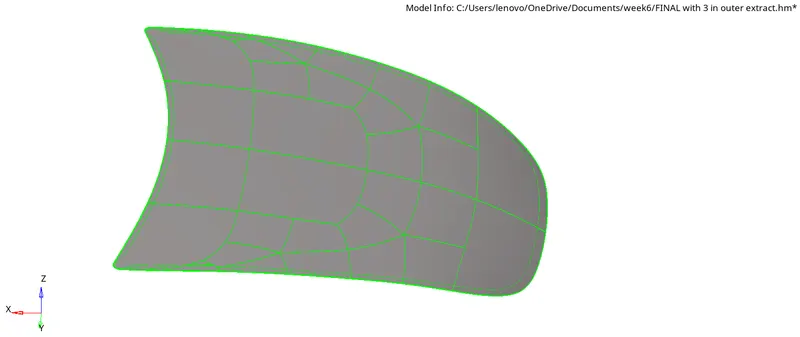
a.Outer extract solids form.
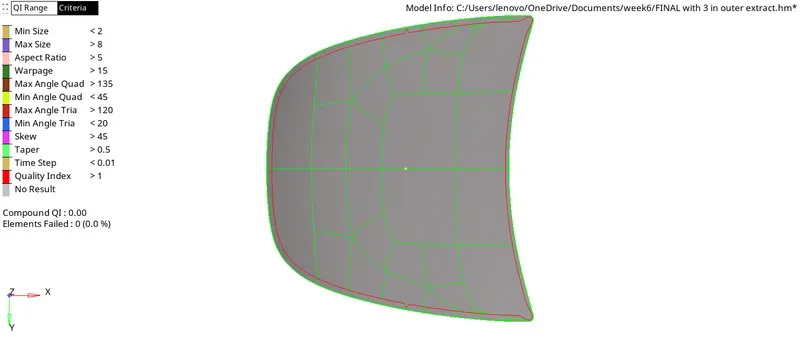
b.outer extract midsurface
- As we can see there is also a symmetry along X-axis so what we will do is that here we will mesh the one side and then reflect it other side same as previous geometry.
- But here the another side is adjacent to it so after reflecting the elements just check that elements are attached to eache other on common line or not.
- tTo check it go in tool panel and then in edges where we can find edges and also check by preview equivalence and then make them equivalenced by selecting the elements which we want to attach them.
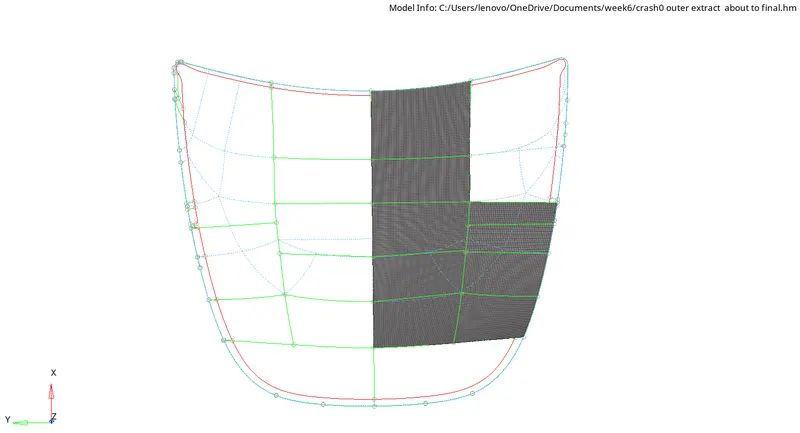
c.
- we will mesh the surface step by step by spliting it into number of rectangular section.
- Here we will face some difficulty over outer region in spliting to we need to take care of thats region by deleting unnecessary points.
- Should also toggle the lines which are near to each other distanse comparatively less than target element size.
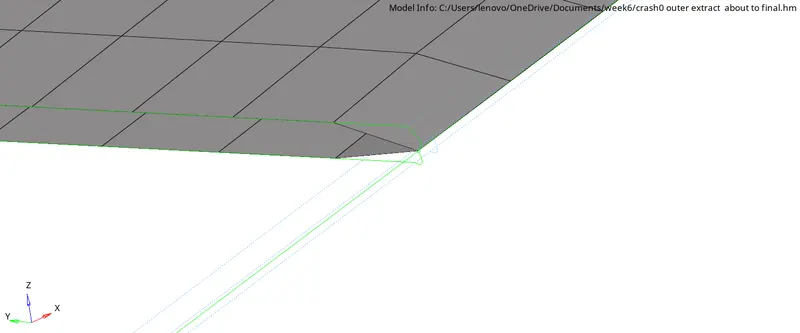
d.
- we will try to make split line in a way that the mesh capture it properly and avoid extra point which may cause distraction of mesh and formation of extra nodes as shown above.
- In the same way we will mesh the half of the geometry and then we will work on all the fail elements according to the quality criteria.
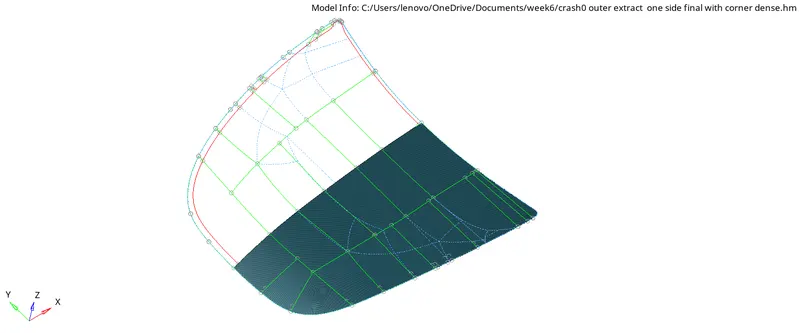 e.Meshed half portion also cleared all failing elements.
RESULT: Now we will reflect it from coomon line along X-axis. And get the final mesh as we rquired.
4.INNER EXTRACT:
In inner extract there is little bit complexity and more time is needed here.in the same way we will extract the mid surface and meshed it in parts.
Procedure:
- Extracting mid surface by using skin offset then we kept it on topo mode.
- There are many extra lines due to complex surfaces so we need to work on that.
- Here is also a symmetry we found and in the same way first we will mesh one side then reflect in other side before that we work on the quality criteria in the ame way.
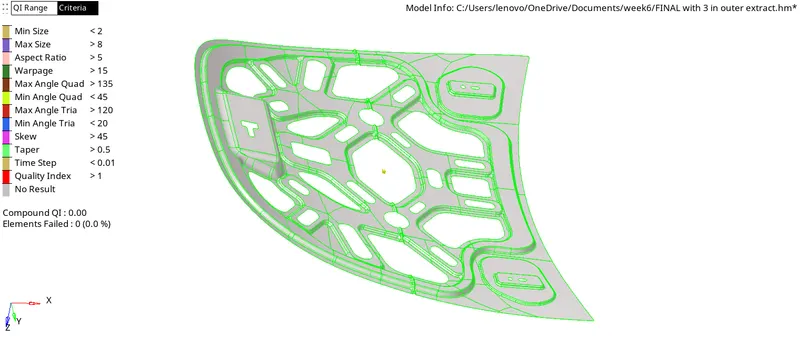
a.Inner extract 2D
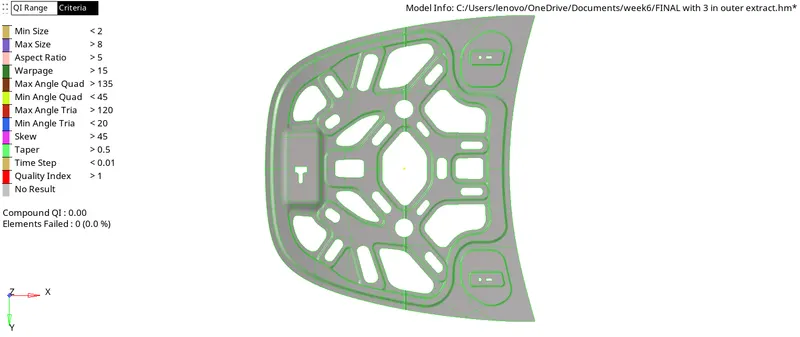
b.inner extract midsurface
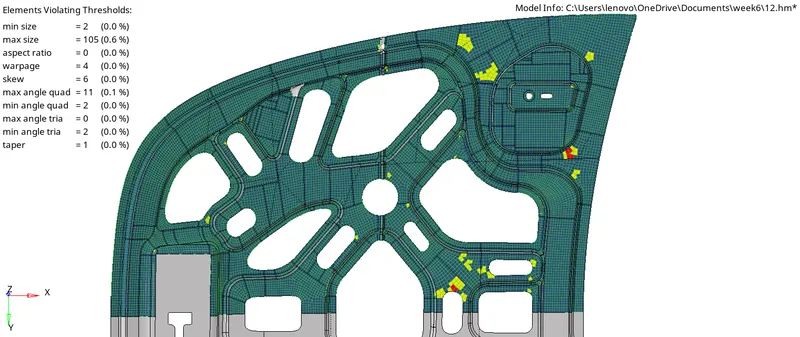
c. Half portion mesh and need to work on failing elelments.
RESULT: This is the final meshed surface of inner extract.With all the quality criteria.
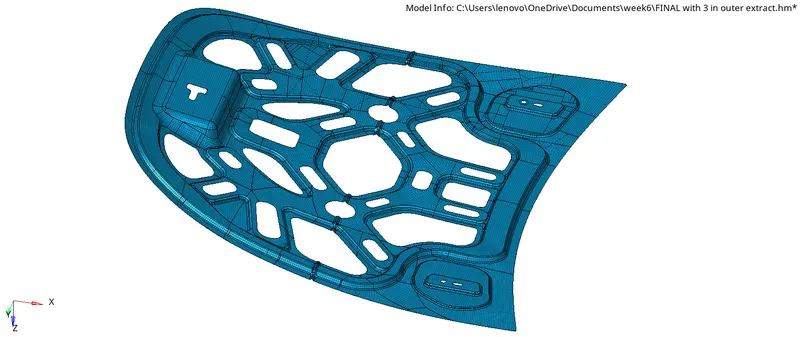
FINAL HOOD MESH: