Week 6-Meshing of Hood Challenge
Object: In this challenge, we extract the mid surface for each component, mesh the given hood component with the given target element size of 5 mm & satisfy the below-mentioned quality criteria.
| S.N | Quality Criteria | Value |
| 1 | Aspect Ratio | 5 |
| 2 | Skewness | 45 |
| 3 | Warping | 15 |
| 4 | Taper | 0.5 |
| 5 | Min. Length | 2mm |
| 6 | Max. Length | 8mm |
| 7 | Min angle Quad | 45 |
| 8 | Max angle Quad | 135 |
| 9 | Min angle Tria | 20 |
| 10 | Max angle Tria | 120 |
| 11 | Tria % | 10 |
Procedure:
1. Importing the geometry and clean up the model.
2. Masking the model.
3. Meshing the components.
4. Reflecting process.
5. Quality index.
1. Importing the geometry and clean up the model.
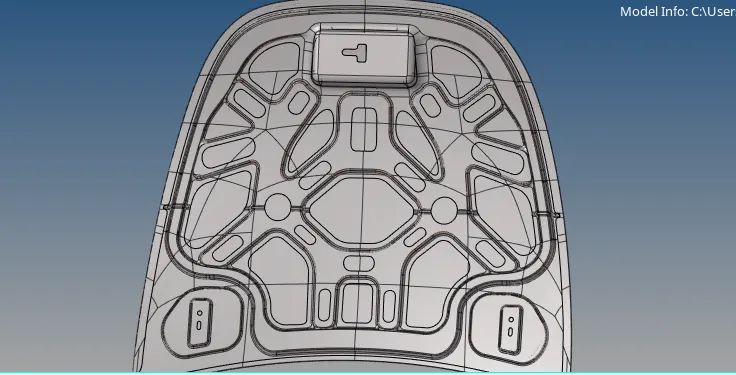
The below images shows the given models, in this case, we remove all the errors and extract the mid surface.
Fig: Inner body Fig: Inner body
Fig: Outer body Fig: Outer body
Fig: Latch body Fig: Latch body
Fig: Hinge body Fig: Hinge body
The above left-hand side images are shows the given models these models consist of some topo errors these can be removed by using the quick edit tool. The right-hand side images are shows the extract the mid surface from the actual components by using the mid surface tool. Once again we clean the mid surface before going to the meshing process by the toggle the unnecessary lines by using toggle edge tool & create lines where is necessary by using the split surf node & split surf line tool. Cleaning the mid surface is necessary for the better quality mesh.
2. Masking the model.
Masking the component is necessary while working on the large components, it reduces the number of the components visible this makes it easy to work on the large components. The masked components get it back by using the unmask tool.
3. Meshing the components.
Mesh can be crate by using the auto mesh tool from 2D. We are creating the 2D mesh separately on each component at the element size of 5 mm.
The above images show the meshed components.
4. Reflecting process.
The reflect the process can be carried out by using the reflect tool from the tool. This tool reflects the elements one side to the other side with respect to the base node. Before reflecting the elements we create duplicate elements by using the duplicate tool. It makes a faster process. If we do not create the duplicate elements the selected elements reflect other surfaces.
5. Quality index.
After working on the mesh we move to the quality index tool from 2D. In this tool, we give the given parameters by using the edit criteria and check these parameters and arrange it according to the given parameters these can be reduced by using the cleanup tool.
Midsurface extract methods:
Use the Midsurface panel to extract the mid surface representation of a solid part.
Location: Geom page
The Midsurface panel can be used to extract the mid surface of sheet metal stampings, molded plastic parts with ribs, and other parts that have thickness clearly smaller than width and length.
Auto Midsurface tool:
Conclusion:
1. In this challenge, we learn how to mesh the hood component.
2. We learn mask, reflect, quality index and organize tools.
3. And to satisfy the given parameters.