Week 6-Meshing of Hood Challenge
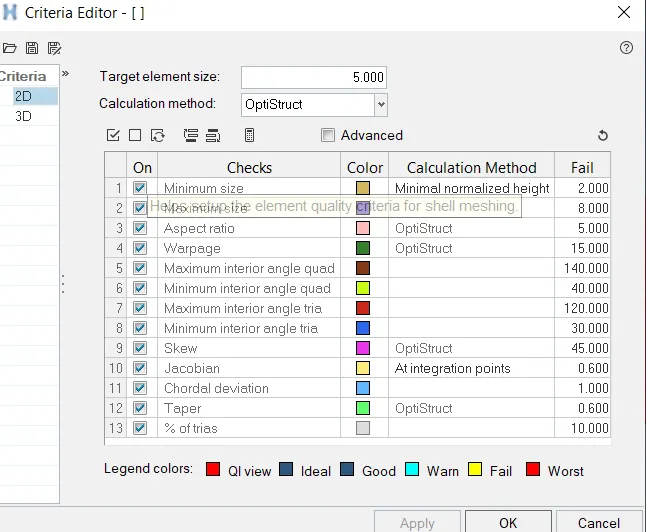
Aim: Following the below-mentioned quality criteria, mesh the component given below and assign thickness:
Target Element Length = 5 Units
|
S.N |
Quality Criteria |
Value |
|
1 |
Aspect Ratio |
5 |
|
2 |
Skewness |
45 |
|
3 |
Warping |
15 |
|
4 |
Taper |
0.5 |
|
5 |
Min. Length |
2 Units |
|
6 |
Max. Length |
8 Units |
|
7 |
Min angle Quad |
45 |
|
8 |
Max angle Quad |
135 |
|
9 |
Min angle Tria |
20 |
|
10 |
Max angle Tria |
120 |
|
10 |
Tria-element % |
10 |
Note:
Here we can use the 'Mixed' (Not Quad) option to generate the mesh for this challenge because we are preparing the model for crash & safety simulations. The quad-only mesh is preferred for durability and structural simulations.so that’s why we adopt mixed mesh for this model.
Model: Model of car hood
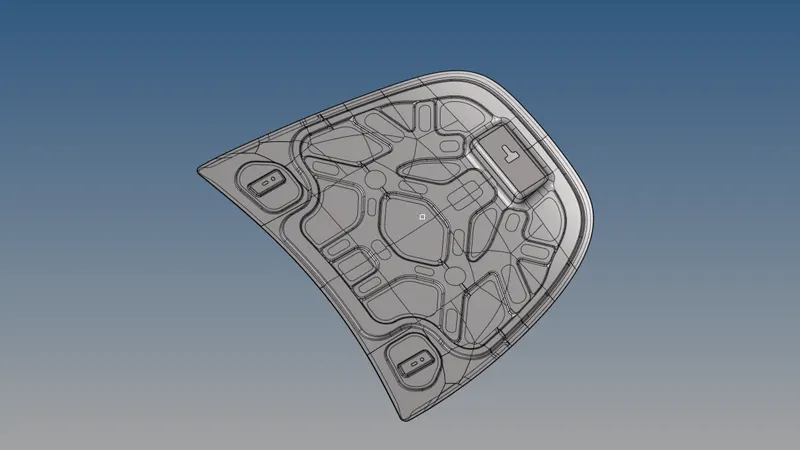
Procedure:
- open the Hyper-mesh and import the geometry or either model, before importing choosing the particular user profile, here we can choose Opti-struct as our user profile.
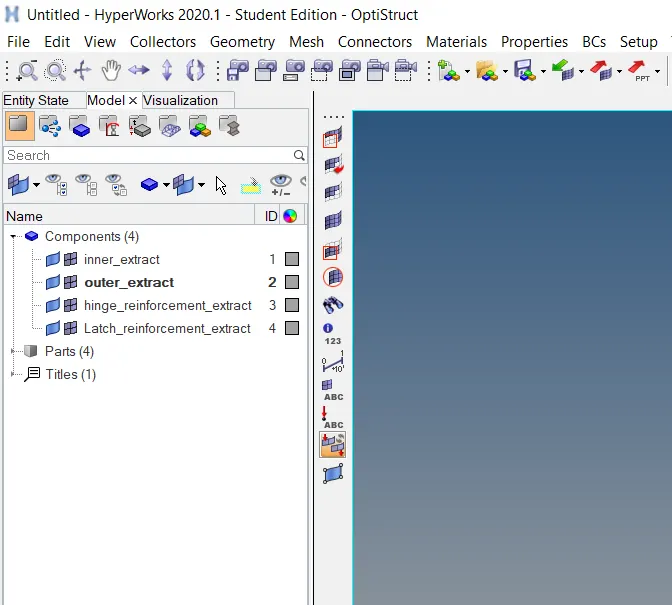
- After importing the geometry check out for solid element, and if it is present then we have to delete it.
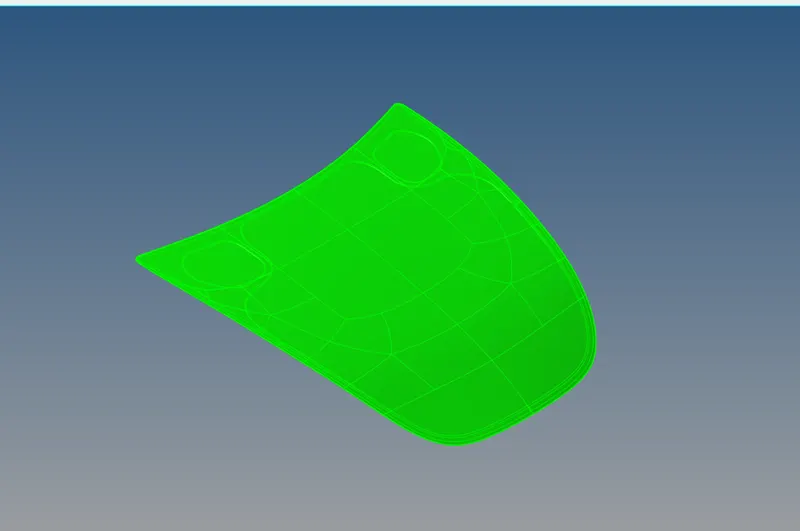
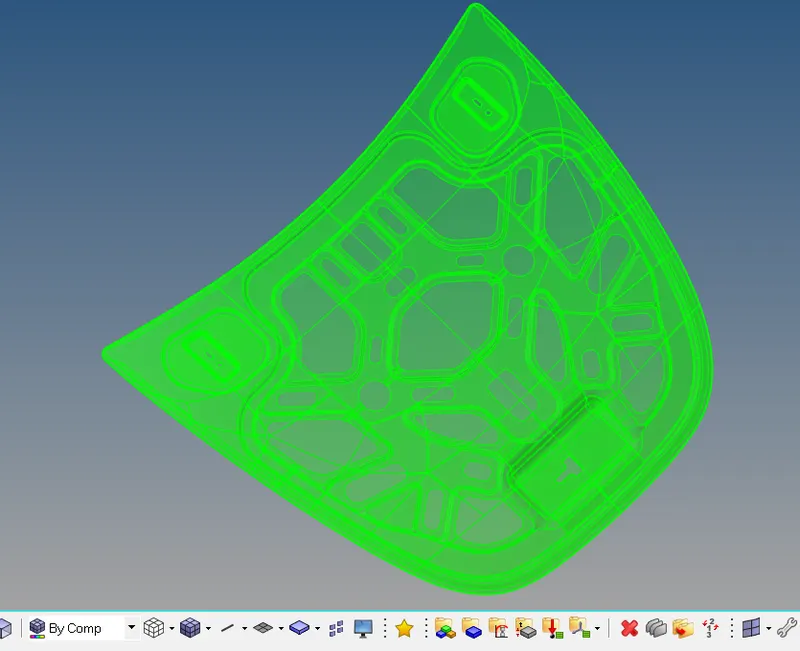
Here we have solid present in the geometry, so we can delete it, and then we extract the mid-surface for creating a shell element.
- To Delete the solid present in the geometry, go to delete option and then select the solid option for deleting the solid present in the geometry.
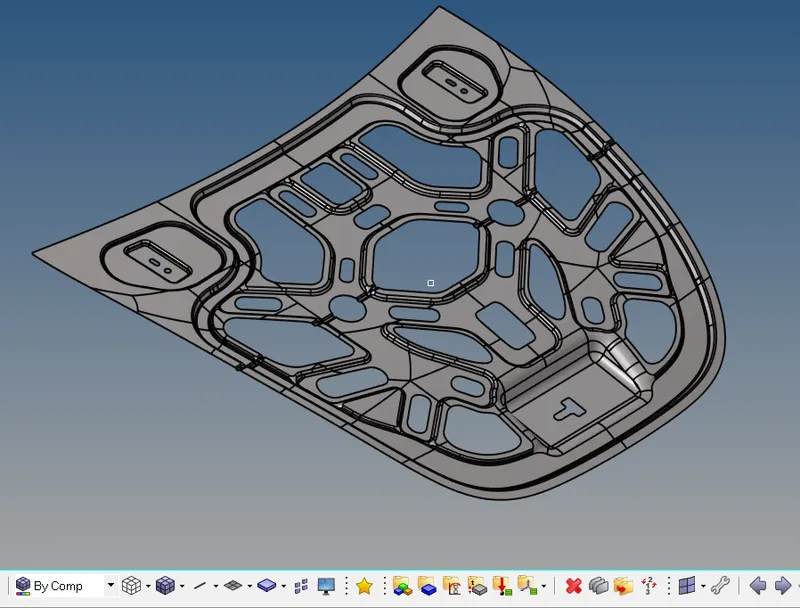
Inner extract/ Panel:
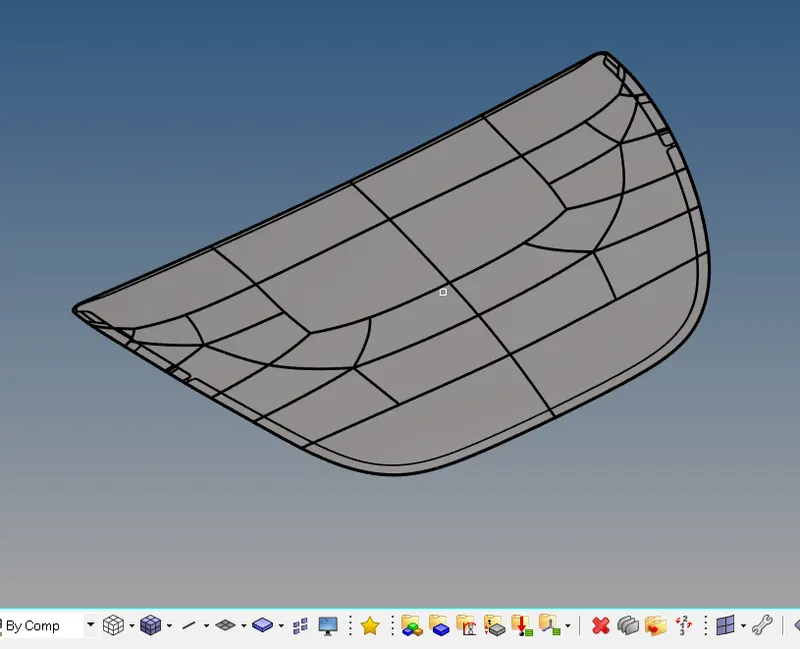
Outer extract / Panel:
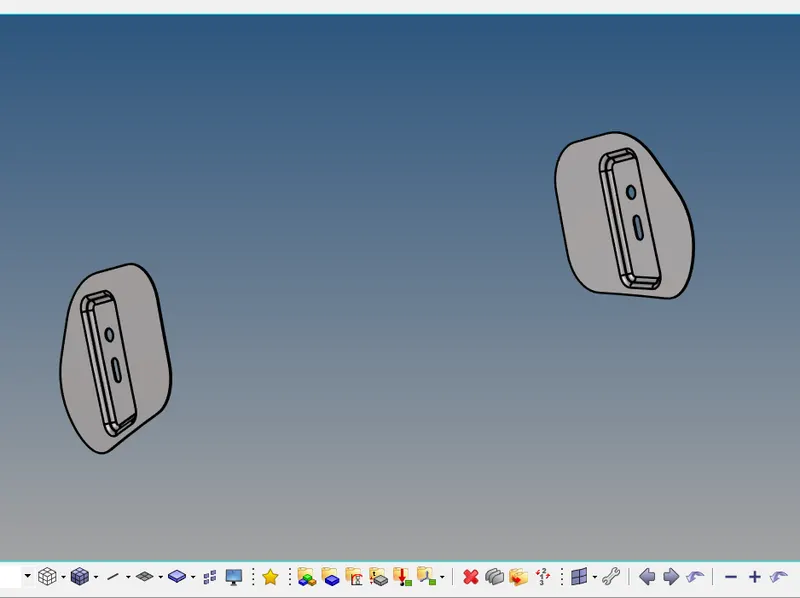
Hinge extract:
Latch reinforcement extract:
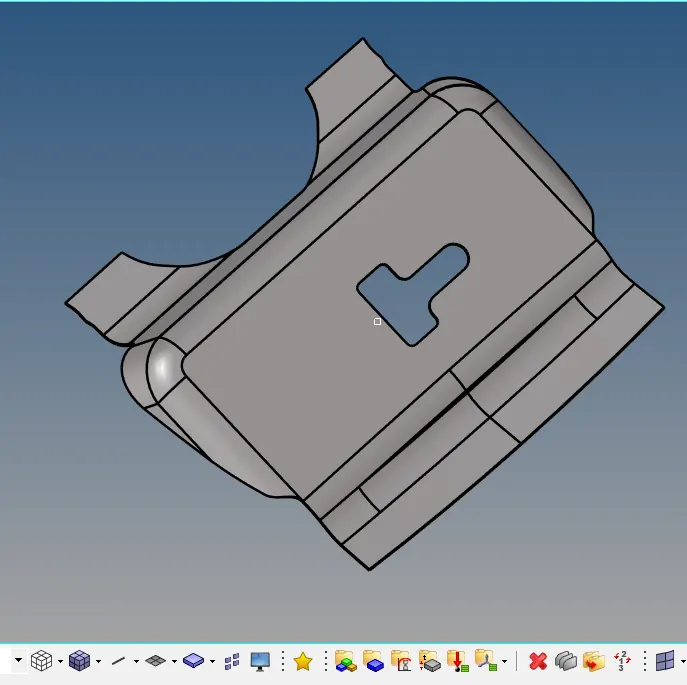
Here we have 4 components, that we have to mesh one by one
- Now we creating the mid-surface of outer panel of the hood, before extracting mid surface we have to clean the geometry, we can clean geometry either manually or either we can use the auto-cleanup option to clean the geometry.
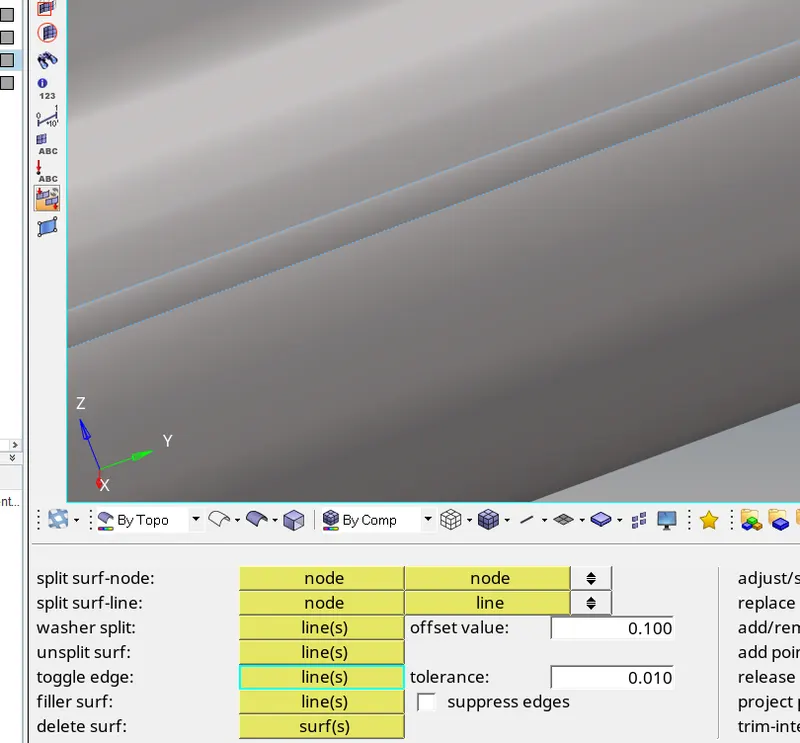
Here we toggle the hemming portion
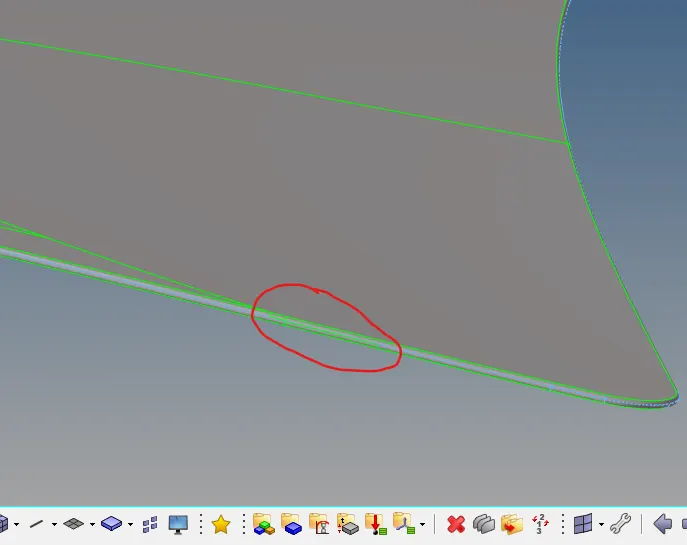
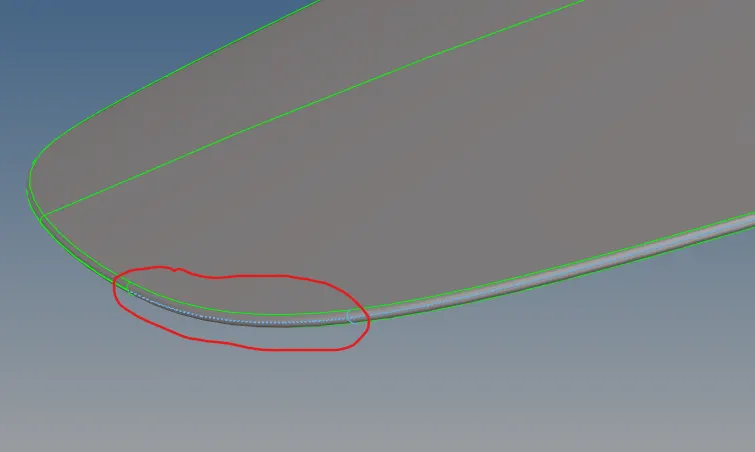
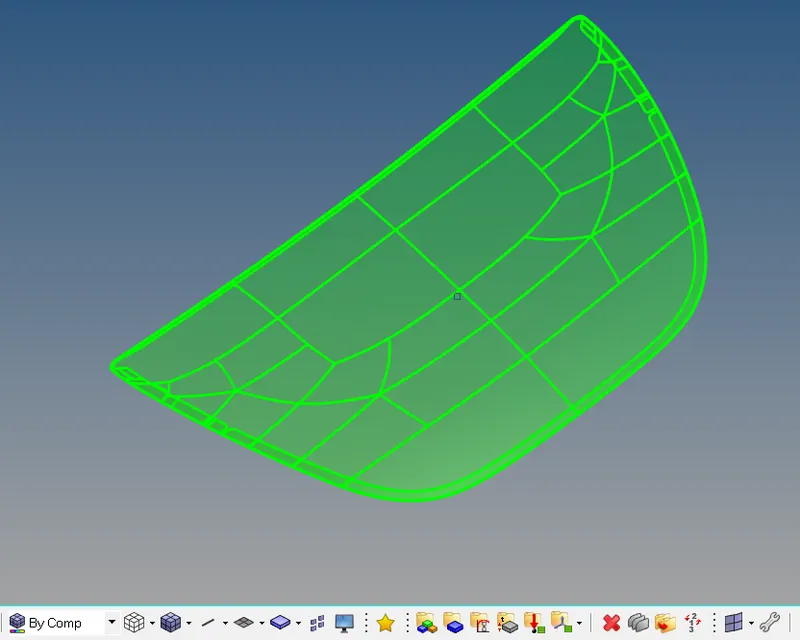
Here mid-surface of outer panel is extracted
- Before we creating a mesh, we have to edit the element quality criteria as mentioned above.
Now we create the mesh of the component by using auto-mesh option in the Geometric panel
Note: Before creating a mesh, we split the geometry in such a way that we get some standard shape like rectangle, triangle, pentagon etc. if we split the geometry in such a way that we get a good mesh flow with minimum number of triangular-element, make sure that while splitting the geometry the shape of geometry not distorted.
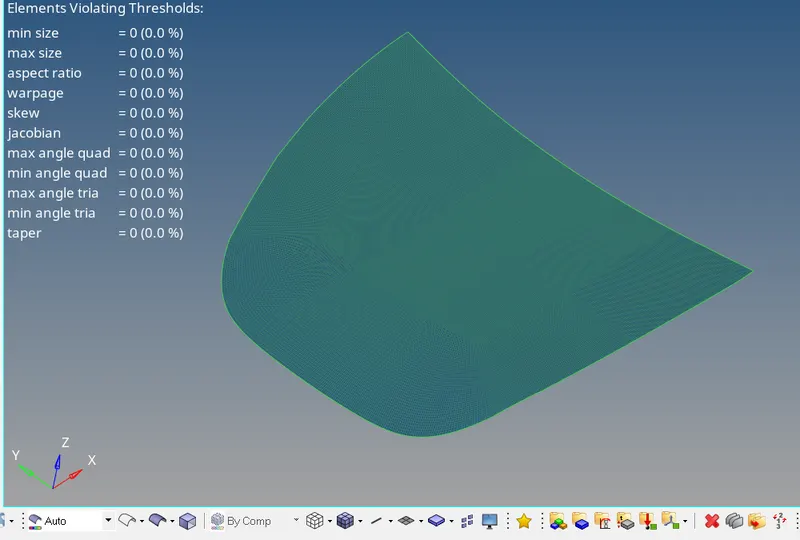
Here the mesh of hood is created by using the Auto-mesh option in the 2D panel.
(Mixed Mesh)
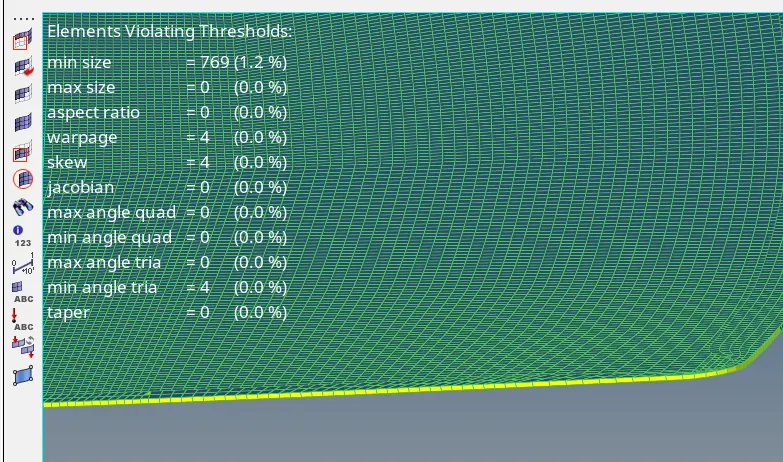
Here our most of element is failing from the minimum element size, it is because of the minimum edge length of the geometry, we can’t completely eliminate it, but one thing we can do is either clean or remove the small fillets or either we can toggle or suppress the edges to increase the fillet size so that our element is not failing from the minimum element size criteria.
Here we try to suppress the hemming section or smallest section of the fillet, so that our element is not failing from minimum element quality criteria.
Here we use the various cleanup tools for cleaning the geometry and also following checks are to be taken for obtaining error free mesh, it means we have to handle trias element and we have some thumb rule to handling trias element for obtaining error free mesh.
No tria should be opposite to each other
No tria should be connected back to back
No tria should be on the edge of the geometry
No tria should be near the hole
No tria should be present at the feature lines, edges and fillets
There shuld be less tria concentration
The reason for such care of tria element is because of its stiffness. When the load is applied and if stress concentration region like holes fillets modeled with tria element then we can’t get accurate result because of tria stiffness, that’s why we have take much care of tria element.
Also rotating quads is also not preferable for analysis like crash, drop, and impact where the flow of energy is the major concern for the engineers. Due to rotating quad element the flow of energy gets distracted, that’s why we aren’t preferable rotating quad for these types of analysis, so to avoid rotating quads element we use tria element instead of correcting the rotating quad elements.
But on other hand for static analysis like durability and fatigue analysis etc. it is not required to have tria element, so here we prefer quad element because here the flow of energy is not the major concern.
Feature line: The line which helps or directly involve in defining a feature is called feature line, also the line which is responsible for the plane change is a feature line
Construction line: The line which doesn’t involve in defining any feature is called construction line.
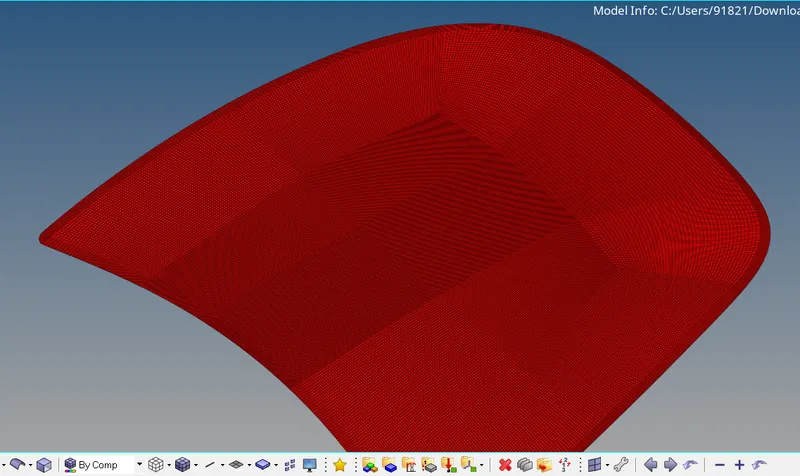
Meshed part of outer-panel
Same procedure will follow for the meshing of Latch reinforcement extract
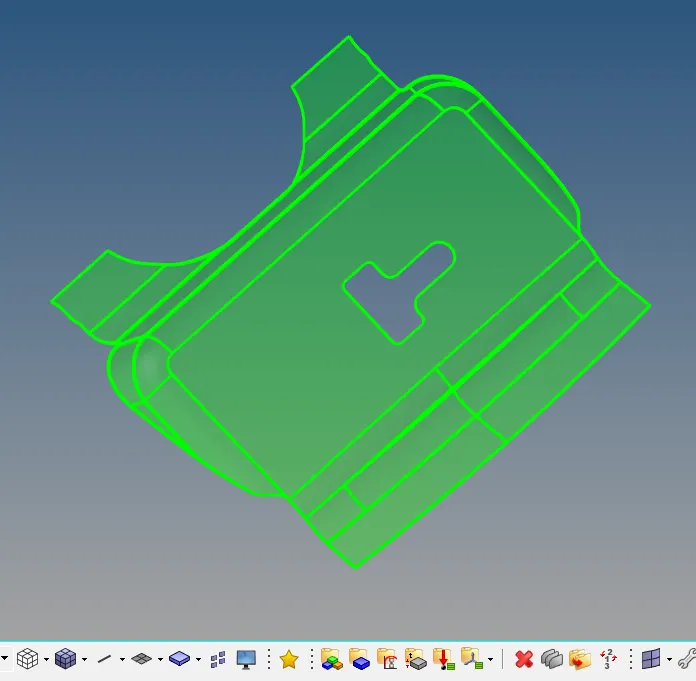
Here also we deleting the solid part of the geometry and extracting the mid-surface of the geometry by using mid-surface option in Geometric panel
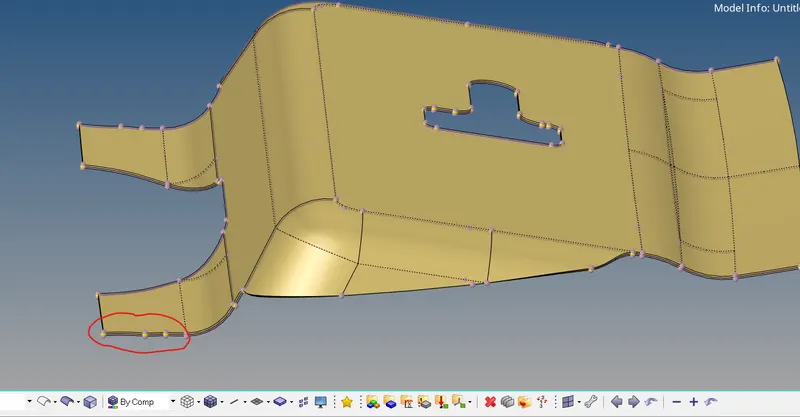
Mid-Surface of the Latch panel is extracted
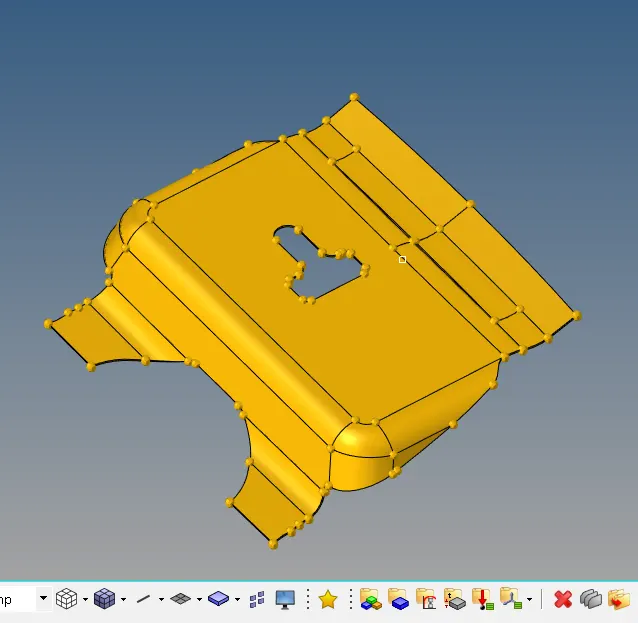
Now we create washer split around this holed portion and removing or suppressed the un-necessary line for good meshing, also we can cleanup the geometry using auto-cleanup option in Geometric panel.
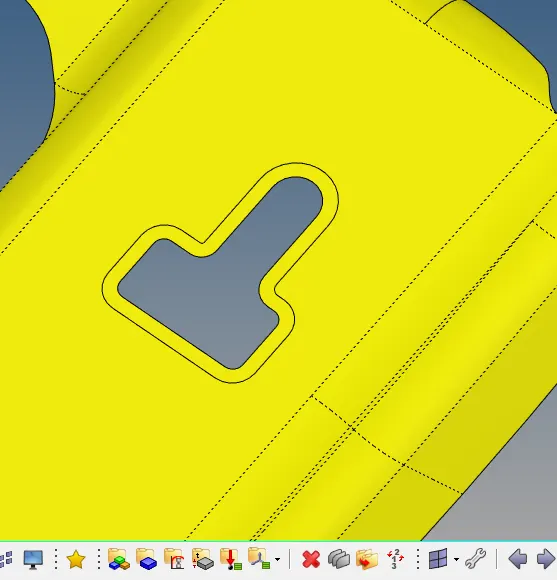
Now we create washer split around this holed portion and removing or suppressed the un-necessary line for good meshing, also we can cleanup the geometry using auto-cleanup option in Geometric panel.
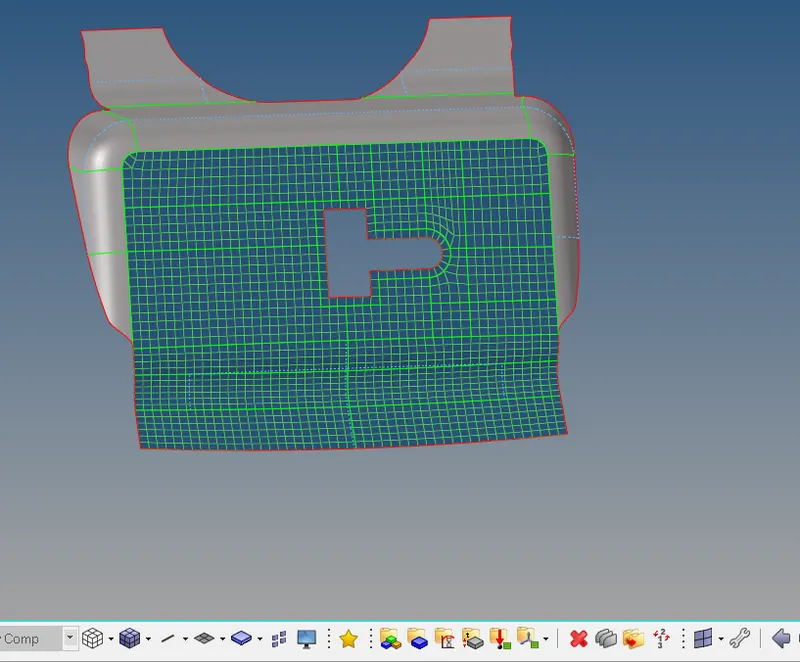

Here we use these options to edit and splitting the geometry (Quick edit Option)
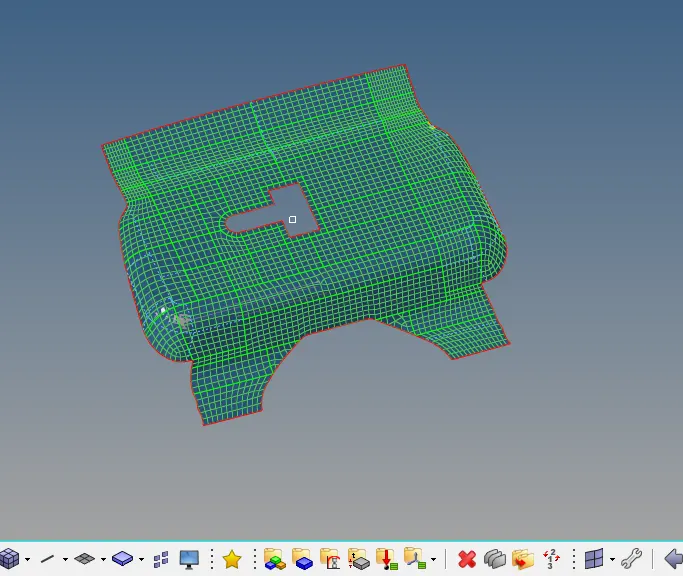
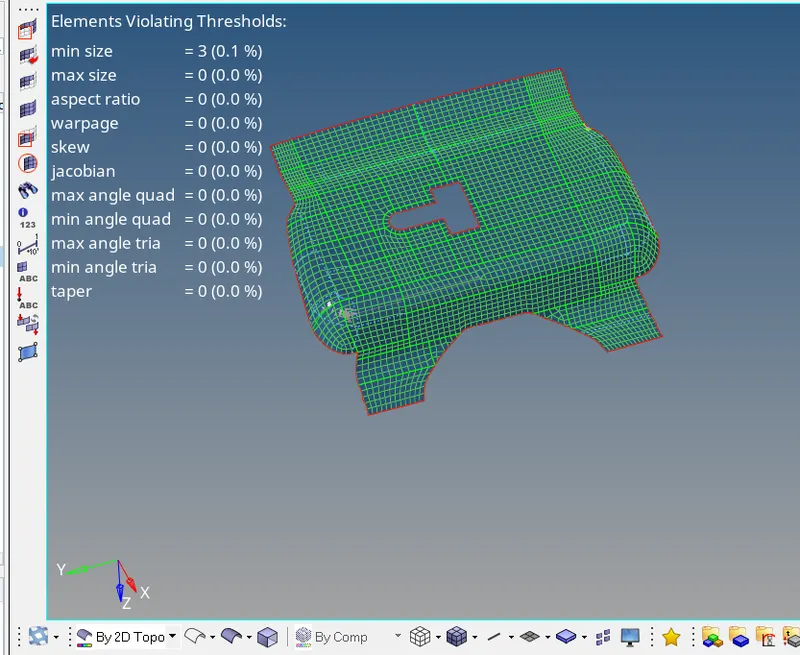
Quality index of latch part
Here we have some element failing from minimum element criteria, so again we can re-mesh that region or either we can use element optimize to optimize the element.
To check and modify the element go to 2D panel then go to quality index and then go to cleanup tool to clean the element and modify the element.
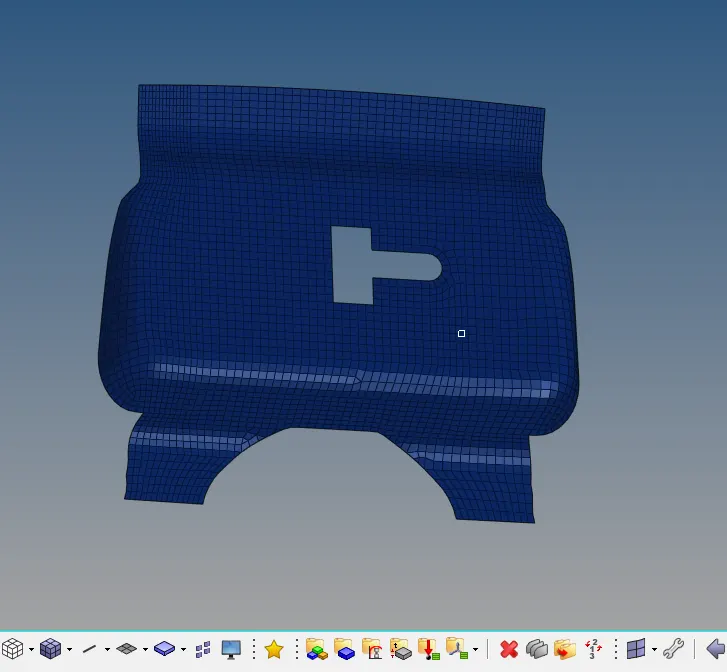
Now we create a mid-mesh for hinge part of the hood
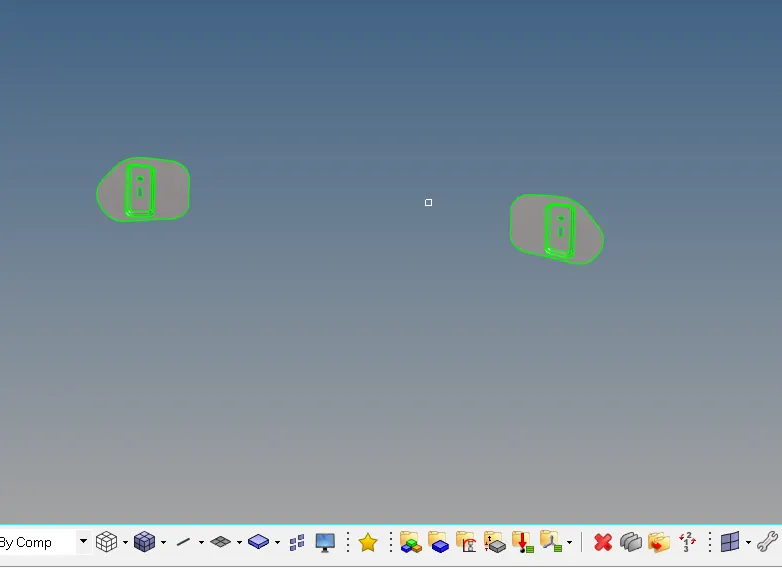
Delete the solid part and then clean the geometry for creating the mid-surface of the component by using mid surface option in the Geometric panel
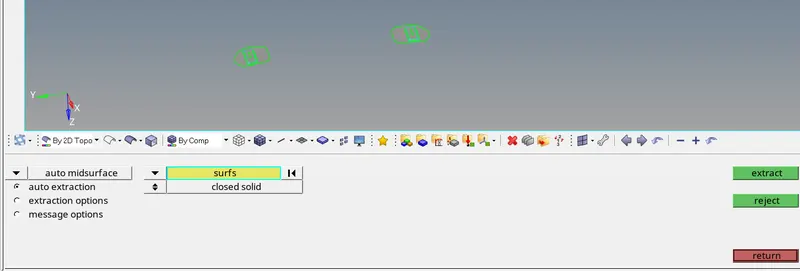
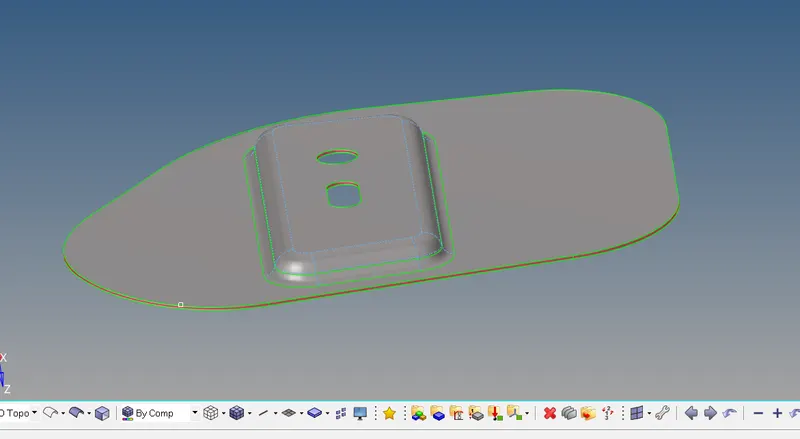
Mid-Surface of hinge is created
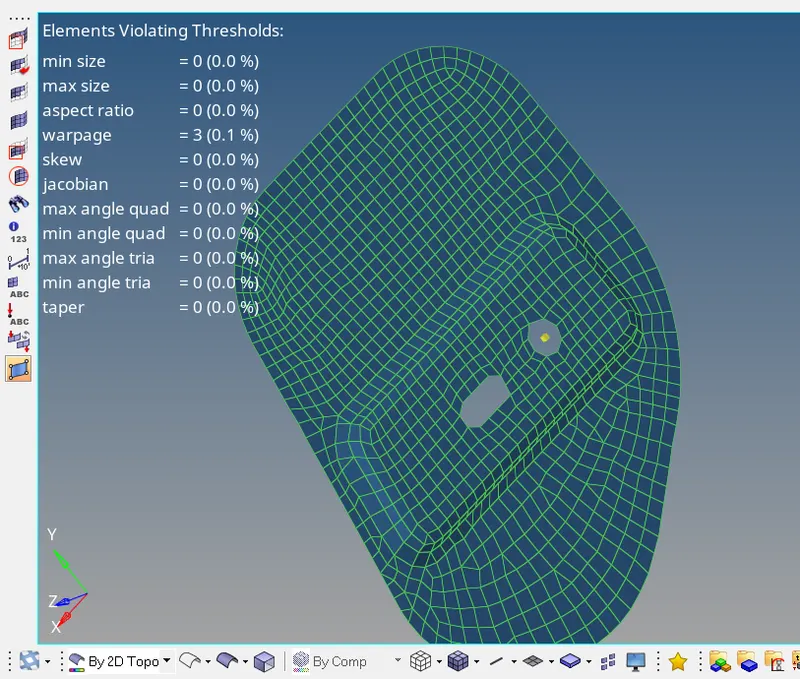
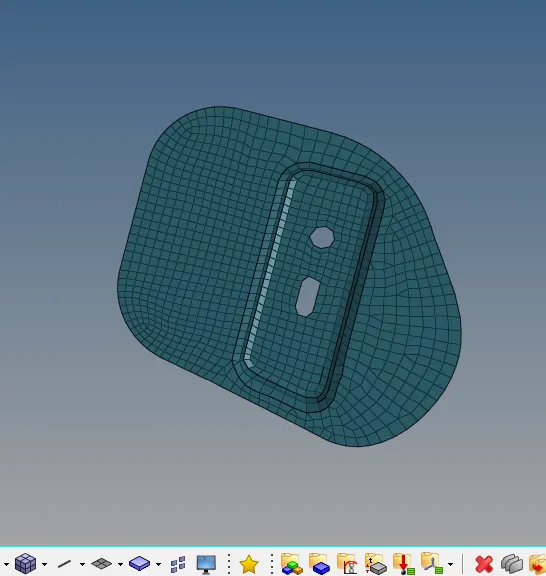
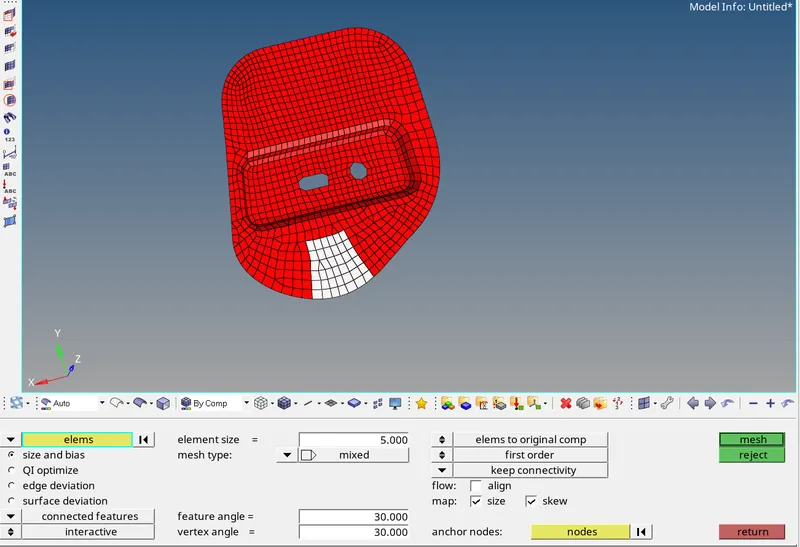
Here we can remove the tria element by again mesh that region
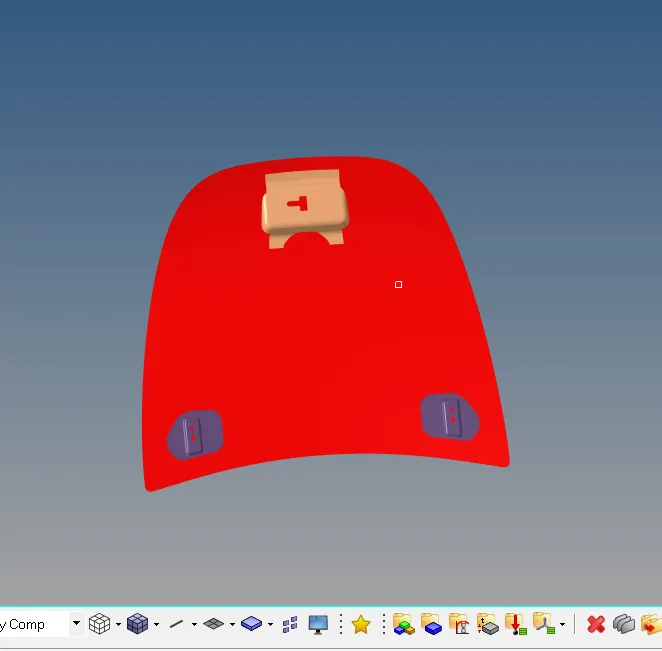
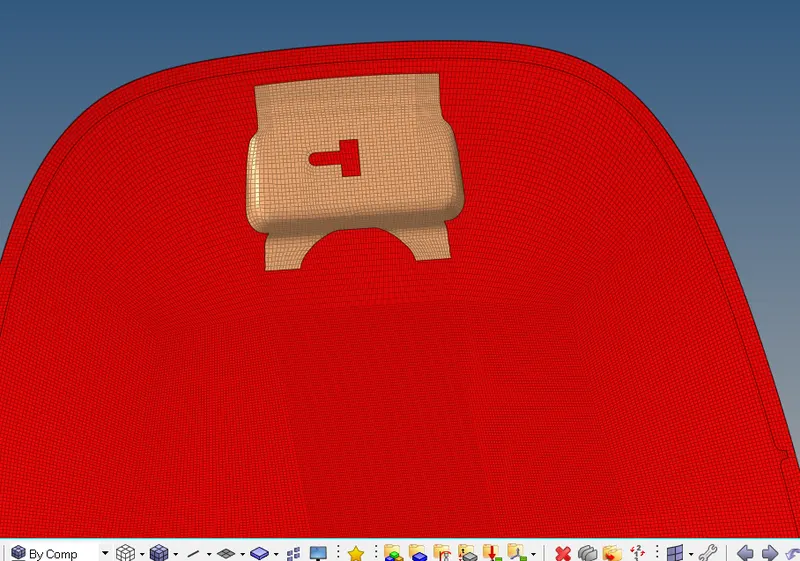
Meshed portion of Latch and outer panel of the hood
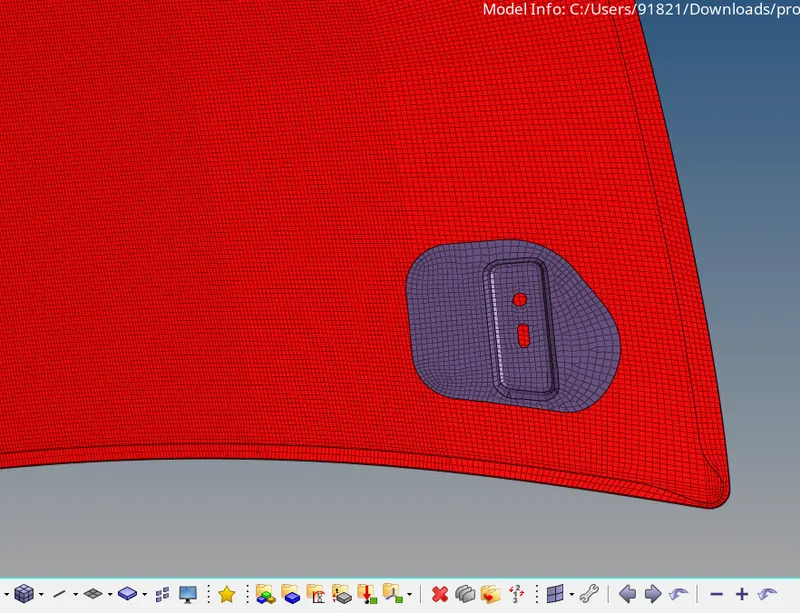
Now we have to mesh the inner portion of the hood
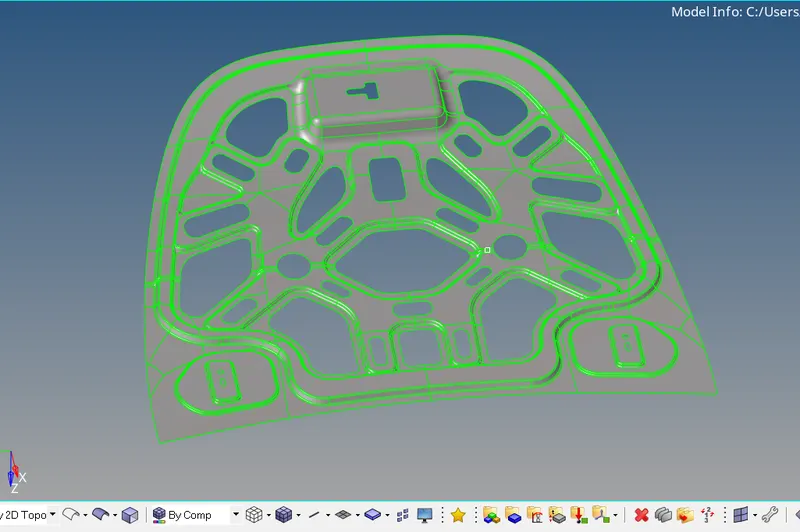
Inner panel of the hood with hinge and latch reinforcement
Again, we have to delete the solid part of the geometry doing cleanup of the geometry for creating a mid-surface.
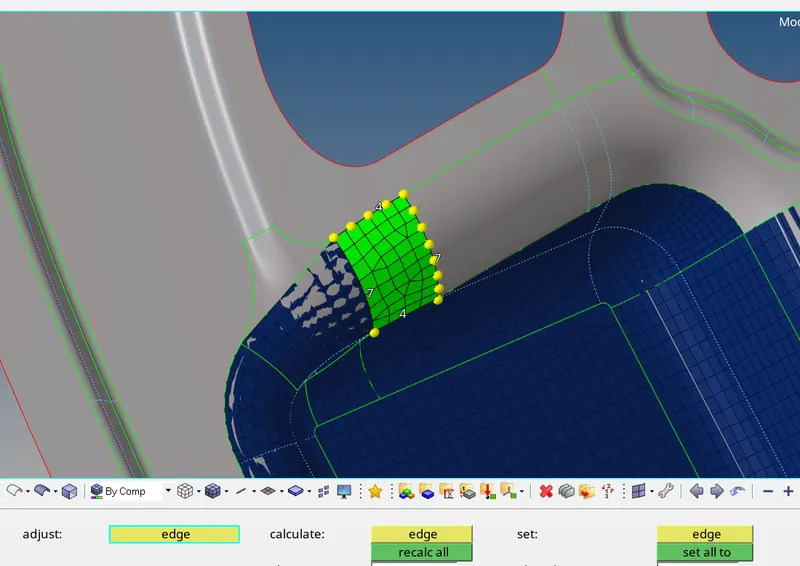
Meshing of the inner panel
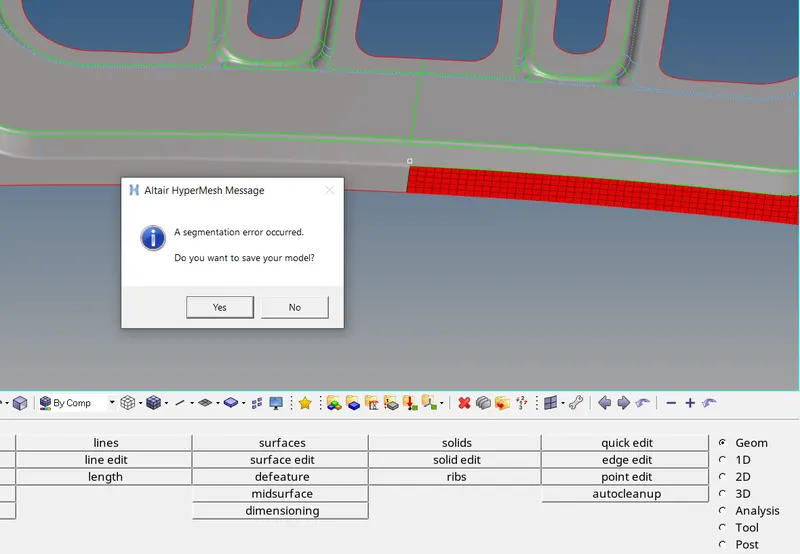
Note: Sometime when we try to modify the geometry a segmentation error will occur, we can’t avoid it because if it occurs then the work that you done on the model is not going to save, so make sure to save your work at regular interval of time to save your work and time
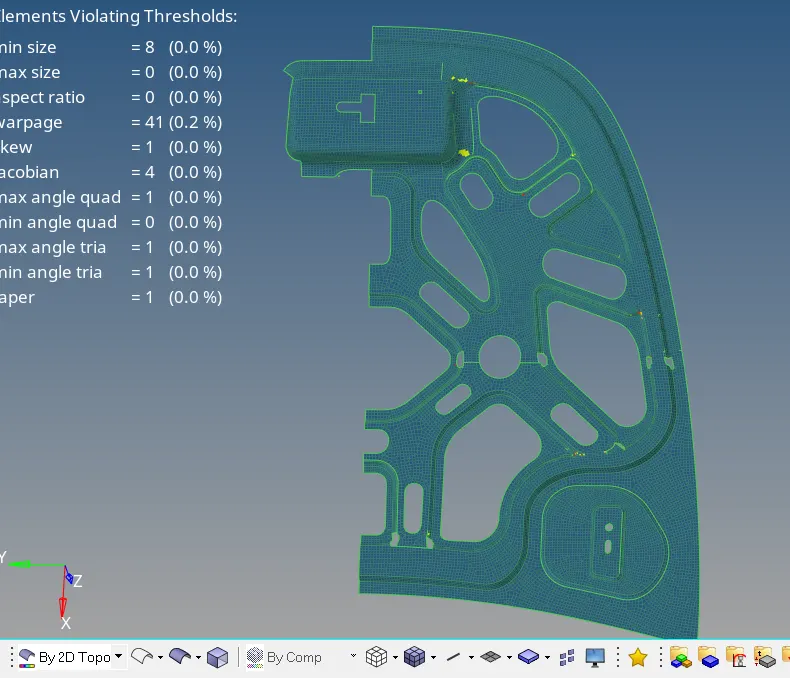
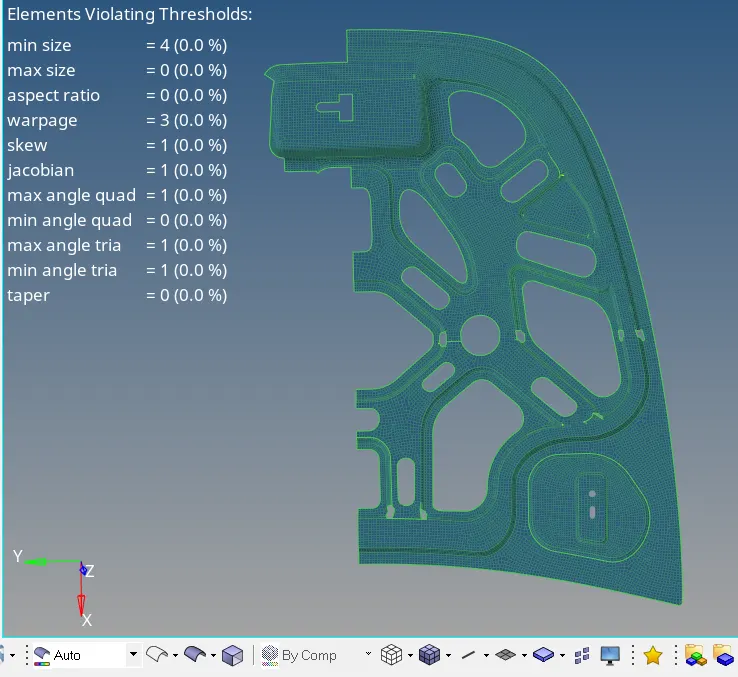
Here we mesh the half portion of the geometry and for handling those element failures we have to again go to element cleanup option to clean the geometry.
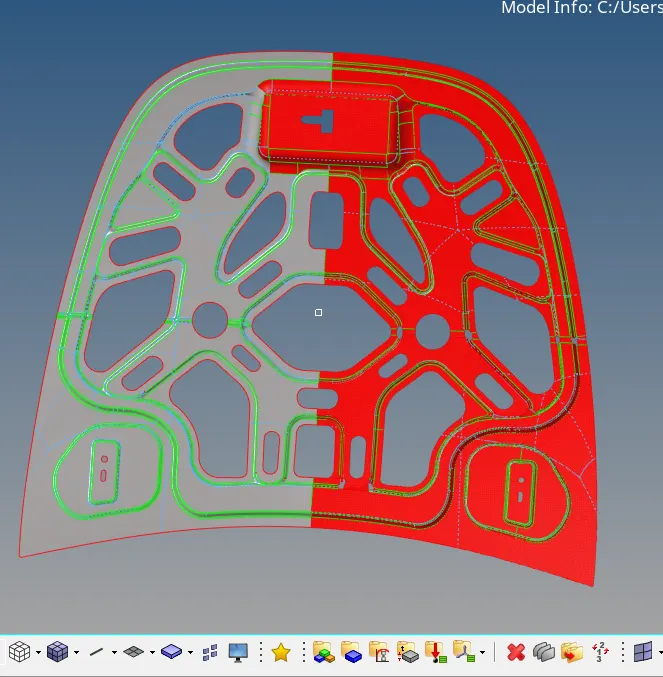
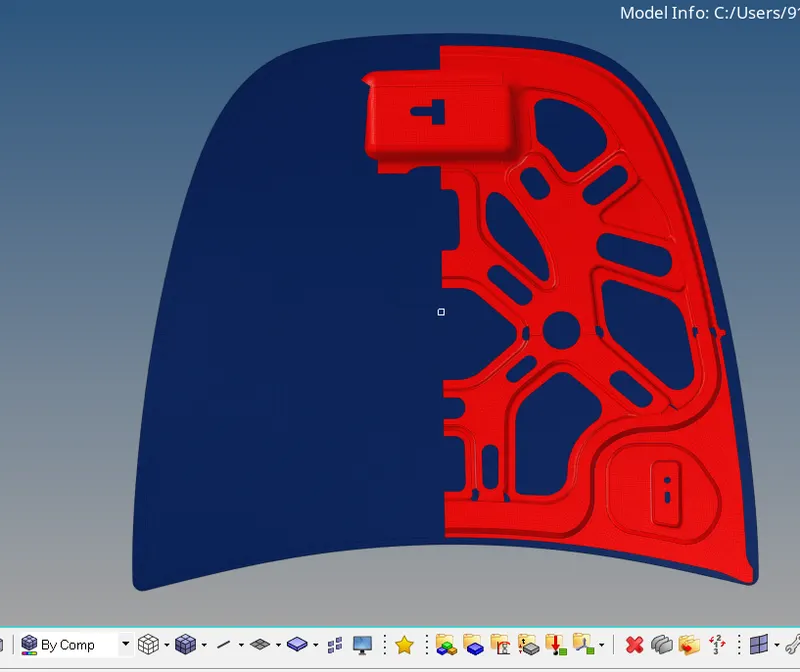
Half portion of the inner panel is meshed, now if we carefully observe that the geometry have symmetry, due to this symmetry we don’t need to meshed other part, we can just reflect the mesh by using the reflect option in Tool panel
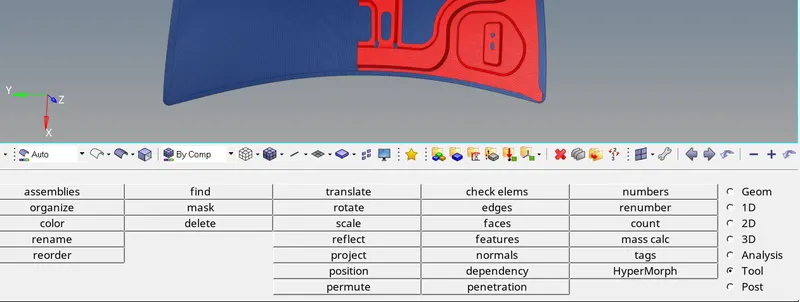
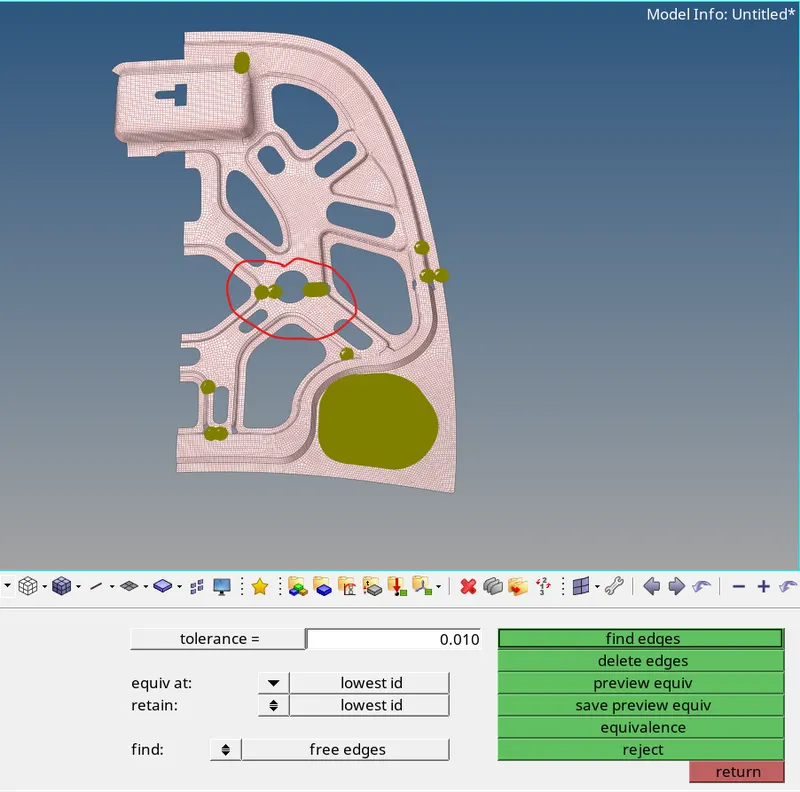
After reflecting the mesh make sure to check the element connectivity by using equivalence option, Go to tool panel and then go to edge option to check the element connectivity
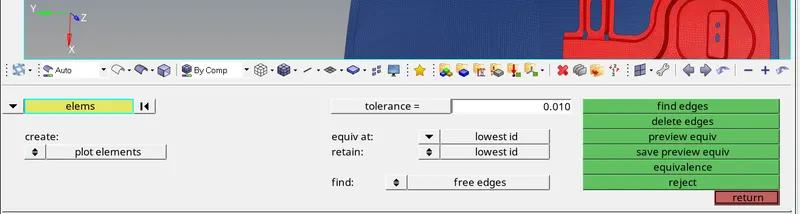
Check out for preview equivalence, and if gap is occurring then click on equivalence to connecting the element
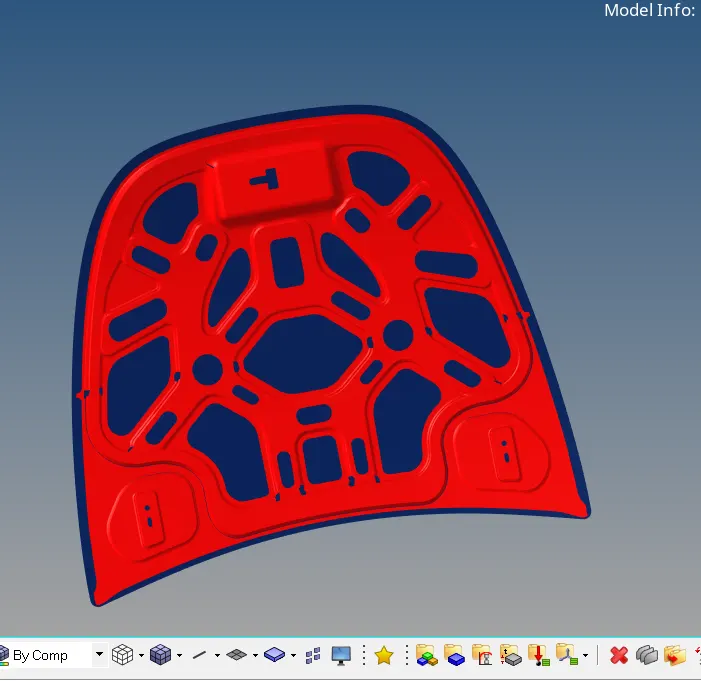
Mesh part of inner panel outer panel and mesh of latch part and hinge reinforcement
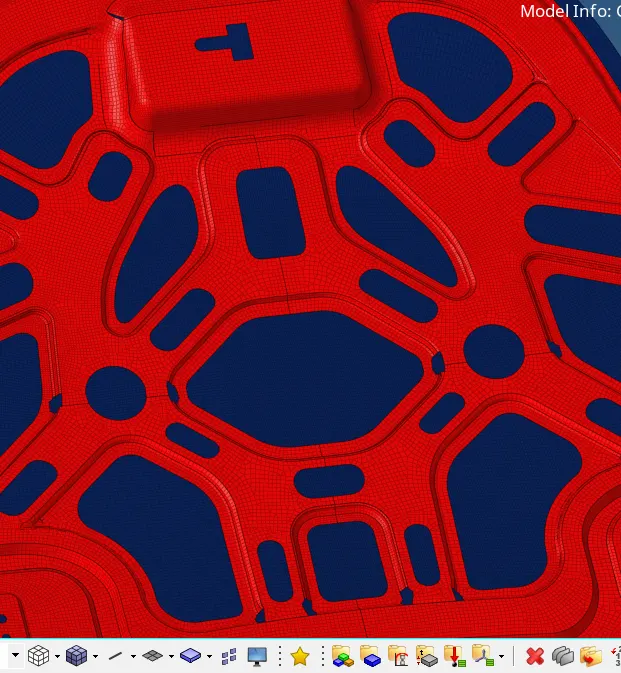
Mesh of inner part of the hood
After meshing final check, we have to do is an element connectivity, because if element is not connected with each other then there is no transfer of values like stresses, displacement and hence we get inaccurate result
Note: if you have a student version of the software then there is a limited value of nodes and elements that you can save, if your file is or mesh have larger number of nodes then your file is not going to save
Learning outcome:
- Understanding about the geometry cleanup
- Understanding about the mesh creation
- Understanding about the various quality criteria of the mesh
- Understanding about the meh generation and their cleanup and modification
- Understanding about the setting a element criteria and mesh the component according to that element criteria,
- Understanding about the elements (quad & trias) and when to use them