Week 6-Meshing of Hood Challenge
Objective : Clean up geometry.create midsurface and meshing on its as per quality criteria .
- methodology :
- import a model
- create midsurfac
- clean up geometry
- meshing as per quality criteria
- automesh
- check the qulity
- free edges
- qulityindex
- check elems
- element to surface check by the comparision
- geaometry check
- normal check
- dependency
-
model name : hood.stp
Procedure:
-
The format of the file is stp , then first of all select import solver deck command , choose import geometry type and select file type is STEP
-now select the file from our folder and import it .
-but it is not visible on our screen due to graphical issue , for that use f key and then its visible 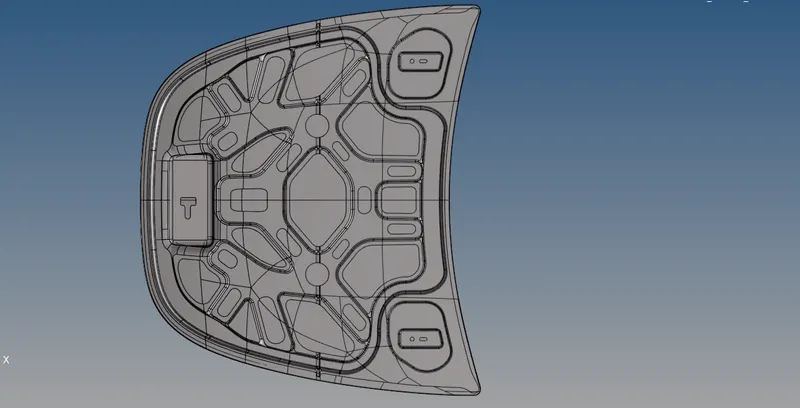
- after import model delete the solids part of the hood model.
- split part of the hood model
- work on model and process to automesh after check the qulity .
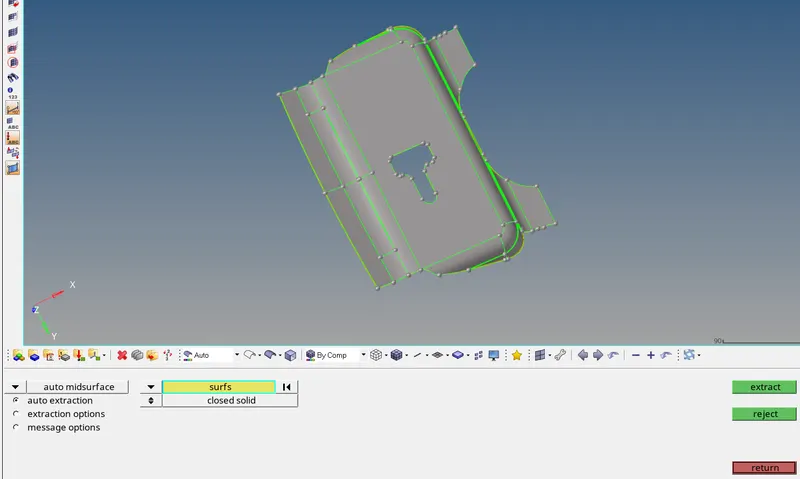
- frist part of the model is latch
- and frist process step is geom -> auto midsurface -> extract -> reture.
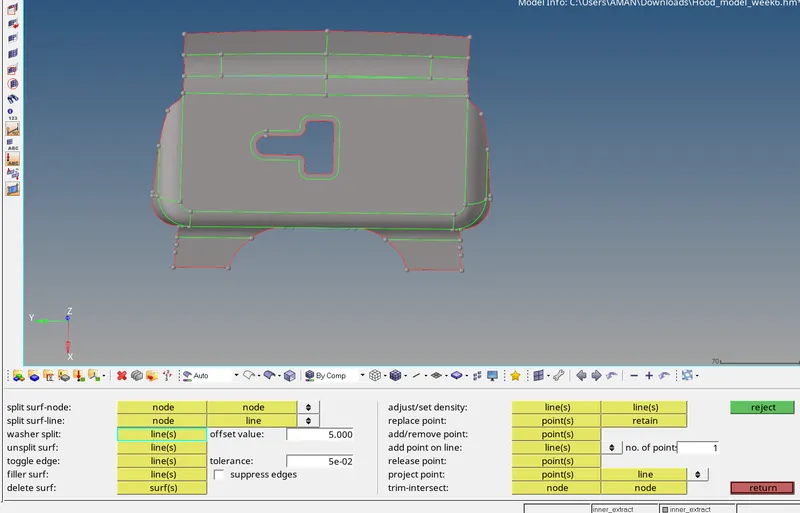
- 2nd step is the remove the unwanted node because of effect on the meshing elems and other step is use the toggle edge the commands
- autocleanup is not good wrok on compilcated model.
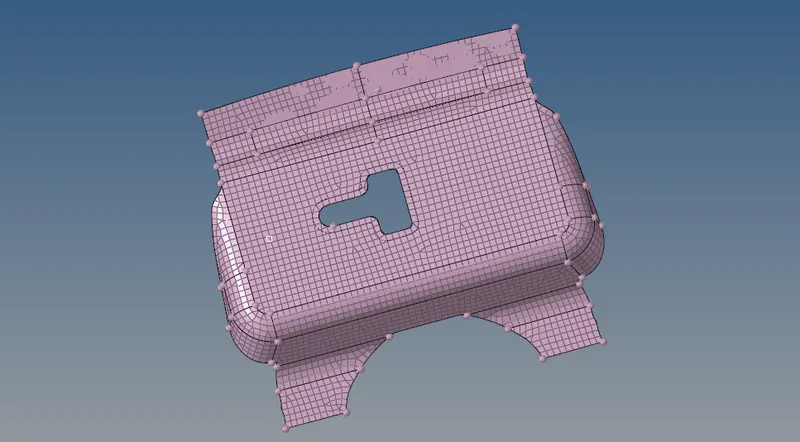
- apply the automesh and work on it .
- them check the qulityindex
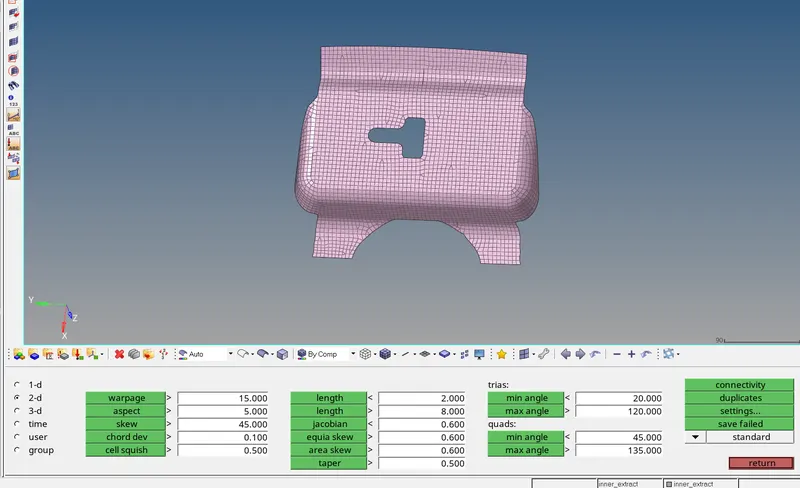
- after we are go for the next "check elems" where check the the warpage , aspect ratio , skewness ,lenth mim and max , jacobian , mim and max angle for trias ,mim and max angle for quads them return.
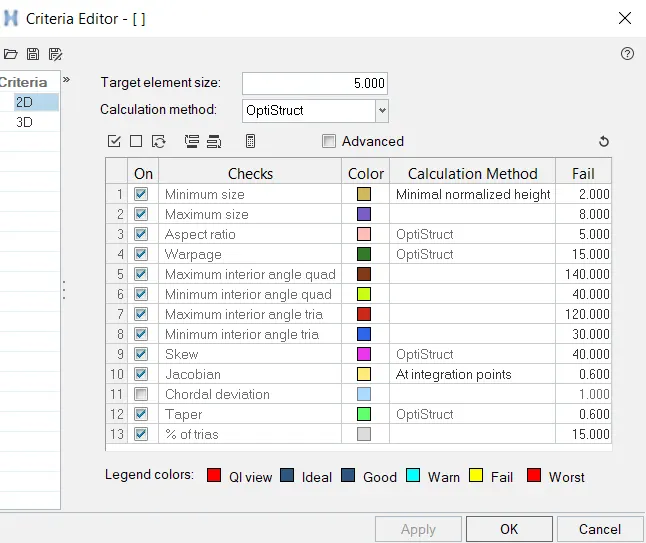
- here is given some criteia which we are follow the parameter for qulity check.
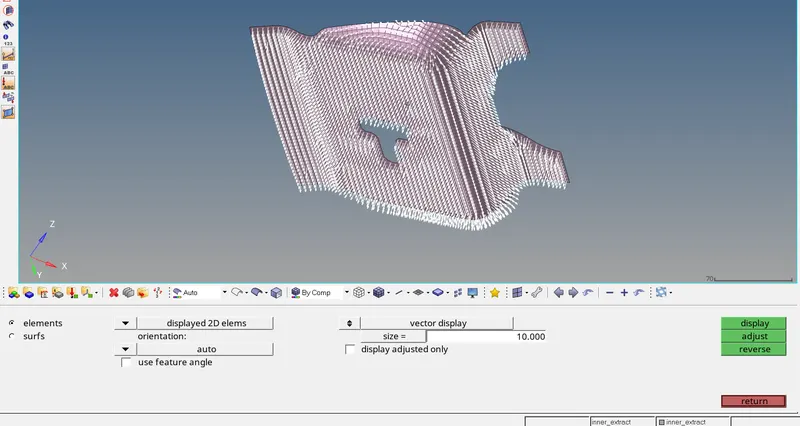
- step is geom -> auto midsurface -> extract -> reture.
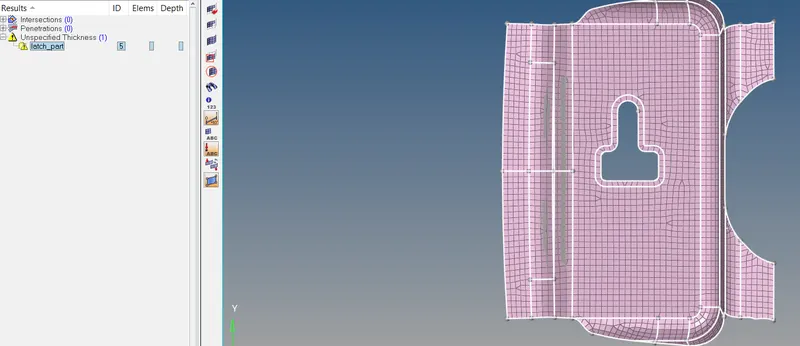
- check the penetration them here we see the thickness the is missing " unexpecited thickness" .
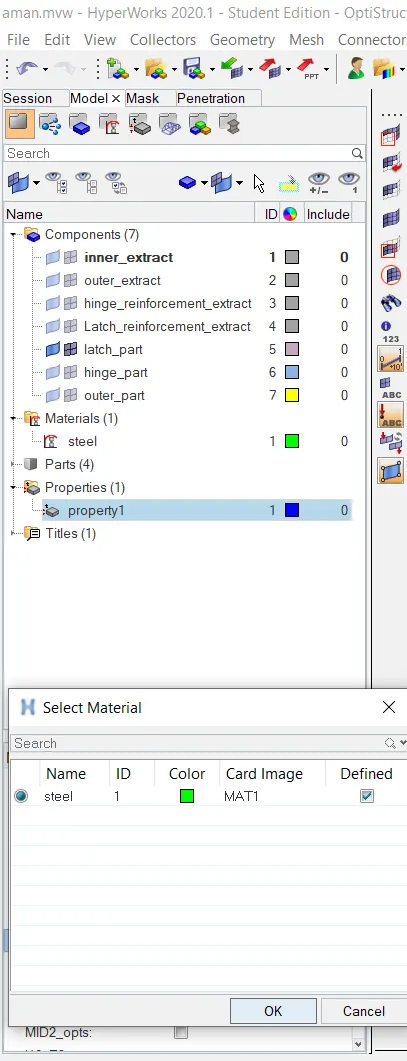
- after add the material them add the property and given the thickness
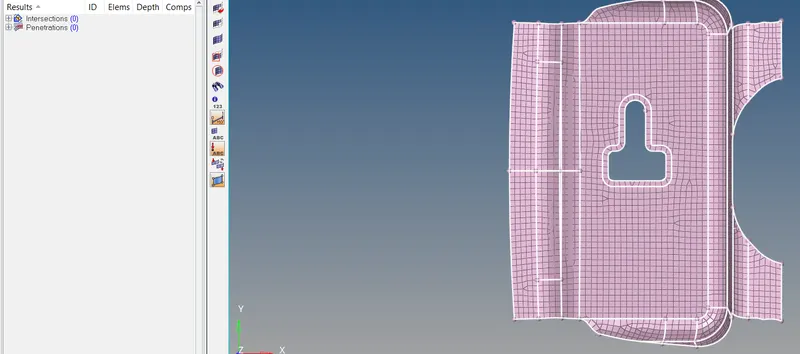
- after the apply the thickness and cross check error them we see error is clear.
- the part the comp. compeleted
- 2nd part of comp is hinge
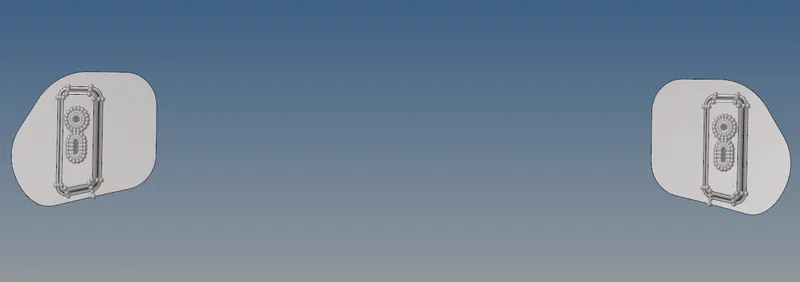
- frist process step is geom -> auto midsurface -> extract -> reture.
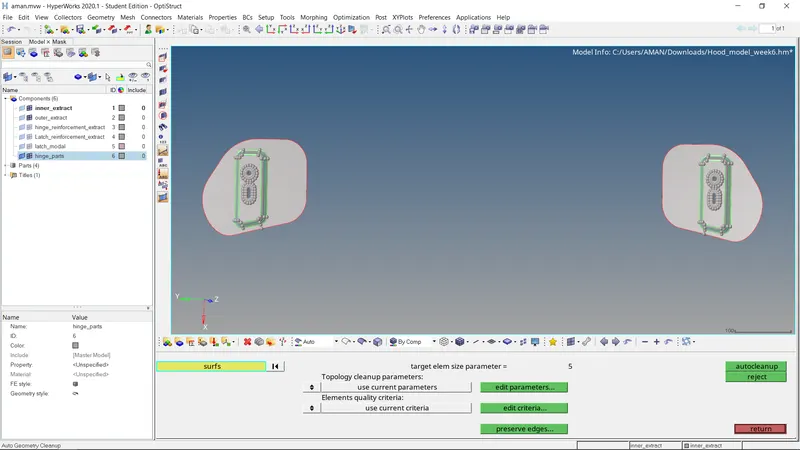
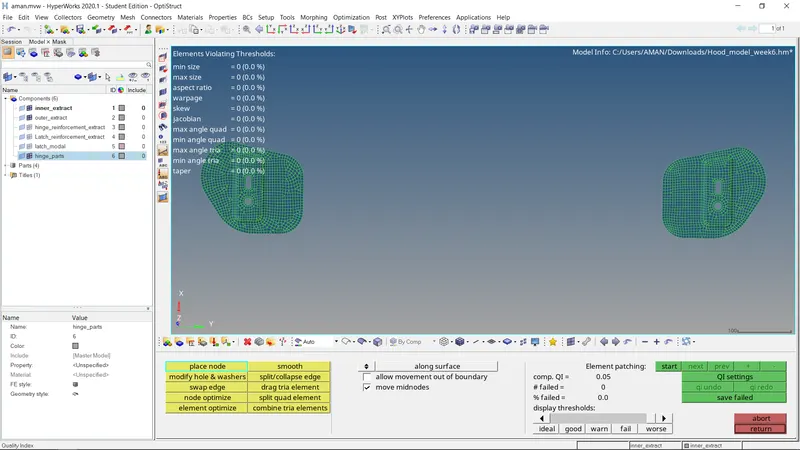
- after the meshing we go the qulityindex. as if where show the worse mesh elems them correct wiht the some give command .
- such command just like place node , smooth, drag element , combine and optimize element .
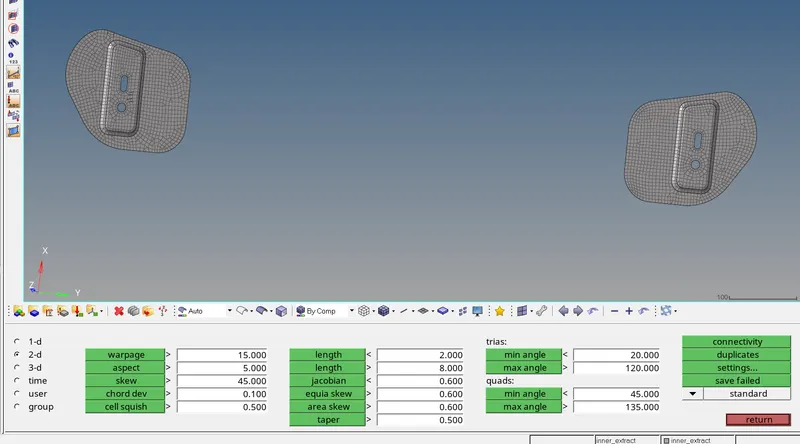
- after we are go for the next "check elems" where check the the warpage , aspect ratio , skewness ,lenth mim and max , jacobian , mim and max angle for trias ,mim and max angle for quads them return.
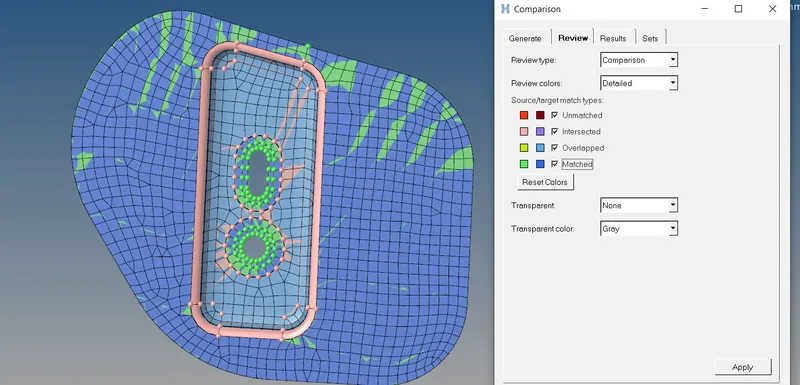
- after that check the mesh follow the some step mesh -> check -> element -> comparion
- then apply the surface and elems after that run and apply.
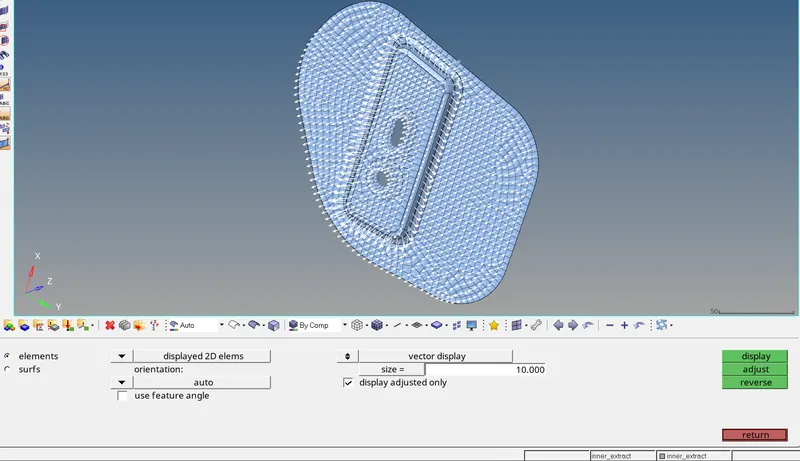
- them apply the normal for the froce apply.
- 3rd part of comp is outer part.
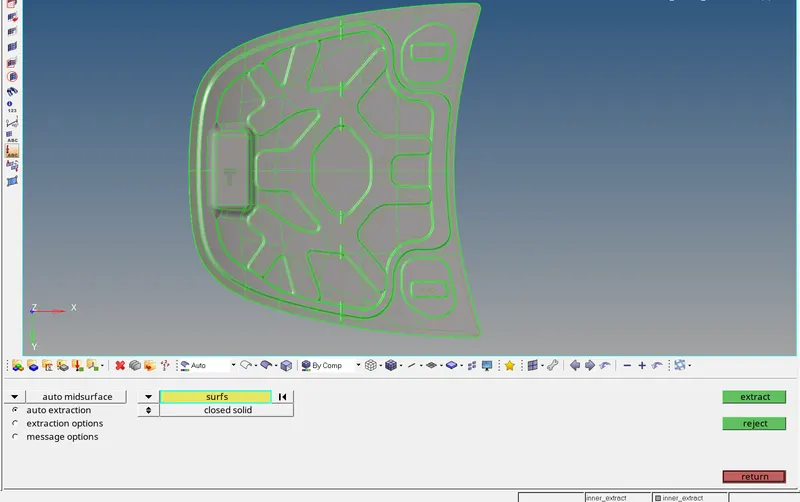
- step is geom -> auto midsurface -> extract -> reture.
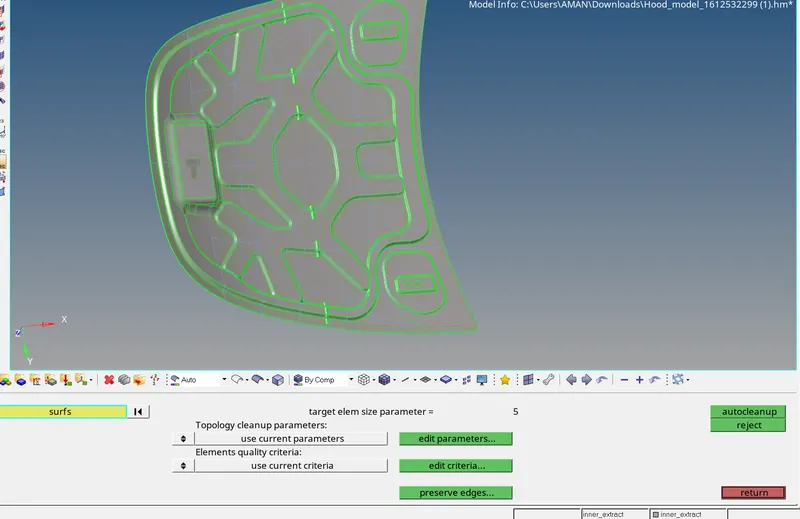
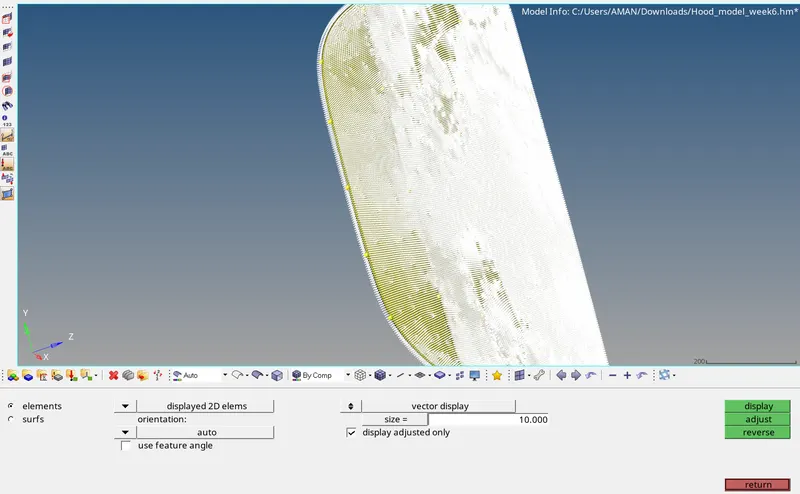
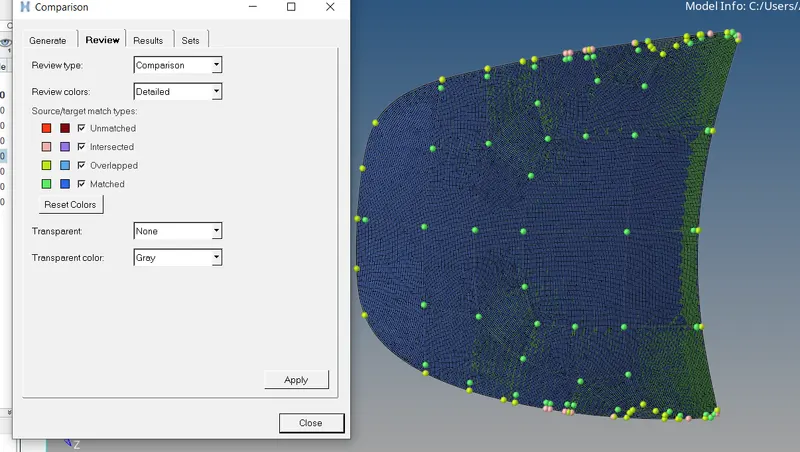
- after that check the mesh follow the some step mesh -> check -> element -> comparion
- then apply the surface and elems after that run and apply
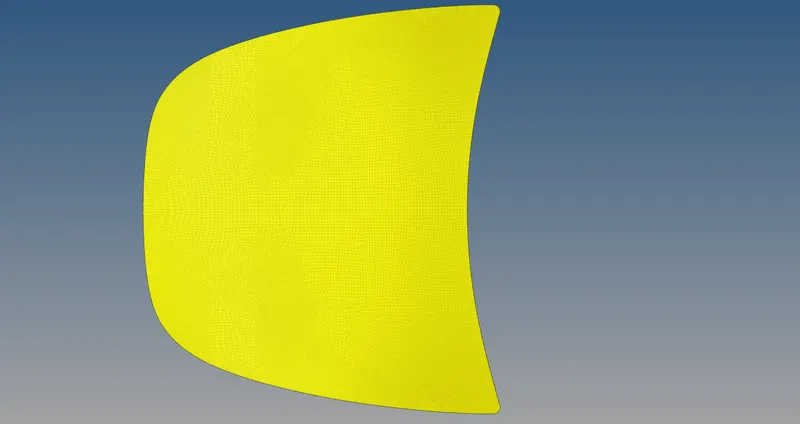
- 4th part of comp is inner part.
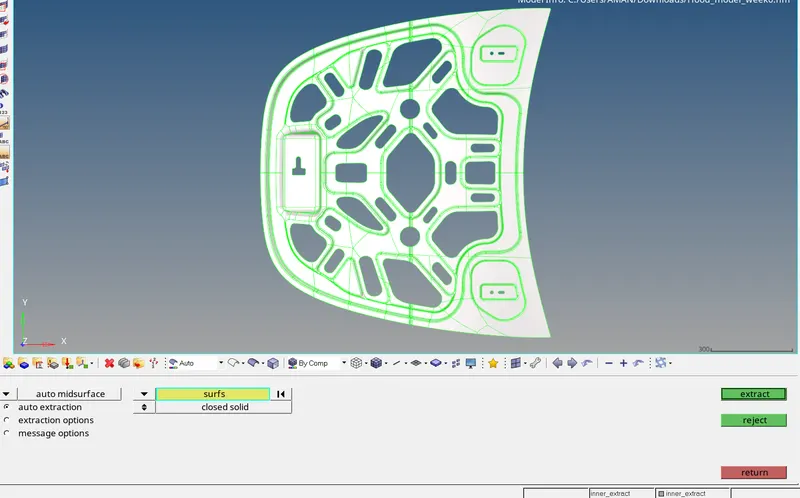
- frist process step is geom -> auto midsurface -> extract -> reture.
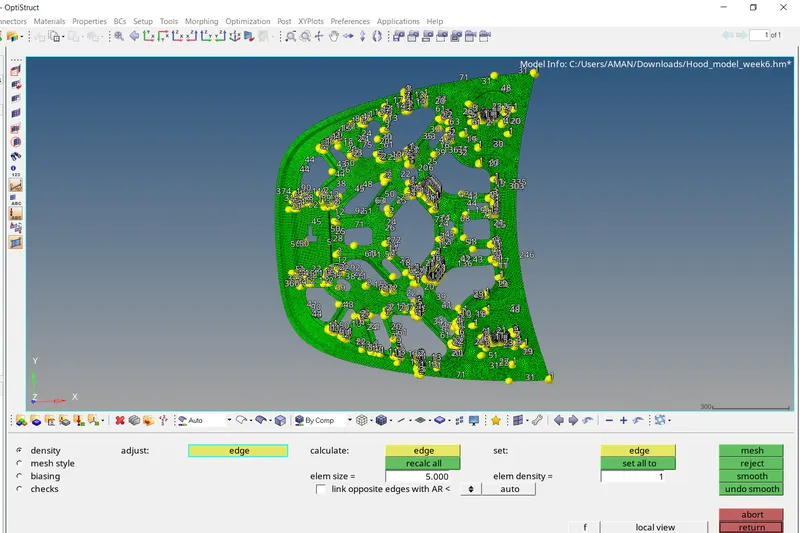 \
\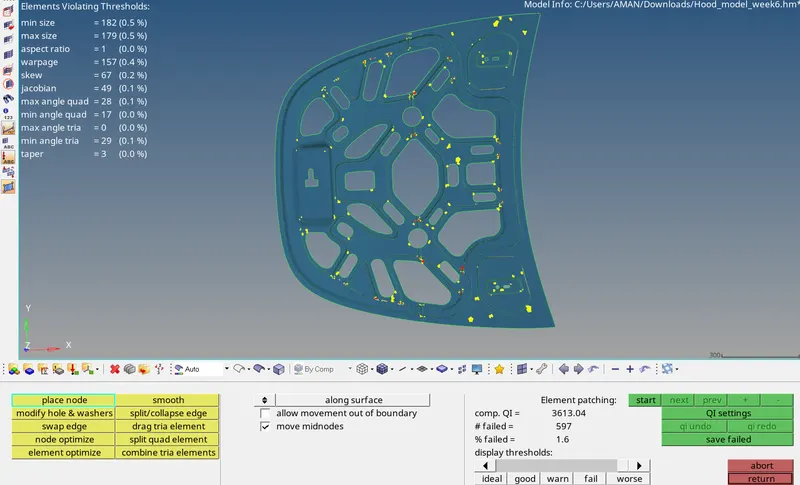
- after the meshing we go the qulityindex. as if where show the worse mesh elems them correct wiht the some give command .
- such command just like place node , smooth, drag element , combine and optimize element .
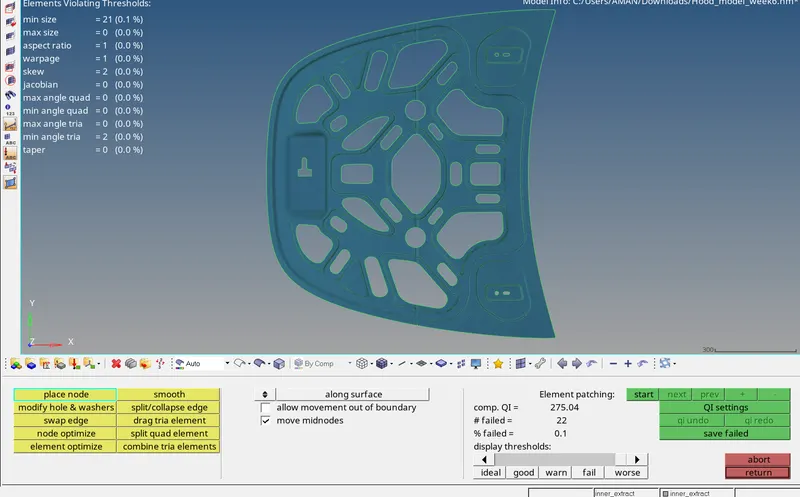
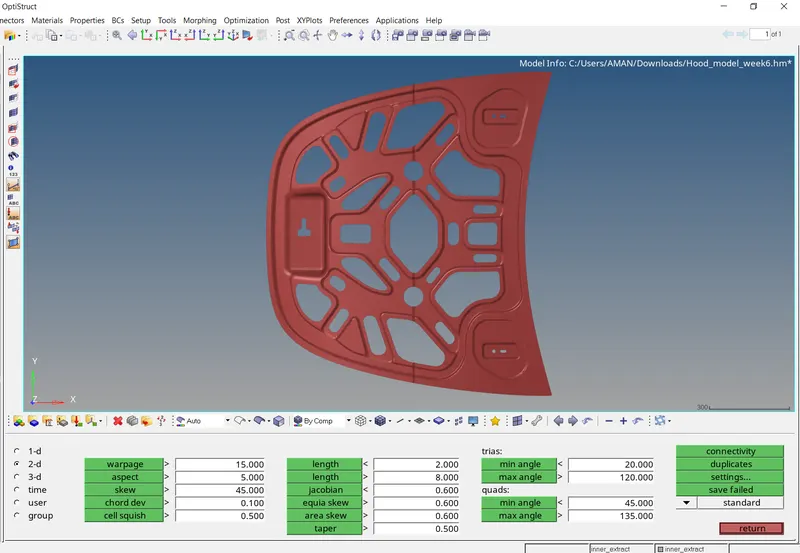
- when i am check the mim and max angle the element break the angle limit.
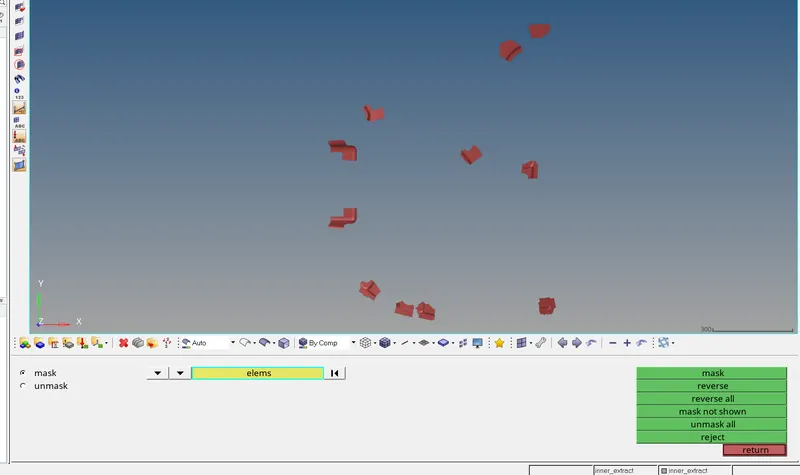
- them correct the angle the using reverse mask
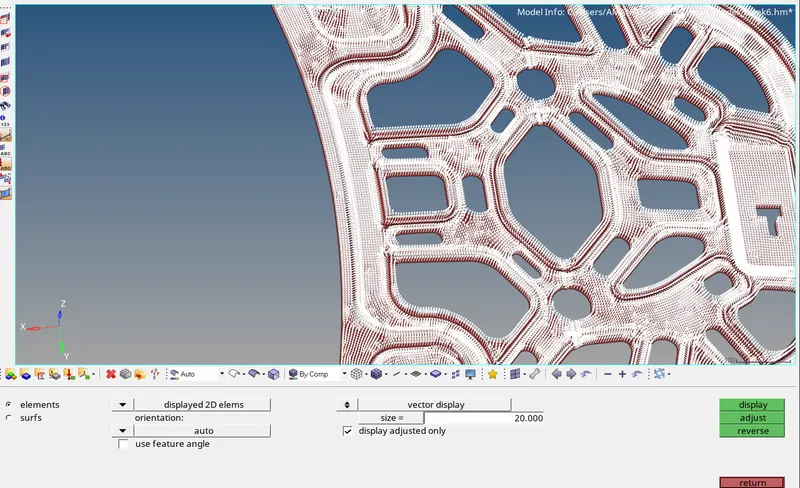
- them check the normal .
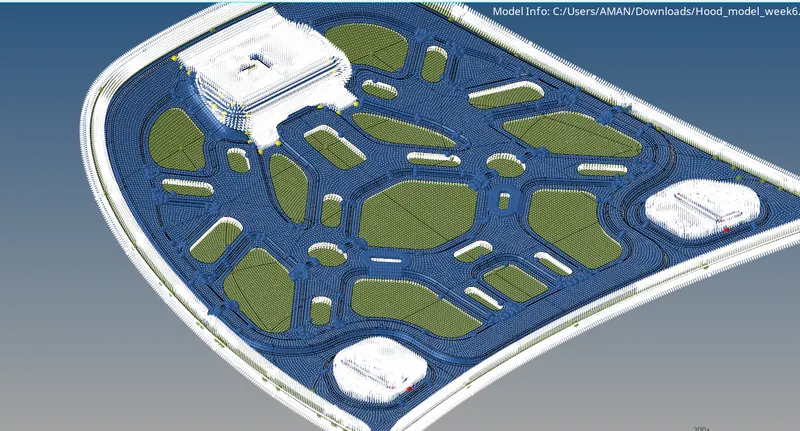
- final model of hood
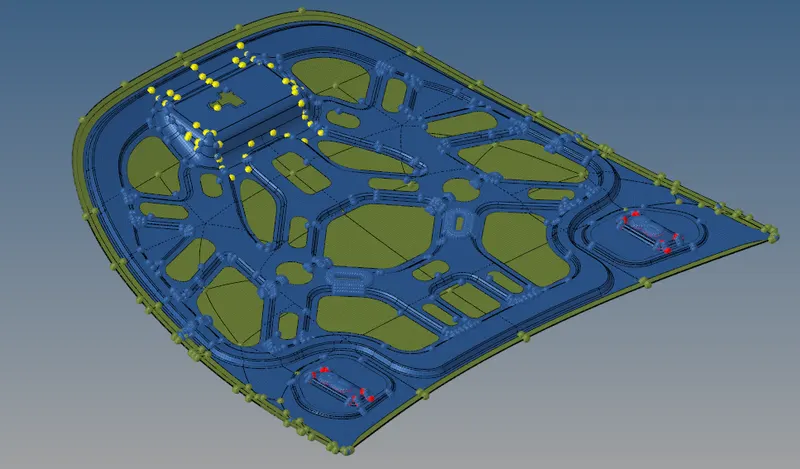
Result: The given hood assembly is successfully meshed according to the provided and quality checked.
Conclusion: In this challenge, we learn how to mesh the hood component