Week 12:Project 2-Meshing of Rear Wheel Holder challenge
AIM : To create a 2D mesh in the side door plastic component according to the quality criteria.
PROCEDURE :
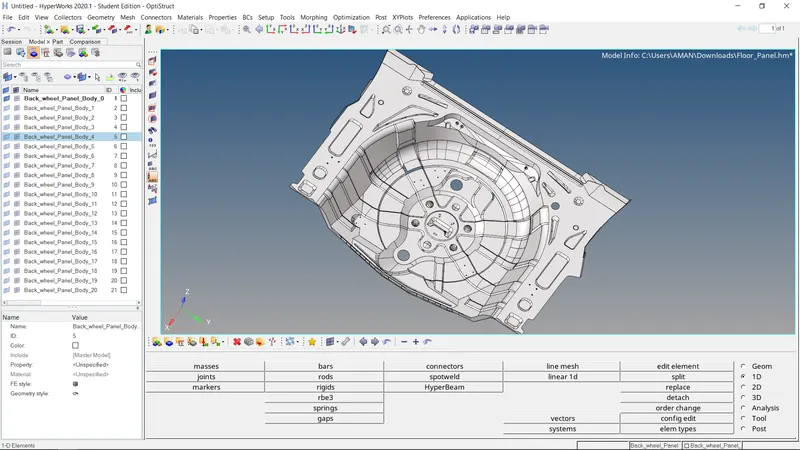
The side door plastic component has many ribs and fillets . these types of plastic component has varying thickness , we need to do 2D shell mesh on the component and asiign the thickness to the elements . before that we need to extract midsurface for the component since the thickness is varying , auto mid surface option will not capture all the ribs properly , so that we need to go for manual midsurface option Import the model in hypermesh.
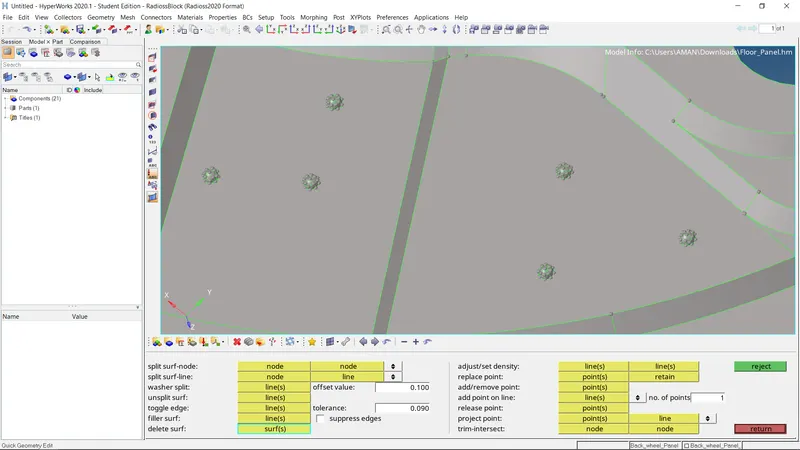
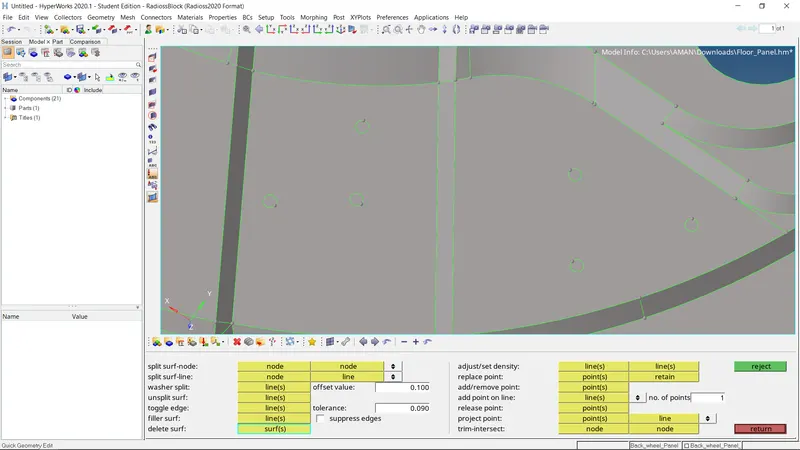
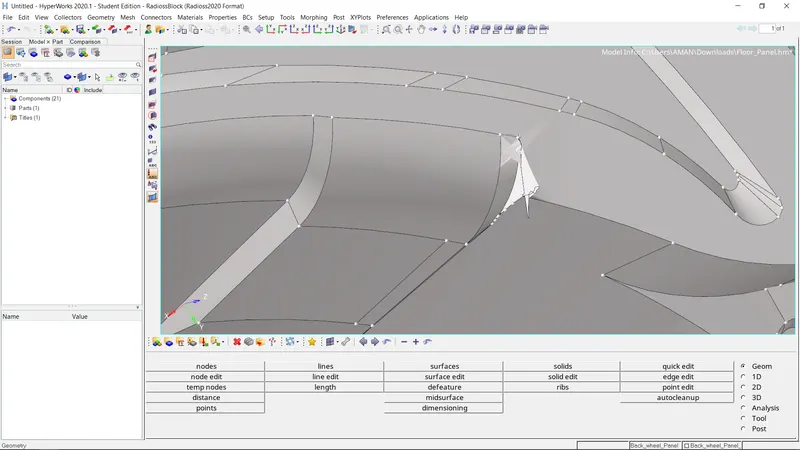
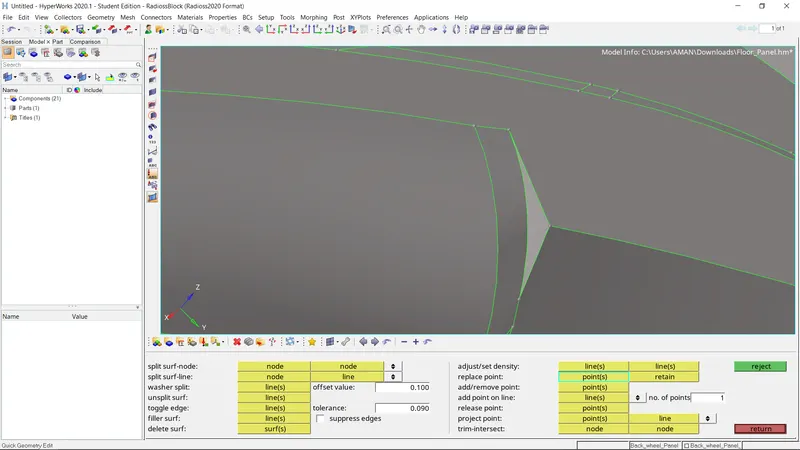
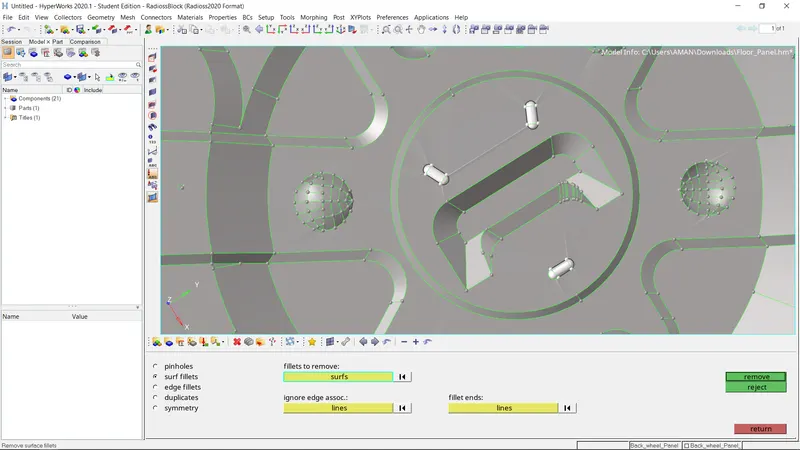
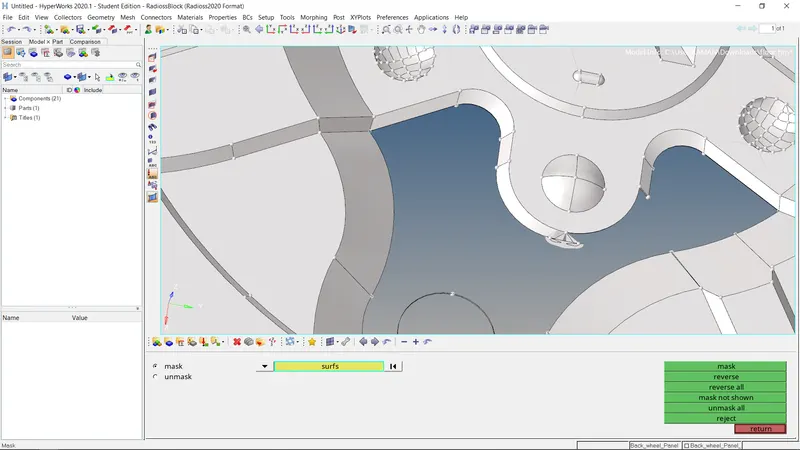
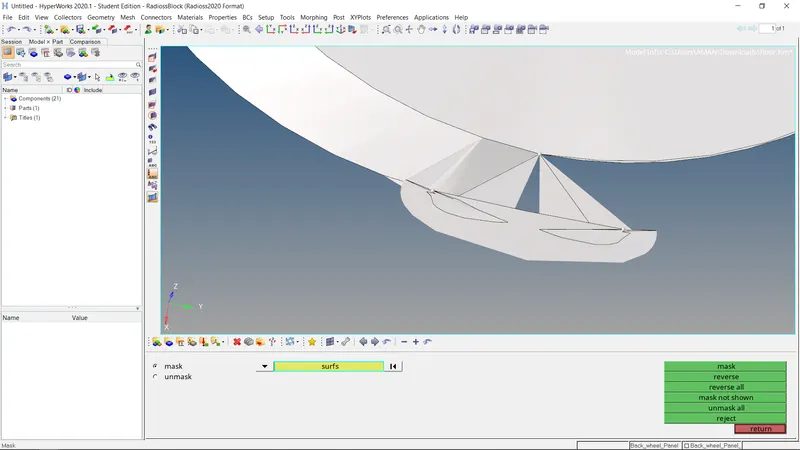
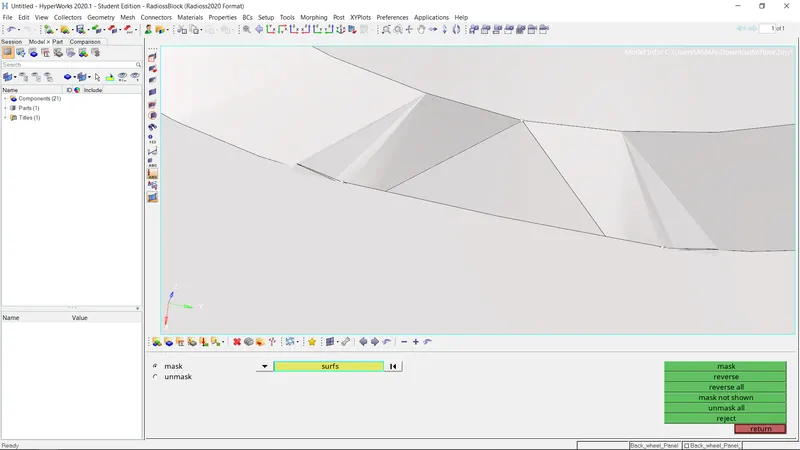
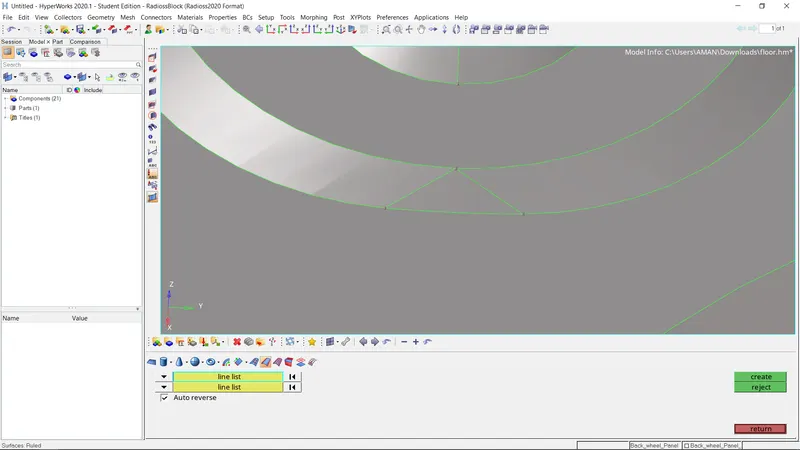
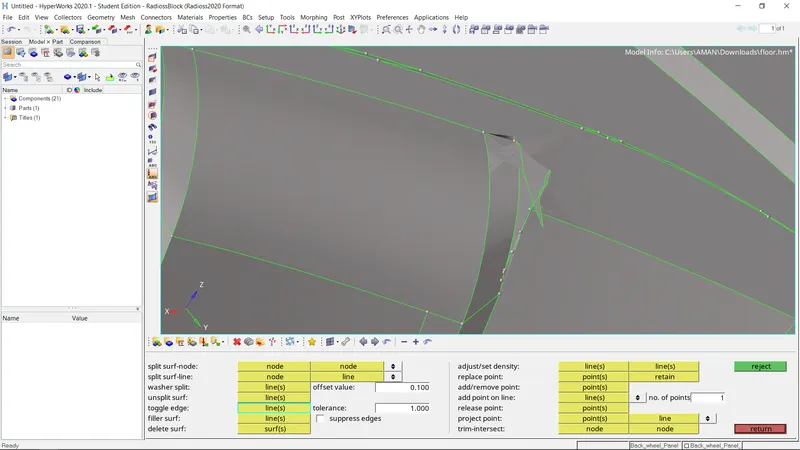
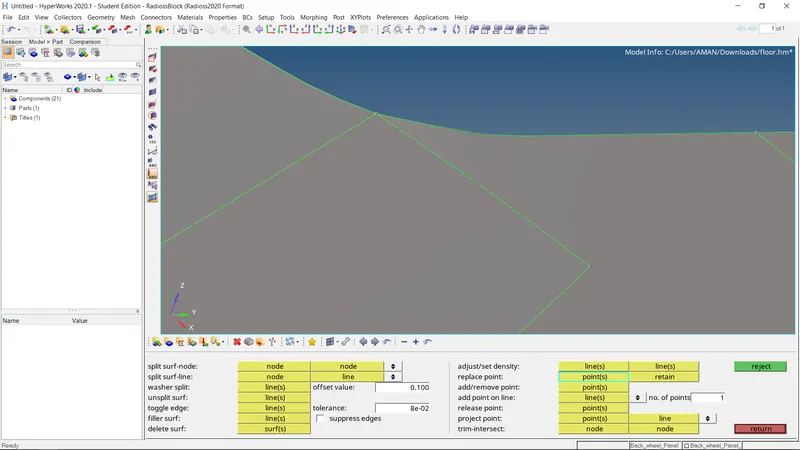
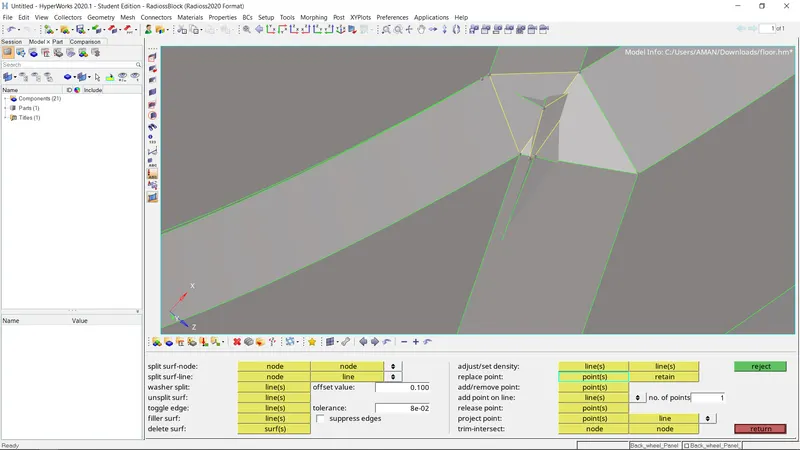
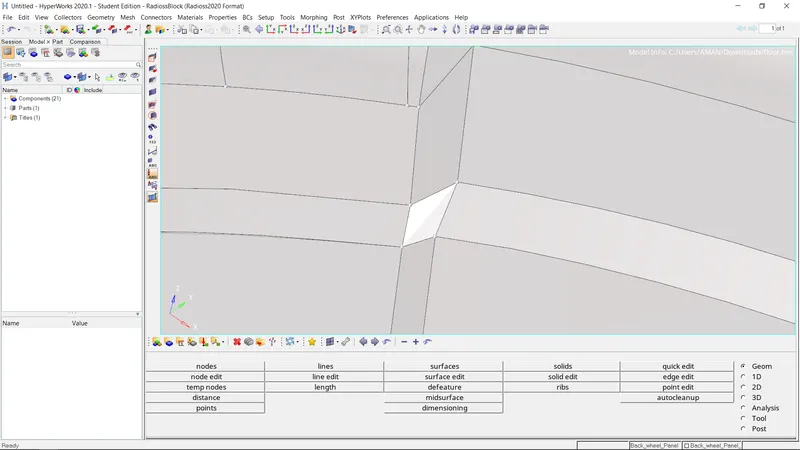
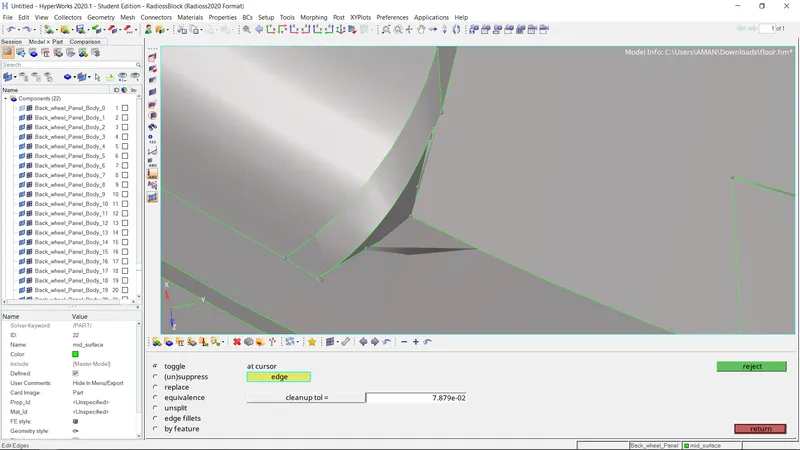
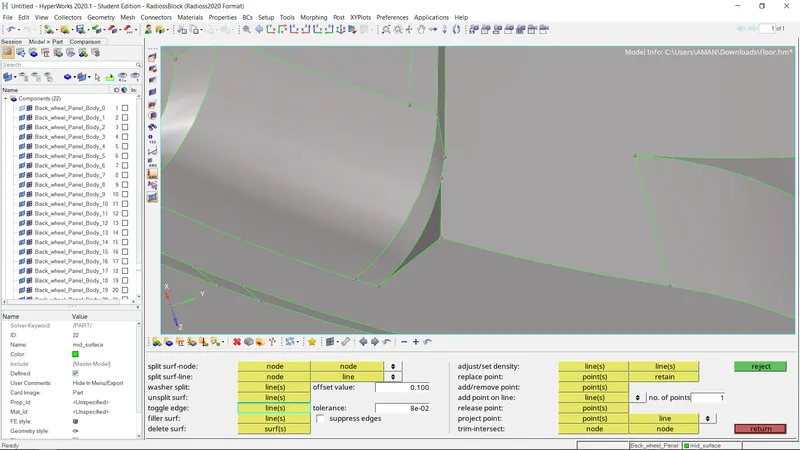
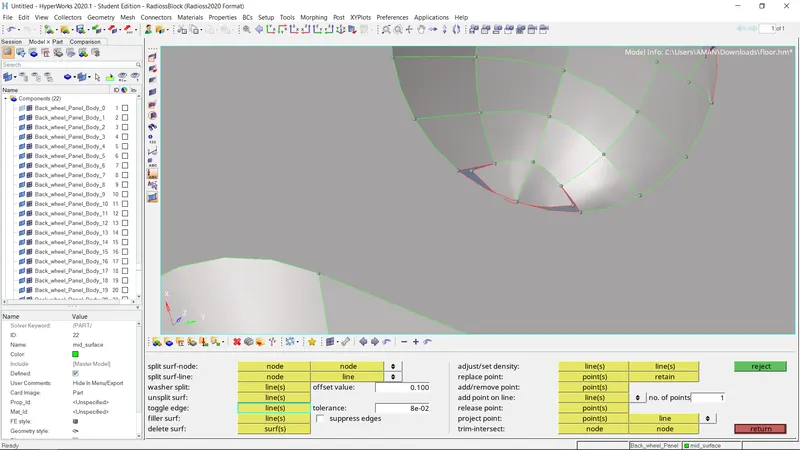
after importing the model , there will be topology errors in the component topology is that how surfaces connect to adjacent surfaces of a part , lines are in different colors for representations of surface free edge ( red color ) - associated with only 1 surface - surface with free edge between them are not equivalent at that edge shared edge ( green color ) - surfaces are equivalent and associate with two surface T - junction edge yellow color ) - associate with 3 or more surfaces - surface forming a T - connection - surfaces are equivalent suppresed edge ( blue color ) - surfaces are treated as tough combined into one surface Topology repair consisting of correcting connectivity errors between adjacent surfaces they are unconnected adjacent surfaces , duplicate surfaces missing surface
n2505014929
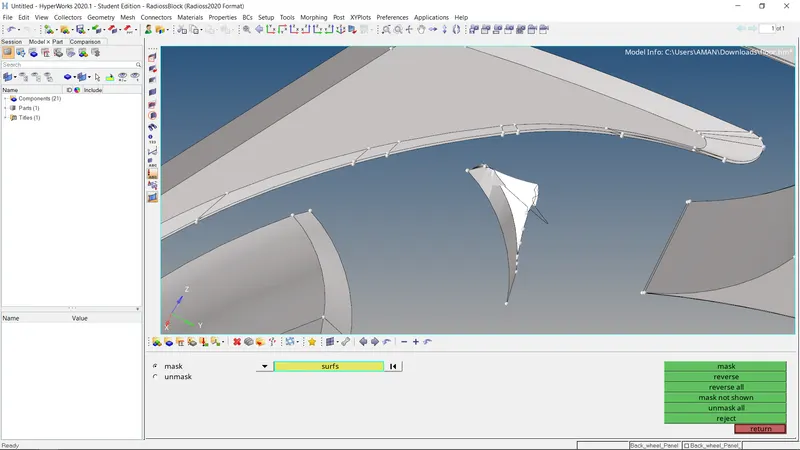
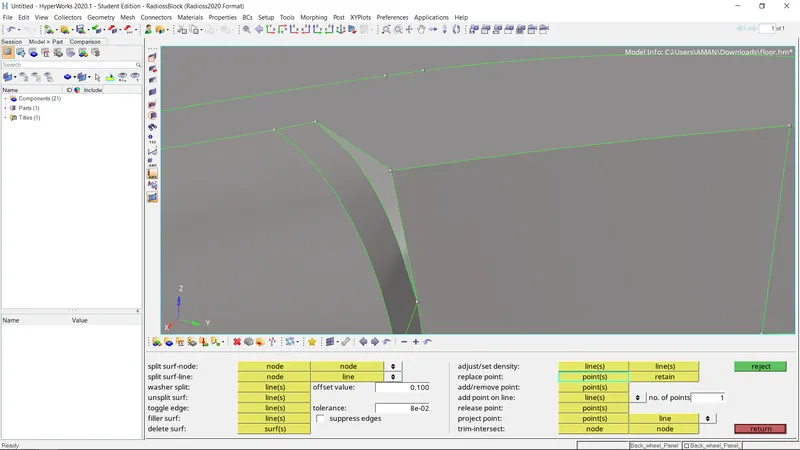
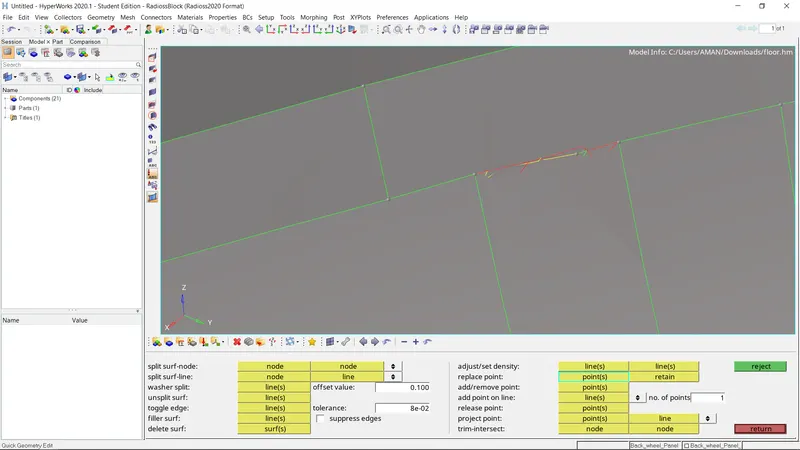
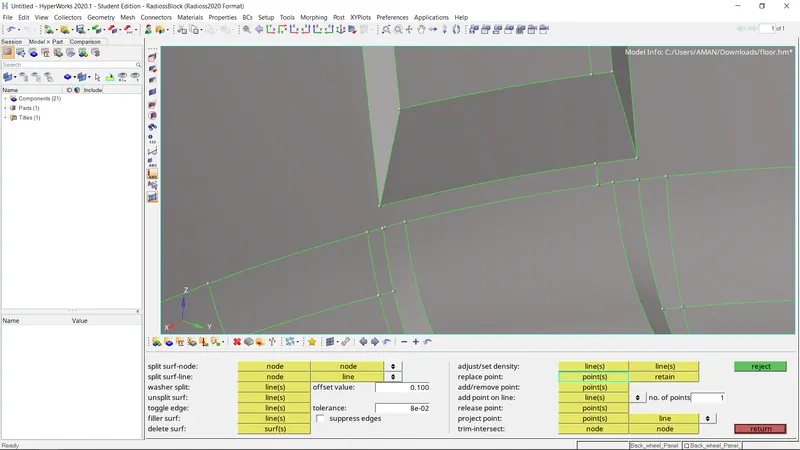
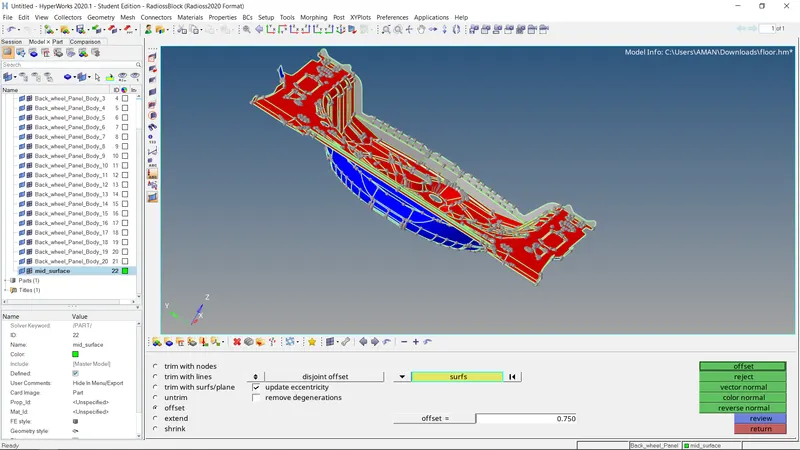
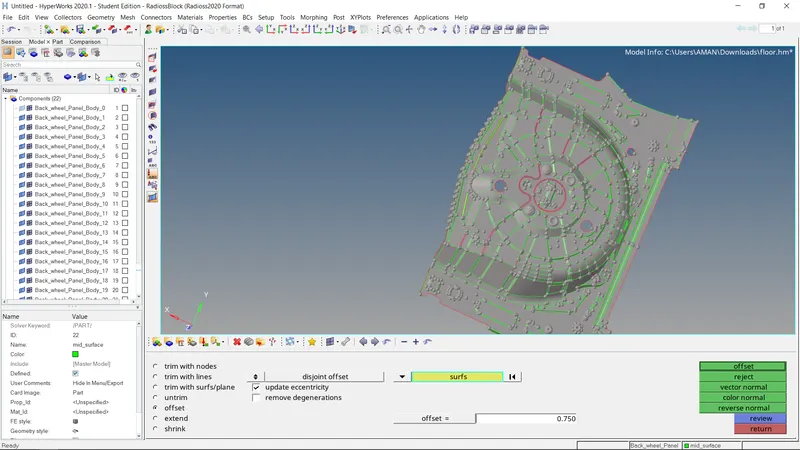
MIDSURFACE EXTRACTION : We have to take midsurface for the component so that we can do meshing on the component for that go to geom- midsurface - > select the component > extract since the component has varying thickness , the auto - midsurface option will not capture some ribs on the surface
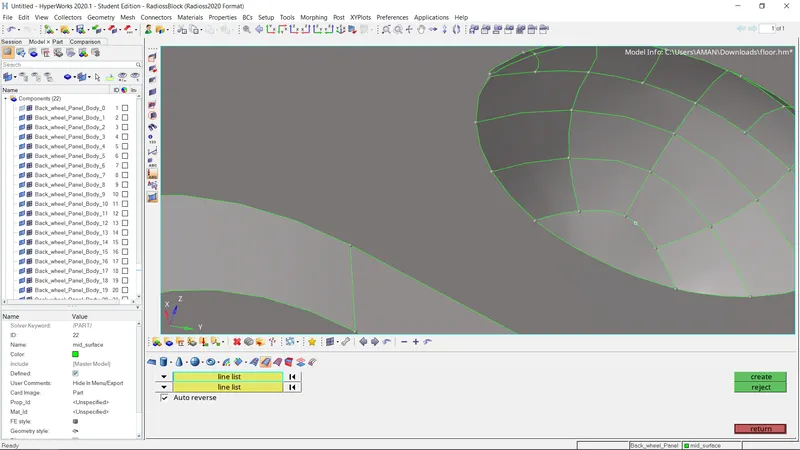
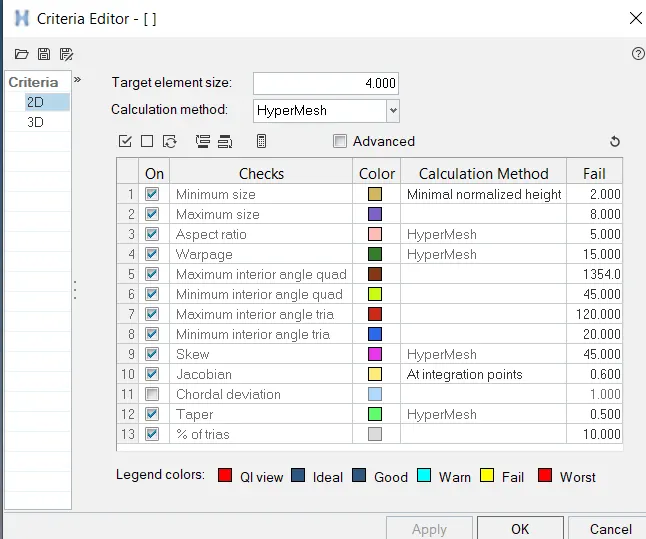
We must assign quality parameters such that meshing elements will get measured from their ideal shape. The parameters like warping, skewness, aspect ratio, etc. have to be given in the quality criteria setup.meshing parameters also have to give before meshing such that surface will get mesh under given length
Go to 2D PANEL AUTOMESH Select the surfaces needed to mesto give the element size as 4 mm > MESH Then the whole surfaces got meshed , with the radio button in dersity we can clean change the nodal densities at various locations so as to get a smooth mesh with lower number of tras Before accepting the mesh we should change the densities in such a way that the maximum tria removal is possible . Then accept the mesh . Various things to keep in mind in mesting
- If there are any opposite tras we should re - mesh these tras and thereby we can remove those tras • There should not be any mesh transition at the filet regions
- Smoothing command can be used to smoothen the mesh . For that go to TOOL panel > click on SMOOTH Select the elements needed to smoothClick on smooth until we get even mesh flow • Never place TRIA elements at the edges or inside the washer
- Adjacent TRIAS must be removed . For that we can use DRAG TRIA option in QUALITY INDEX tab in 2D panel . We can select the tra and drag it to any other position so that we can remove the adjacent tras • Rotating Quads are not acceptable in CRASH TEST but acceptable in structural analysis . Same directional following TRIA elements are acceptable in CRASH ANALYSIS but not permissible in structural analysis . Always mesh the component keeping in mind the quality requirements For fixing quality issues we use quality index in 2D panel
- Place node option is used to move the nodes freely to minimise the quality
- smooth option is used to smooth the mesh flow
- Element optimize is used to optimise the element quality
- Drag tria is used drag the tra elements from one side to another Split quad element option is used to split quad element into two tria element
• Combine the elements is that combining two tra into one quad element
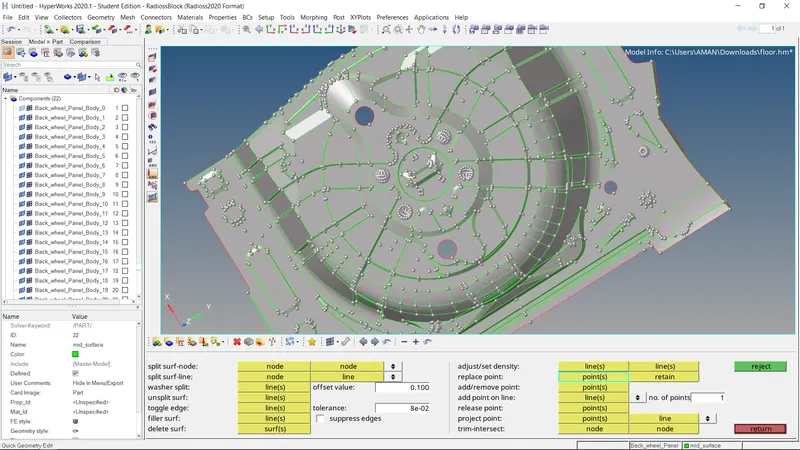
final model
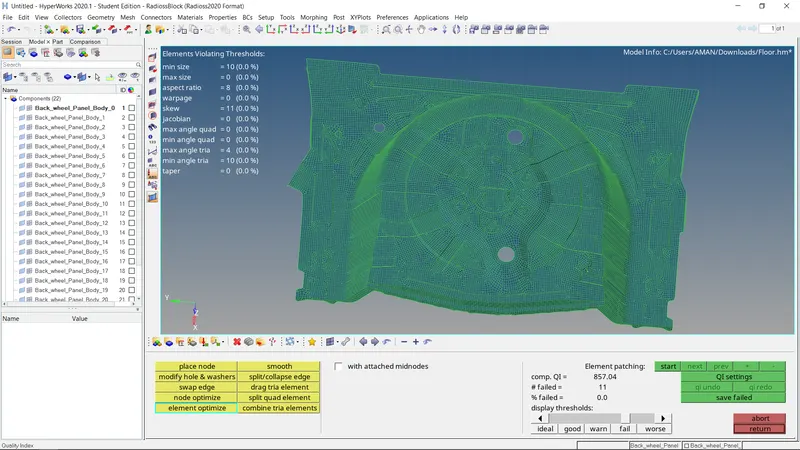
Result:-
Process of meshing the complex plastic components is learned with this project in some plastic components, there may be waste parts present in model.CAE engineers should find out the exact geometry in the floor plane components by properly removing those waste parts and then carry out the meshing step by step.