Week 6-Meshing of Hood Challenge
1. AIM: Meshing of the hood model as per the given quality criteria using Hypermesh.
2. OBJECTIVES OF THE PROJECT:
Mesh the Model with below-mentioned quality criteria and assign the thickness.
Target Element Length = 5 Units
| S.N | Quality Criteria | Value |
| 1 | Aspect Ratio | 5 |
| 2 | Skewness | 45 |
| 3 | Warping | 15 |
| 4 | Taper | 0.5 |
| 5 | Min. Length | 2 Units |
| 6 | Max. Length | 8 Units |
| 7 | Min angle Quad | 45 |
| 8 | Max angle Quad | 135 |
| 9 | Min angle Tria | 20 |
| 10 | Max angle Tria | 120 |
| 10 | Tria % | 10 |
3. BODY OF THE CONTENT:
- COMPONENT VALIDATING
The File "hood.hm" has five components, as per below images.
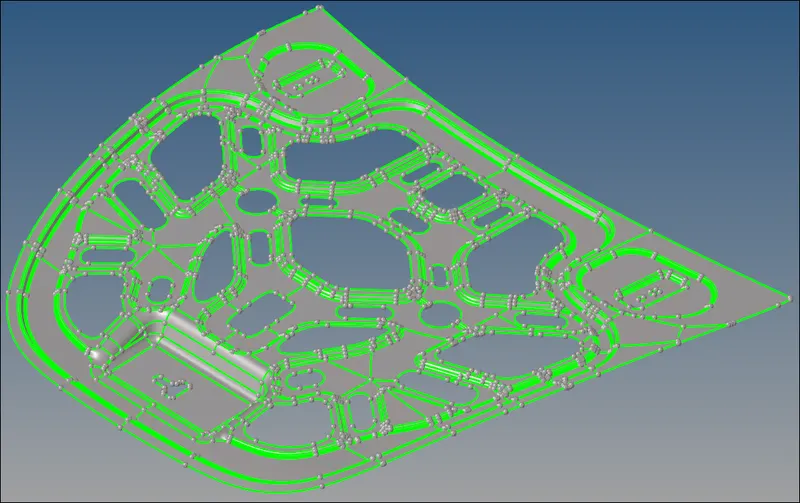
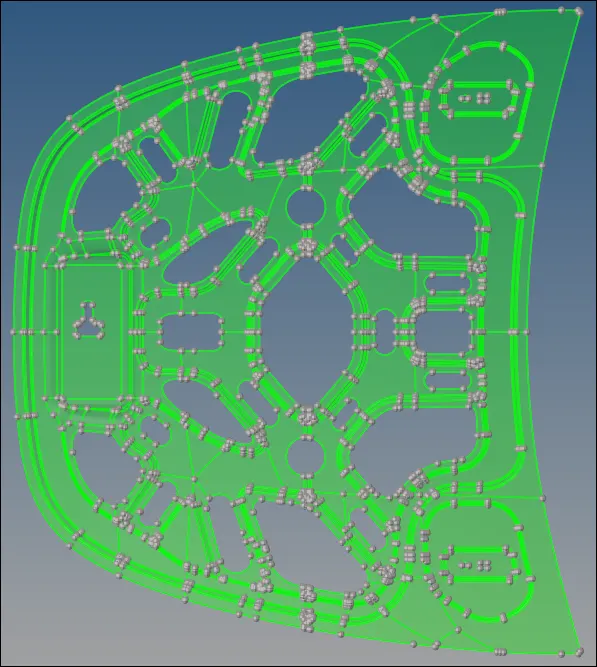
Image: 01_inner_extract
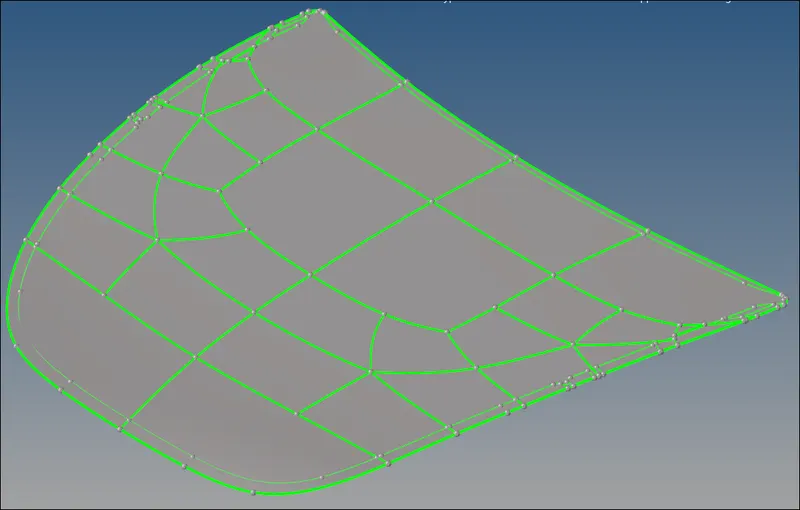
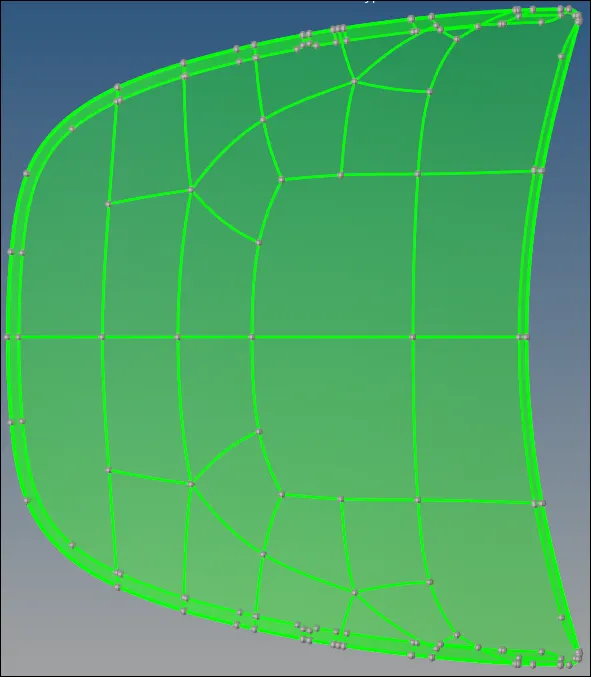
Image: 02_outer_extract
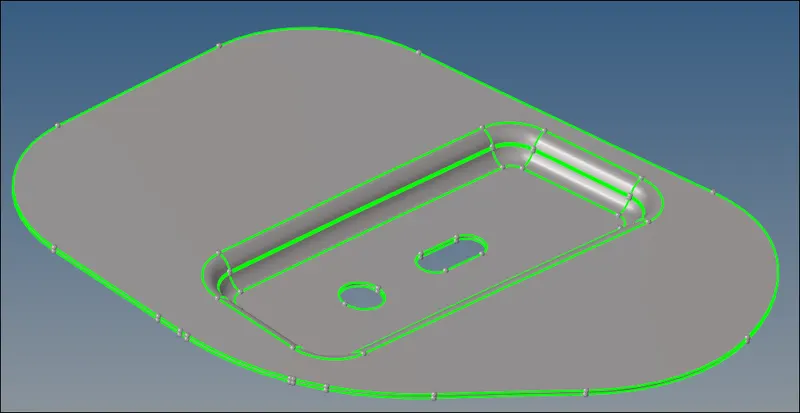
Image: 03_hinge_reinforcement_1
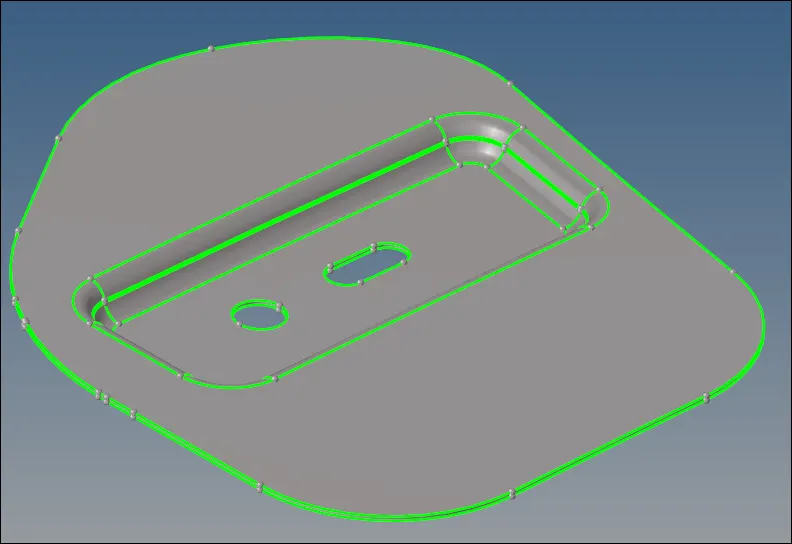
Image: 04_hinge_reinforcement_2
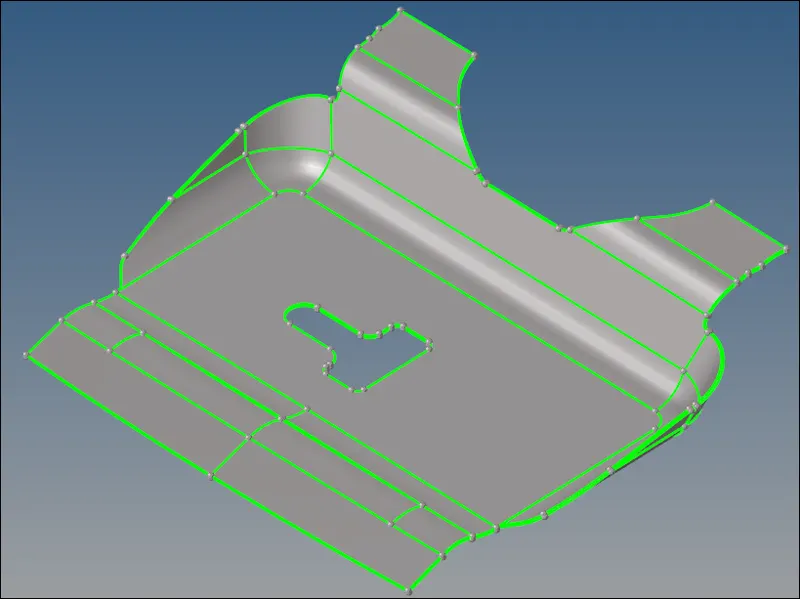
Image: 05_Latch_reinforcement
- MID-SURFACE GENERATION
After importing the model, checking geometry manually for the error, but there is no major error found. Then check the thickness at different locations and based on that we can consider it as a sheet metal part. It has 0.75, 0.75, 1.2, 1.2 & 1.2 thickness respectively. So, for sheet metal parts to extract the mid-surface the best option is 'skin offset' (Midsurface > Extraction Options > skin offset). Can see the mid-surfaces of components as per below.
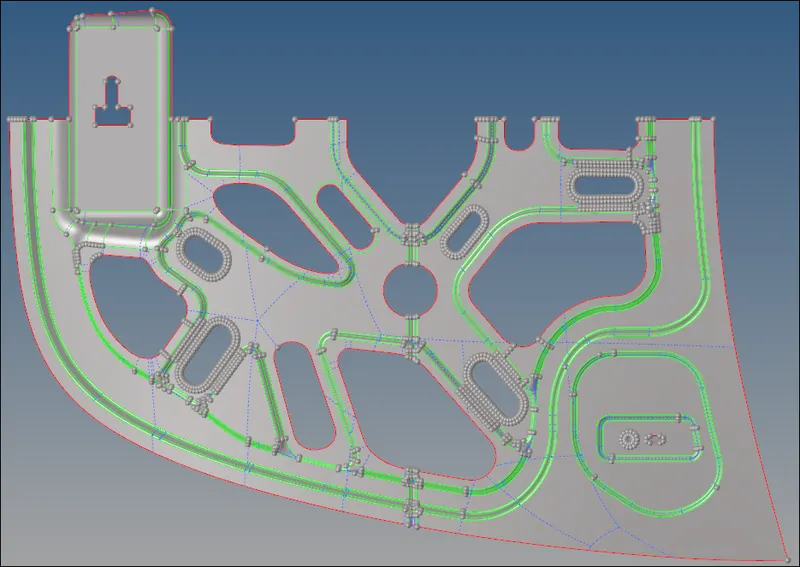
Image: 06_inner_extract
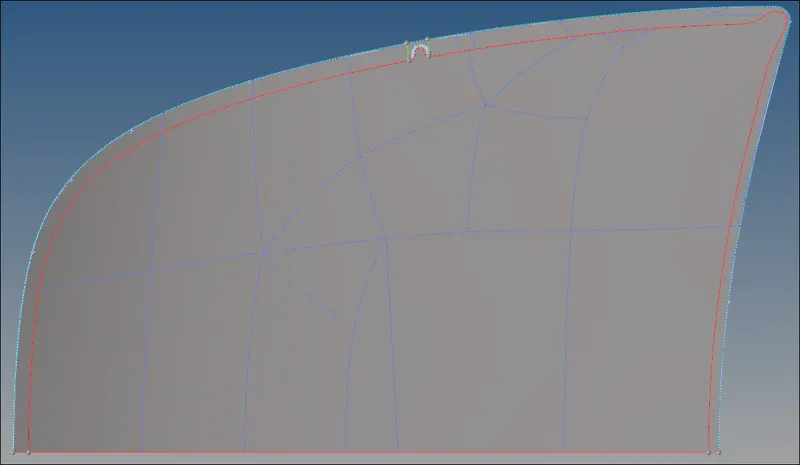
Image: 07_outer_extract
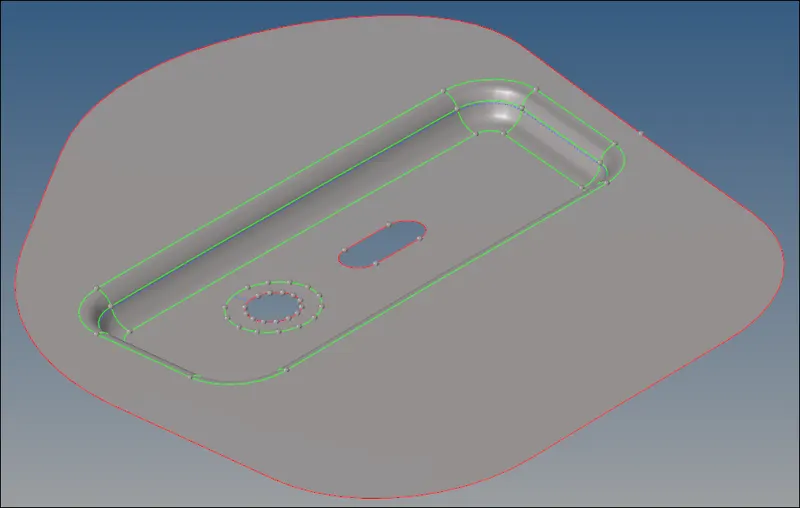
Image: 08_hinge_reinforcement_1 & hinge_reinforcement_2
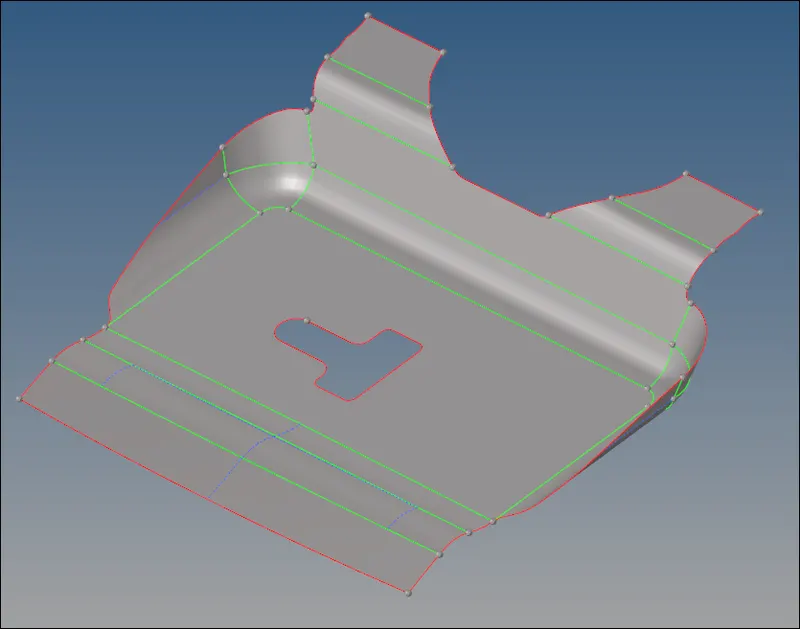
Image: 09_Latch_reinforcement
Here, the mid-surface generated is almost good, no errors are there. The inner_extract & outer_extract are symmetric type geometry about a common plane. So, half of that part is deleted, that can be seen in the image 06 & 07.
- GEOMETRY CLEANUP & MESHING
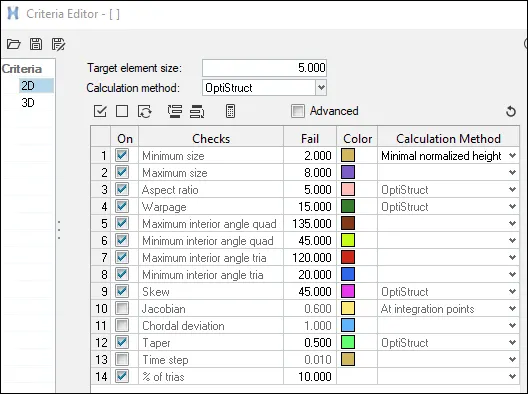
Image: 10_Criteria Editor Window
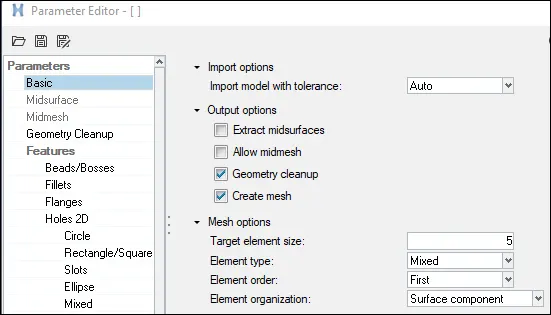
Image: 11_Parameter Editor Window
Before starting Geometry cleanup & meshing, we have to be sure that we entered the right values in the Criteria & Parameter Editor window. can see the entered values from above images.
Hypermesh has an 'auto cleanup' function (Geom > autocleanup) to clean up the geometry. Here we have used this function. Sometimes this function does not work well, But for these components it works well. Still need to work on some areas (see image 12), correct those areas using supprasing & creating new edges, using 'Geom > surface edit', 'Quick Geometry Edit' and more...
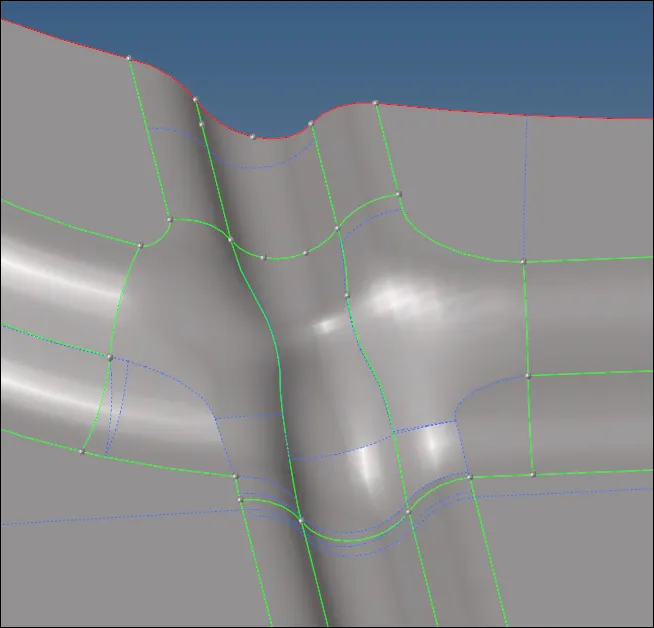
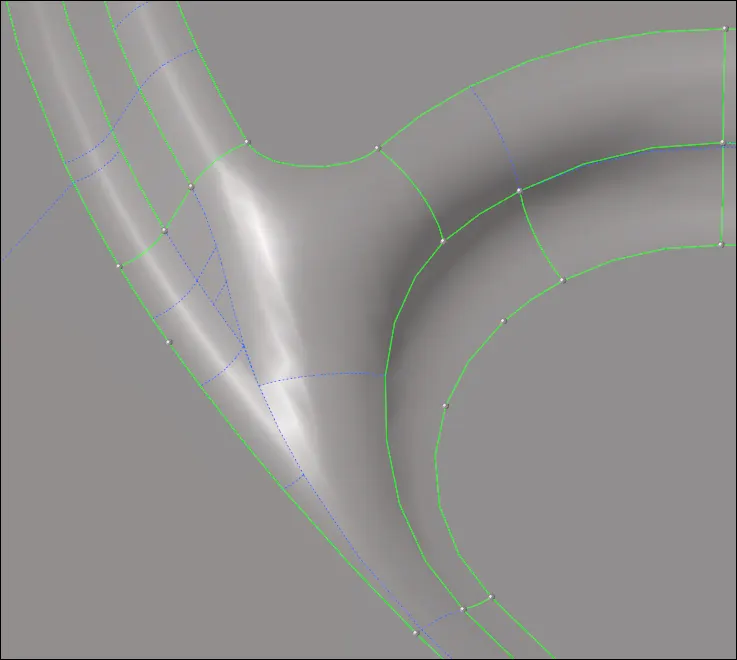
Image: 12_Some_complex_areas
After geometry cleanup, it's time to generate a mesh. Here the 'automesh' function (2D > automesh) is used. Can see the mesh generated in below images. In some areas mesh is not good as per quality criteria. So, using some other function we have to correct it. Like, edit element, split, replace, smooth. Using 'qualityindex' we can check the failure of the elements as per the quality index and also correct it using the quick edit function.
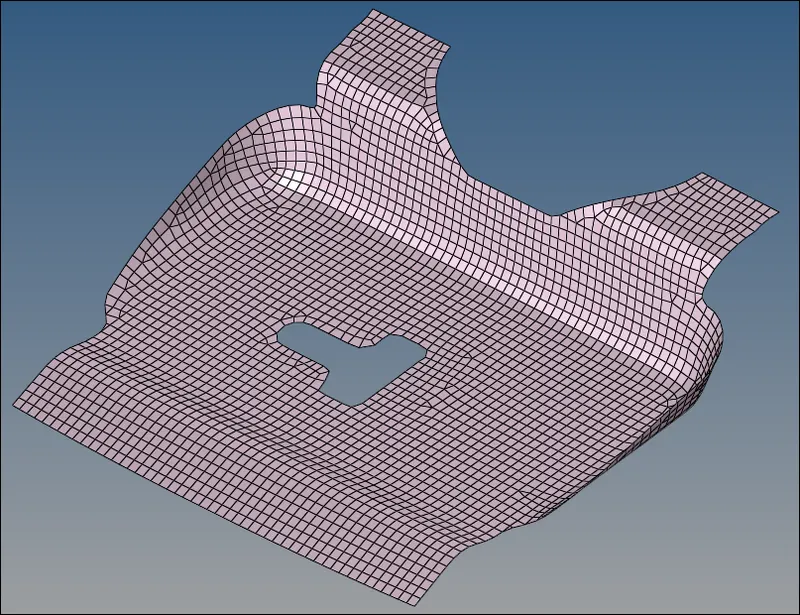
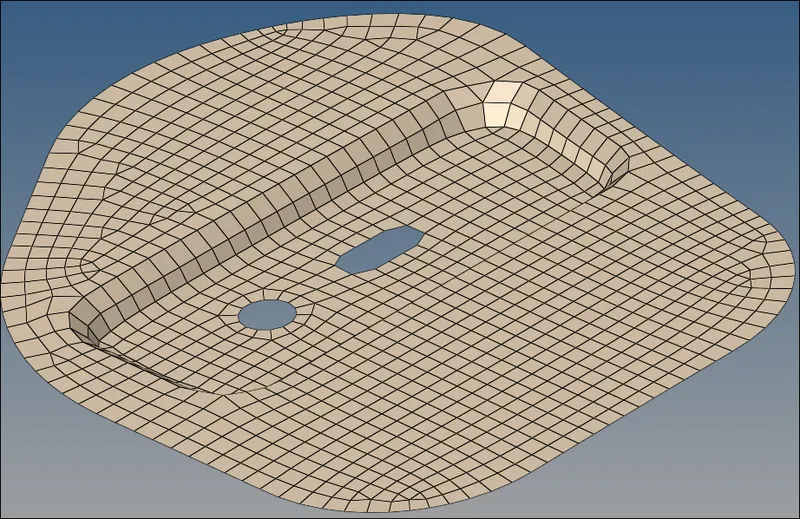
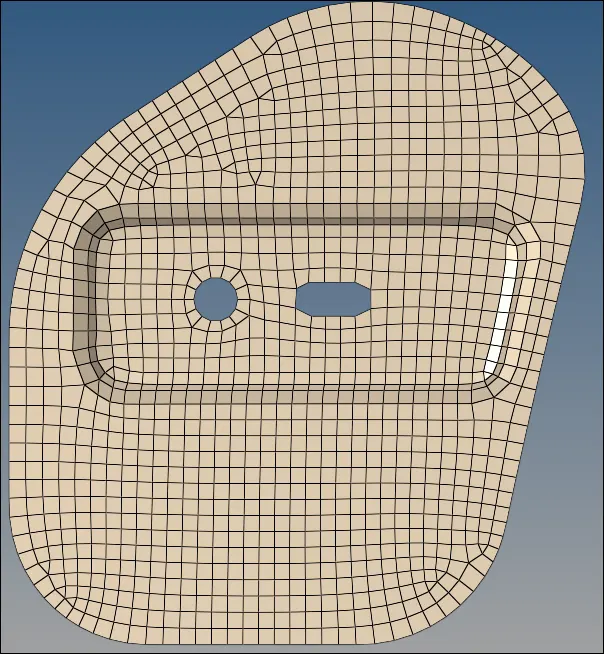
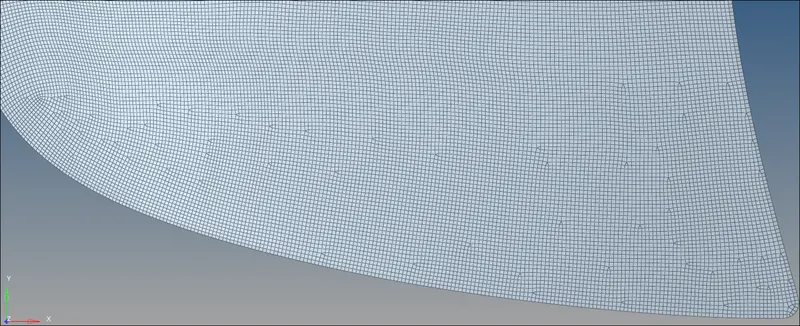
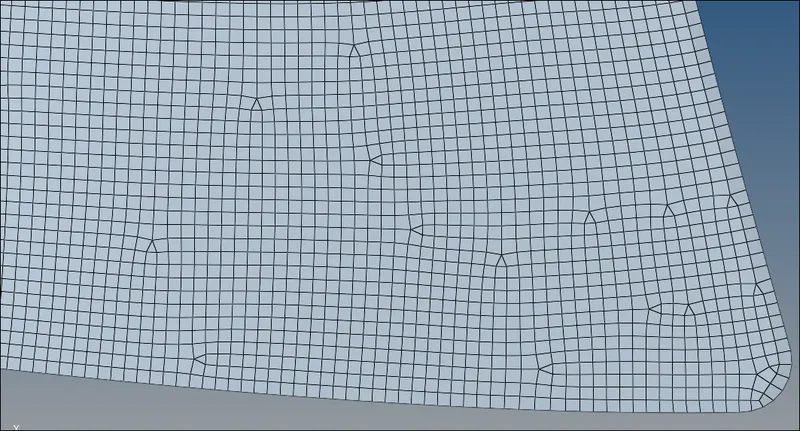
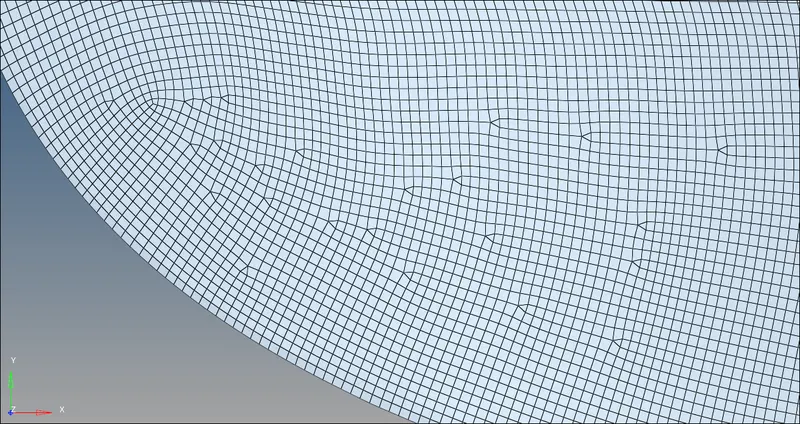
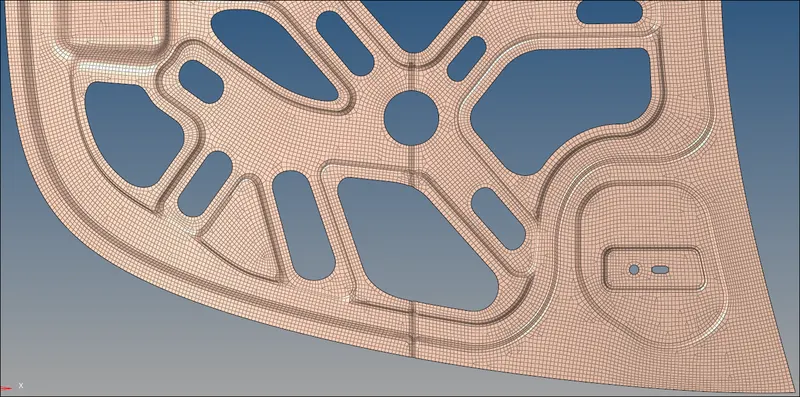
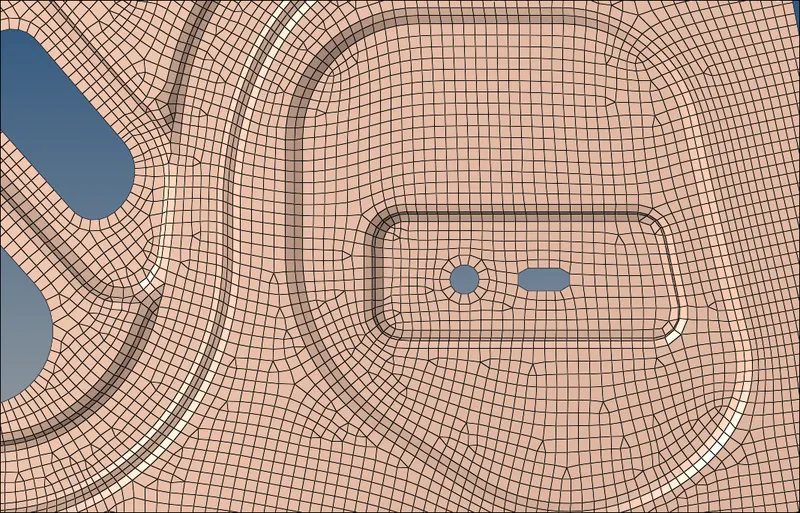
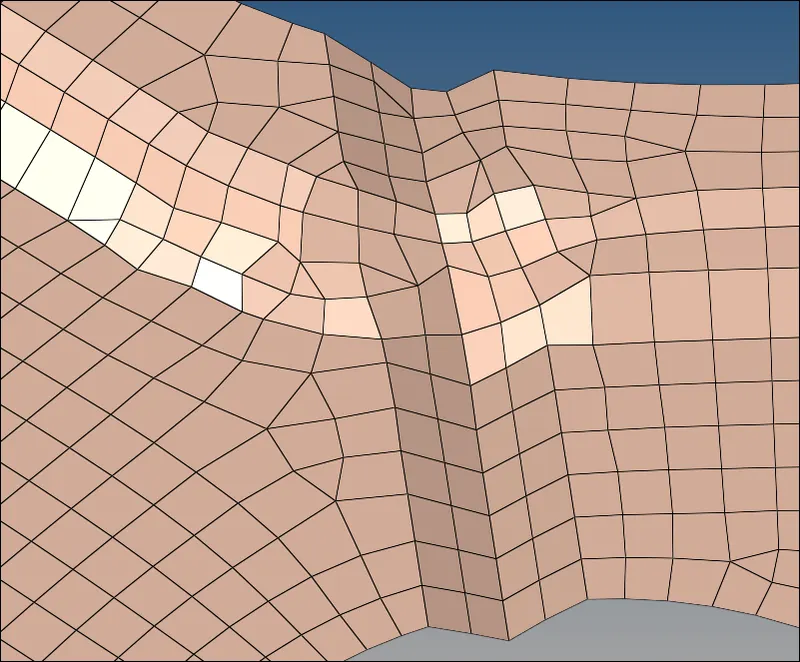
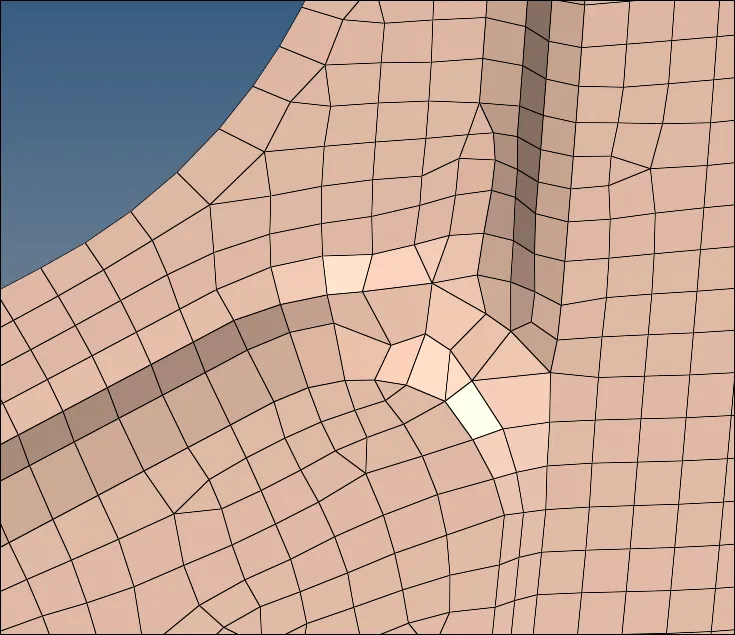
Image: 13_Meshed parts
After meshing, let's give a thickness to it. For that we have to create a property and then attach to it with the component, can see from the below images how it looks like.
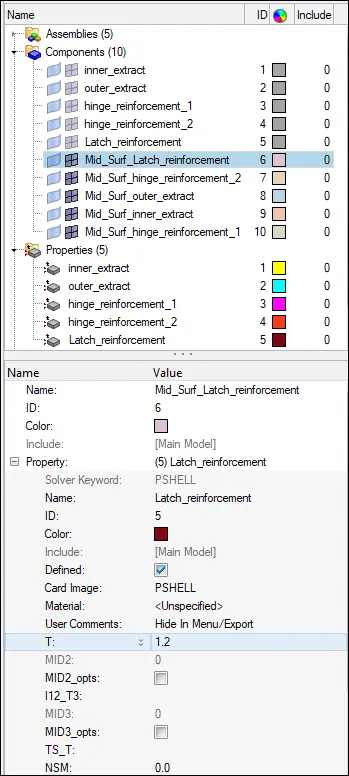
Image: 14_Design tree
5. CONCLUSION:
This Hypermesh challenge has a Sheetmetal model. Using these models I learn how to use different commands of hypermesh for different operations. With this model I tried to use shortcuts as much as possible for quick action.
End of Challenge