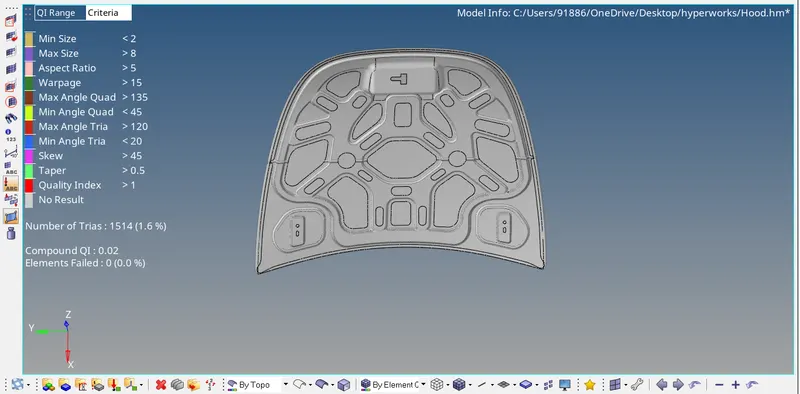
Week 6-Meshing of Hood Challenge
AIM: For the below-mentioned quality criteria, mesh the component given below and assign thickness
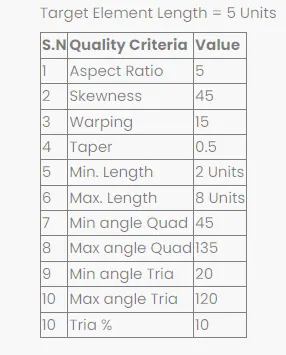
Principle:
A car hood also referred to as a bonnet in some other countries is the hinged cover that rests over the engine of a front-engine vehicle. Its purpose is to provide access to the engine for repair and maintenance. Car hoods are typically constructed from steel and sometimes from aluminum.
In UK terminology, a hood refers to a fabric covering the passenger compartment of the car (known as the “roof” or “top” in the US). For many motor vehicles built in the 1930s and 1940s, the resemblance to an actual hood is clear when it is opened and viewed from the front; in modern vehicles, it still serves the same purpose, but no longer resembles a head covering.
Hoods are usually made from the same material as the rest of the body. This can be aluminum, fiberglass, or carbon fiber. However, some aftermarket companies produce fiberglass or carbon fiber steel hood replacements to make the vehicle lighter.
The hood release system is common on most vehicles and typically consists of an inner hood latch/lock handle, a hood release cable, and a hood lock assembly. The hood lock handle is usually located under the steering wheel, next to the driver’s seat, or in the door frame.
Procedure:
Load the component into the hypermesh software.
Since the file is in the STP format.Select the STP in the import column
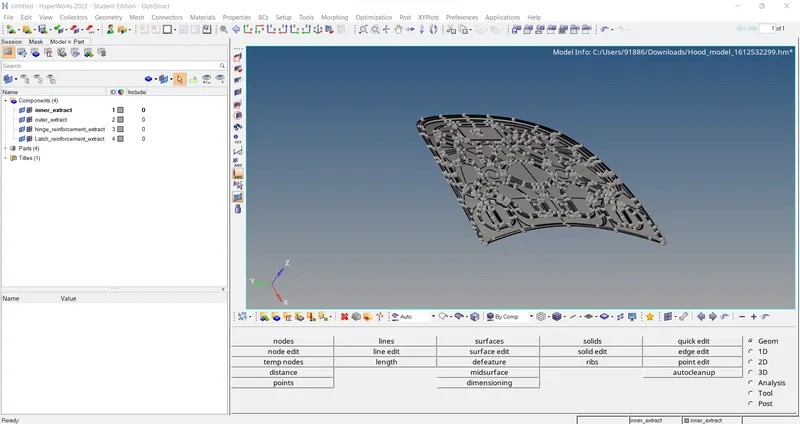
Since the component has 4 sub-parts Midsurfacing and mesh is done separately for each component
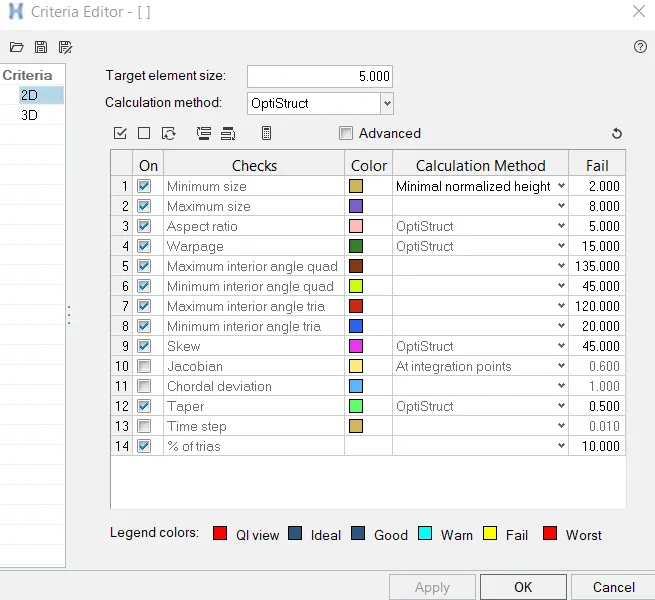
Quality Criteria are entered
Mid surface for Outer Hood
Select only the outer surface of the hood
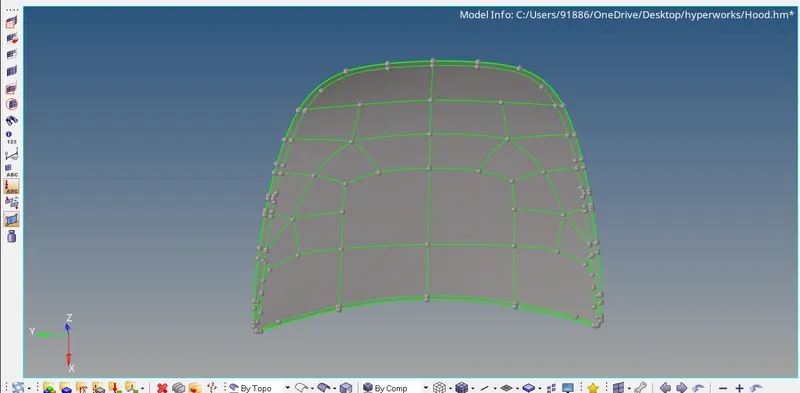
The model is checked for any geometrical error before midsurfacing is done
Once the model is free from geometrical error Midsurfacing is done using the mid-surface option
Geo>Midsurf>Surf>Displayed>Extract
After the Midsurface is obtained auto cleanup is done on the component
The auto clean-up option suppresses the unnecessary lines or lines which lead bad quality mesh
However, some lines have to be suppressed manually
After Mid surface and auto cleanup is done, Meshing can be done
Since the Hood is Symmetry in nature, one half is deleted and meshing is done only on the other half
Since it is easier and saves a lot of time
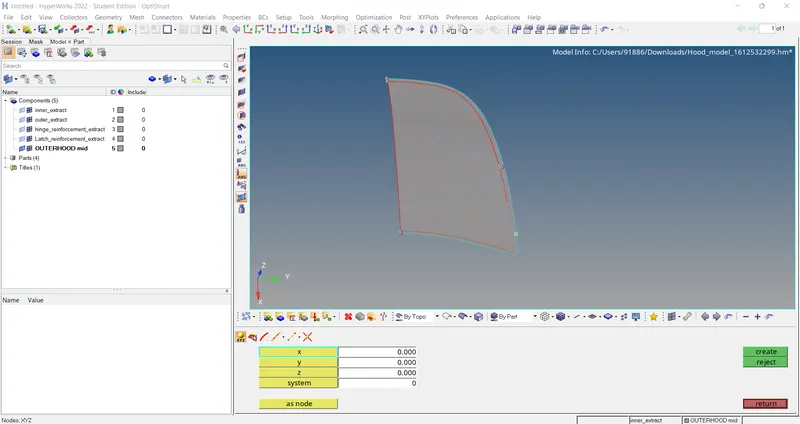
The model is divided into smaller sections to obtain a better Mesh flow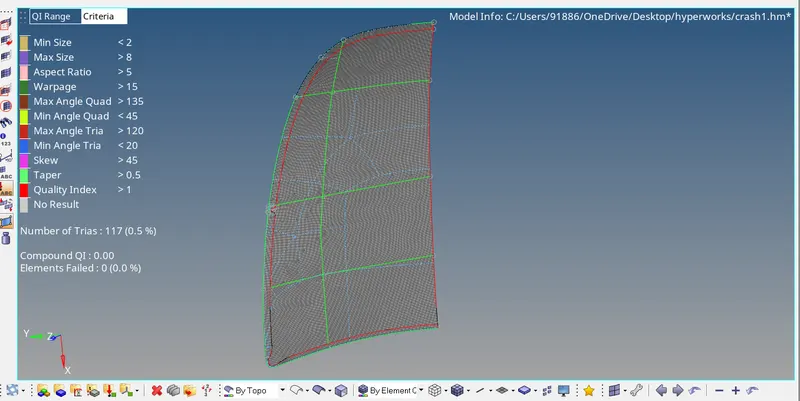
Meshing is done using the Automesh option
2D>Automesh>element size 5>Element type mixed>Mesh
Meshing is improved using the rebuild option and cleanup tools in the quality index to rectify the failed elements
Once the hood is free from failed elements. Mesh is reflected on the other side using the reflect option in the Tool column
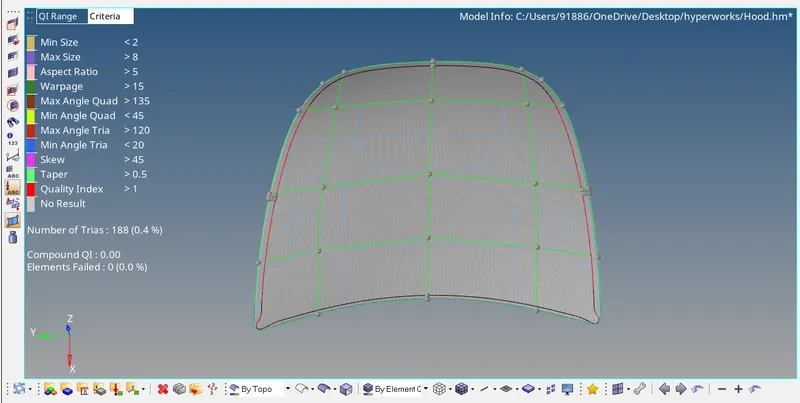
A similar process is done for other components as well
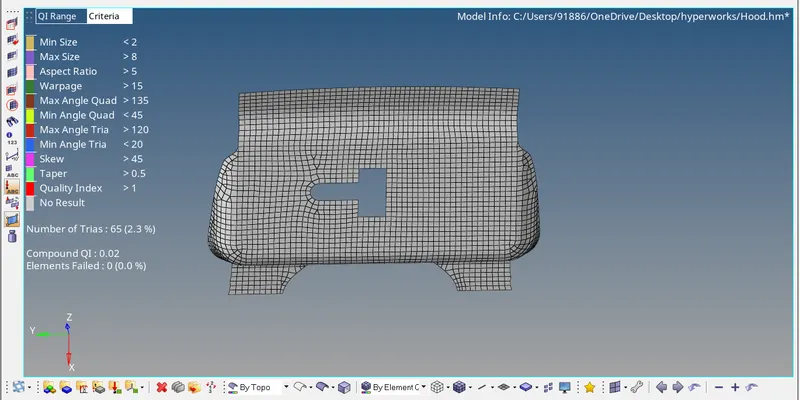
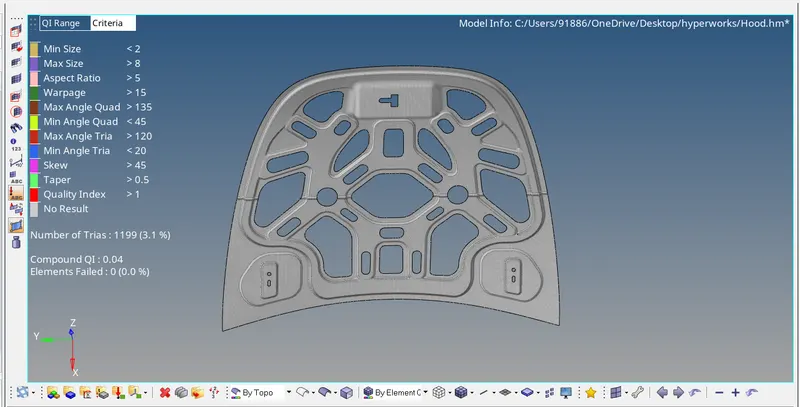
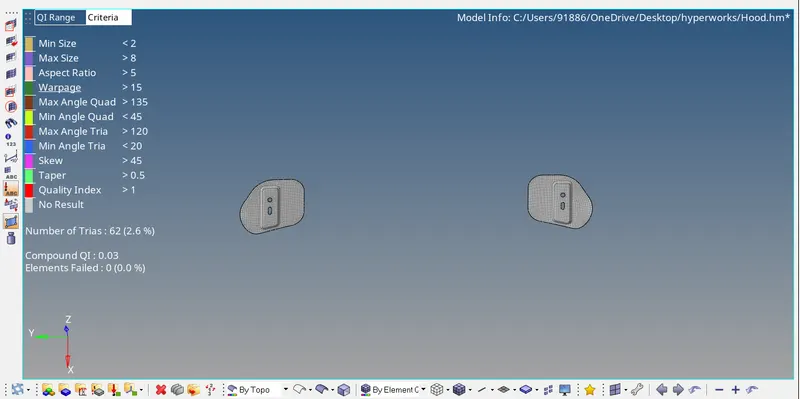
Final component