Week 6-Meshing of Hood Challenge
Objectibe : To extract the mid-surface of each component. Mesh components with the target element size of 5m.
Quality criteria we need to be followed :
|
S.N |
Quality Criteria |
Value |
|
1 |
Aspect Ratio |
5 |
|
2 |
Skewness |
45 |
|
3 |
Warping |
15 |
|
4 |
Taper |
0.5 |
|
5 |
Min. Length |
2mm |
|
6 |
Max. Length |
8mm |
|
7 |
Min angle Quad |
45 |
|
8 |
Max angle Quad |
135 |
|
9 |
Min angle Tria |
20 |
|
10 |
Max angle Tria |
120 |
|
11 |
Tria % |
10 |
Introduction :
The bonnet is the hinged cover over the engine of motor vehicles that allows access to the engine compartment for maintenance and repair.The hood which is also known as ENCON.It is an assembly made of Outer and Inner Panels to meet various safety and Design Requirements. The material for hood is chosen based on their good ductile and formable property, also the material should be able to sustain impact by absorbing energy by deformation. This will improve pedestrian safety during a crash. This is achieved by proper selection of material that can readily deform avoiding risk during impact, Providing embosses to inner panels, etc.Steel sheets of thickness 0.6 to 0.7mm are used for making inner and outer panels. In regions of the reinforced thickness of 1.5mm are implemented.
Procedure:
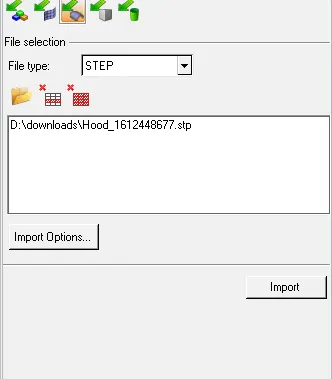
1)Import the model:
- Import the geometry by clicking on the import option and select import geometry.
- Select the file type to STEP.
- Browse and select the file to be imported
- Click the import button
2)Extract the midsurface for the each component:
- The model consist of 5 components, before extracting the midsurface we need to perform topology clean up and check for free edges within the components.
- then the mid-surface is extracted and renamed as shown in the figure.

fig.1: midsurface
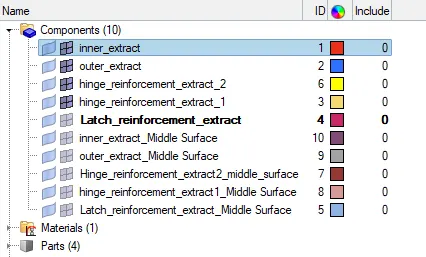
fig.2 : extracted mid surface
3)Cleanup the component
- the mid-surface that is extracted is checked for any defects .
- Auto cleanup is used to clean the surface. This will toggle unwanted construction lines.
- we can also toggle unnecessary lines in surface which will be a hinder during meshing by using "toogle edge" option in "quick edit"

fig.3: autoclean up tool

fig.4: quick edit tab
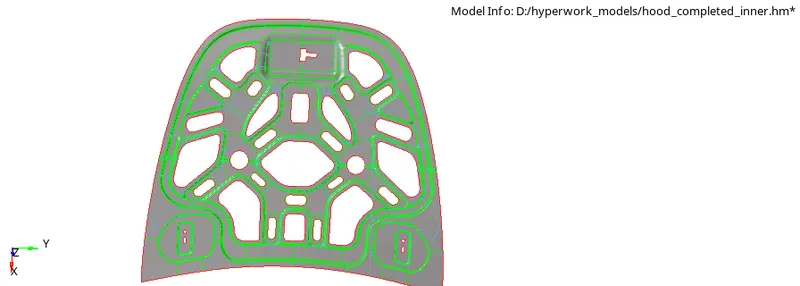
fig.5 : mid surface of inner extract of hood on which clean up is done
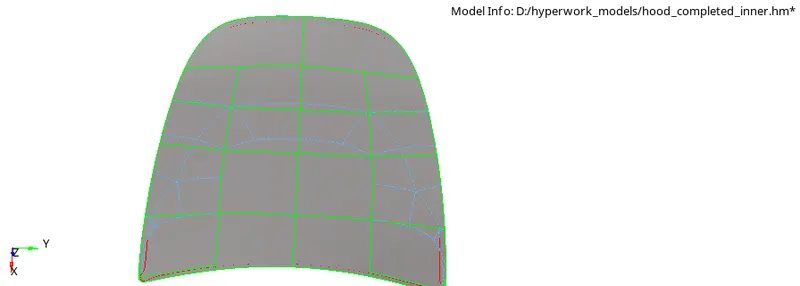
fig.6 : mid surface of outer extract of hood on which clean up is done
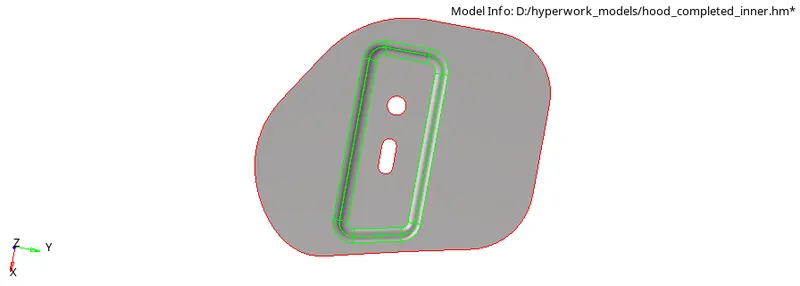
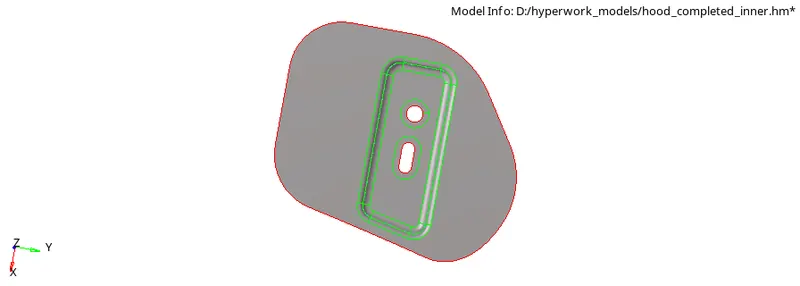
fig.7 : mid surface of hinge extract of hood after topology cleaning
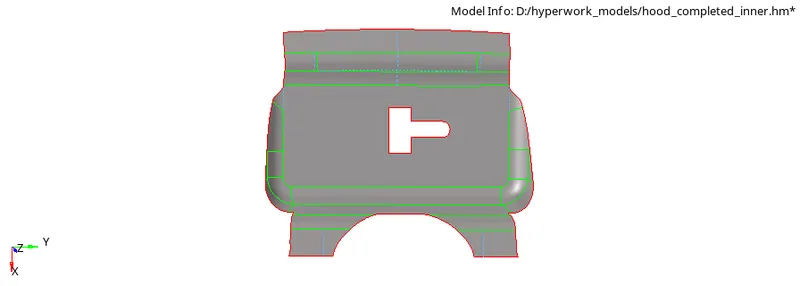
fig.8 : mid surface of latch extract of hood
4)Mesh
- After the autocleanup, go to 2D mesh menu and select automesh option (f12), change the element size to 5, element type to mixed and select the mid surface and click mesh to generate the mesh.
- Open "criteria file setting" in preferance and edit the criterias to what is given in the challenge , then click on apply .
- go to "rebuild mesh" in 2D menu, then select the elements which are not satisfying the criteria and click on rebuild. This will rebuild the mesh which satisfy the criteria in the selected region
- this process done for latch and hinge
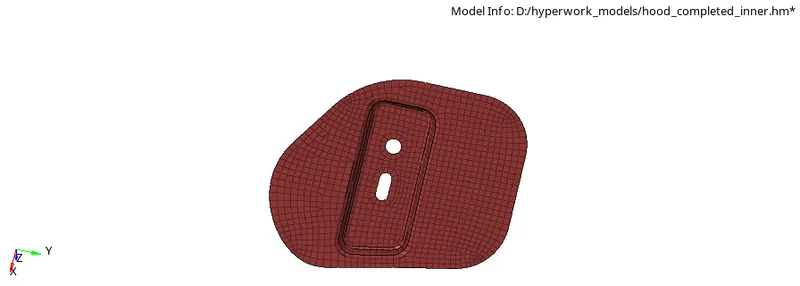
fig.9: hinge extract after meshing
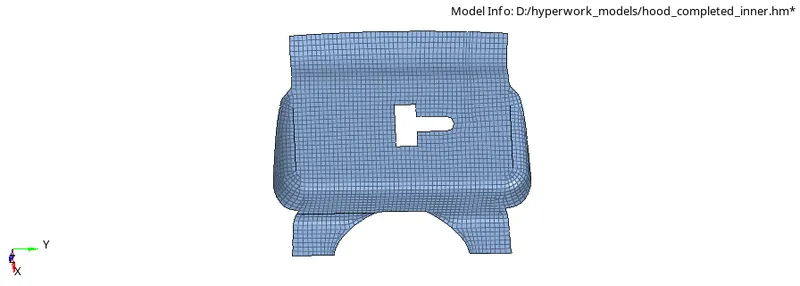
fig.10: latch extract after meshing
5)Reflect the mesh
- In case of inner and outer extract of the hood we can do clean up and mesh half the region. since both half of the hood is similar.
- the side on which we havent performed geometry cleanup can be deleted and the other half can be reflected to make a complete component.
- similarly the elements can also be reflected to the other half.
- for this , we use "reflect" tool in tool menu. we need to select the surface or elements to be reflected and direction of reflection and a base node .
- reflect is very helpful to reduce the meshing time
- after reflecting equivalence between elements need to checked . this can be done using "edges" option in tool menu . select the all elements in the component and click on "preview equiv".

fig.11: reflect tool

fig.12: edges tool
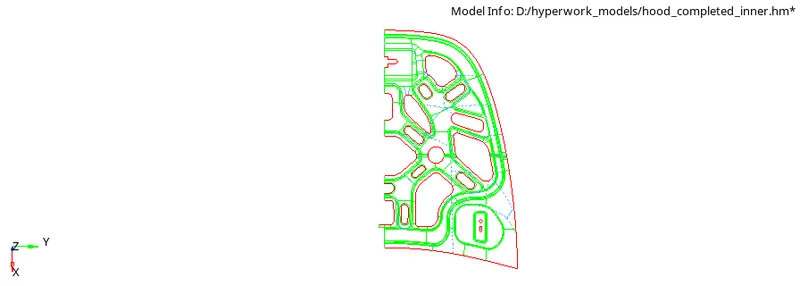
fig.13: half of the midsurface of inner extract thats to be reflected
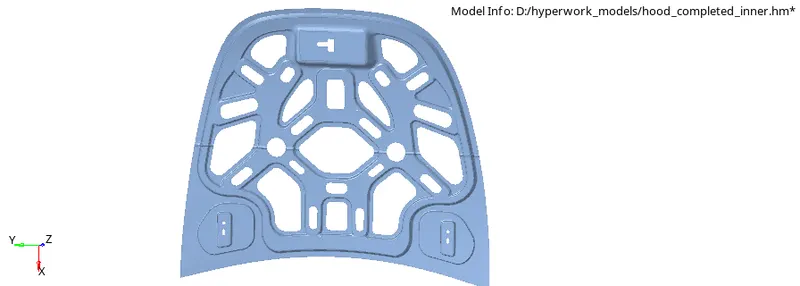
fig.14: meshed inner extract of the hood
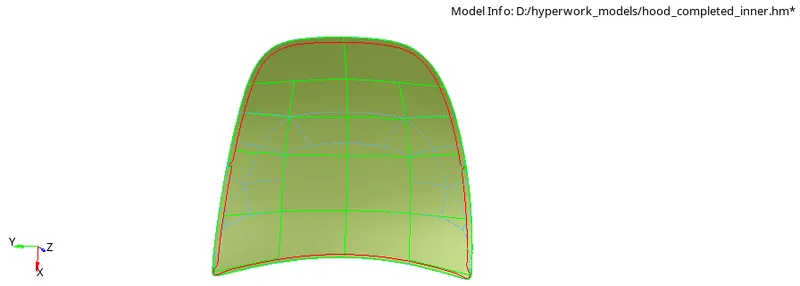
fig.15: meshed outer extract of the hood
6)Check quality index
- the quality of mesh is checked to see if the element satisfys the given criteria.
- open "quality index" in 2D mesh menu , edit the criteria and check if all elements satisfys the condition.
- if element is not satisfying the criteria , we can correct the element by rebuild .
- if the element is still not satisfactory after rebuild we can either split the qaud to tria in case of warpage error or can translate in case of size error , angle error etc.
- for the outer extract , in the hemming region the elements will have minimum size error.

fig.16: quality check
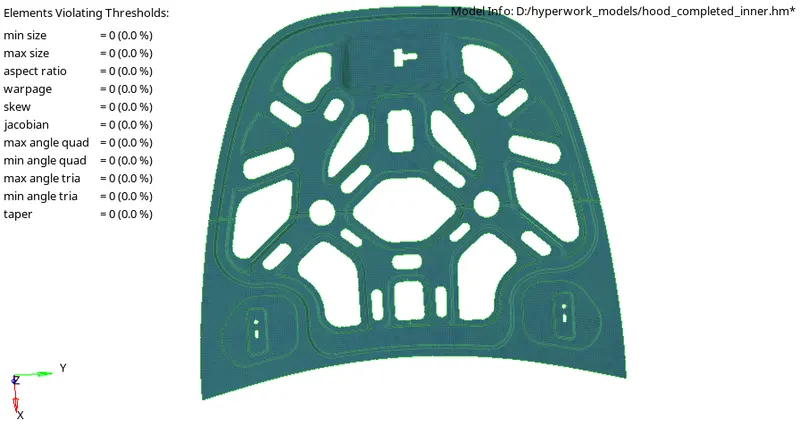
fig.17: quality check of inner extract
meshed components :
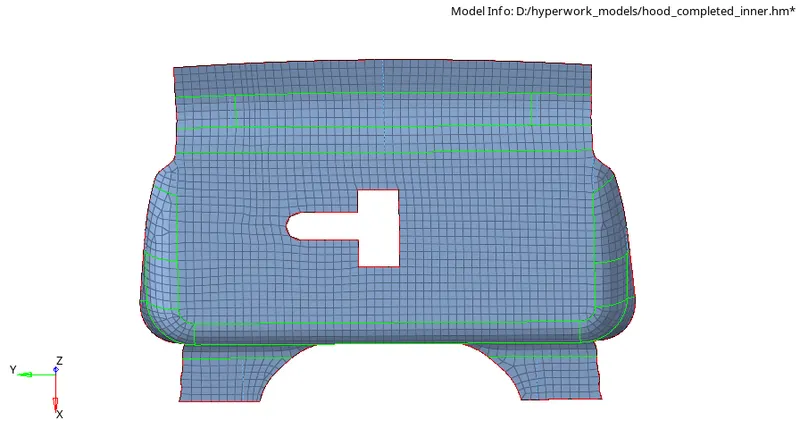
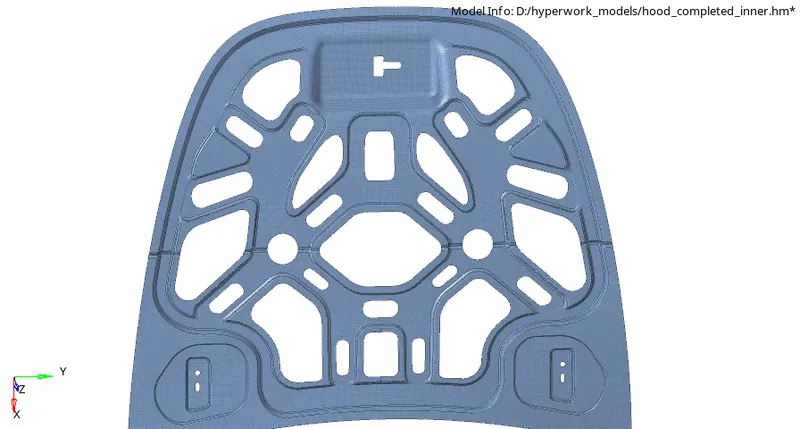
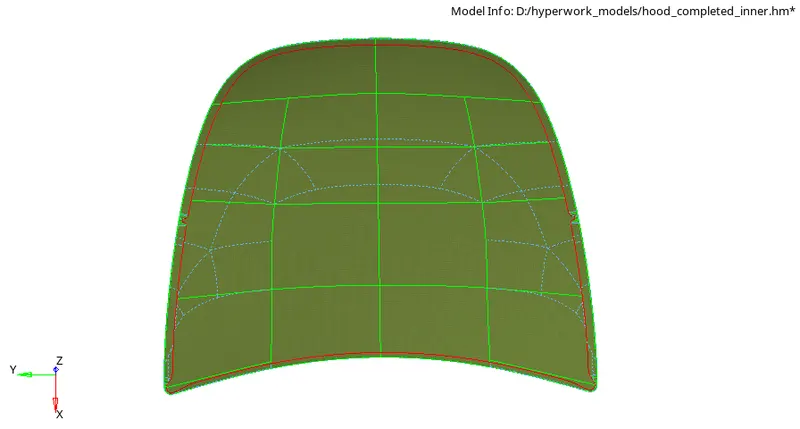
Result:
The given hood assembly is successfully meshed according to the mesh quality provided and quality checked.
Conclusion:
In this challenge, we learn how to mesh the hood component, we learned to use reflect , rebuild mesh , automesh, translate, renumber and quality check tools
google drive link : https://drive.google.com/drive/folders/1Z_Ki8KqRPFflB2qYFgrClsmv6zEBzl9V?usp=sharing