Week 6-Meshing of Hood Challenge
Week 6-Meshing of Hood Challenge
Aim- To extract midsurface and generate a mesh on the given model of hood using Hyperworks
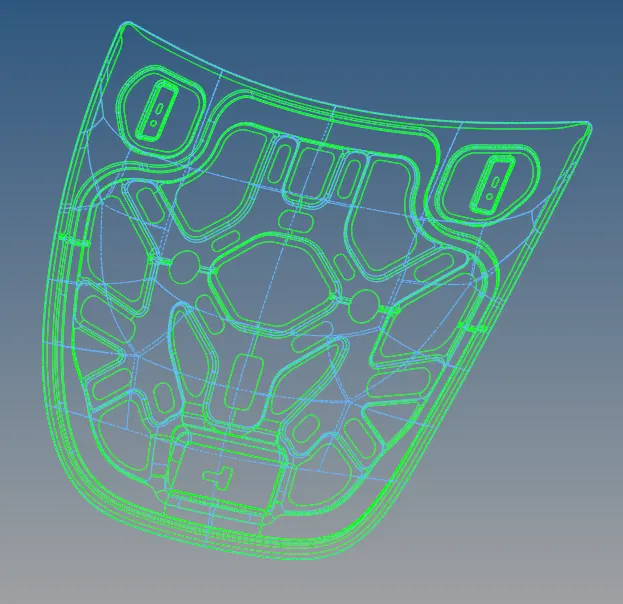
Given model-
Inner extract body Outer extract body
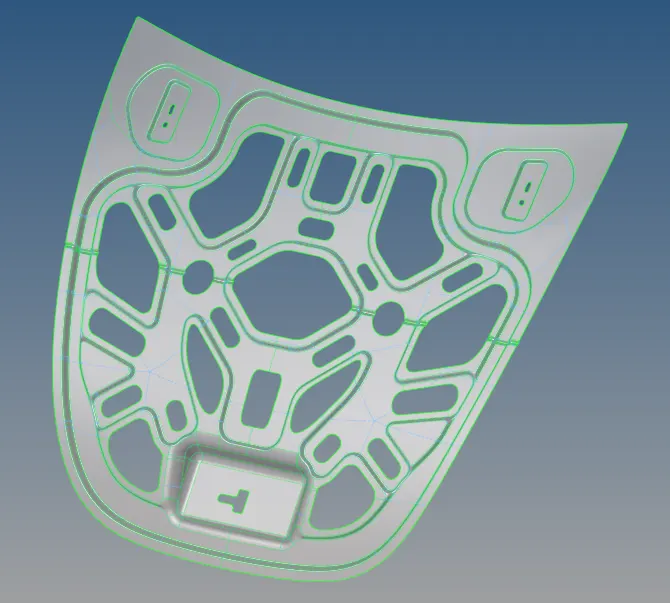
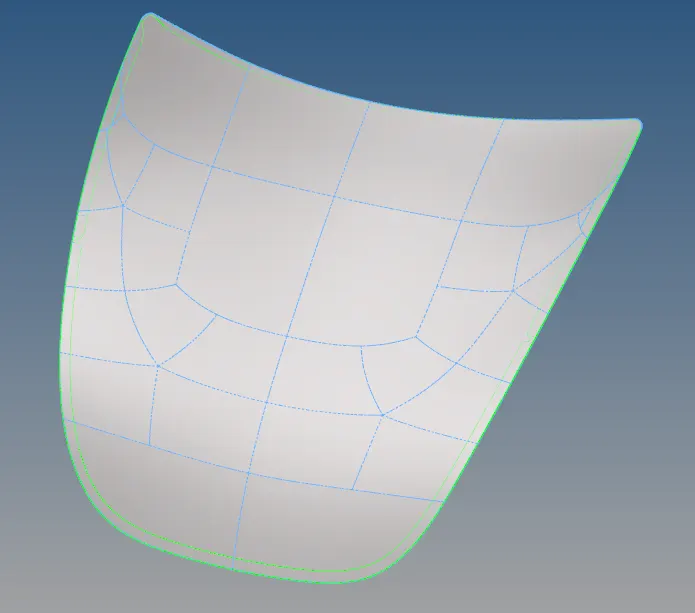
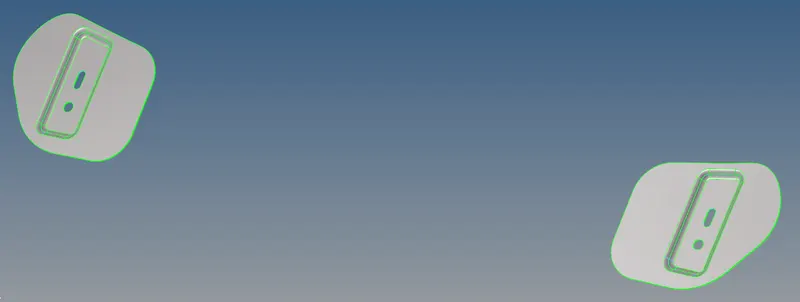
Two hinges reinforcement extract body
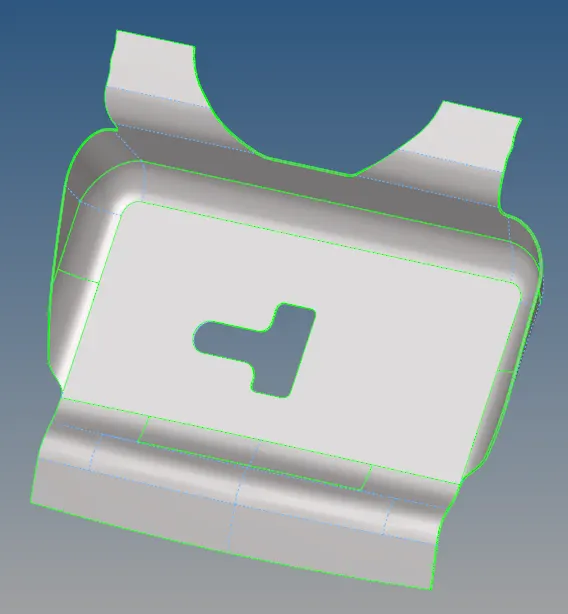
Latch reinforcement extract body
All components in single window
Given quality criteria
Target Element Length = 5 Units
| S.N | Quality Criteria | Value |
| 1 | Aspect Ratio | 5 |
| 2 | Skewness | 45 |
| 3 | Warping | 15 |
| 4 | Taper | 0.5 |
| 5 | Min. Length | 2 Units |
| 6 | Max. Length | 8 Units |
| 7 | Min angle Quad | 45 |
| 8 | Max angle Quad | 135 |
| 9 | Min angle Tria | 20 |
| 10 | Max angle Tria | 120 |
| 10 | Tria % | 10 |
Steps Involved
- Importing the geometry and performing the geometry cleanup.
- Extracting midsurface and assigning the properties.
- Meshing the surface with the given criteria.
Step1. Importing the geometry and performing the cleanup.
- To import the geometry go to file>Import>select the file>Import.
- After importing the geometry, some of the surface or geometry in the model fails to load and form the incomplete surface therefore it is necessary to check for any missing surfaces or triple cons. The missing surface is fixed and stiched together. This process is called as Geometry cleanup. After performing the geomtery cleanup the model is ready for mid-surface extraction.
Step2. Extracting the midsurface and assigning properties.
- Mid-surface can be extracetd from four different methods, but here we used offset+plane+sweep method of mid-surface extraction. This can be done by clicking on Geom>mid-surface>select any extraction option>extract.
- After extracting the midsurface, we have to check the geometry errors like missing surfaces, free edges, needle faces and triple cone. If any of these error are present should be rectified immediatly.
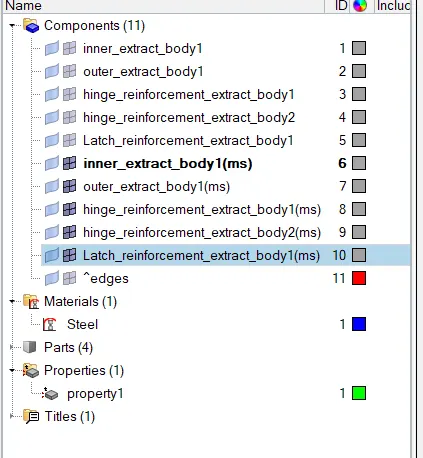
- Now based on the given question properties like thickness, materials, etc are assigned to the midsurface. To assign the properties, select model in database and take the mouse cursor to the Tab area, right click and select the create and property.
- Now all the properties are entered in the property tab and the properties are assigned to the respective midsurface.
- To assign the properties to midsurface, right click on the midsurface and then select the respective properties which needs to be assigned. Here we assigned the property with a thickness of 5mm
Step3. Generating mesh within the given quality criteria.
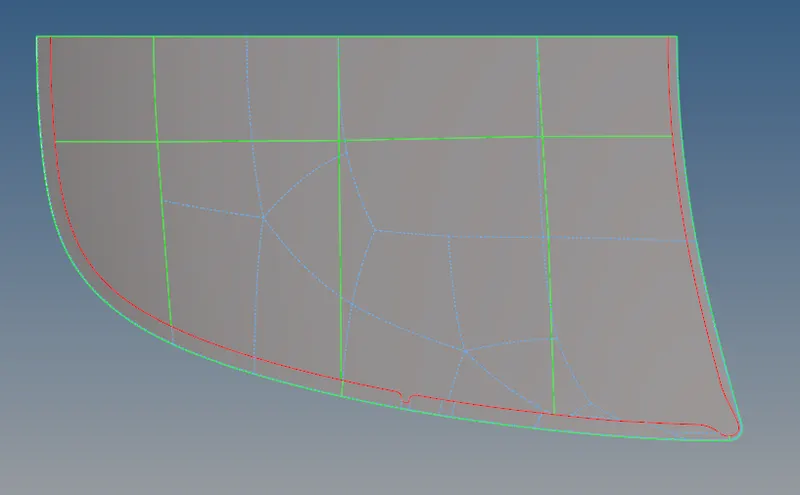
- Before generating mesh, the geometry is cut into smaller rechtangles.
- If the geomtery of the component is symmetrical in shape the geometry can be divided into two parts as shown below by untoggling the mid line and meshing the one surface and reflecting it.
- This step is performed for good mesh flow.
- To generate mesh, go to 2D>automesh>select the surface to mesh>mesh. To edit the mesh for proper flow, the elements are selected and meshed again.
- If any of the mesh element is failing for the quality then cleanup tools option which is present in quality index can be used.
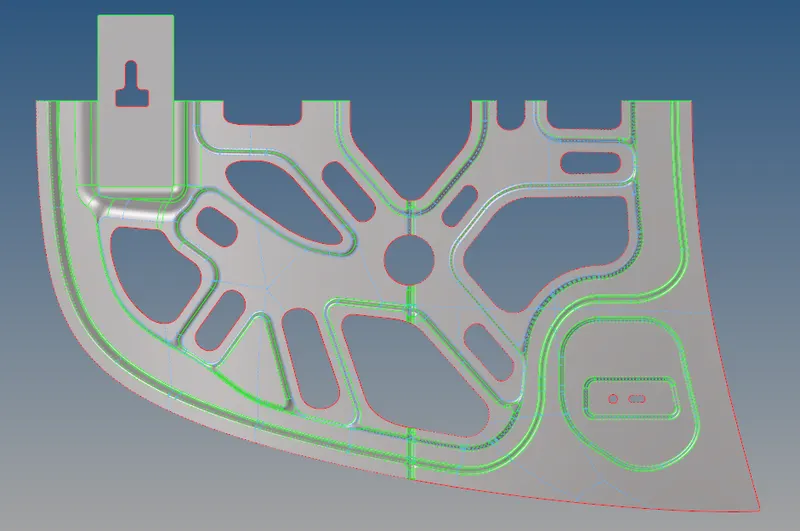
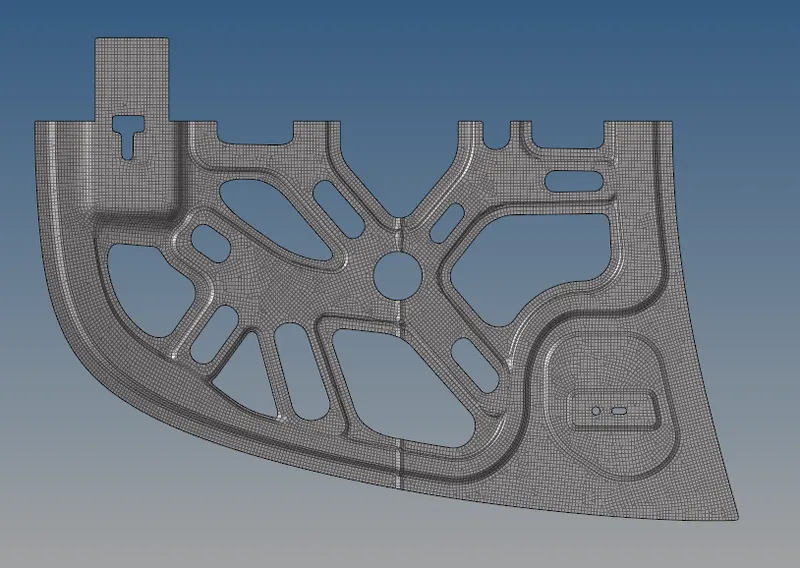
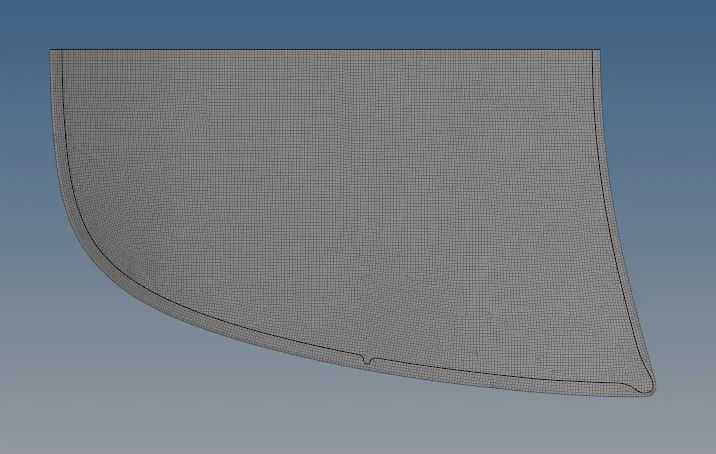
Final meshed model
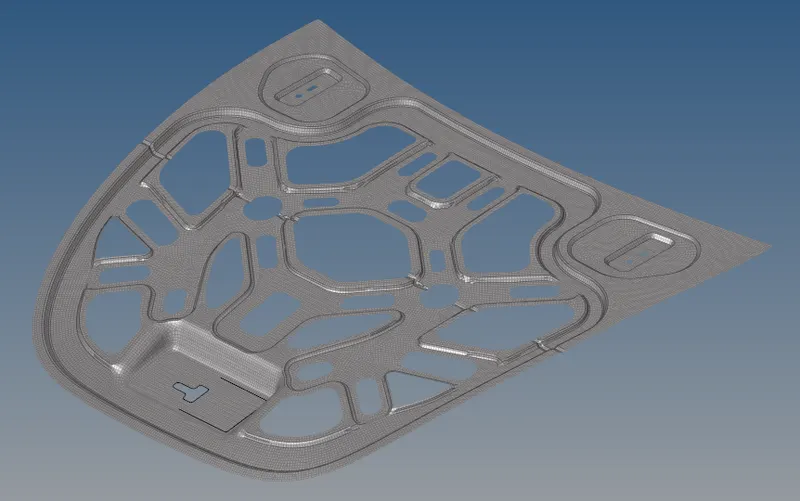
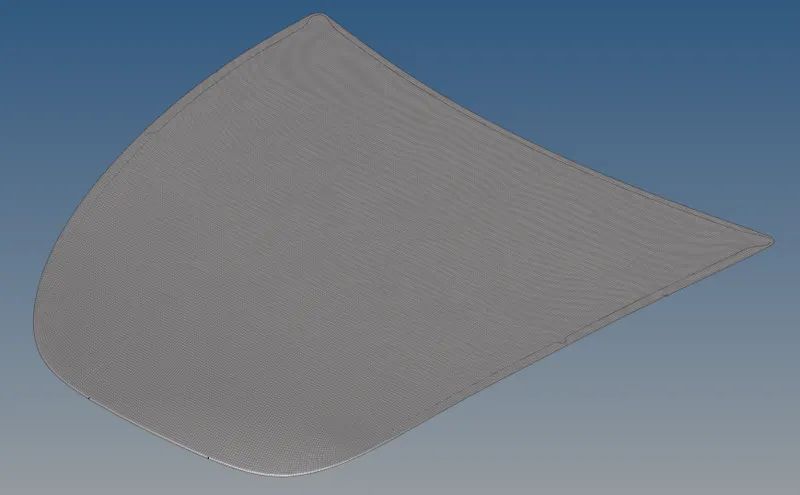
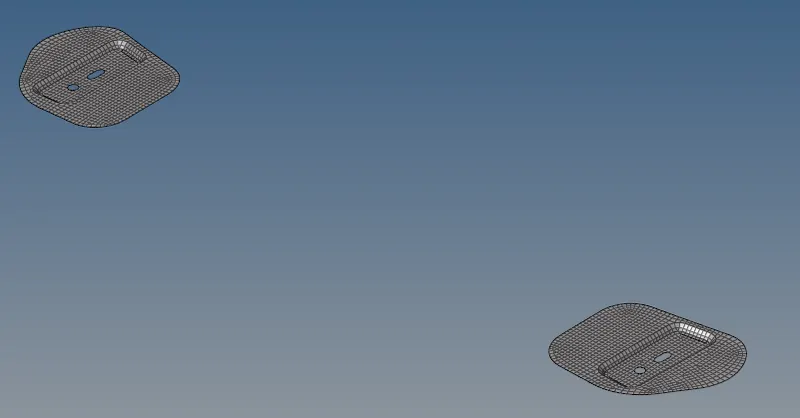
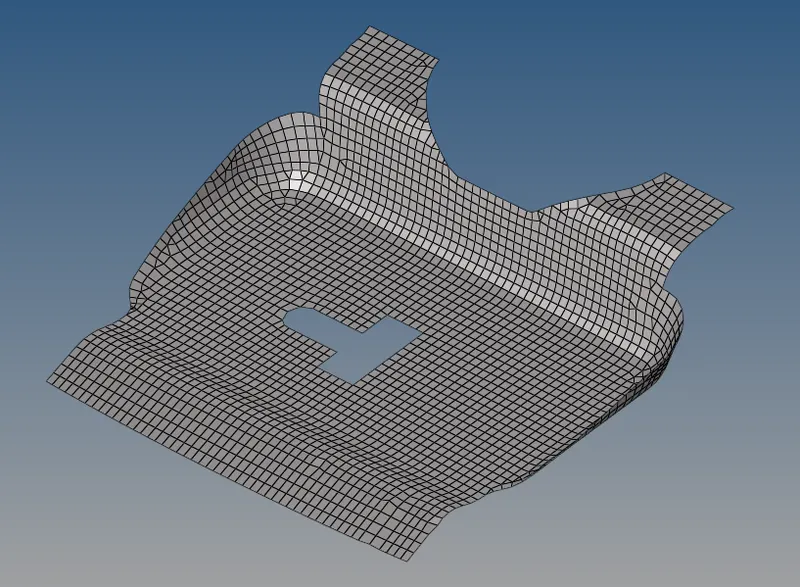
Full meshed model in single window
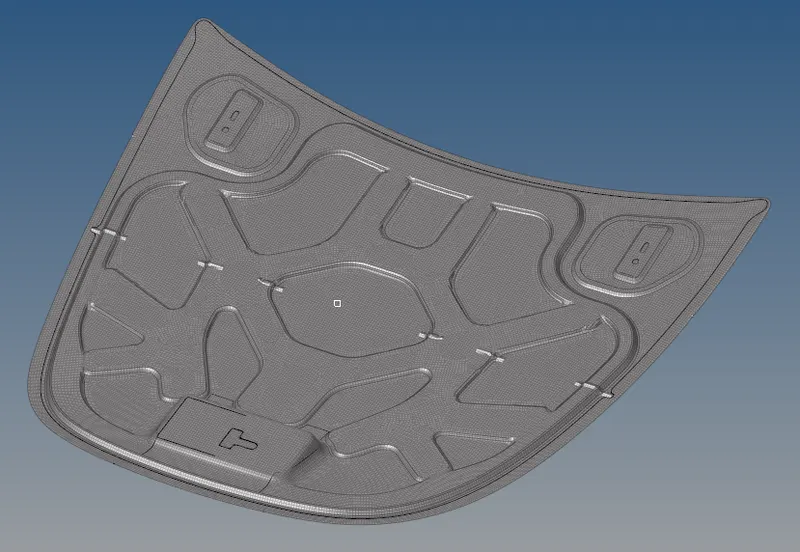
Conclusion- For a given model of a hood panel the midsurface is extracted, provided with the property of 5mm thickness and mesh is generated with given quality criteria.