Week 6-Meshing of Hood Challenge
Objective :
To extract the midsurface for each component and mesh the given hood componet with the given target element size of 5 mm mentioned quality criteria.
Follow the below-mentioned quality criteria, mesh the component given below and assign thickness:
Target Element Length = 5 Units
| S.N | Quality Criteria | Value |
| 1 | Aspect Ratio | 5 |
| 2 | Skewness | 45 |
| 3 | Warping | 15 |
| 4 | Taper | 0.5 |
| 5 | Min. Length | 2 Units |
| 6 | Max. Length | 8 Units |
| 7 | Min angle Quad | 45 |
| 8 | Max angle Quad | 135 |
| 9 | Min angle Tria | 20 |
| 10 | Max angle Tria | 120 |
| 10 | Tria % | 10 |
Procedure
- Import the model.
- Extract the midsurface for the each component
- Cleanup the component
- Mesh.
- Reflect the mesh
- Check quality index.
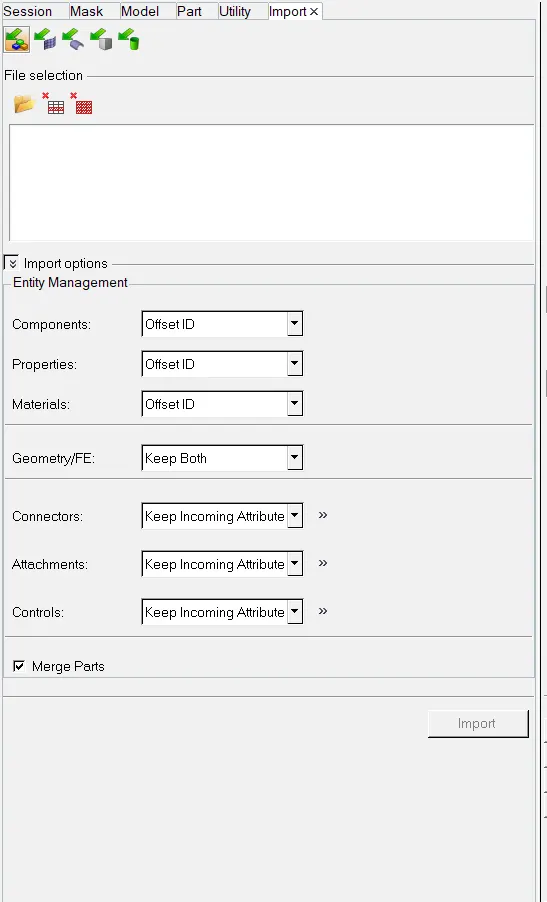
To import up the geomentry.
- Import the geomentry by clicking on the import option and import geomentry.
- Select the file type to STEP.
- Browse and select the file to be imported
- Click the import buttton
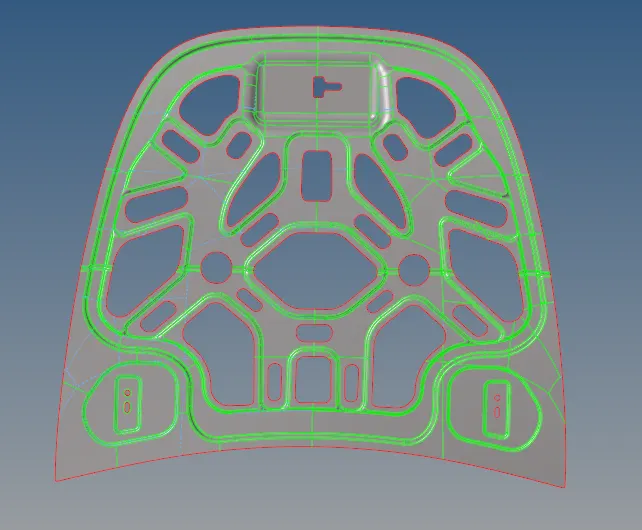
The model is impported in the hypermesh and make it fit to the graphical area using Fkey.
As the model consists of the various component we should extract the midsurface for the each components and do the topology cleanup
There are five component in the model
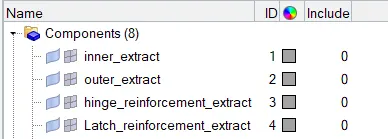
Midsurface extract
For the above five model the midsurface to be extracted and arrange them according
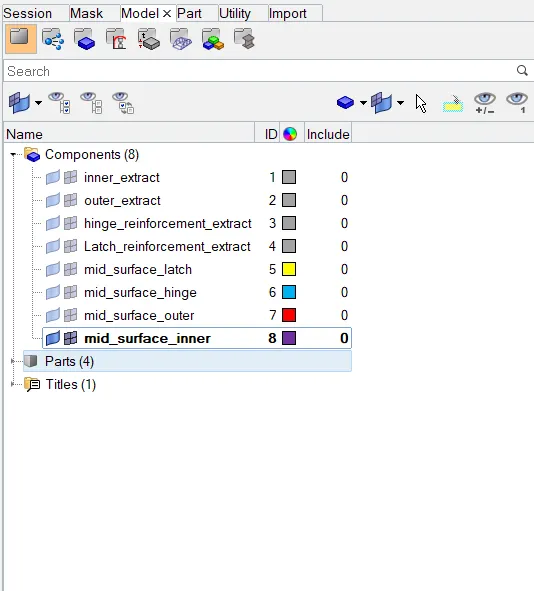
The midsurface is extracted for the each component using the midsurface option from the geomentry menu.

now the midsurface as been extracted and renamed and given colour for each component as shown
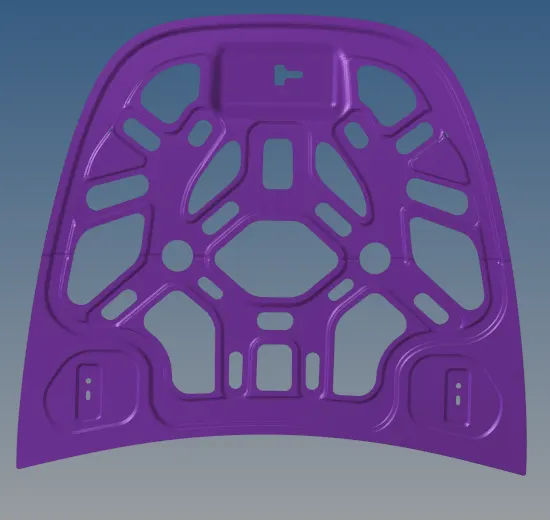
Inner_extract
Midsurface_extract
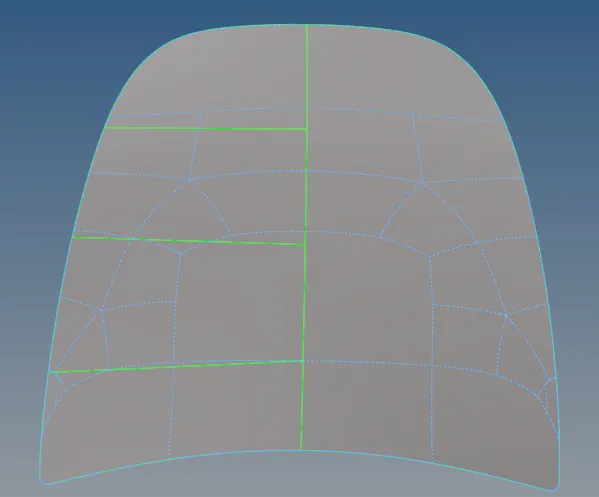
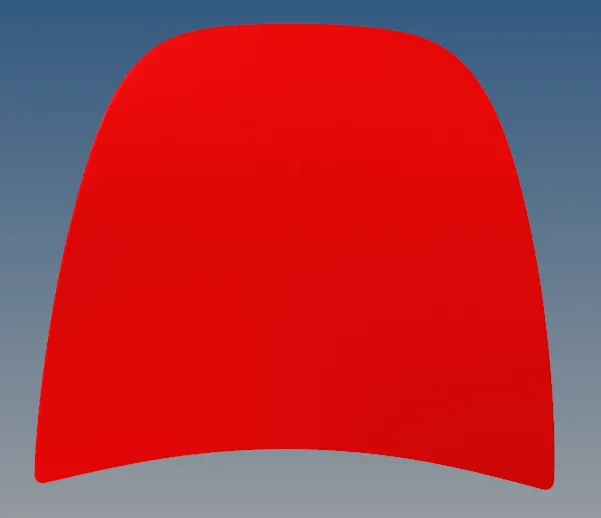
Outer_extract
midsurface_extract
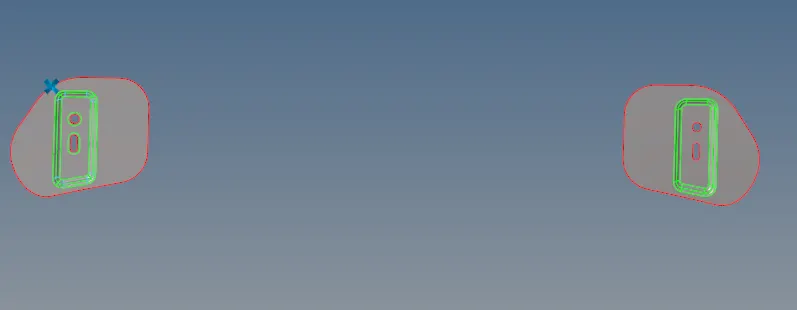
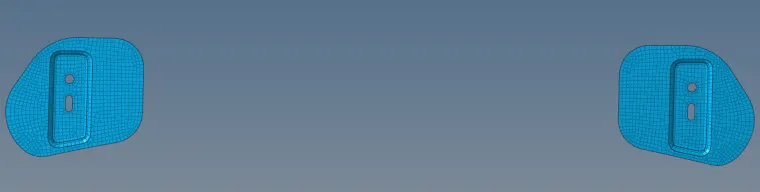
Hinge_reinforcement_Extract
Midsurface_reinforcement_extract
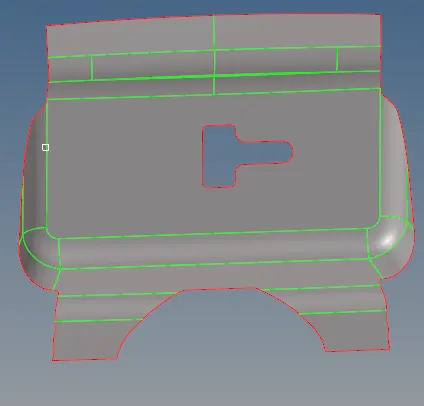
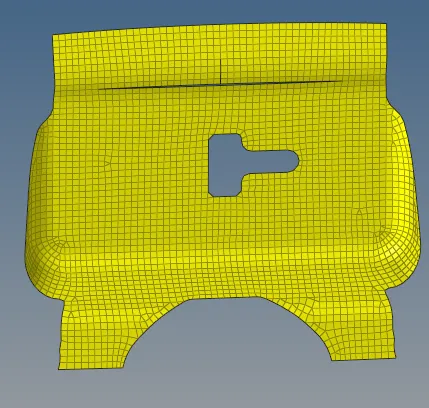
Latch_reinforcement_extract
- Midsurface_reinforcement_extract
- Cleanup component :
Now the cleanup has to be performed in the midsurface of the each component.
- Check for any defects in the midsurface by changing the geomentry topology mode
- Remove the defects.
- Now go to auto cleanup option in the geomentry menu and select the mid surface to be meshed.
Toggle the unneccersary lines by using toggle edge tool and create lines where is necessary by using the split surf node and split surf line tool.
Meshing :
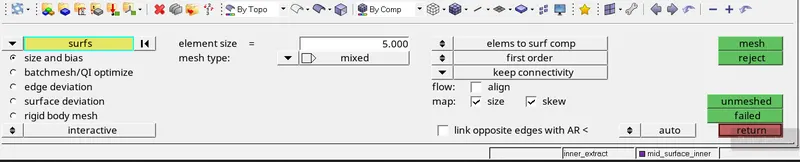
- After the autocleanup ,go to 2D mesh menu and select automesh options,change the elenment size to 5 ,element type to mixed and select the midsurface and click mesh to generate the mesh.
- Now the mesh as been generated for the component.
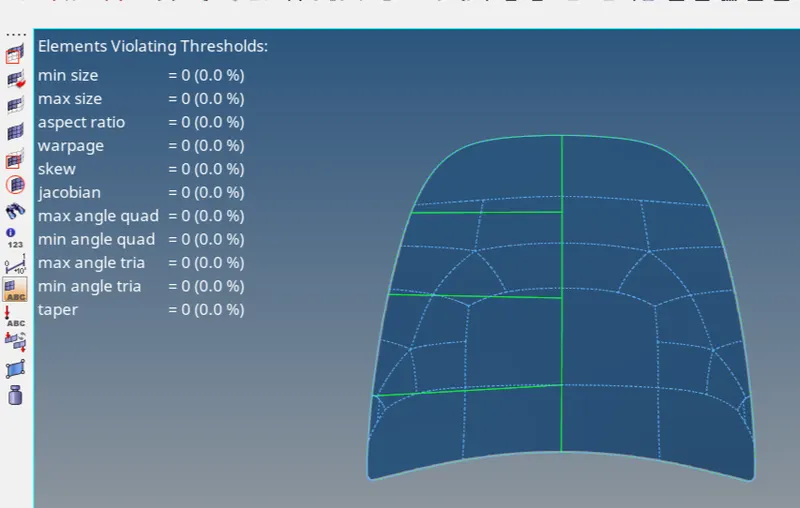
- After generating mesh ,check for the quality criteria ,to perform the quality criteria firstly edit criteria,go to preference option and edit .
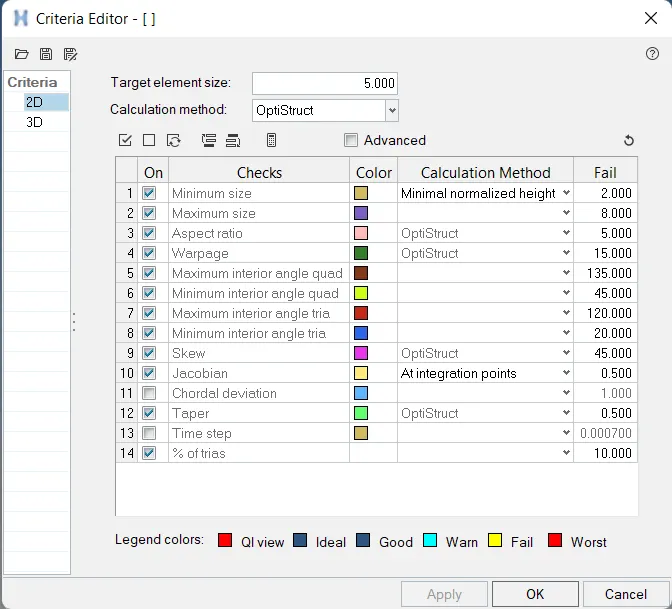
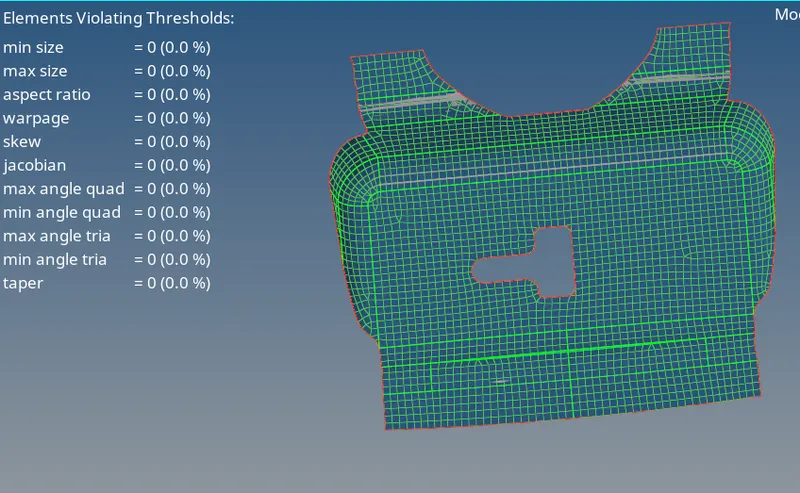
- After meshing and quality check smooth the elements using the smooth option from 2D tool bar.
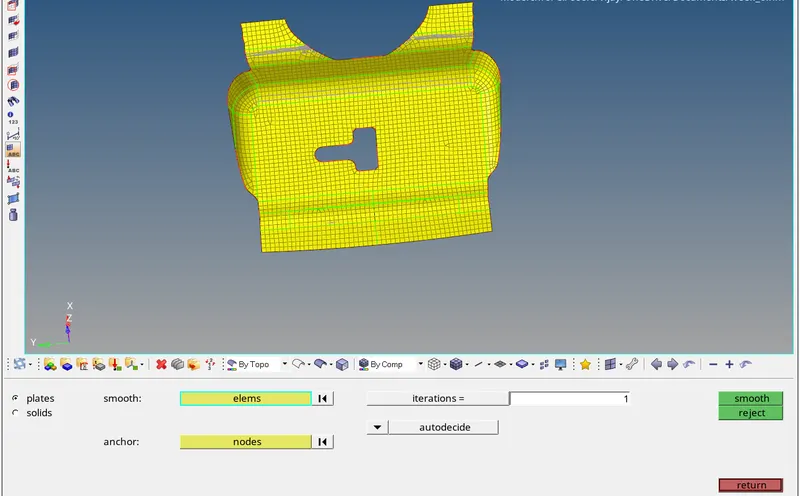
- For the inner extract body mesh cannot be done for the whole component so first half of the geomentry meshed because the nodes exceed in the student version.
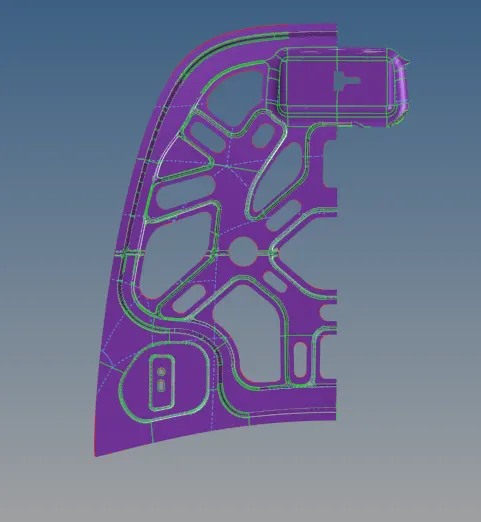
- To mesh the other half,go to tool menu and select reflect and select the elements to reflect ,and duplicate the elements.Change the vector selection to required axis as and select the center node of the complete geomentry and click reflect.
- The reflect option can be done as shown below.
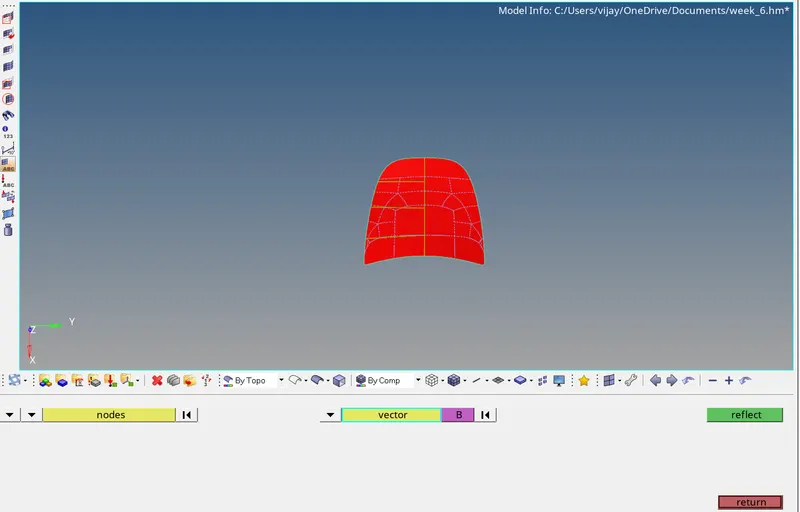
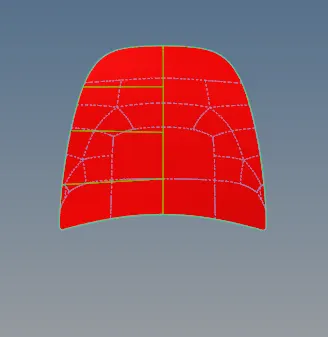
- Same for the outer extract body.
- Quality check has been done.
Result and conclusion:
Result: The given hood assembly is successfully meshed according to the mesh quality provided and checked.
Conclusion:In this challenge , we learn how to mesh the hood component.We learn mask, reflect, quality index and organize tools.