Week 6-Meshing of Hood Challenge
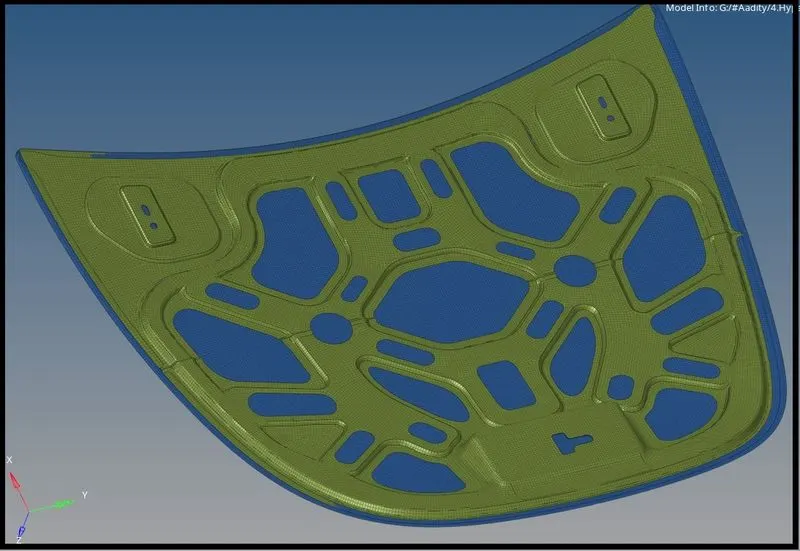
AIM:- To extract the mid surface and generate the mesh on the hood model.
Procedure:-
Step 1- Importing and Visualizing
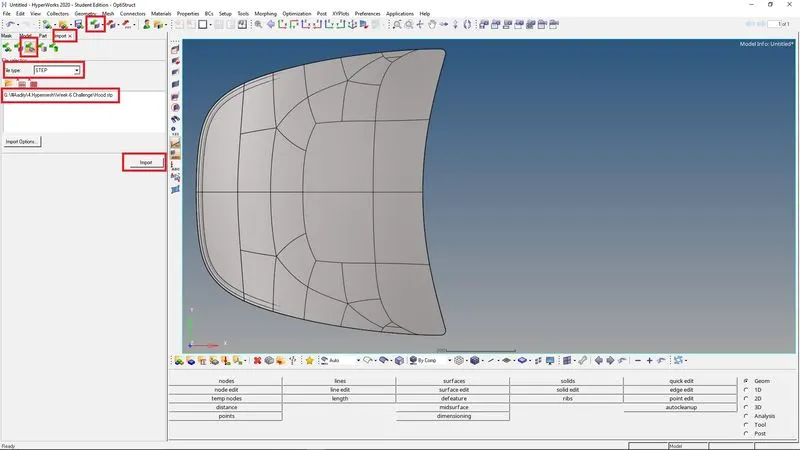
- Import the Model .stp file as geometry
- Visualize the model if it has any deformities in its surface or free edges, which can be visualized in wireframe
Step 2- Geometry Cleanup
- After importing, we change the Geometry color mode to By Topo, we find that the model consists of solids, which is not required for our further process.
- So we delete the solid from the model, which also benefits in less time consumption for computing in Hypermesh.
- Then, we check the thickness of all the components.
- To check the thickness of the component, we go to the distance option in Geom (F4) and select the two points option, then we select any two points from the component and find the thickness of the components.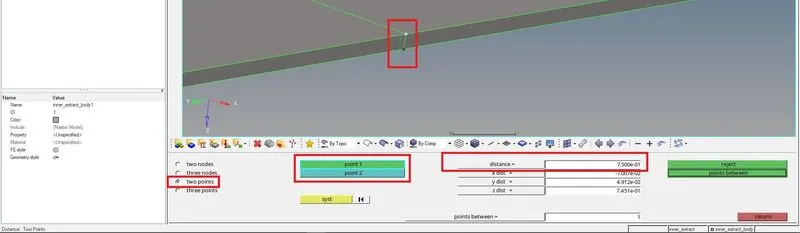
Thickness = 0.75mm
Step 3- Extracting Mid-Surface
- We extract the mid-surface using the auto mid-surface option
- For that, we go to the Midsurfcae in Geom tab, then in extracting option select the skin offset option, then in the auto extraction option we select the surf - displayed, and hit the extract option.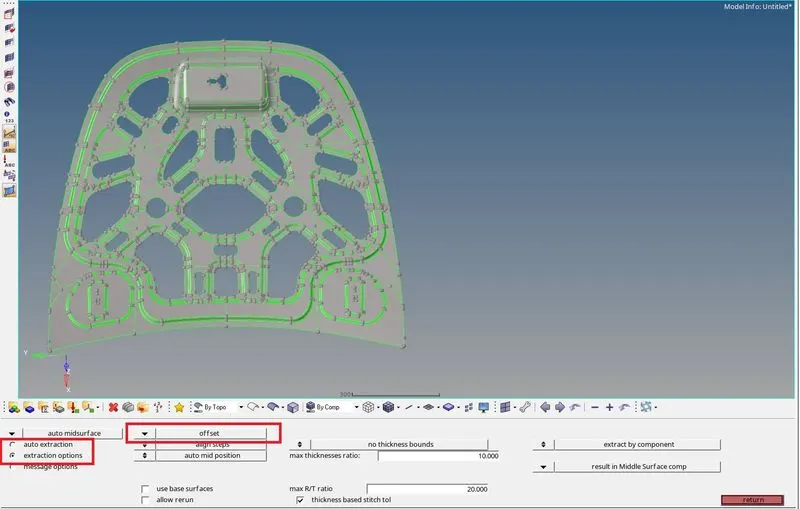
- Mid surface is extracted for all the components.
|
Outer panel mid-surface
|
Inner panel mid-surface
|
|
Latch mid-surface
|
Hinge Mid-surface
|
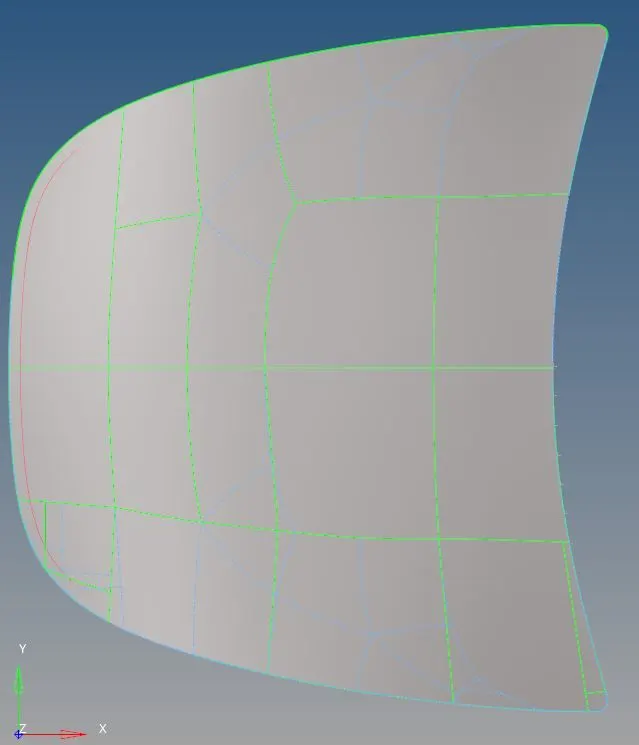
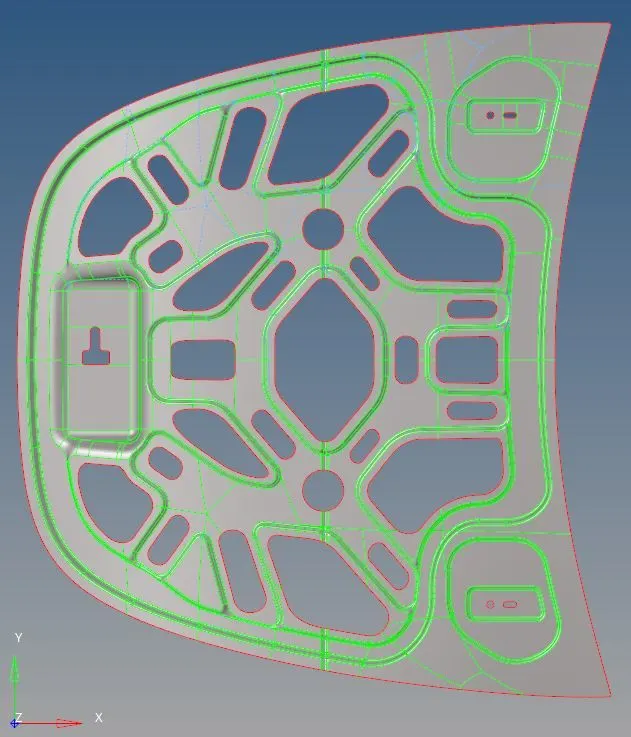
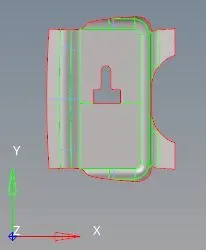
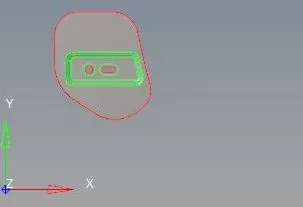
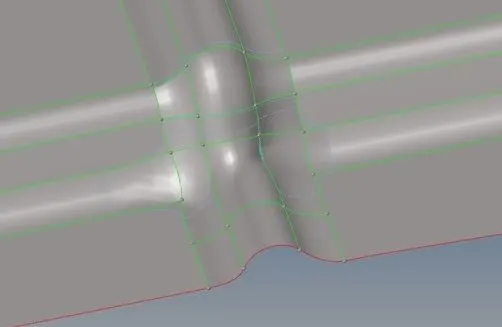
- After extracting the mid-surface for all the components of the hood, we need to rearrange/toggle the construction lines so that to get a good mesh flow.
- We also have to delete the unusual points on the mid-surface which can disturb the mesh flow.
- At the place of fillets and curves, we need to properly rearrange the construction lines, so as the meshing will follow the original geometry of the model.
- We should also delete/toggle the construction lines that are too close and can cause minimum element length failure.
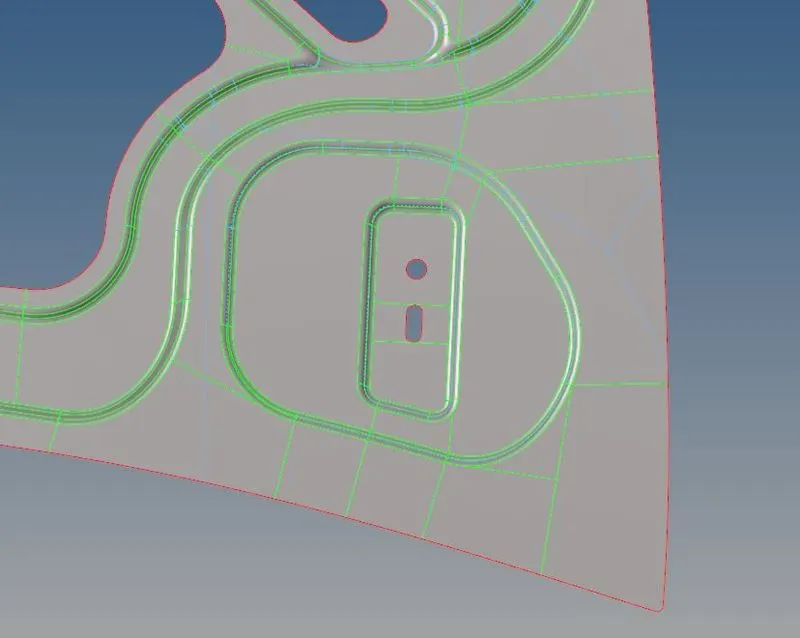
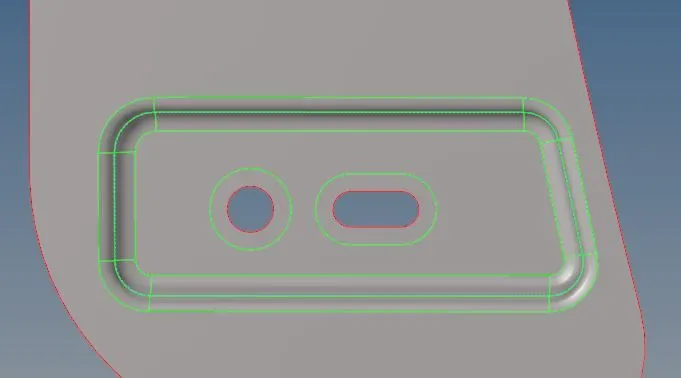
- We also create the washer split at the holes, so can obtain a proper mesh flow.
Step 4- Generate Mesh & Optimize the Mesh quality
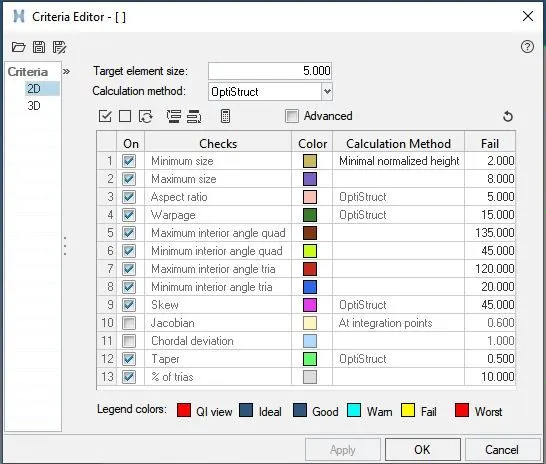
- After extracting the mid-surface and do all the processes required for the mesh, We need to provide all the required criteria for the meshing.
- The meshing will automatically generate according to the criteria provided.
- The inner panel and the outer panel are symmetrical therefore, after extracting mid-surface meshing is done on one half of the mid-surface and then reflecting the other half.
- Now, auto meshing is done, keeping the element size to be 5 and mesh type-mixed in auto mesh option.
- Now, after meshing, there are so many back-to-back trias and quad elements that will be formed, So, we need to optimize the quality of the element.
- To optimize the element quality, we can use tools as element optimize, drag tria, smooth, edit-element (split/combine/create).
- To optimize the elements we can use the Rebuild option and also remesh the element of a particular place.
- This will remove all the element failure from the mesh, as it is necessary to have a proper mesh for the analysis, if our mesh flow or mesh element is not properly made, we cannot calculate the accurate analysis.
- After meshing one half of the model, the elements of the half part are selected and it can be reflected using reflect option in the tool option.
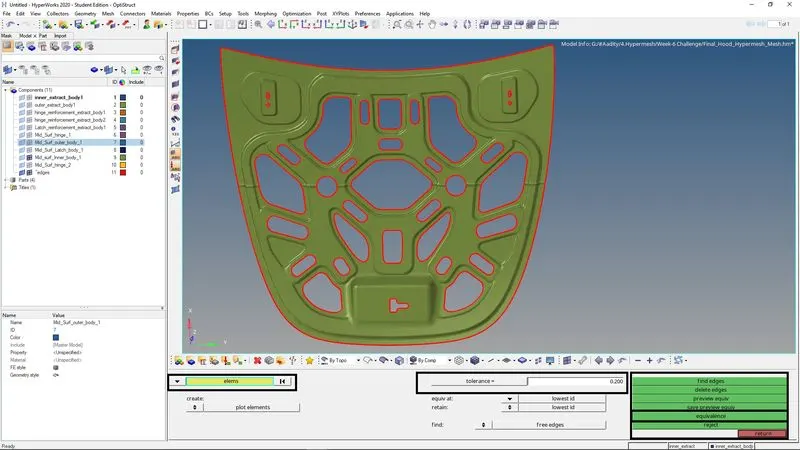
- After reflecting the elements to the other half, it might get the free edges which we need to check and remove
- For that we will go to edges in tools select the displayed element of a particular component and click on find edges, it will show the free edges if it is unnecessary free edges are there, we can fix it using the equivalence option
Result:-
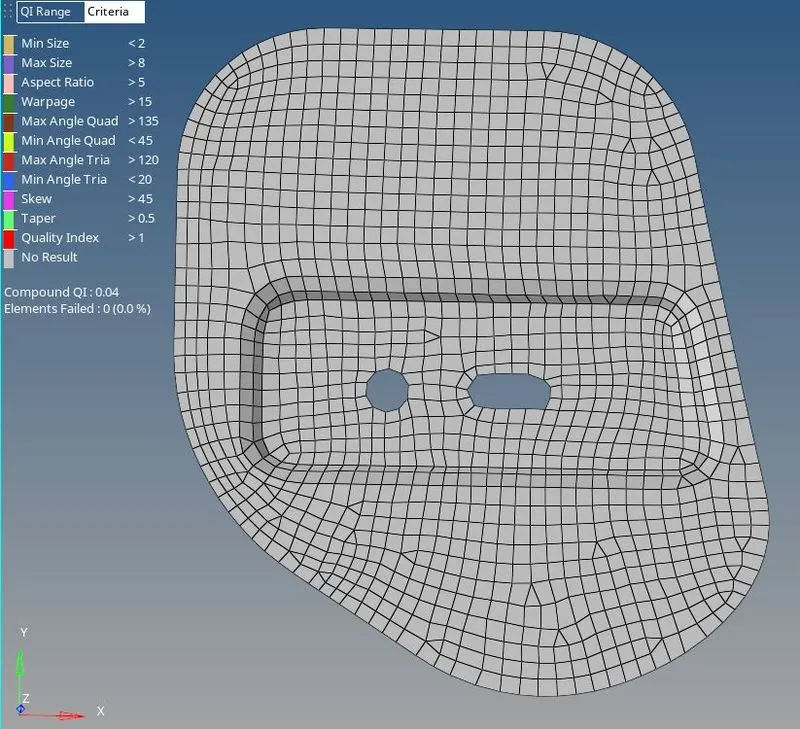
- After doing all the process of creating a proper mesh on all the component of the model, are underneath
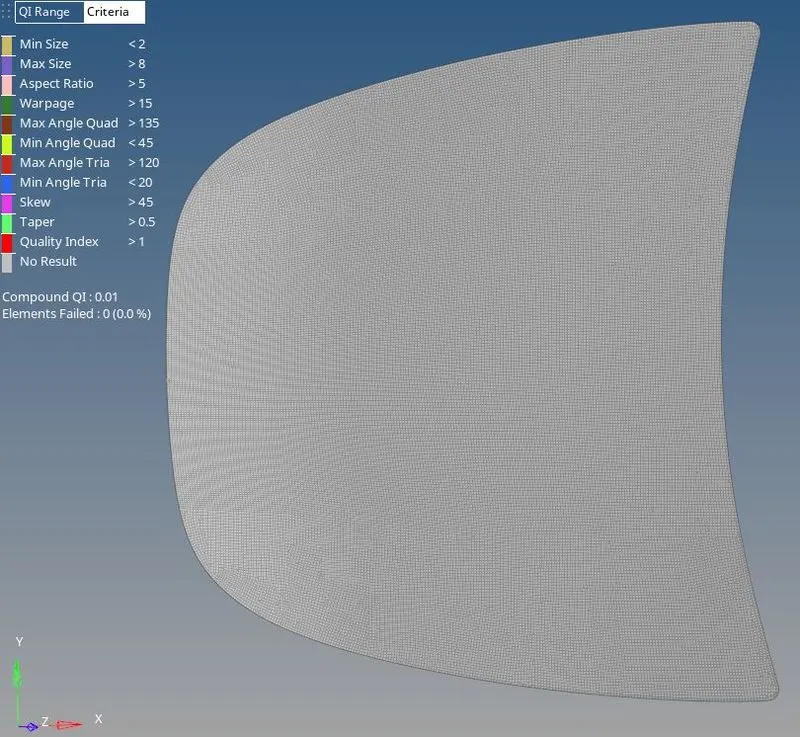
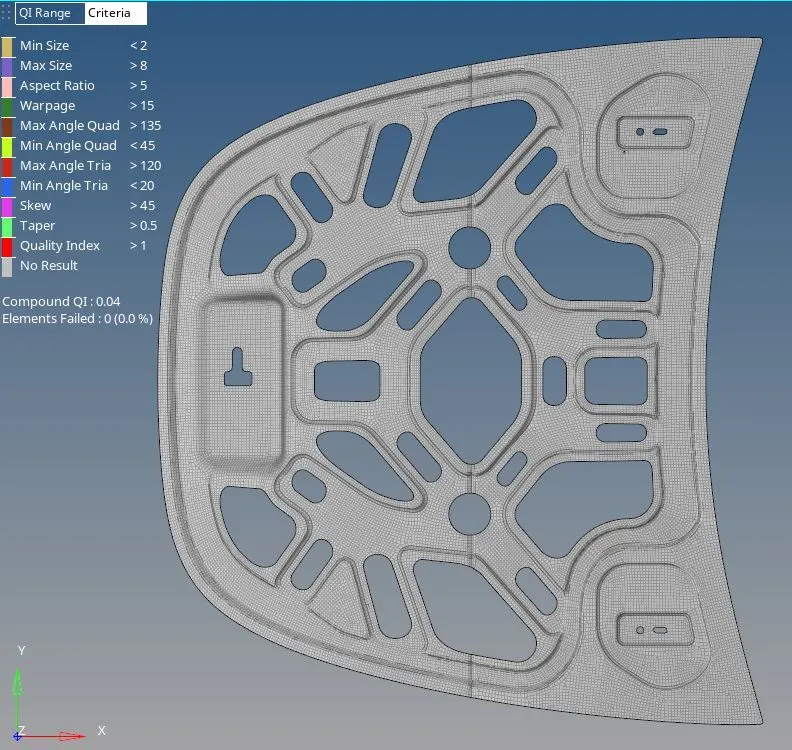
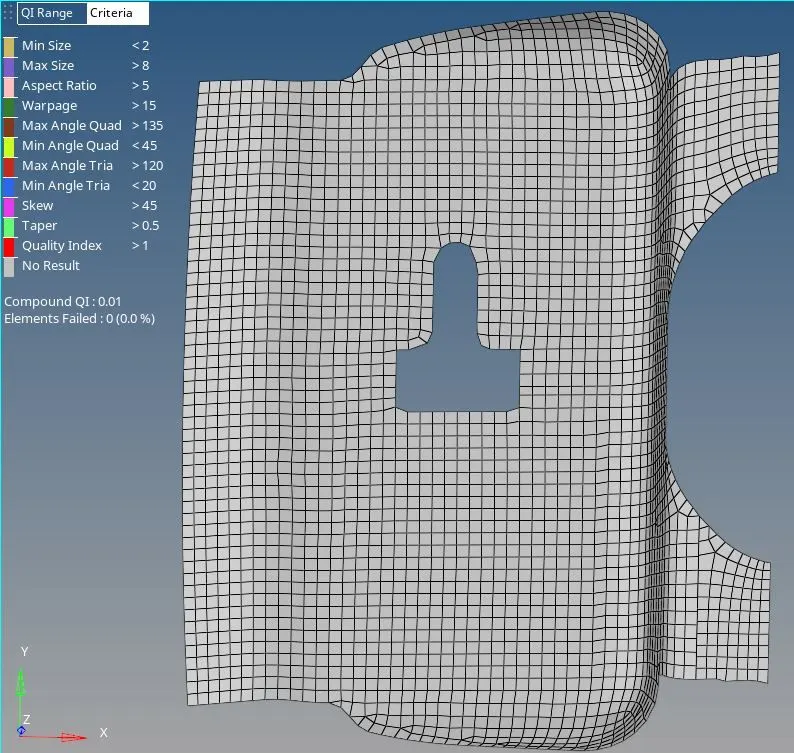
- The Element Failed is zero
|
Outer panel Mesh |
|
Inner Panel Mesh
|
|
Latch
|
|
Hinge
|
Learning Outcome:-
- Learn the effect of feature line on meshing, and also Learn the effect of Fillet and curves on the element mesh quality.
- Learn to remesh, rebuild to optimize the element quality.
- Learn how to efficiently use the cleanup tools.
- Learn to create the criteria files.