Week 6-Meshing of Hood Challenge
- Objective:
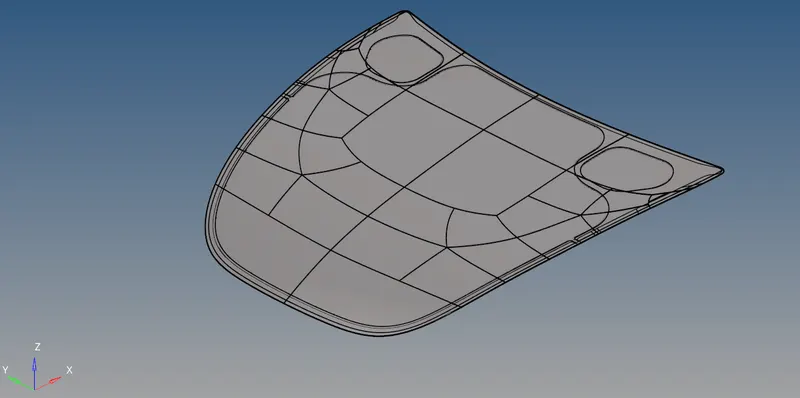
- To create a mid surface and mesh each component individually for the model given below.
- To create a mid surface and mesh each component individually for the model given below.
- Procedure:
- The first step is to import the model given in the question.
- Then deleting the solids from the model to get surfaces only.
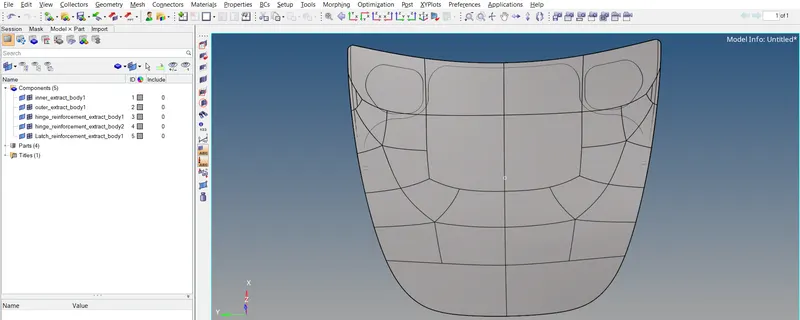
- After deleting the solids we end up only with the surfaces of the components. After this, we'll create a mid surface and mesh for each component individually. There are five components.
- Inner extract body 1
- Outer extract body 1
- Hinge reinforcement extract body 1
- Hinge reinforcement extract body 2
- Latch reinforcement extract body 1
-
- Geometry cleanup and mesh of Inner extract body 1:
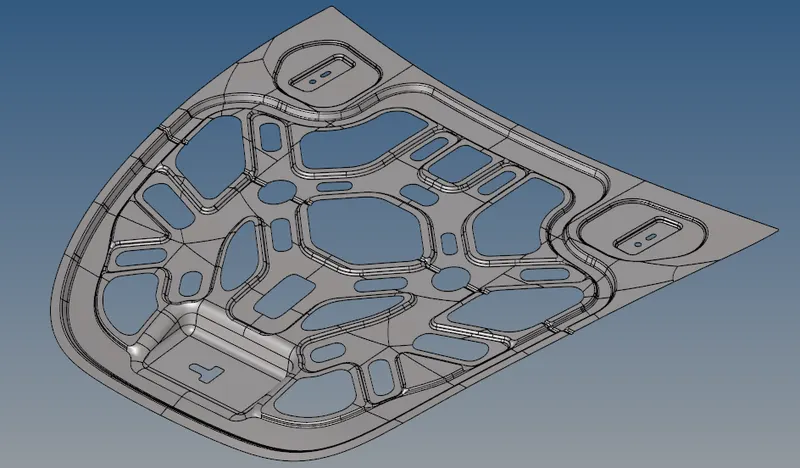
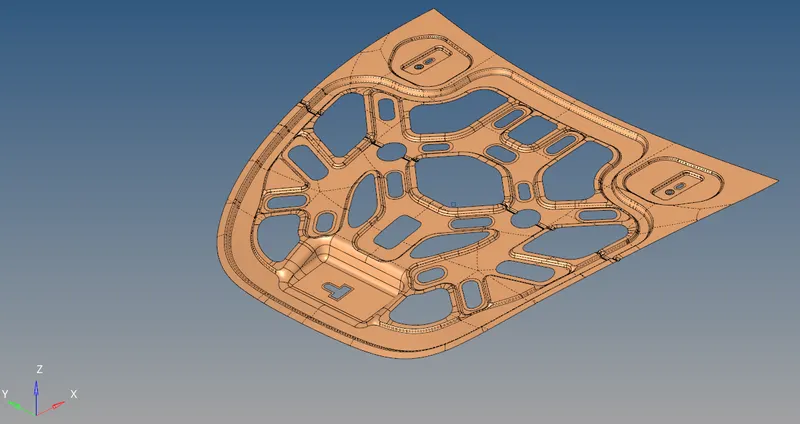
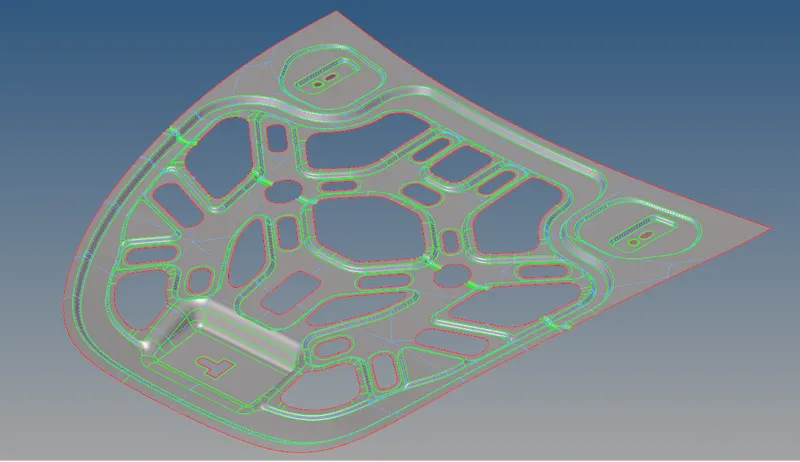
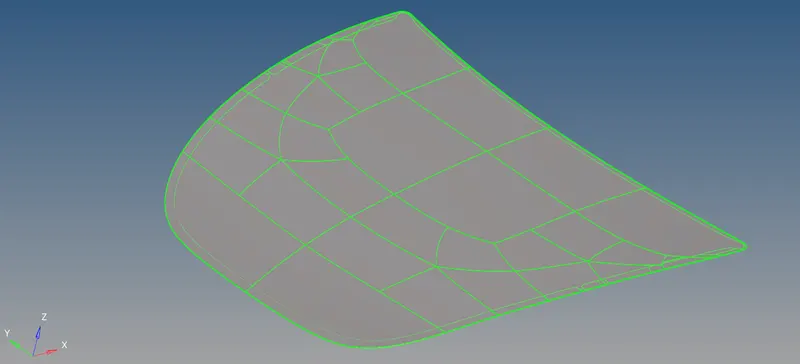
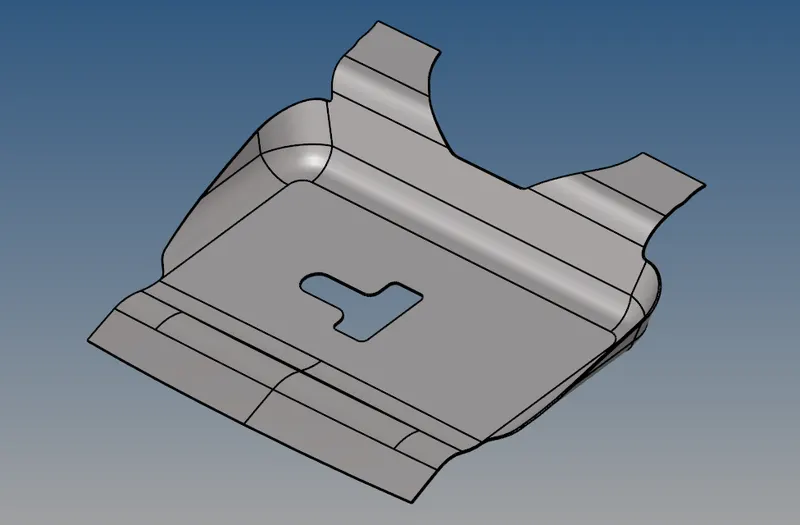
- The surface of the inner extract is given below.
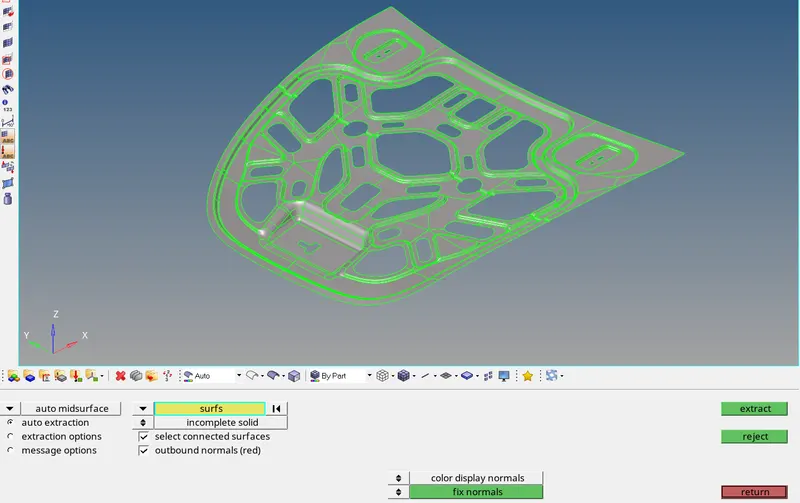
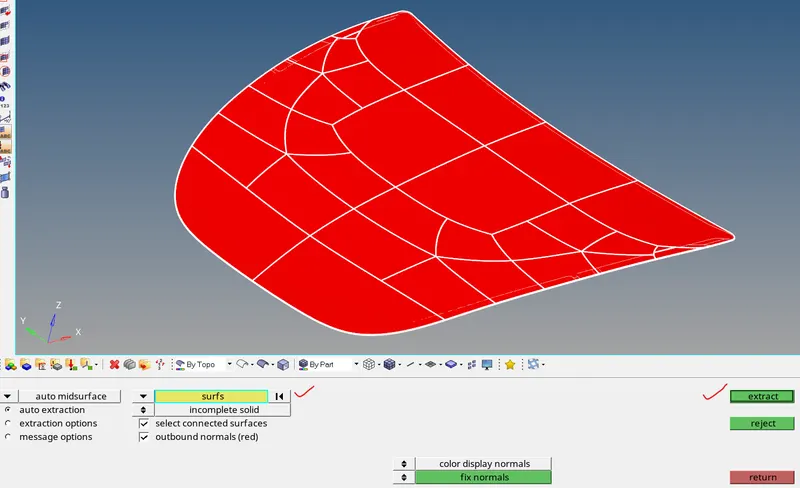
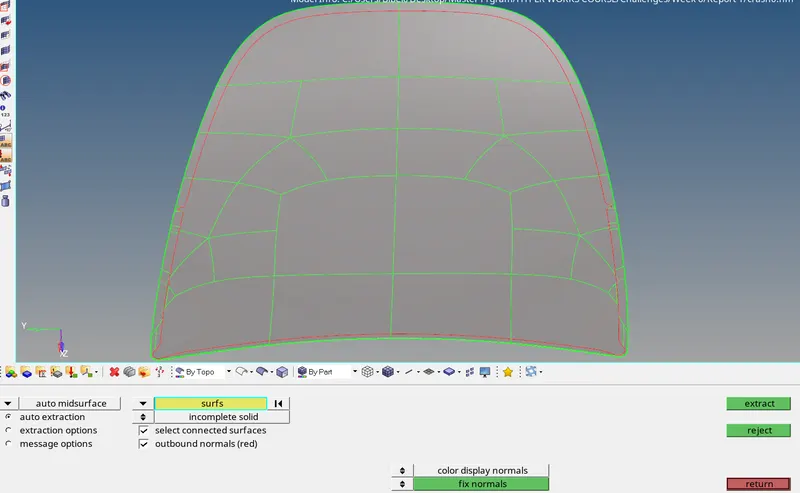
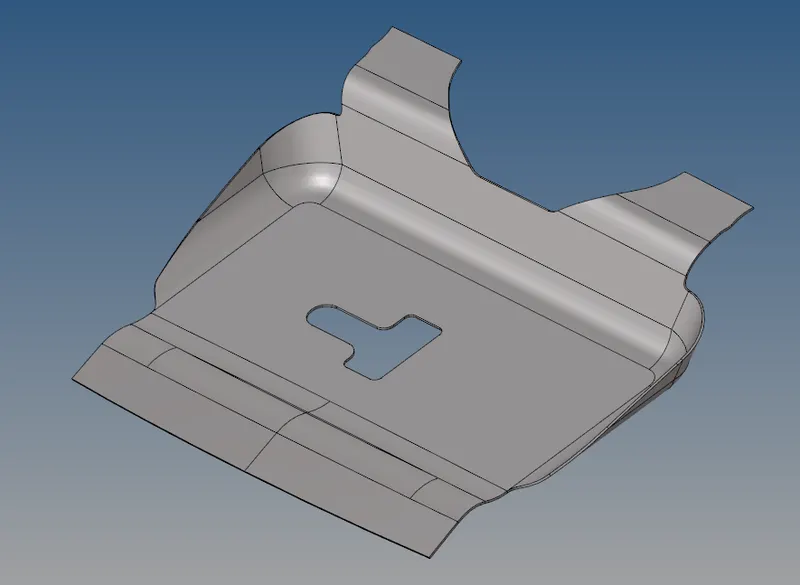
- Then the mid surface has been created from the above-extracted surfaces using the midsurface option present in the geometry section.
- From above the extracted surface have been extracted which is shown below.
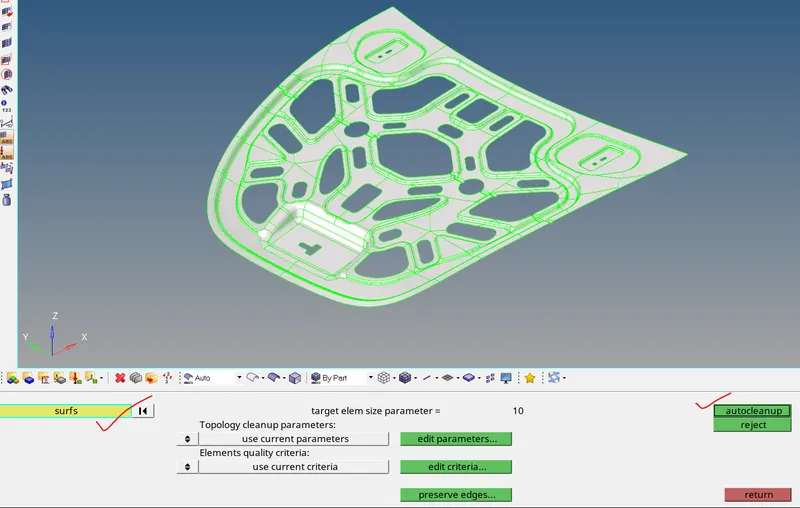
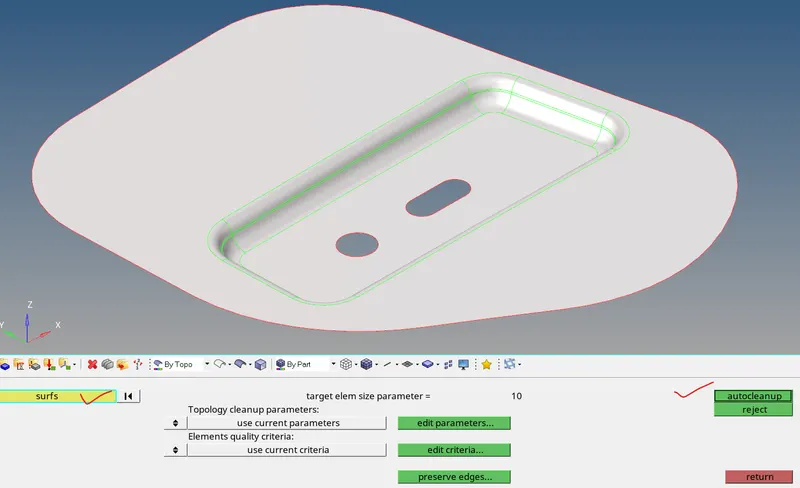
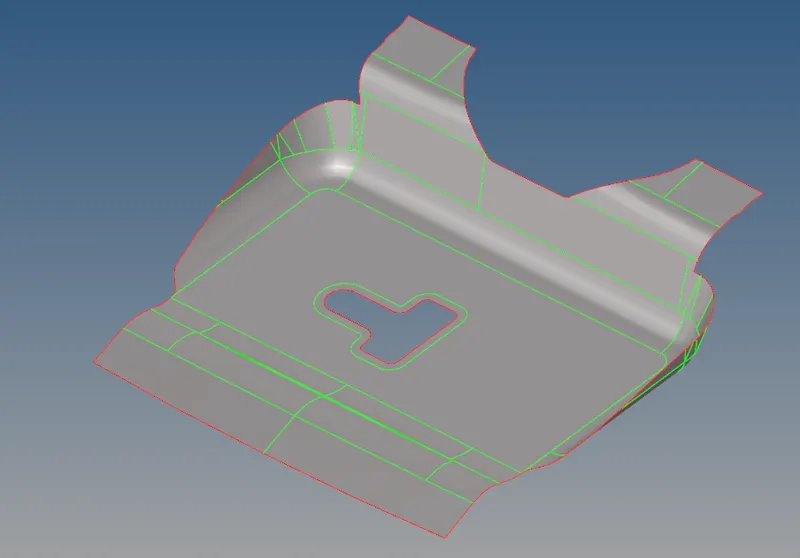
- Then the midsurface is cleaned from the option autocleanup present in the geometry section.
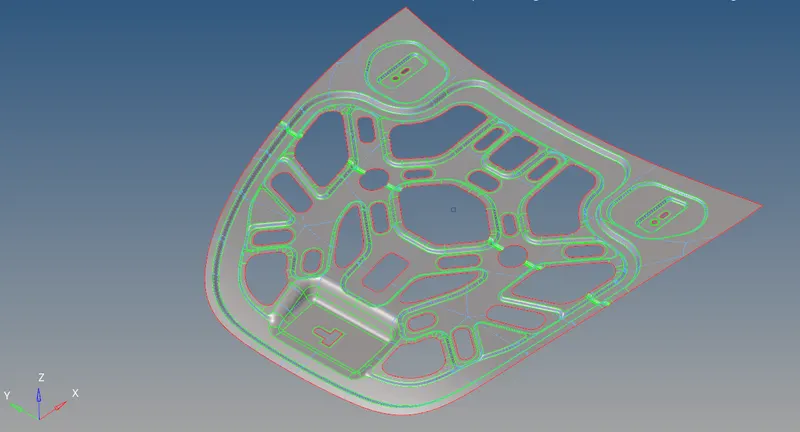
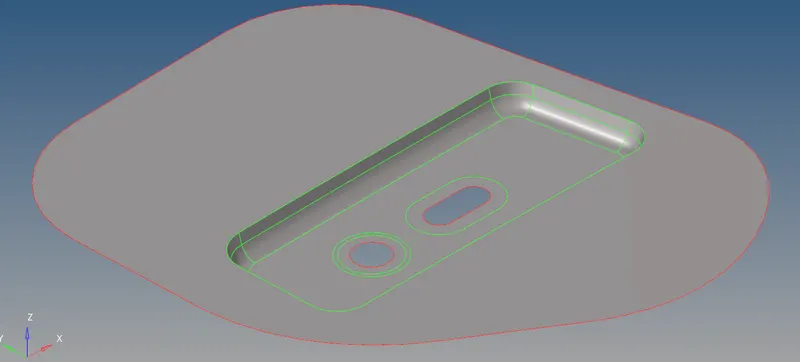
- The cleaned geometry is given below
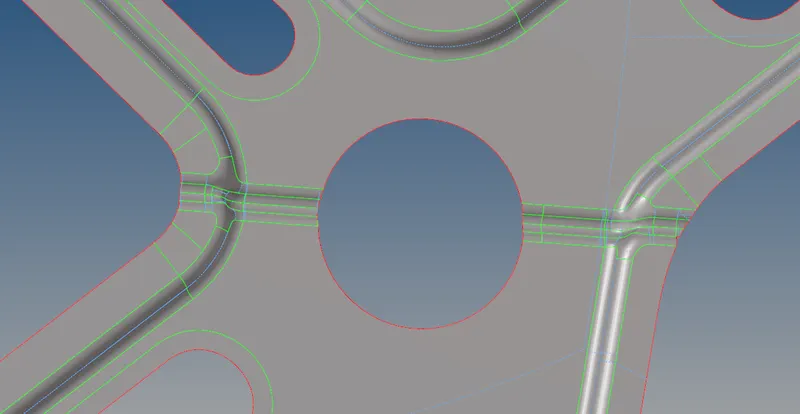
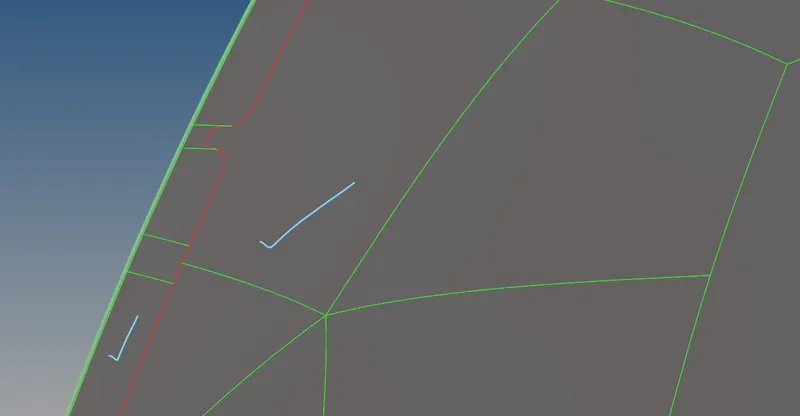
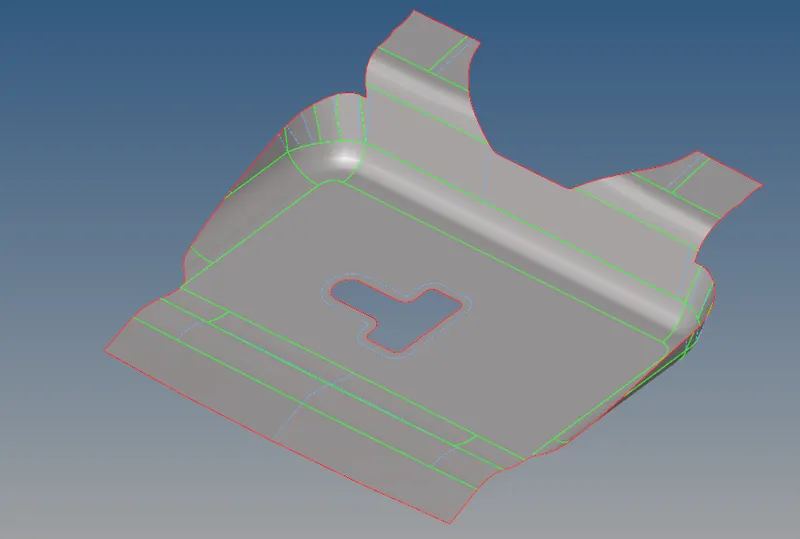
- The next step is to ensure the cleanup and check the boundaries
- To prepare the surface for meshing
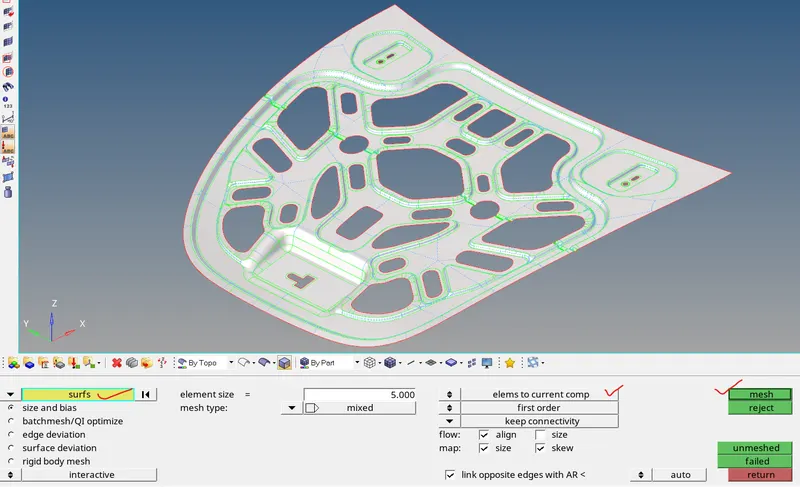
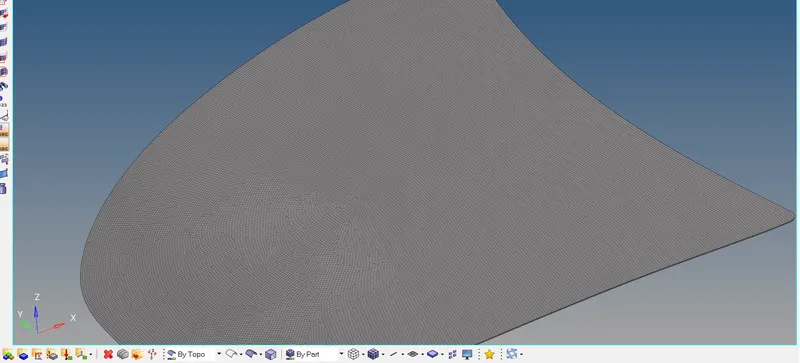
- Meshing the surface using the option automesh in 2D
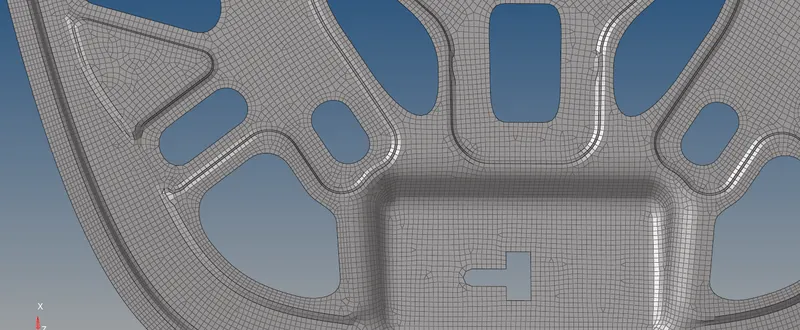
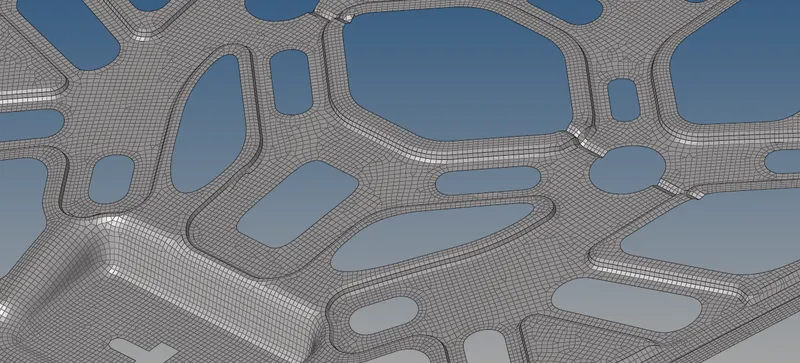
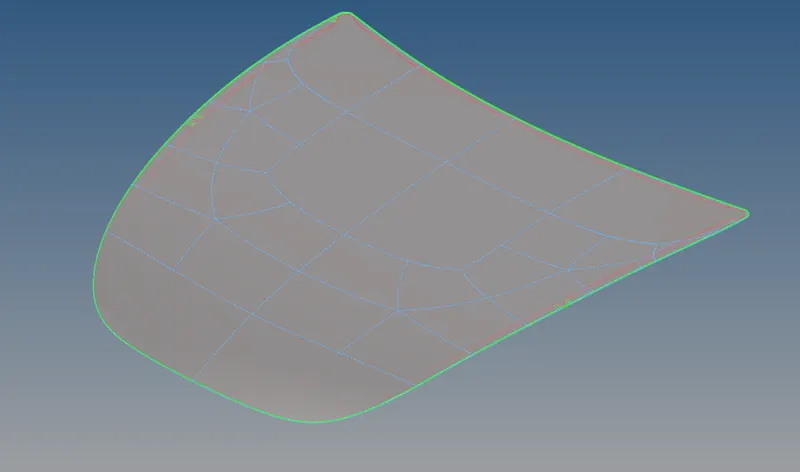
- The extracted mesh for the surface is given below
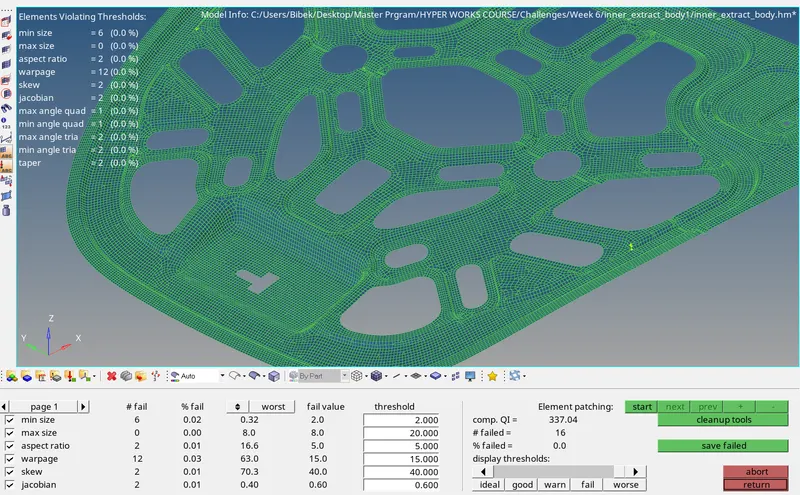
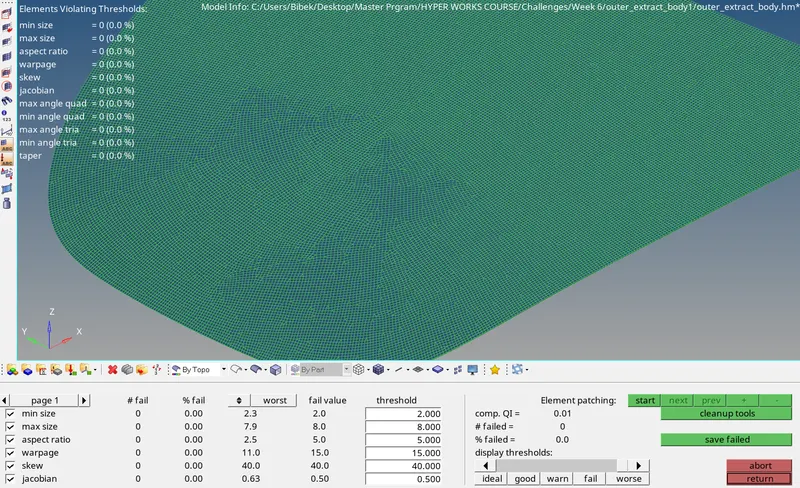
- The next step is to check the quality of the mesh using the qualityindex option.
- As we can see from the above figures, all the elements are satisfying the given criteria.
- The surface of the inner extract is given below.
- Geometry cleanup and mesh of Outer extract body 1:
- The first step is to select the component from the model given above in the question and bring the model into the hypermesh GUI.
- The next step is to create the mid surface from the surface model present in the GUI
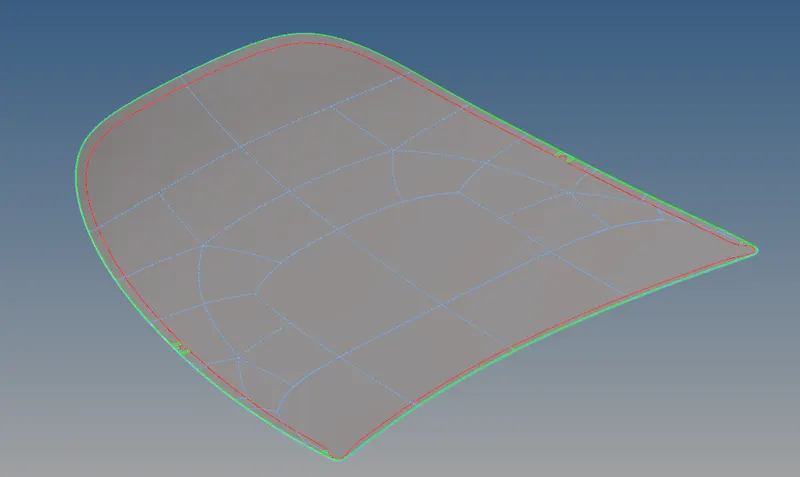
- The extracted mid surface is given below
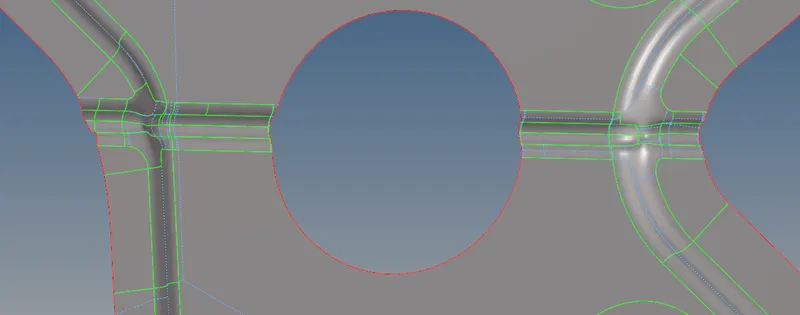
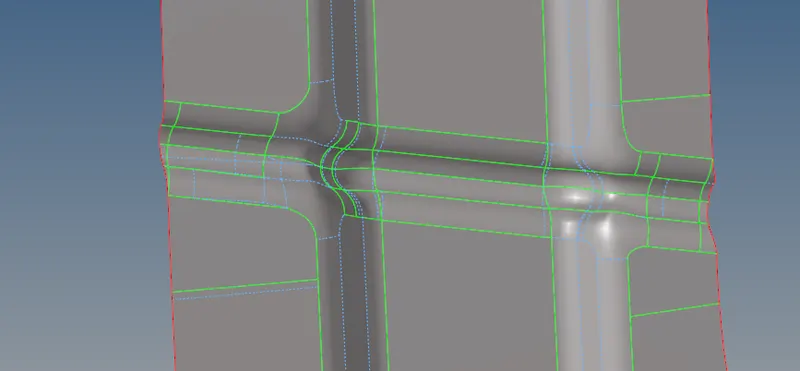
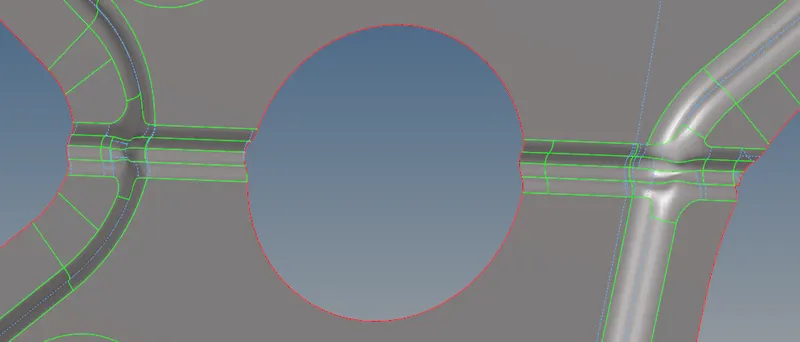
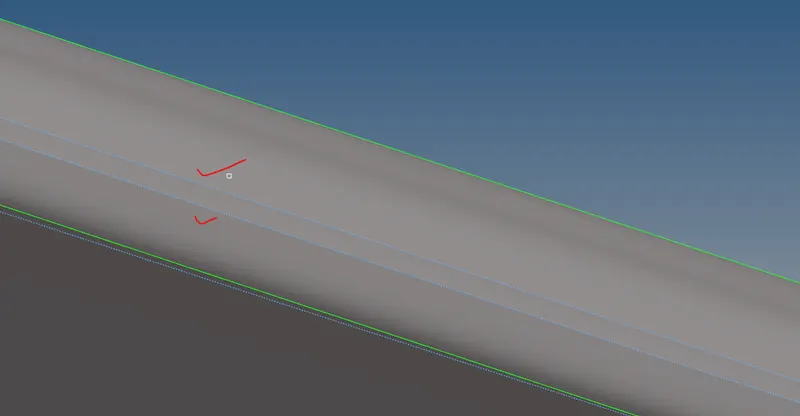
- The above surface has a hemming portion which is a very small clearance
- Then the autocleanup operation has been done on the surface to suppress the unwanted parts such as different unwanted trimmed surfaces and smoothed hemming parts. All these are given below
- As the geometry is pretty much cleaned and it's ready for mesh. To mesh the surface the automesh option present in 2D section is used.
- The next step is to check the quality of the mesh using the qualityindex option.
- As we can see from the above figures, all the elements are satisfying the given criteria.
- The first step is to select the component from the model given above in the question and bring the model into the hypermesh GUI.
- Geometry cleanup and mesh of Hinge reinforce extract body 1 and 2:
- The first step is to bring the model into the GUI
- As there are two similar models the same procedure needs to be followed. Then delete the surfaces and keep only the surfaces.
- Then creating the mid surface of the model using the midsurface option present in the geometry section.
- The extracted mid surface is given below
- As both, the component is the same so the mid surface is also the same. As the midsurface contains some surface fillets, it's better to clean the surface using the autocleanup option present in the geometry section in the toolbar.
- The cleaned surface is given below
- Now the surface is ready to mesh. To mesh the surface we have to select the automesh option present in the 2D section of the toolbar.
- The mesh of the surface is given below
- The next step is to check the quality of the mesh using the qualityindex option.
- As we can see from the above figures, all the elements are satisfying the given criteria.
- The first step is to bring the model into the GUI
- Geometry cleanup and mesh of Latch reinforcement extract
- The first step is to bring the component to GUI
- Then deleting the model solids to keep only surfaces
- The next step is to create a mid surface using the midsurface option present in the geometry section.
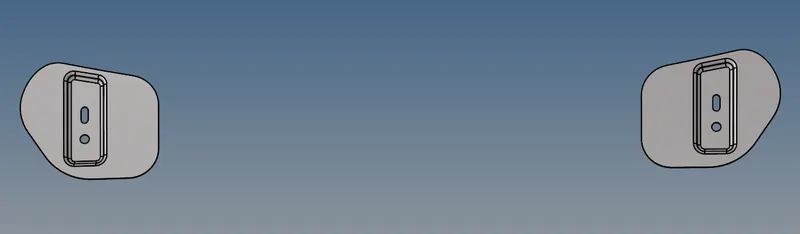
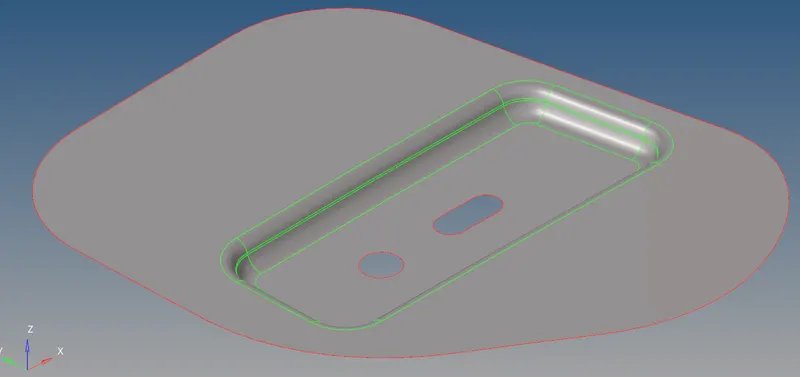
- Then we have to clean the geometry to mesh. The geometry clean up can be done using the autocleanup option present in the geometry section. The surface is given below
-
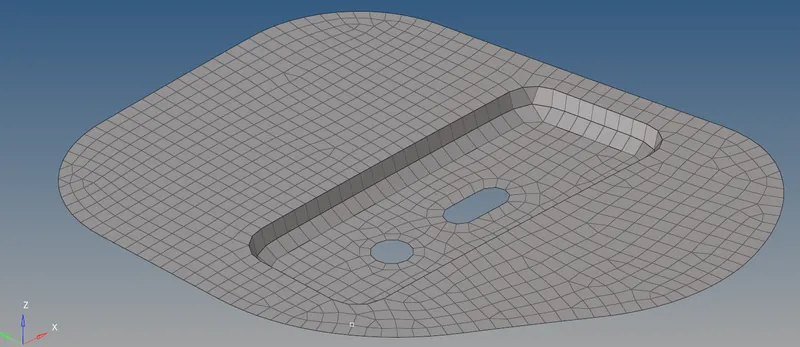
- The next step is to mesh the surface using the automesh option present in the 2D section
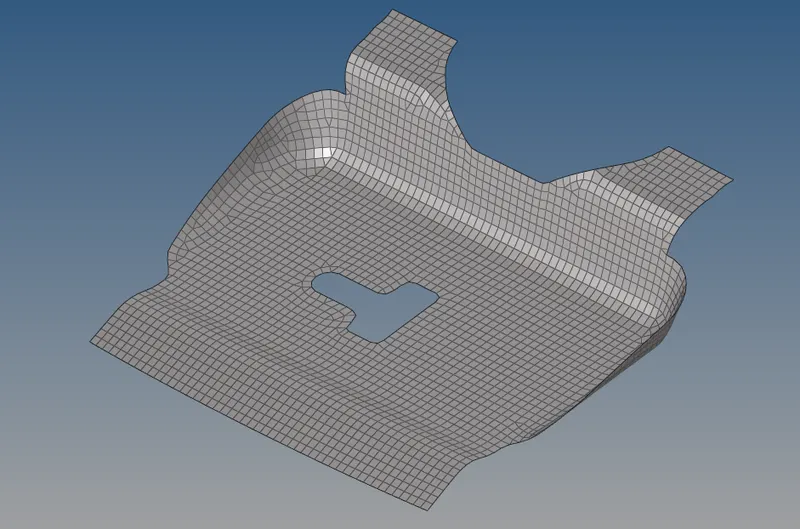
- Mesh of the component is given below
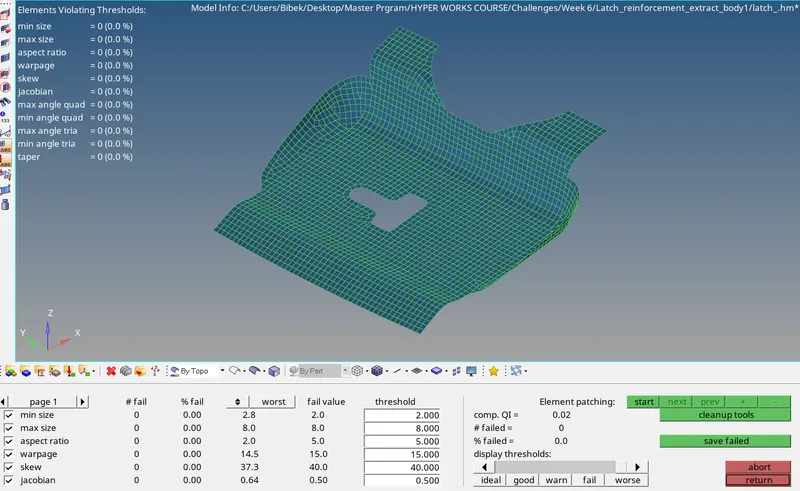
- The next step is to check the quality of the mesh using the qualityindex option.
- Then the next step is to check the elements to fit the criteria given in the problem statement.
- As we can see from the above figures, all the elements are satisfying the given criteria.
- The first step is to bring the component to GUI
- Geometry cleanup and mesh of Inner extract body 1:
- The first step is to import the model given in the question.