Meshing of Hood Challenge
Aim: To mesh the Hood Design CAD model by given quality criteria.
Quality Criteria:
Target Element Length = 5 Units
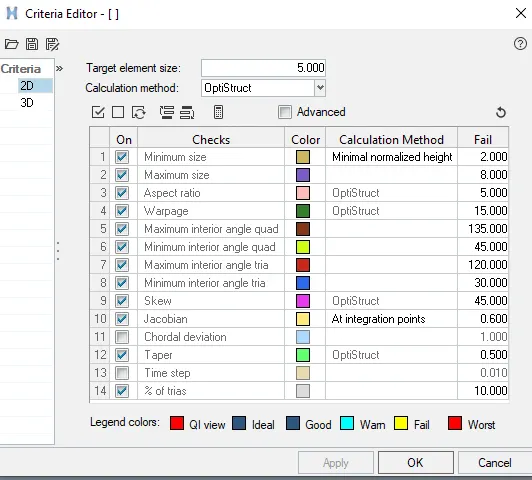
| Sr. No. | Quality Criteria | Value |
| 1 | Aspect Ratio | 5 |
| 2 | Skewness | 45 |
| 3 | Warping | 15 |
| 4 | Taper | 0.5 |
| 5 | Minimum Length | 2 units |
| 6 | Maximum Length | 8 units |
| 7 | Minimum Angle Quad | 45 |
| 8 | Maximum Angle Quad | 135 |
| 9 | Minimum Angle Tria | 20 |
| 10 | Maximum Angle Tria | 120 |
| 11 | Tria % | 10 |
Objective:
To extract the mid-surface of the Hood assembly and cleanup the geometries and mesh the components by considering given quality criteria.
Detailed report:
The flow of information of the report will be as follows,
- Introduction
- Procedure
- Result and discussion
- Final Model
- Reference
Introduction:
The Hood consists of the following parts as given below,
- Hood inner panel
- Hood upper panel
- Hinge reinforcement
- Latch and striker reinforcement
- Gas stay reinforcement
Bonnet is mostly called in commonwealth countries, it essentially is a type of cover for engine compartment and powertrain. It is a critical component because of safety for pedestrian & frontal crashes which dissipates the energy of the crash on the body rather than inside the car body. It is also the car's styling surface, which provides a better look to the vehicle.
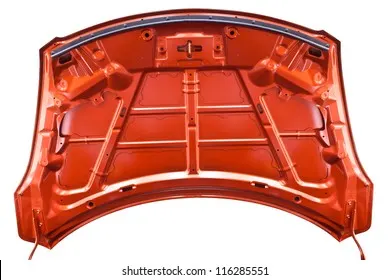
The Bonnet or upper hood is generally made of aluminum which is lighter in weight and in some cases it is made of stainless steel in various grades to give better strength.
The aluminum hood is manufactured by the casting process and the stainless steel hood is formed by the Deep drawing process.
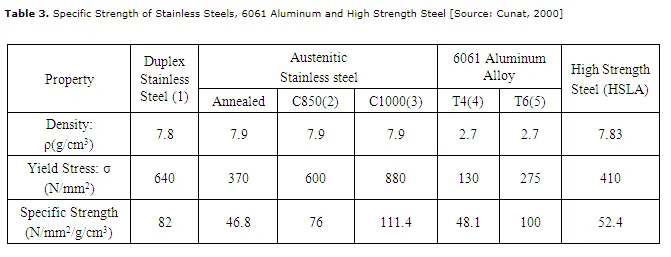
The selected lightweight material properties, which realized the integrated performance improved to different levels, and the weight of the inner panel reduced by 30.4%. The case study of lightweight design based on lightweight material selection and structural optimization shows the feasibility and potential of the method, and it provides a reference for the lightweight design of the car body.
Procedure:
Note: Used the 'Mixed' (Not Quad) option to generate the mesh for this challenge because we are preparing the model for crash & safety simulations. The quad-only mesh is preferred for durability and structural simulations.
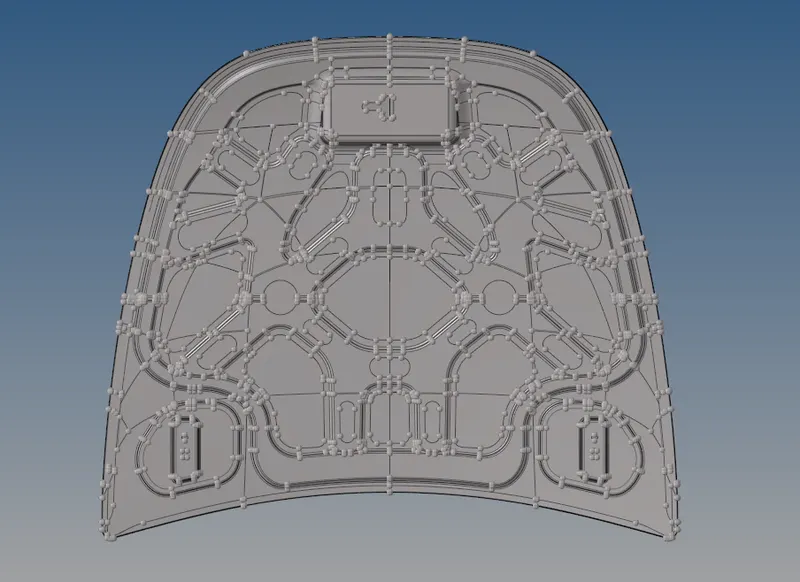
I will start by importing the geometry as a hood model is given to me. so for importing the geometry, I will go to import and select the file. The model is shown below:
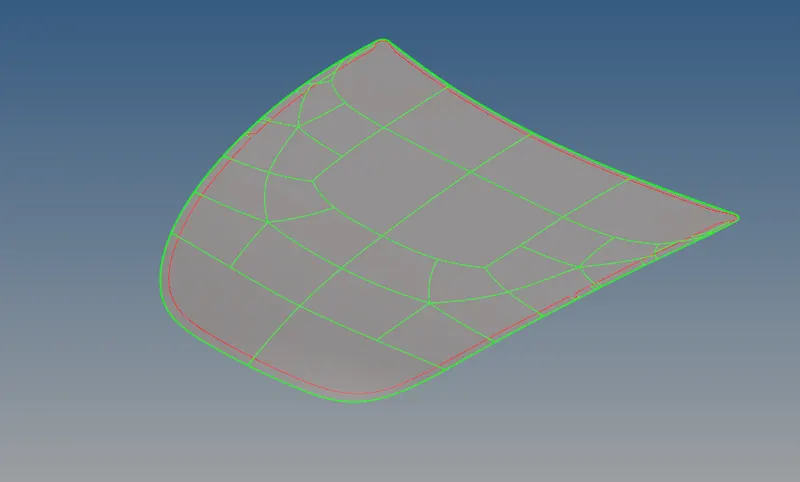
Now I will extract the mid surface of all the components separately. so first I have taken the outer panel of the hood.
For extracting the mid surface I will go to the mid surface command under geometry and then select all the surfaces of the outer panel and then click on extract. The mid-surface here will be auto mid-surface extraction. The mid surface of the outer extract is shown below:
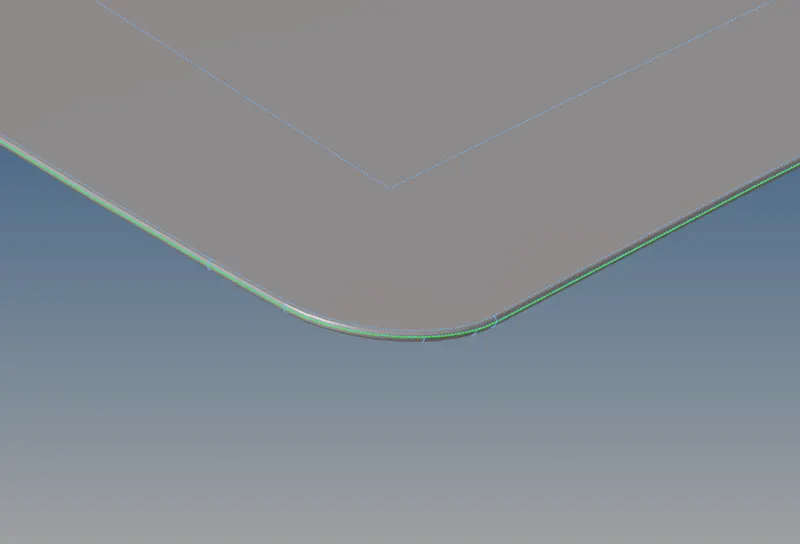
After extraction of the mid surface, I will do the geometry cleanup manually to remove the unwanted edges that could cause problems in meshing. Here the hemming portion is the region that will cause problems so I will just keep one midline and toggle all the edges. For toggling the edges I will go to quick edit under geometry and then toggle. The reason for keeping one midline only is to avoid failures of elements in that region as it may fail for minimum element size.
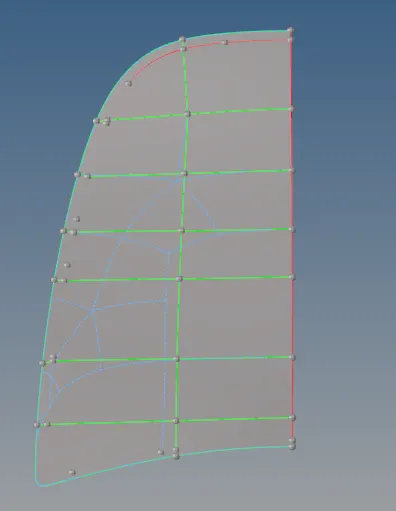
I have split the outer extract equally into two parts so I will just mesh one part and use the reflect command to mesh the other part. on the half portion of the outer extract, I have made some cuts on the surface such that the mesh should be good and have the minimum number of rotating quads and trias. so for doing that I have used the split surf node command in the quick edit tool under geometry. The final surface of the outer extract that is ready to mesh is shown below:
Now I will just mesh the individual surfaces of the outer extract using the automesh command under 2 D. The element size I have to keep is 5 units because that's the criteria. But before the mesh, I have to set the required criteria and save it. so for setting the given quality criteria I will go to preference and then quality criteria and will input the values and save the session. The quality criteria are shown below:
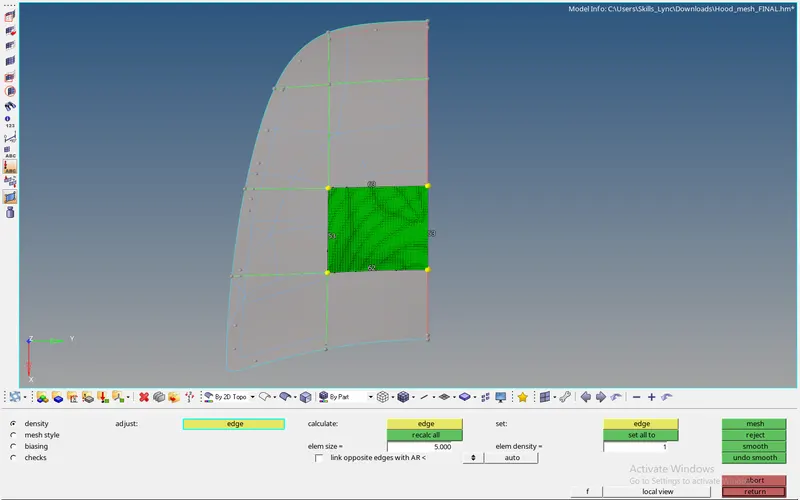
While meshing the important points I have to keep in mind are mentioned below:
- There should be no opposite trias present in the component.
- There should be no rotating quads present in the component.
- No trias should be present at the edges
- The mesh density should be proper
The mesh of the outer extract is shown below:
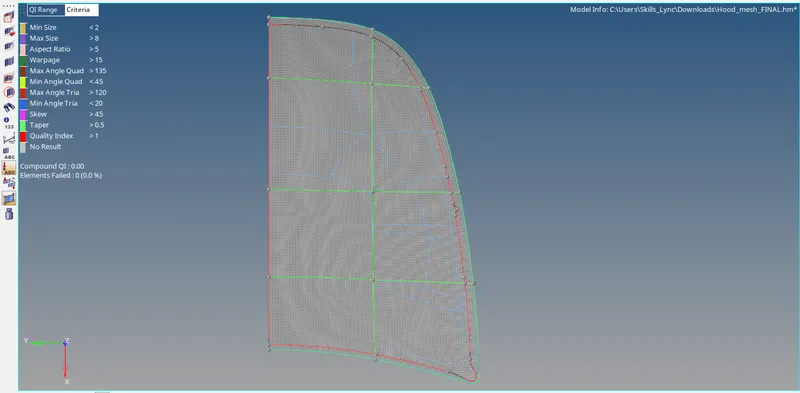
After the meshing is done I have to check for the element failures. so for that, I will to tool and then check elements and see which are the elements failing and will rectify those element failures. For rectifying the element failures I will use the following commands.
- Drag tria command under the quality index
- Element optimization under the quality index
- Place node command under the quality index
- Translate command to translate nodes. This command will be under the tool section
- The smooth command will smooth the mesh and ultimately remove the element failures
- Element edit command to split, create and combine elements.
so using the above-mentioned command I will clear the element failures. The final mesh of the one half of the outer extract free from any element failures is shown below:
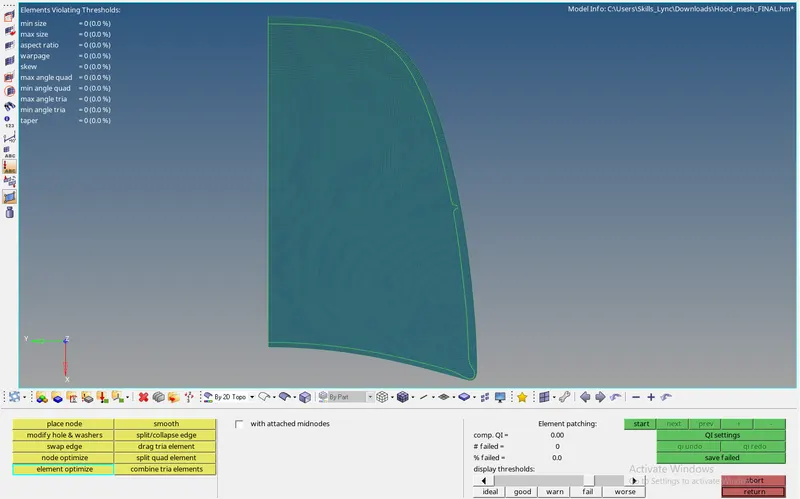
Now I will check for free edges. There should not be any free edges present in between the component. For checking the free edge I will go to the tool then edges and select the elements and then click on find edge.
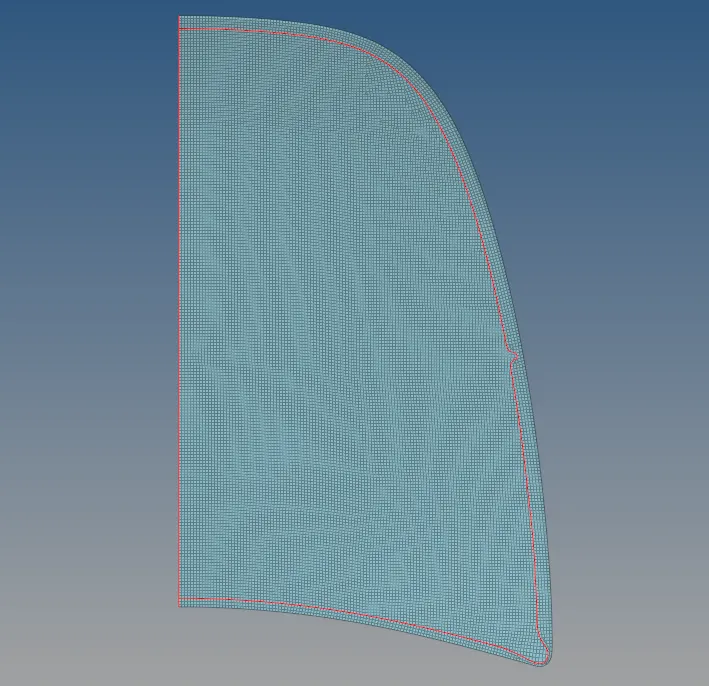
Here we can see that there are no free edges and elements are perfectly connected. Now I will reflect the mesh onto the other half of the hood using the reflected command. so I will go to reflect under the tools section and duplicate the elements that I want to reflect and then select the base and direction for reflecting and then click on reflect. To make sure that the reflection should be symmetrical I have used the preview equivalence command. This command will show any edges or gaps present in the elements so using the equivalence command will provide the perfect reflection. The final mesh of the outer hood extract is shown below:
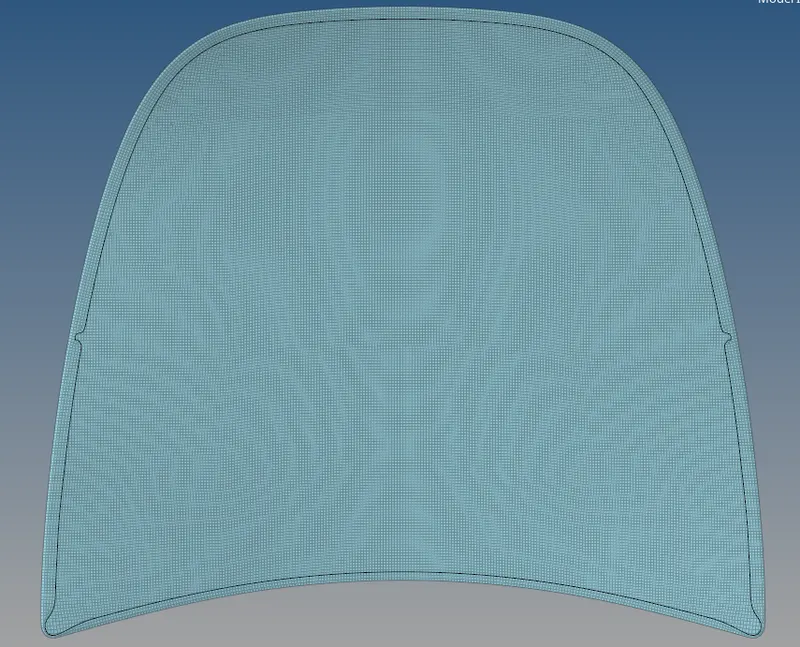
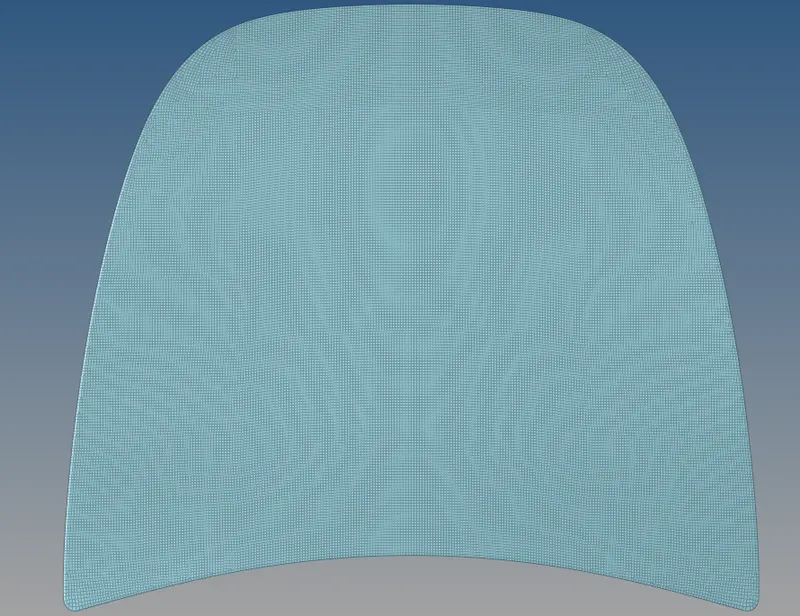
The meshing of the outer extract is completed. And now I will move on to the latch. For latch also I will follow a similar procedure as I did for the outer extract. The latch component is shown below:
Latch:
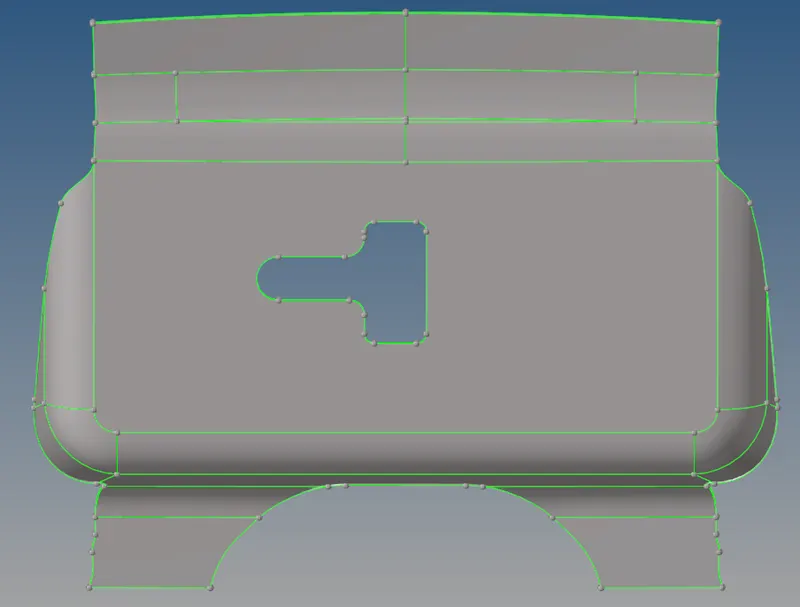
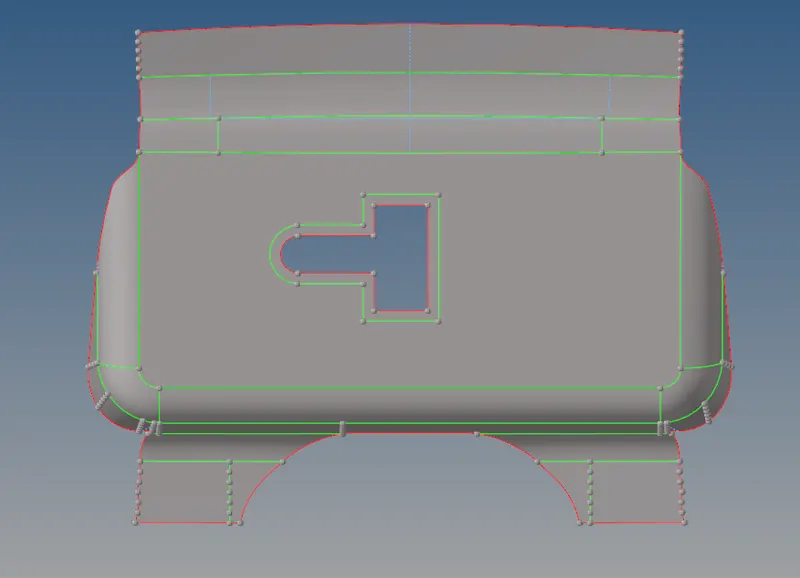
Here also first I will extract the mid surface for the latch using the auto extraction option. The mid surface for the latch is shown below:
After extracting the mid surface I will mesh the latch surface following the element criteria. The mesh for the latch is shown below:
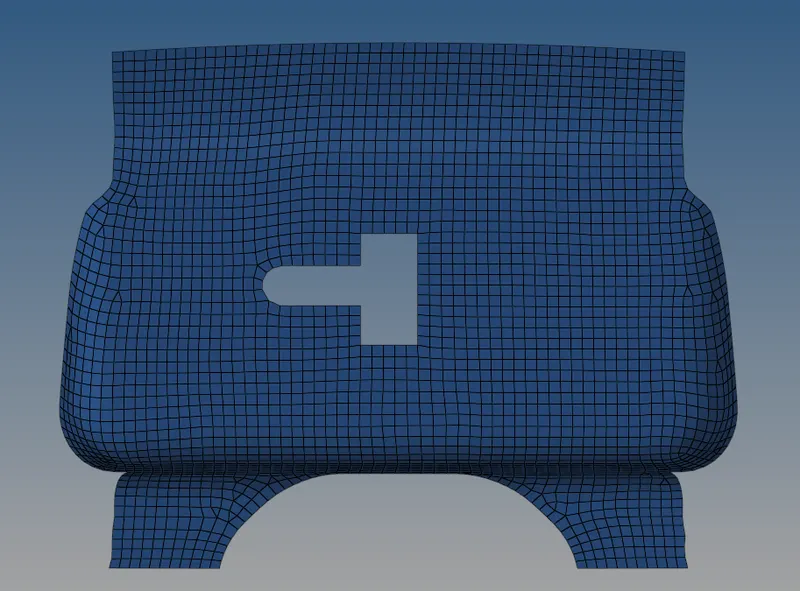
Now again I will check for the element failures. The quality index of the mesh is shown below:
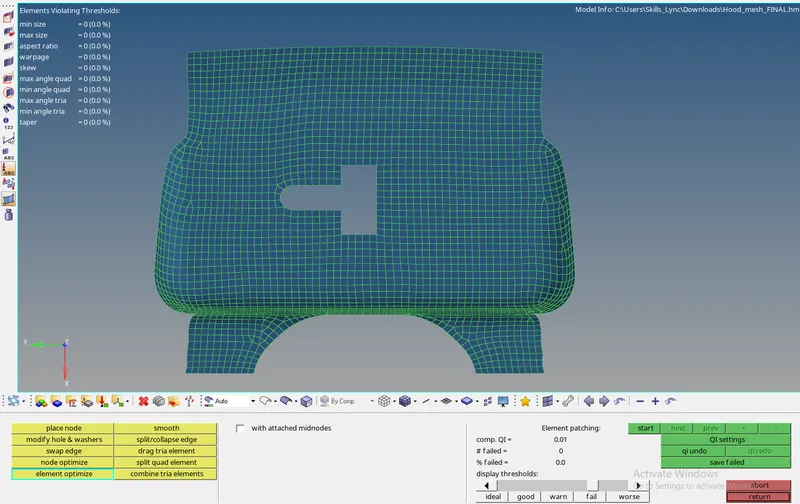
For rectifying the element failures I will use the following commands.
- Drag tria command under the quality index
- Element optimization under the quality index
- Place node command under the quality index
- Translate command to translate nodes. This command will be under the tool section
- The smooth command will smooth the mesh and ultimately remove the element failures
- Element edit command to split, create and combine elements.
So using the above-mentioned command I will clear the element failures. The final mesh of the latch free form element failures is shown below:
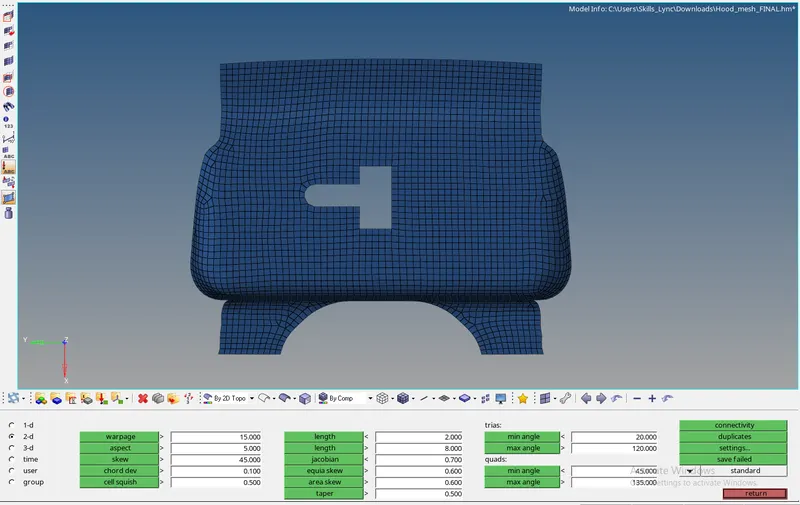
Checking for free edges:
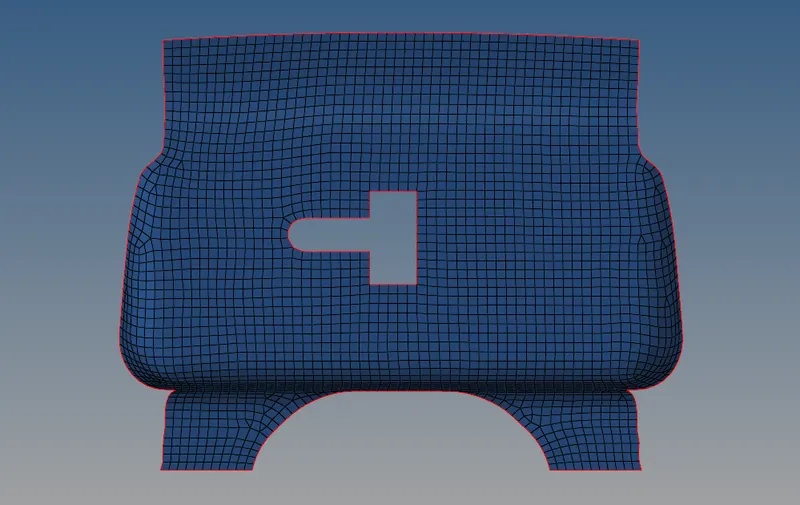
Now the meshing of the latch is also completed. Next, I will move on to hinges. There are two hinges provided in the model so I will mesh one hinge and then reflect the elements onto the other hinge. The hinges which are given is shown below:
Hinges:
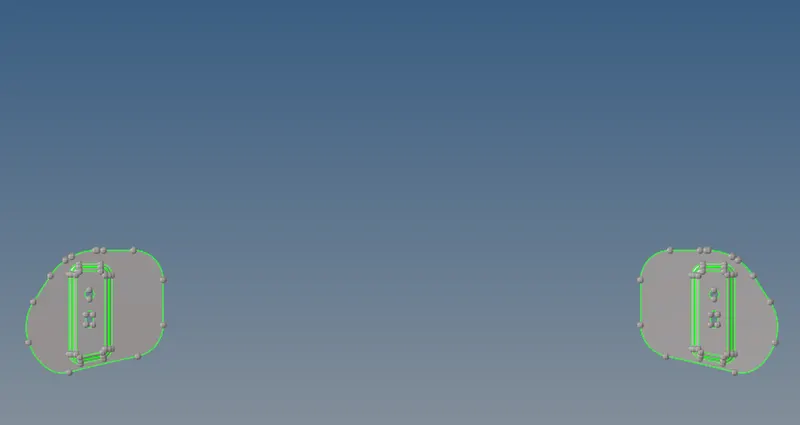
So I have taken the left hinge and for that, I will extract the mid surface using the mid surface command under the geometry section. The mid surface of the hinge is shown below:
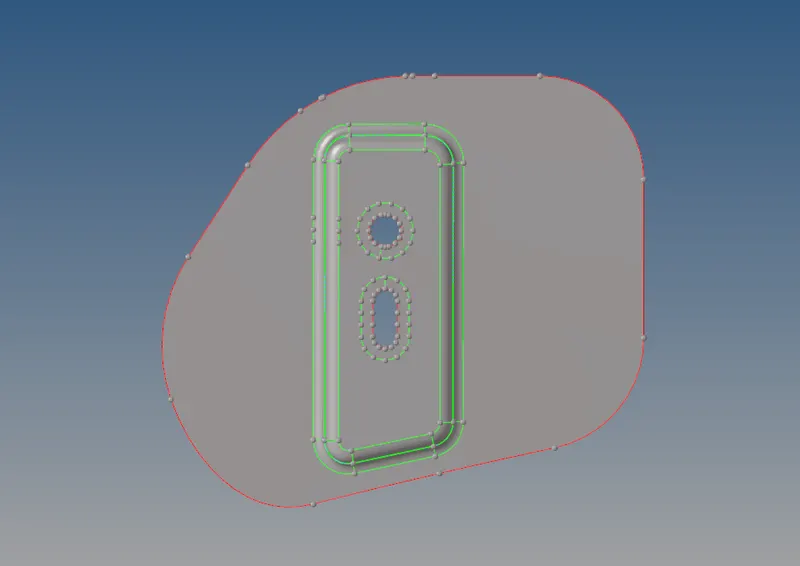
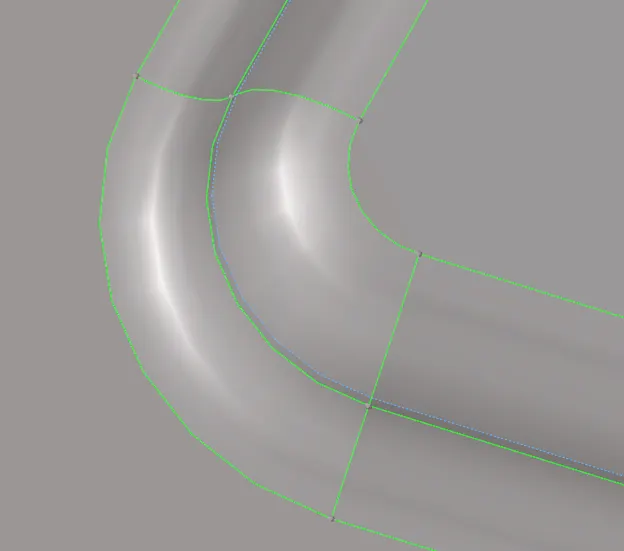
Now I again clean up the geometry around the fillet area because that is the only region that could cause the element failures and provide the washer split also to the holes for better capturing of the holes.
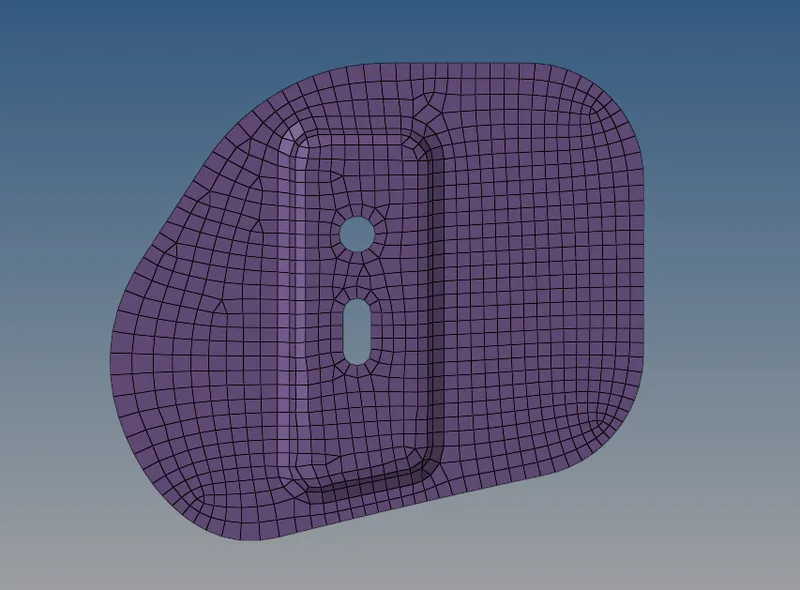
Then I will mesh the above-shown hinge surface using the automesh command under the 2 D section giving an element size of 5 units and following the quality criteria given. The mesh of the hinge is shown below:
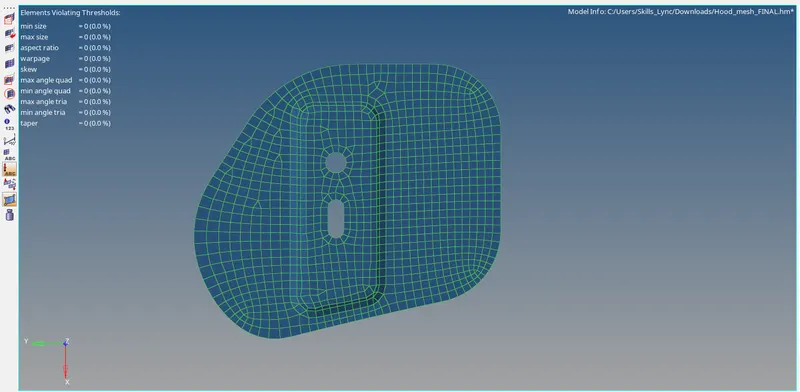
Now again I will check for the element failures. The quality index of the mesh is shown below:
For rectifying the element failures I will use the following commands.
- Drag tria command under the quality index
- Element optimization under the quality index
- Place node command under the quality index
- Translate command to translate nodes. This command will be under the tool section
- The smooth command which will smooth the mesh and ultimately remove the element failures
- Element edit command to split, create and combine elements.
So using the above-mentioned command I will clear the element failures. The final mesh of the hinge free form element failures is shown below:
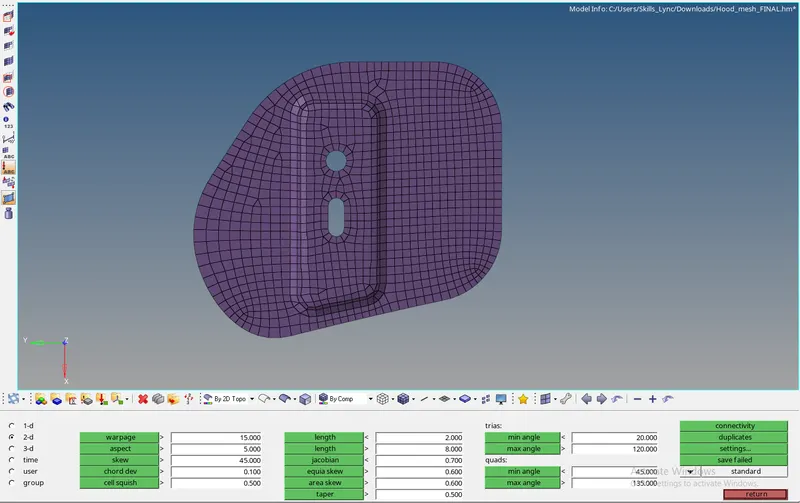
Checking for free edges:
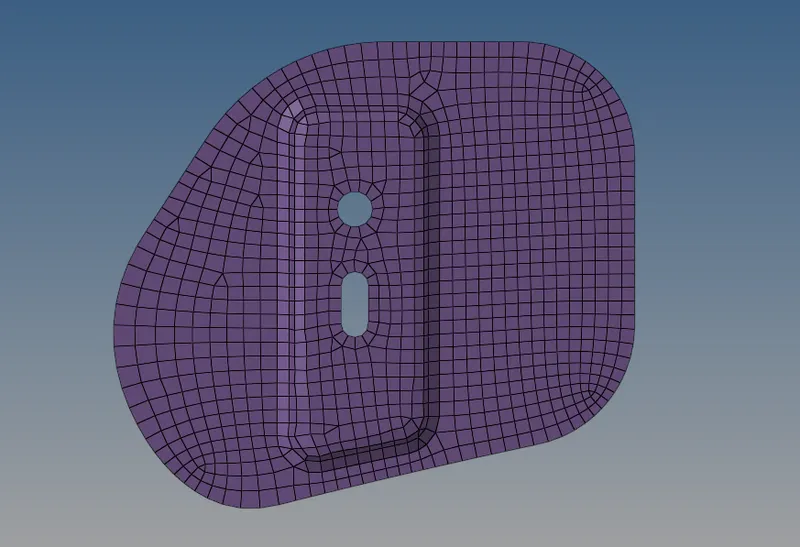
Now I will reflect the elements onto the other hinge using the reflected command. so I will go the reflect under the tools section and first duplicate the elements then select a base and a direction. The direction here is the y-axis and the base I have taken is a point from the inner extract. After reflecting the mesh of both the hinges are shown below:
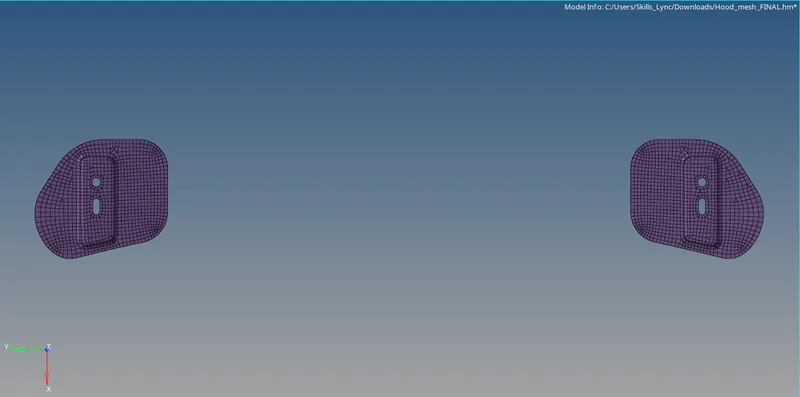
Now the meshing of hinges is also completed and I will mesh the final component that is the inner extract. The inner extract component is shown below:
Inner extract :
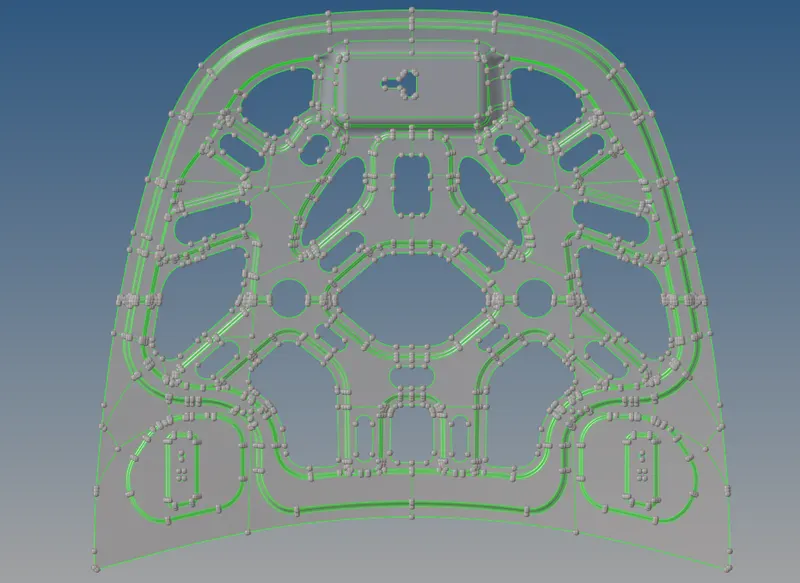
So here also first I will extract the mid surface of the component. The mid surface of the inner extract is shown below:
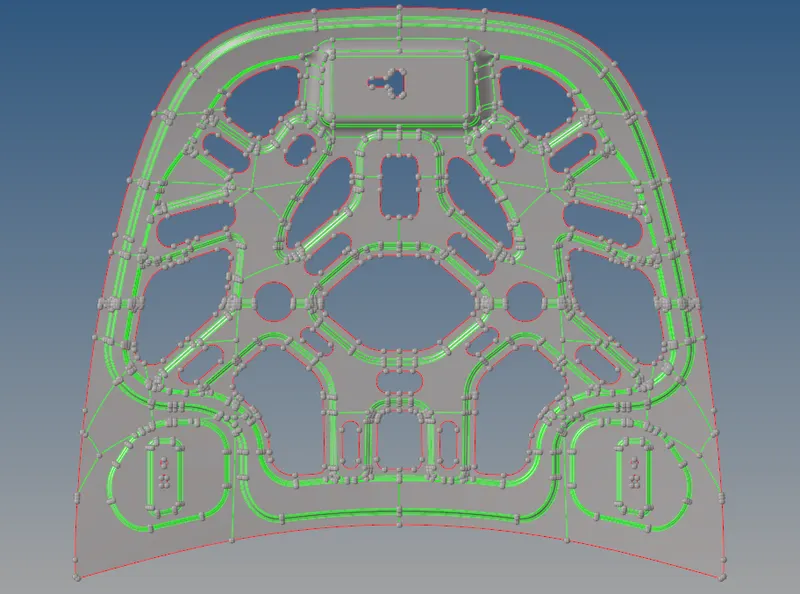
Here as well I will split the inner panel into two parts just like I did for the outer extract. so I will just mesh one-half of the inner extract and will reflect the elements onto the other half.
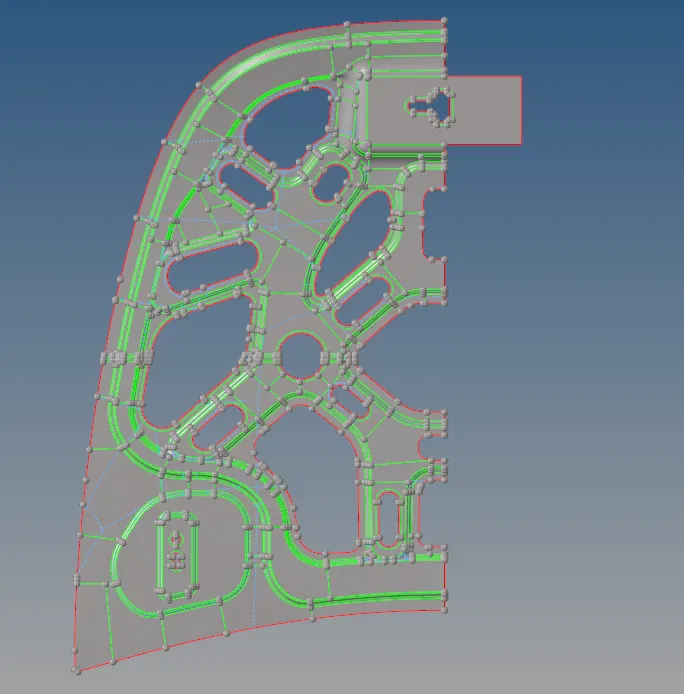
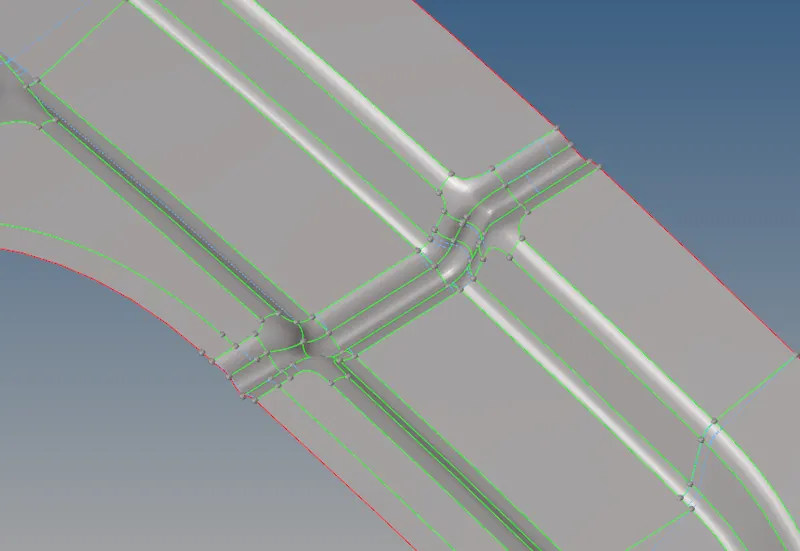
Now I will do the geometry clean-up manually and remove the unwanted edges as there are so many of them. while toggling I have to be careful around the fillet and other curves portion because that is the area where element failure will occur. some of the areas are shown below:
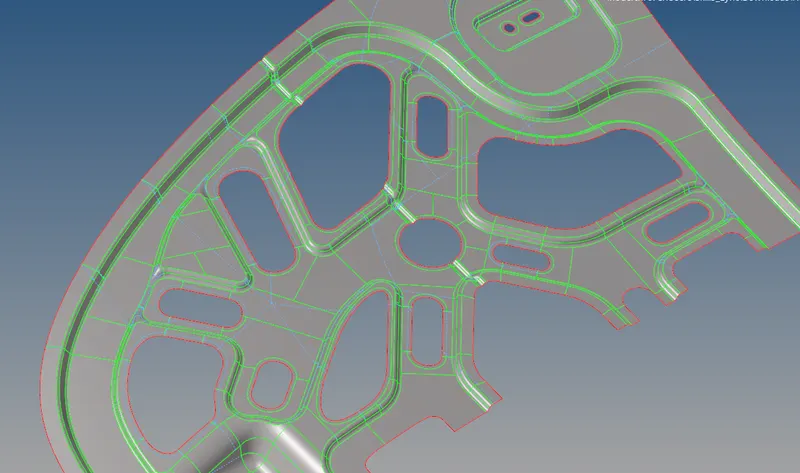
I have made some cuts on the surface such that the mesh should be good and have the minimum number of rotating quads and trias. so for doing that I have used the split surf node command in the quick edit tool under geometry. The final surface of the inner extract that is ready to mesh is shown below:
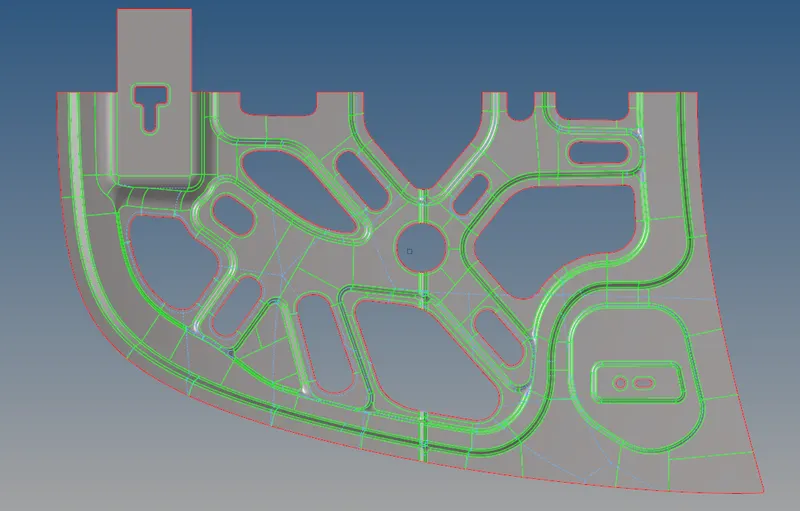
Now I will just mesh the individual surfaces of the inner extract using the automesh command under 2 D. The element size I have to keep is 5 units because that's the criteria. The mesh of the inner extract is shown below:
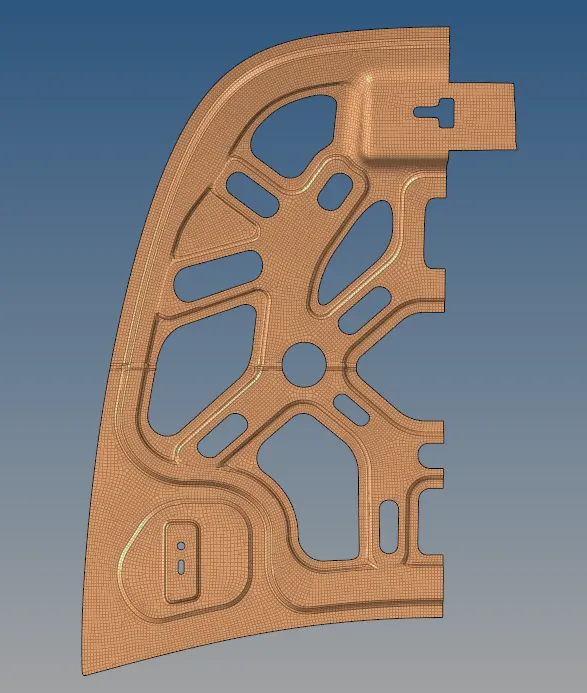
After the meshing is done I have to check for the element failures. so for that, I will to tool and then check elements and see which are the elements failing and will rectify those element failures. Here in the inner extract, there are a lot of curve surfaces and on those surfaces, I will have the warpage and skew error and other element failures, for rectifying the element failures I will use the following commands.
- Drag tria command under the quality index
- Element optimization under the quality index
- Place node command under the quality index
- Translate command to translate nodes. This command will be under the tool section. Translation of node will align the plane of elements to clear the warpage errors.
- The smooth command will smooth the mesh and ultimately remove the element failures
- Element edit command to split, create and combine elements.
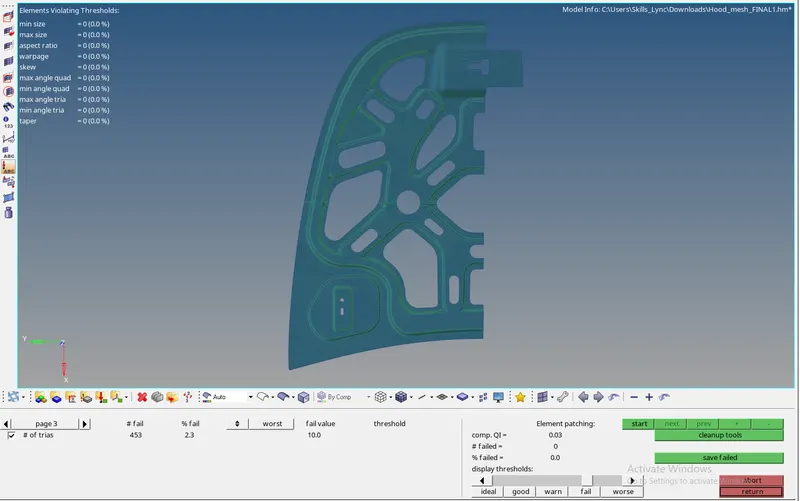
Now checking for free edges:
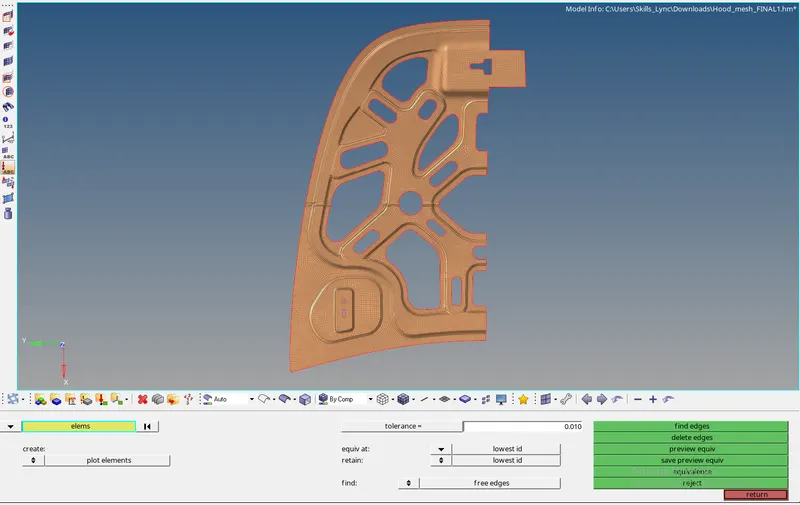
The mesh satisfied the element quality criteria without any free edges present in between the component. so now I will just reflect the element onto the other half of the outer extract. For reflecting I will go to reflect under the tools section and select the elements excluding the latch portion and give the direction and select the base and click on reflect. After reflecting, there will be some gaps and those gaps can be easily filled using the replace node command or using the equivalence tool. So the mesh for inner extract after reflection is shown below:
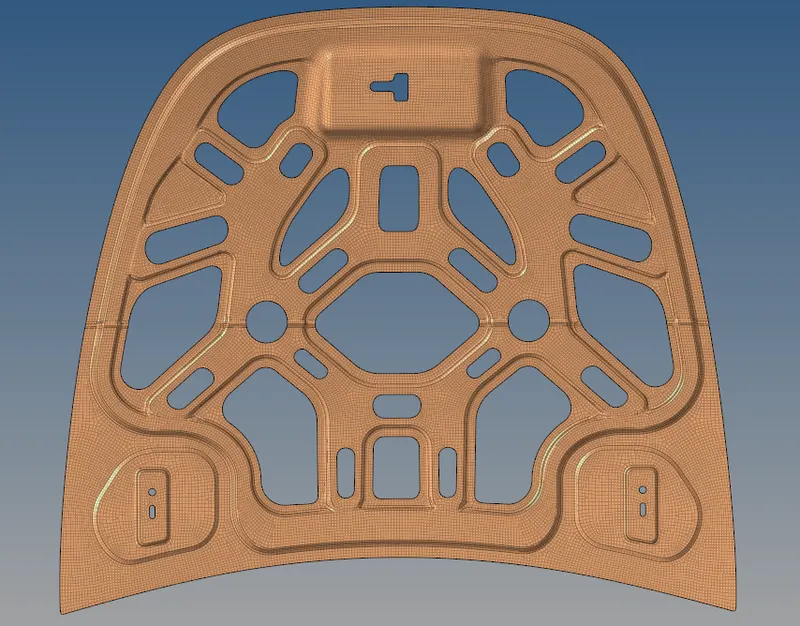
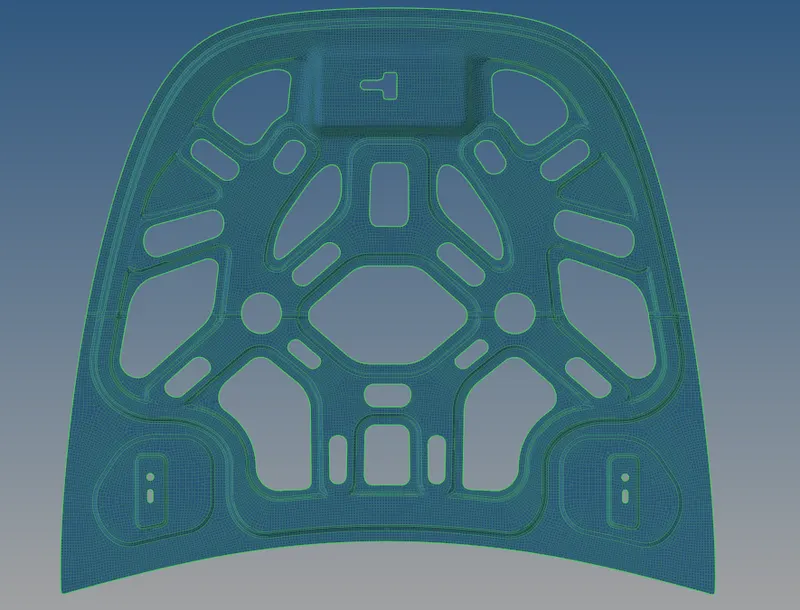
The meshing of the inner extract is now complete.
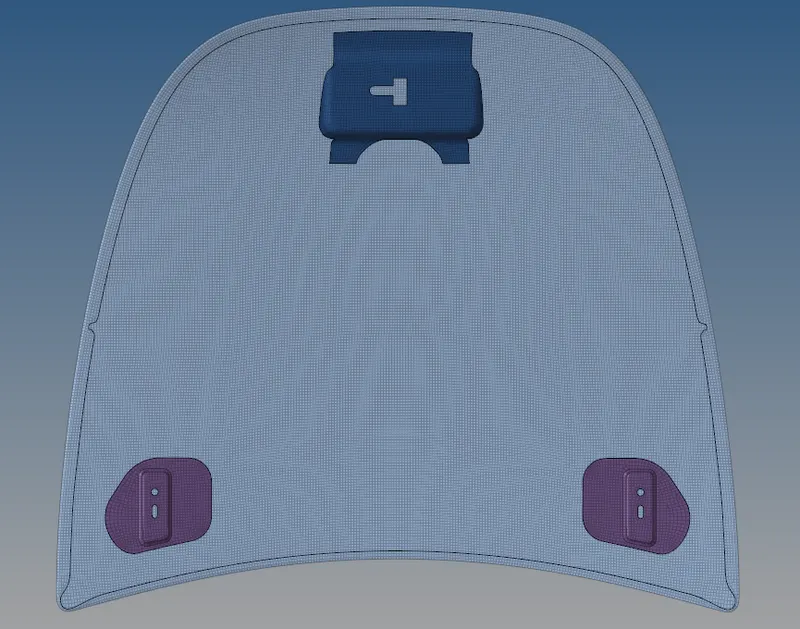
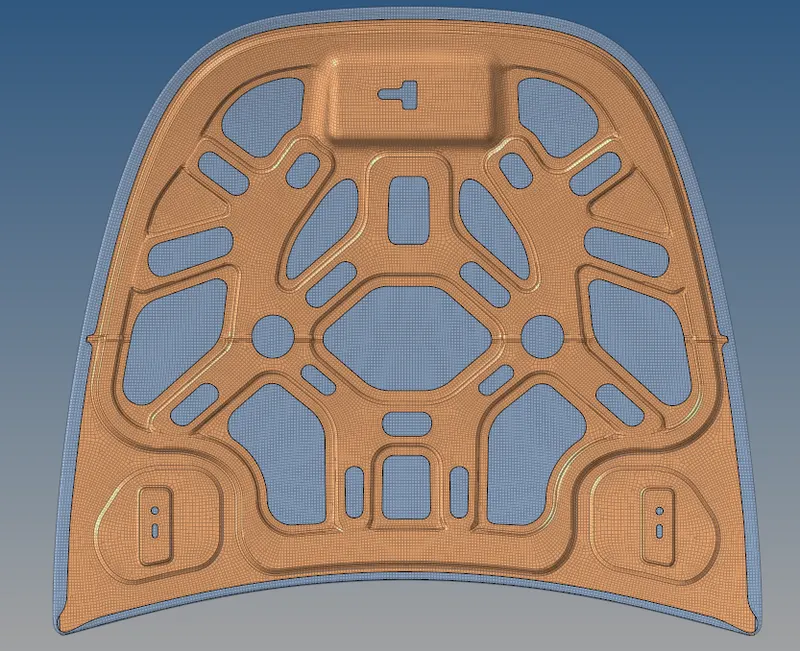
Results: The final mesh of all the components of the hood is shown below:
Conclusion: The meshing of the hood of the car following the quality criteria has been completed successfully.