Week 6 - Creating connection for Rear door
Aim- The given Rear door FE model, Create and Apply different PIDs for different components. By using the same technique and the elements as shown in the video, Perform suitable connections.
Procedure- First import the model in to the GUI. The imported model seems to be shown in below.
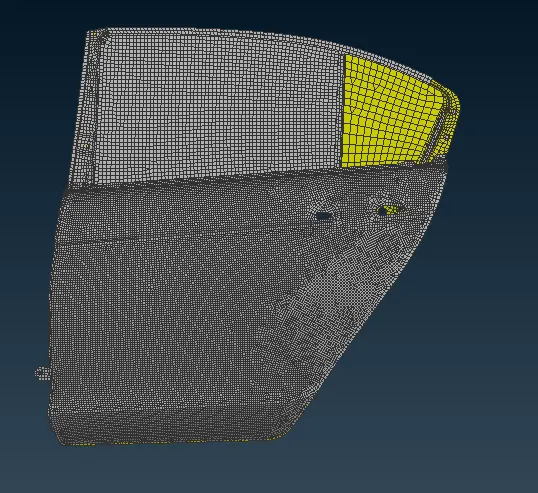
Set the PID for the component properly and create the spot line by using the face2curv option.
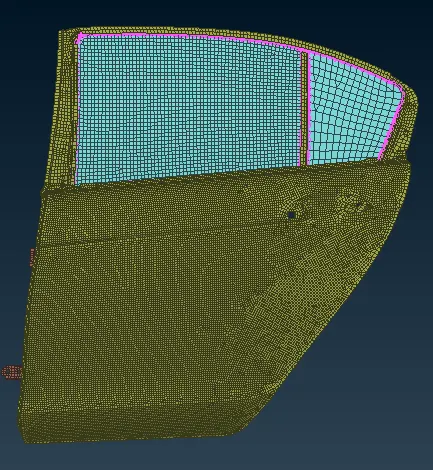
Select the modules and select the face2curv for the option.
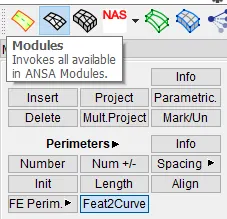
With help of the feature line create the curv for the mirror edges can selected.
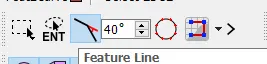
Select that curve can be converted as the spot line.
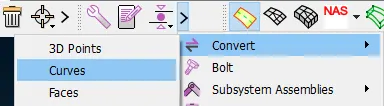
After creating the spot points it seems as shown in below.
By selecting the connection manager select the spot line.
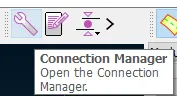
In connection manager set the proper connections type of RBE3-CBUSH-RBE3 and assign the proper search distance with PBUSH ID can be create.
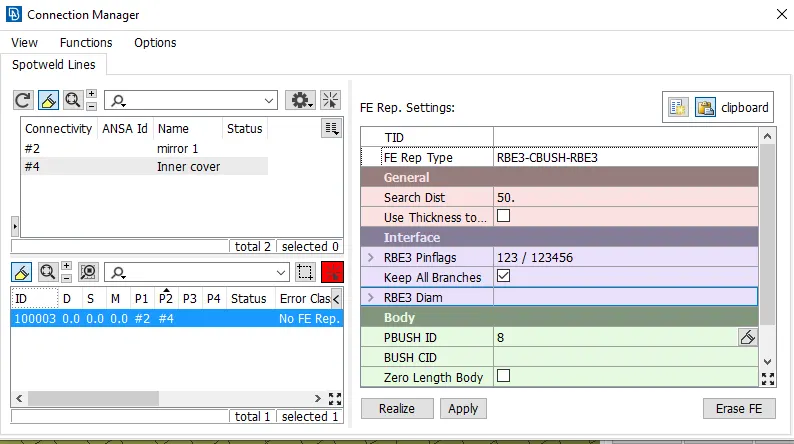
Select the apply and realize the connections to be seen.
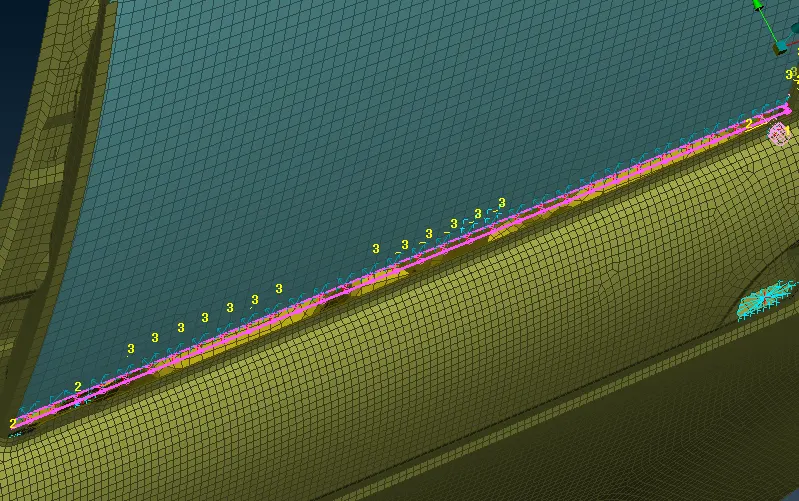
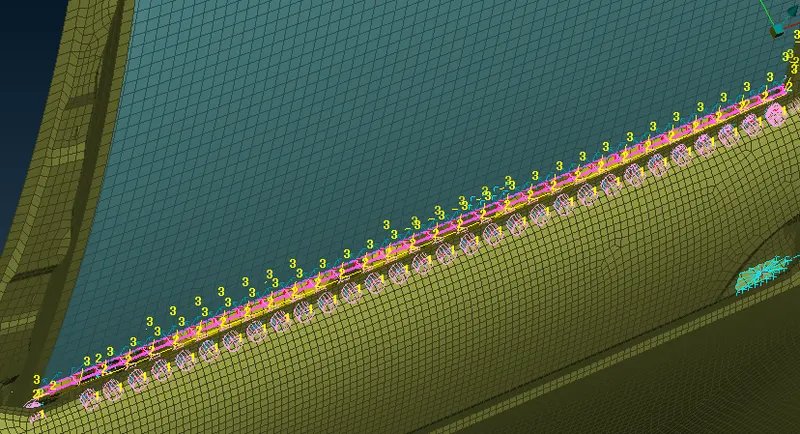
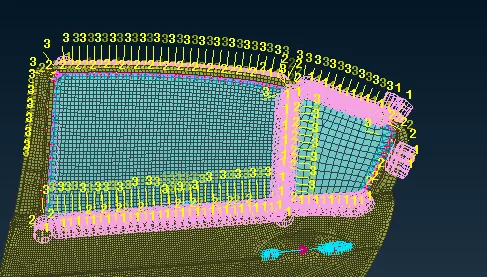
The vector directions for the component should be different in some faces so, that can execute properly.
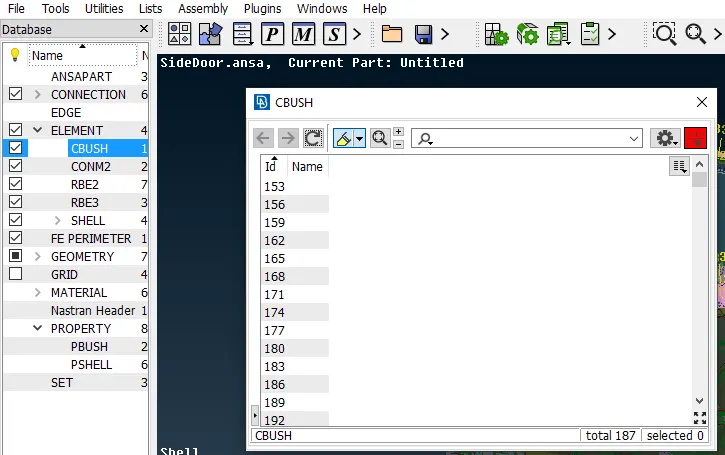
Select the element collector of CBUSH can be select and all the Ids properly.
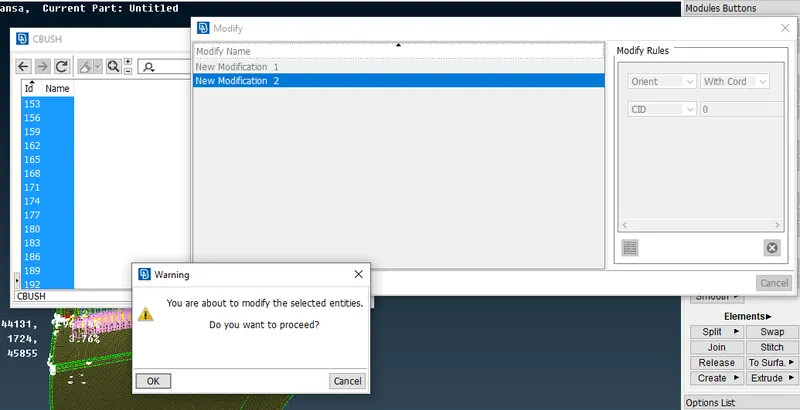
Select the all Ids and right click modify can be select. By using the orient option with cord selection and assign the proper values and ok.
Then all the CBUSH can be seems to be shown in below.
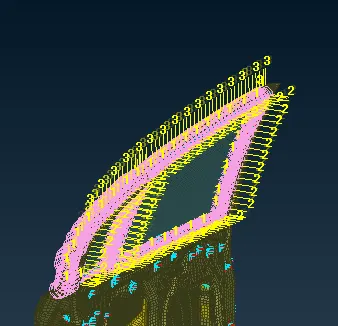
To make the bolt connection by selecting any one of the edges hole and make COG for the hole.
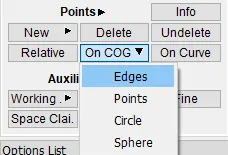
By crating the COG for the hole edge.
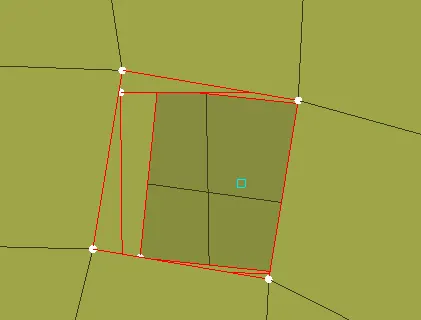
Select that created COG or 3D point and convert it in to as bolt.
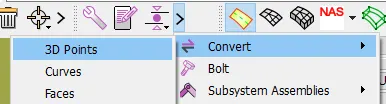
Select the bolt and select ok.
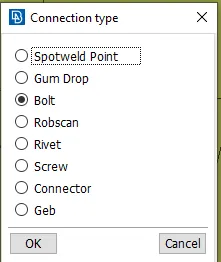
The 3D point has been converted as the bolt as shown in below.
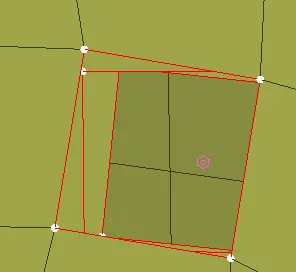
By selecting the connection manager, select the bolt connection and middle mouse botton.
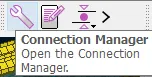
Below shown selected connecton bolt selection point.
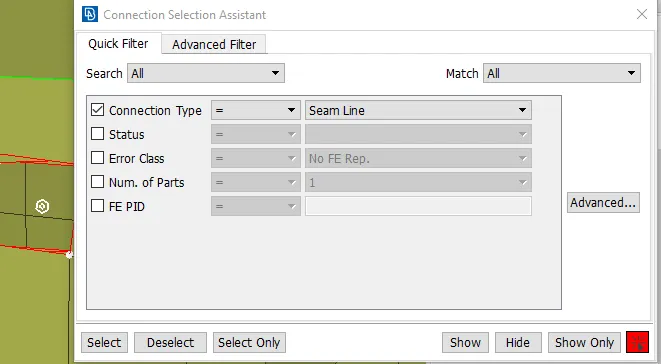
Selected connection manager middle mouse botton and select the P1 and P2. It has been taken also for P3,P4 also to connect.
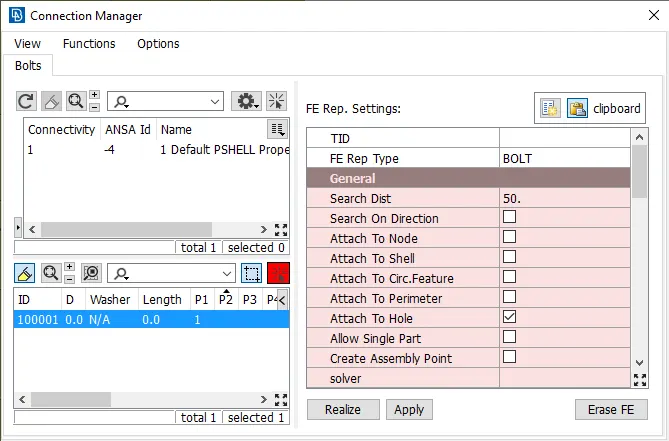
Assign the search distance. To make the bolt cluster as shown in below. Also for more the 2 component has been make the cluster RBE 2 together.
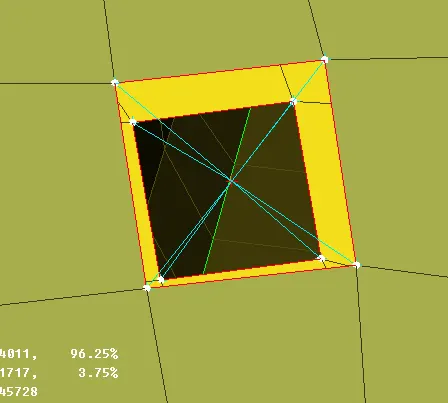
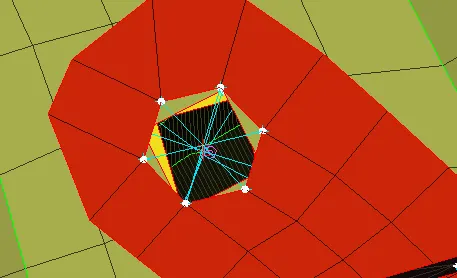
Door lock has been fix with the RBE2 element
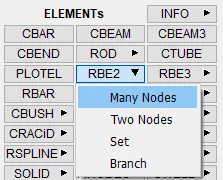
Select many nodes and make the RBE 2 elements as shown in below.
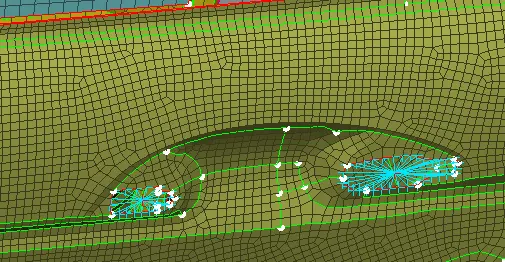
Do the connection between the nodes as shown in below.
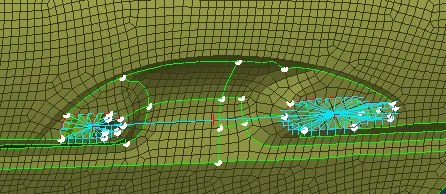
Assign the weight for the door handle for middle node of the connected link.
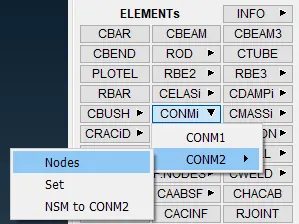
Using the CONMi, select CONM2 nodes and select it as nodes.
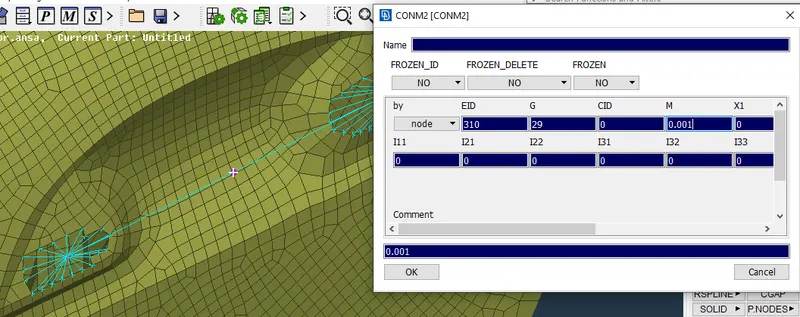
Assign the mass value in the form of tons. By converting that value it becomes 0.001.
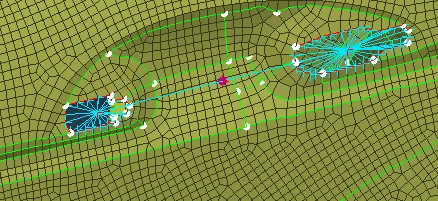
Assigning mass for the door handle has been shown in above.
For hinge region as below shown, connect with the component by RBE2 cluster and make the connections, using the two node option,
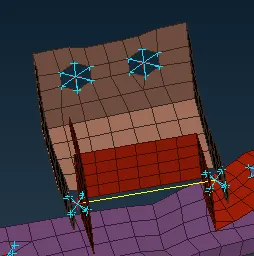
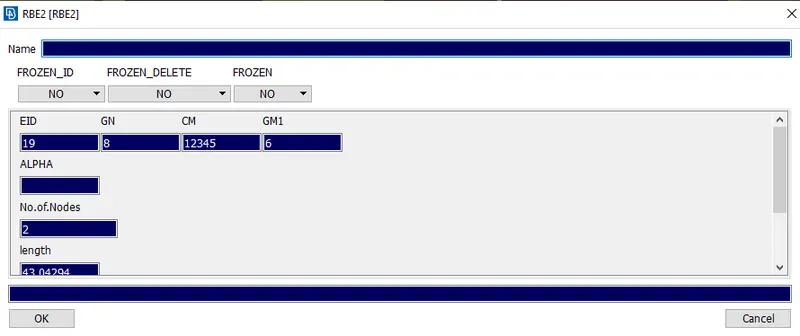
Select the elements info and select the link has been made for the hinge.

In that keep axis of co-ordinate as 12345 and delete the 6, select ok.
For mirror region, extend the component to connection between the mirror and component by using MV free.
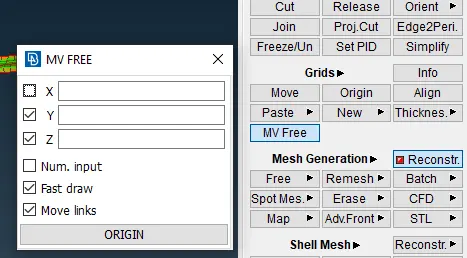
As shown in below shown before and after image.
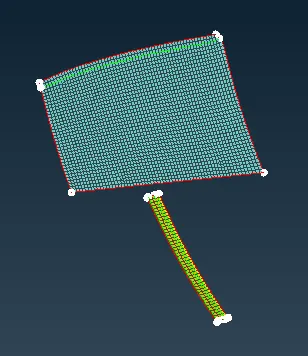
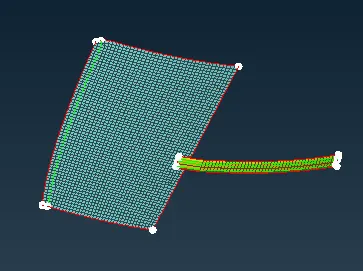
As much as the extend the component towords the mirror.
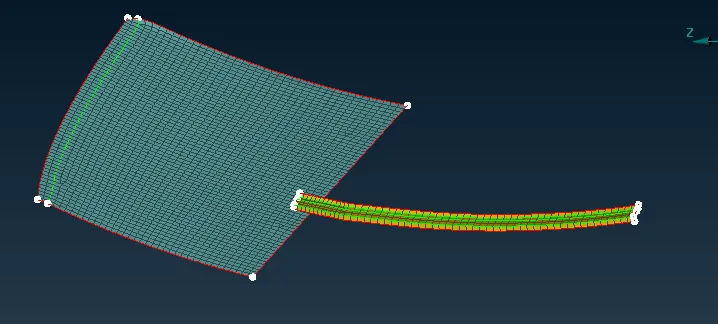
Select the RBE 2 many nodes for the both the component.
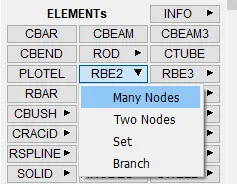
As shown in the below 2 component has been with the RBE 2 connections.
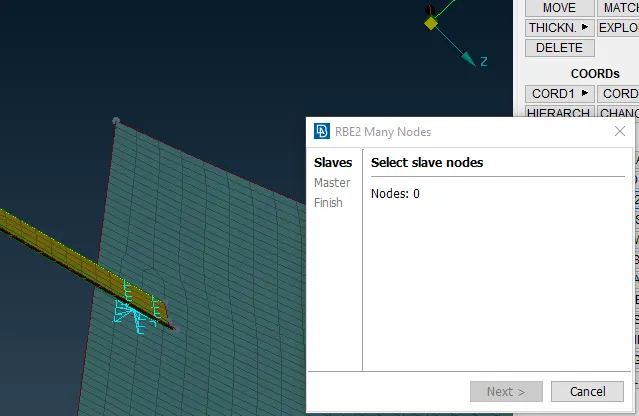
Also create the spot weld for the 2 components by selecting on COG edge option.
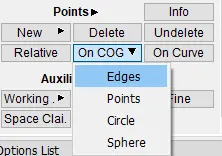
Select the any one of elements edges as shown in below and create the 3D point.
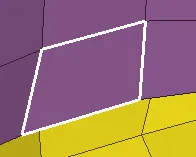
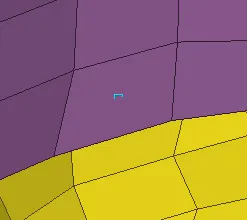
Convert the 3D points to the spot weld point.
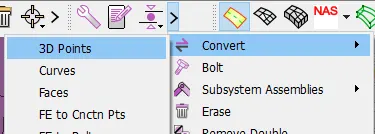
As shown below select the spotweld point and select the ok.
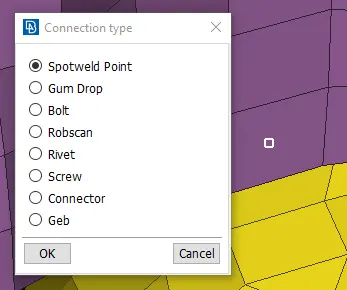
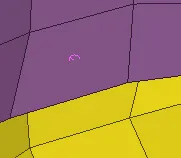
After creating the spotweld point for the element as shown in below.
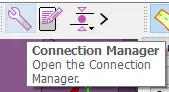
By using the connection manager assign the required parameters in to it.
Select the P1 and P2. select the FE Rep Type give the proper search distance and create the PSOLID ID.
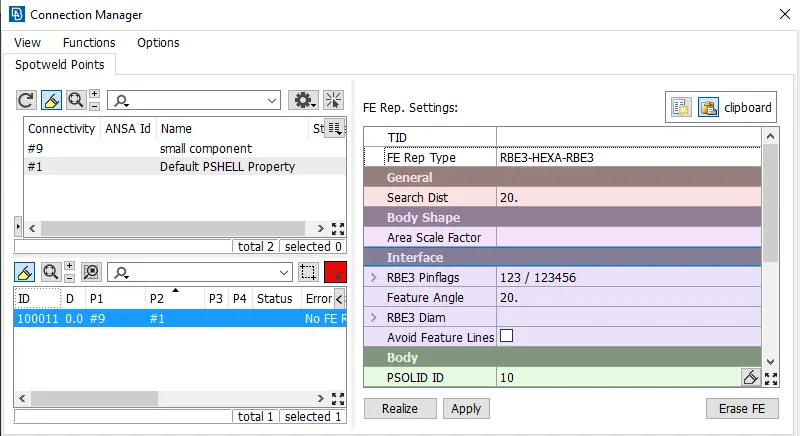
After assigning the parameters select it in to apply and realize.
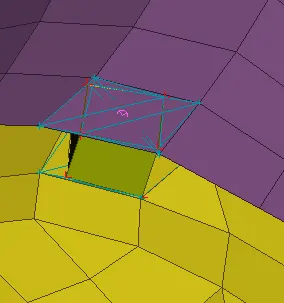
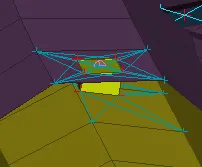
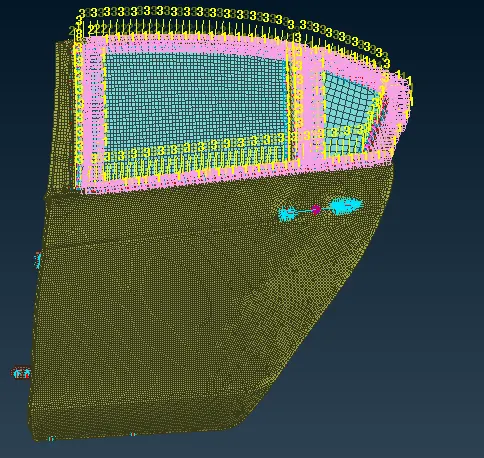
After doing the all connections the component looks like below shown.
Conclusion
By doing this type of various connections came to know the how the connections are made in proper manner.