Week 6 - Creating connection for Rear door
CONNECTIONS REPRESENTATIONS OF REAR DOOR
AIM
Apply different types of 1D connection using the NASTRAN profile on the rear door FE model.
OBJECTIVE
The rear door model is given for the connections using different types of 1D connections whichever suitable and makes the proper connections and attaches the FE model to give a model for the simulation process.
Connections and their types- The FE model is the same form of model creation through the 1D, 2D or 3D elements and they required to be joint through-bolt, welding, adhesive, etc. connections, There are many types of connection such as RBE2, RBE3, spot weld, seam weld, etc. whereas RBE2 and RBE3 ar rigid elements.
PROCEDURE
Input the files rear door to ANSA.
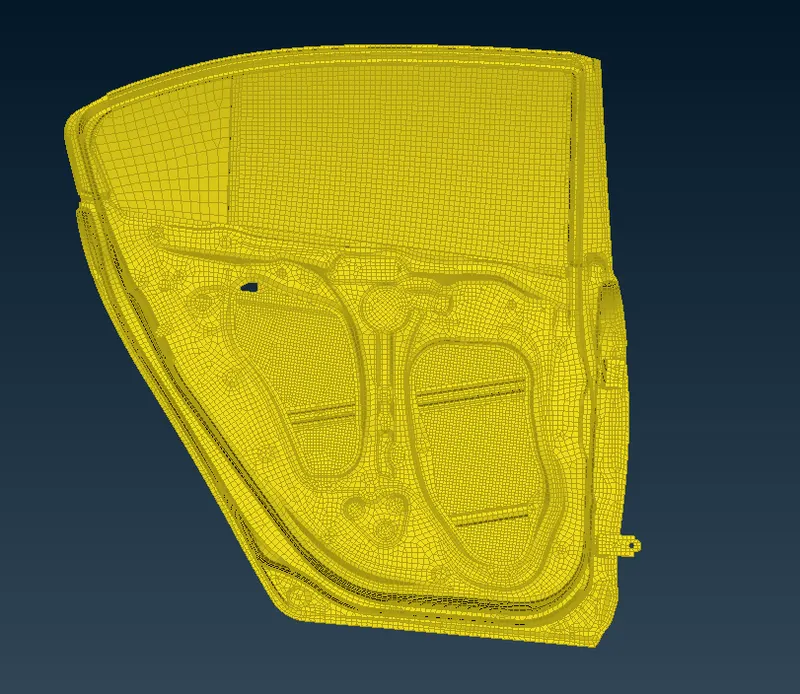
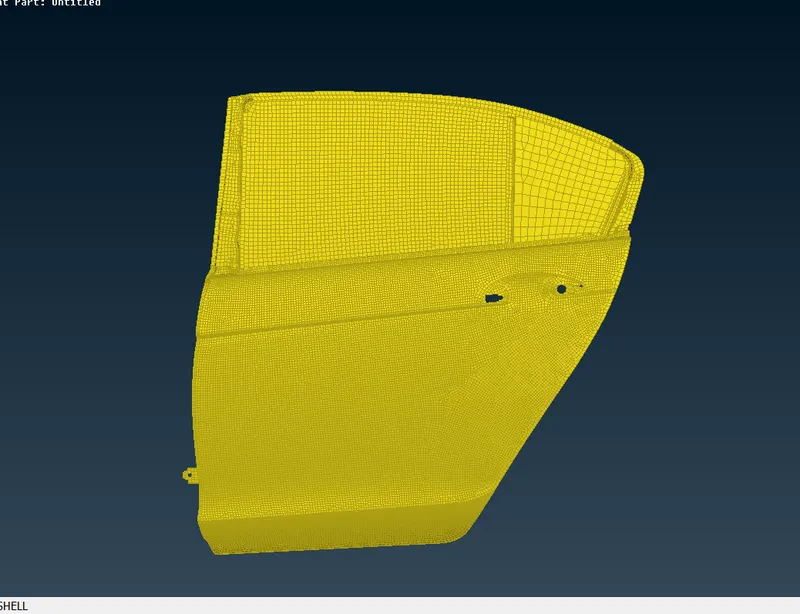
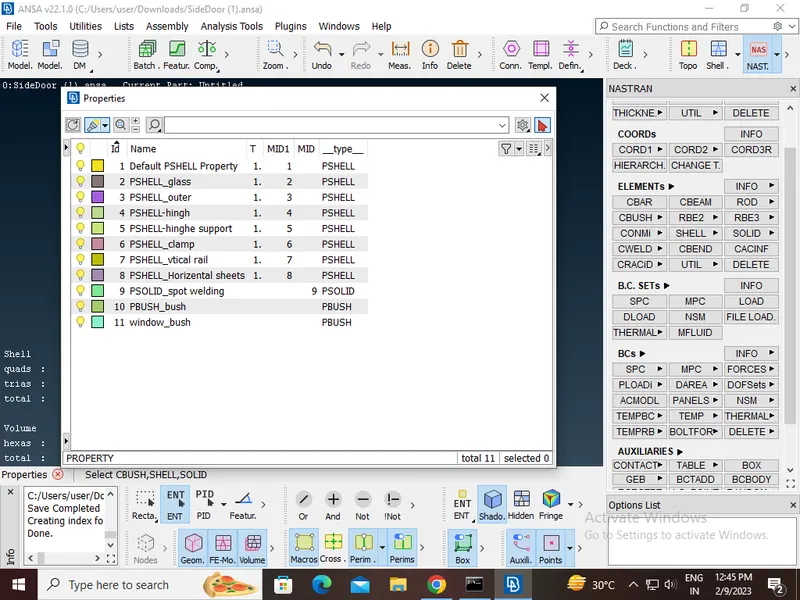
Now go to Mesh>>Macros>>Set PID and select the desired part using the boolean operations and create the New>>PSHELL property for the selected component. The set PIDs are shown below.
Go to Topo>>Points>>On the COG option. Select the edge and create a point.
For holes there bolt is used,give a COG points to the holes in parts that need to be connected.convert the COG point to a bolt.use the connection manager and connect the parts by selecting BOLT FEATURE.
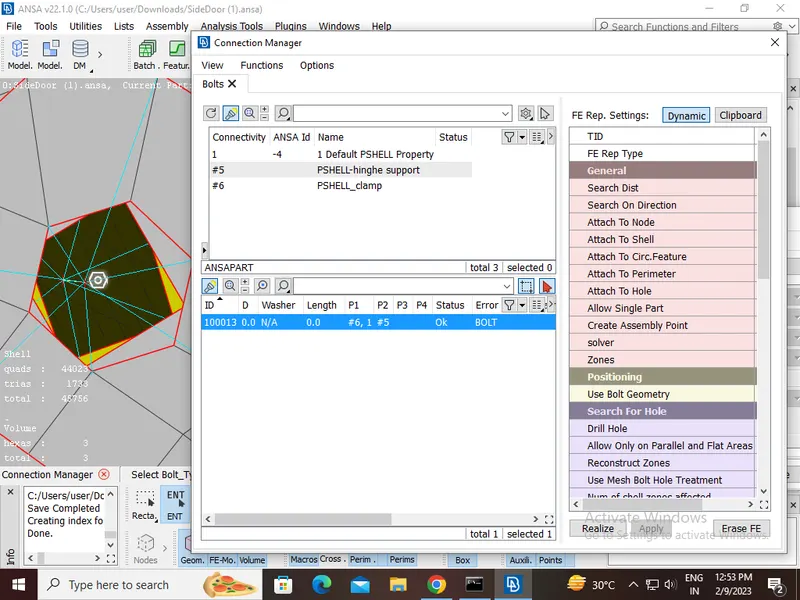
For Spotweld Connection:
Go to Topo>>Points>>On the COG option. Select the edge and create a point. This is shown in the figure below.
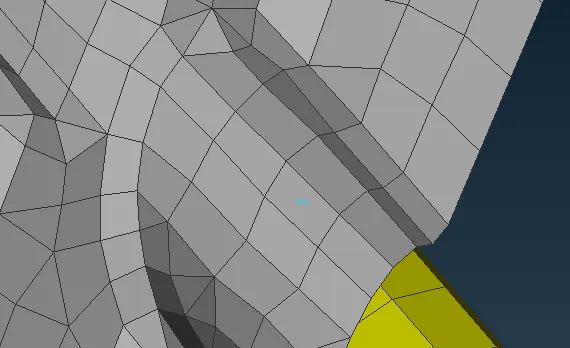
Go to the Convert option and select the type Spotweld Point. After doing the convert option, the point is changed in accordance with the selection.
Then go to the connection option and select the spotweld point and hit the middle mouse button. The connection manager window would pop up.
In the connection manager window, select the parts which are to be connected using the F1 option. Select FE Rep Type as RBE3-HEXA-RBE3 and enter the properties as shown in the figure below. (Here the position of the weld is taken for illustration purpose and in actuality, the position might vary)
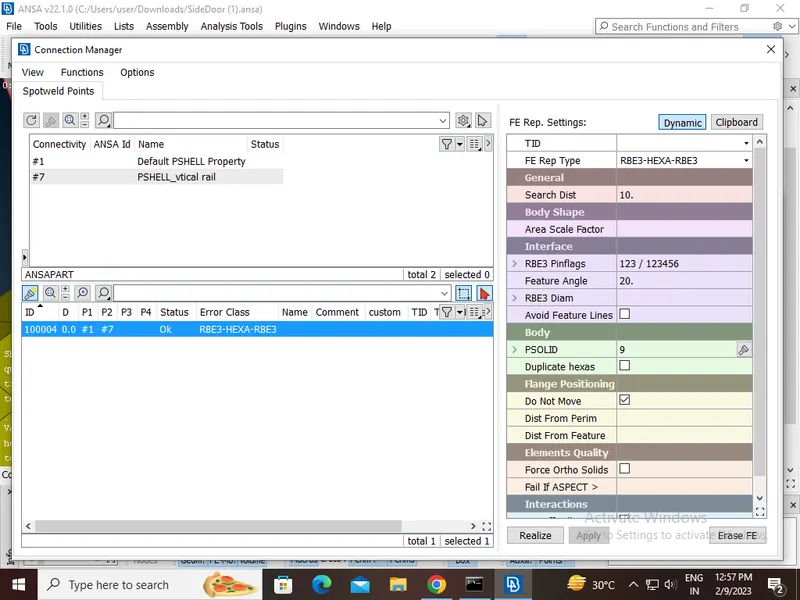
Create a PSOLID card for this connection and hit on apply and realize. The realized connections are shown in the figure below.
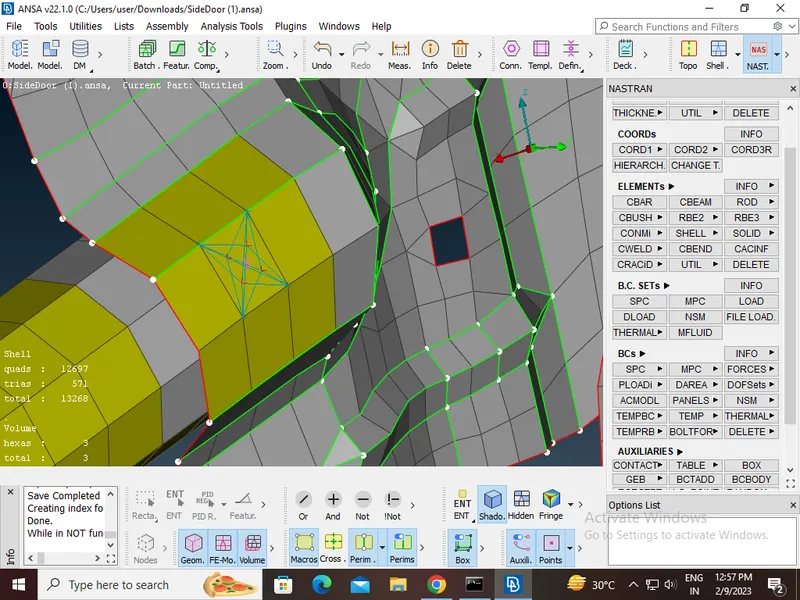
For RBE2 Connection:
Go to NASTRAN Deck>>Elements>>RBE2>>Many Points>>Select the points to which RBE2 must be created. This is shown in the figure below. Here RBE2 is used for realizing hinge connection.
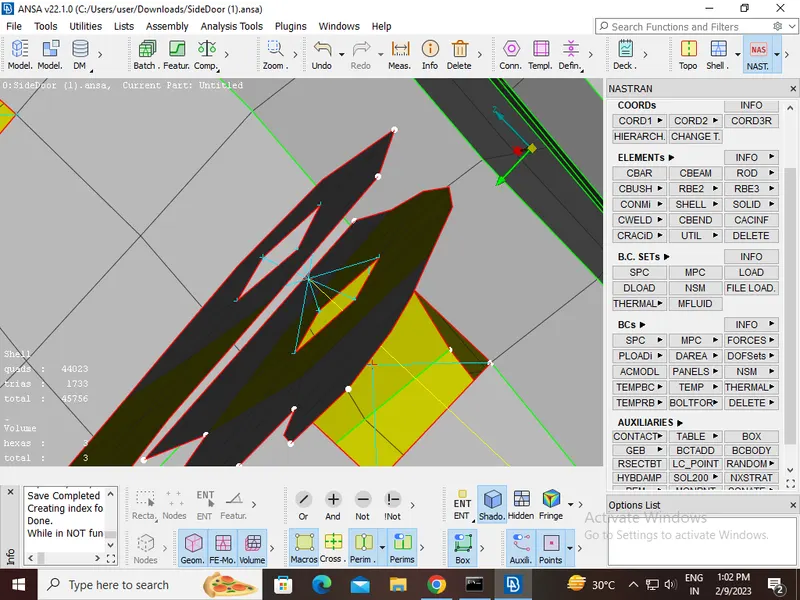
Now go to Elements>>RBE2>>Two points>>Select the points as shown in the figure below to realize the hinge connection.
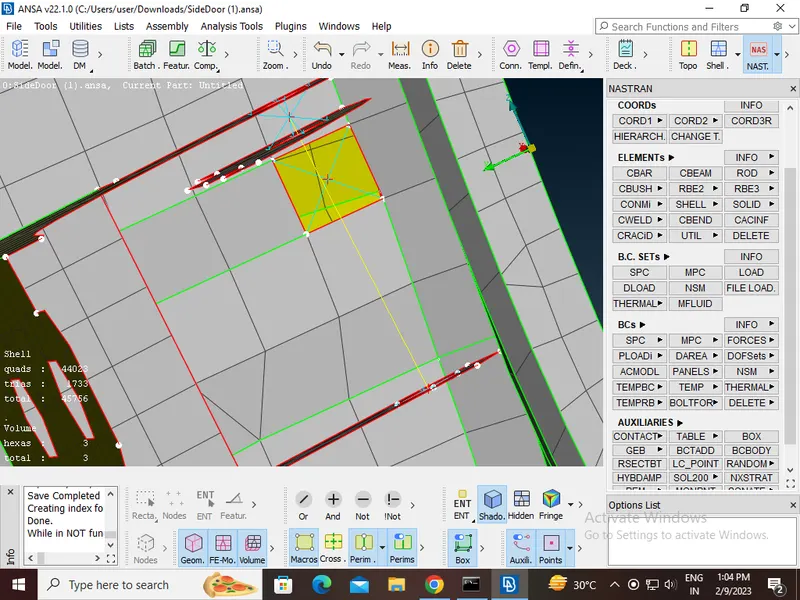
Go to Elements>>INFO>>Info>>Select the reb2 connection and give the necessary DOF's. This is shown in the figure below.
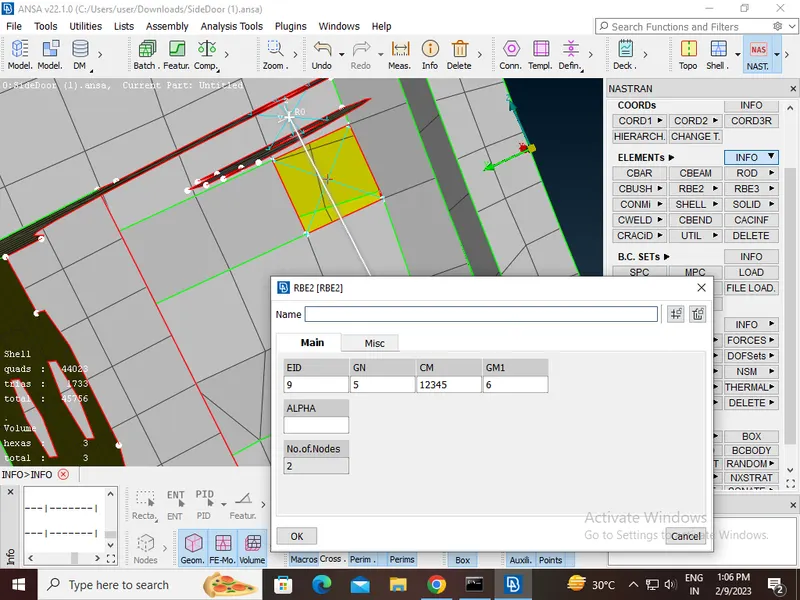
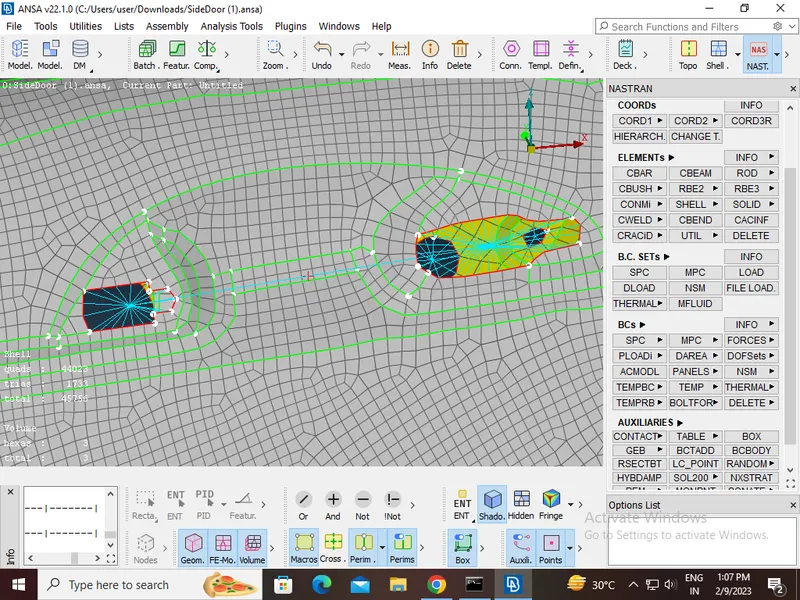
For the door handle, the rbe2 connection is established and point mass is added using the CONMi option present in the elements deck. Select CONM2 and pick the necessary node to add the masses. It is to be noted that mass has to be entered in tonnes.
For CBUSH Connection:
Go to Mesh>>Perimeters>>Feat2Curve option and select the edges to create a curve.
Then go to Convert>>Curves option and select the curve and convert it to Spotline.
Go to connection>>select the spotline>>Middle mouse>>Connection Manager.
Select the parts to be connected using the F1 option. Set FE Rep Type as RBE3-CBUSH-RBE3 and enter the properties.
Create a property CBUSH and assign it to the connection.
Now click on apply and then realize the connection.
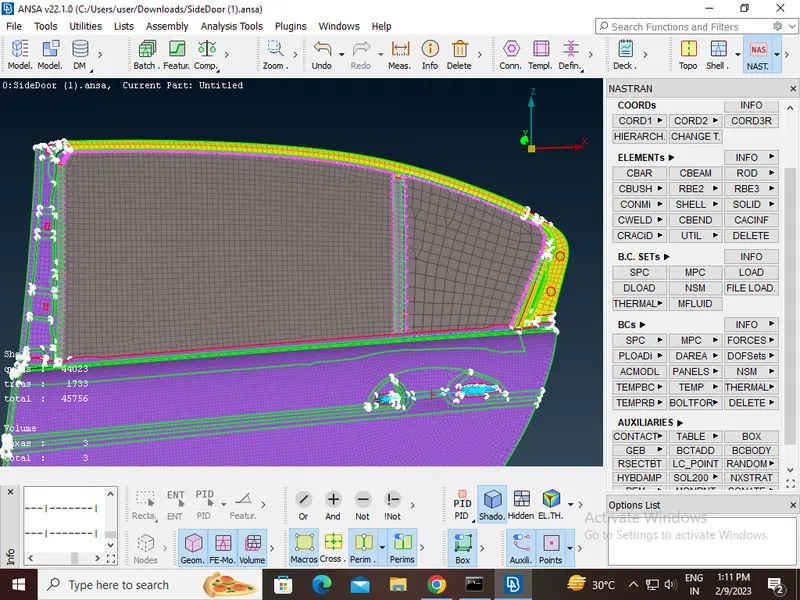
CONCLUSION:
The PIDs are assigned to the various parts in the given model. Various connections like BOLT, Spotweld, and CBUSH are created.