Week 6 - Creating connection for Rear door
Objective: To create and apply different PIDs for different components and to perform suitable connections.
Procedure:
- Choose each of the parts by PID region and assign a new PID. (Topo module - Set PID)
- Parallel holes have to be connected by bolt joint:
- Manual method: Create RBE2 clusture of elements from Nastran module - RBE2 - Many nodes. Create the clusted on the parallel hole too. Now join the master of two clustures with two noded RBE2 element.
- Automatic method: Create on COG point from Topo module with any of the holes. Convert the 3D point into Bolt connection (Assemply - Convert - 3D point - Bolt). Go to connection manager and select the bolt and define bolt connection with In/Out option.
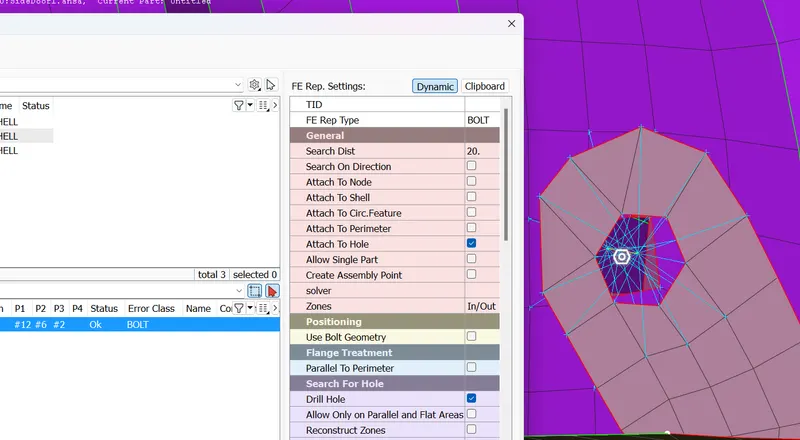
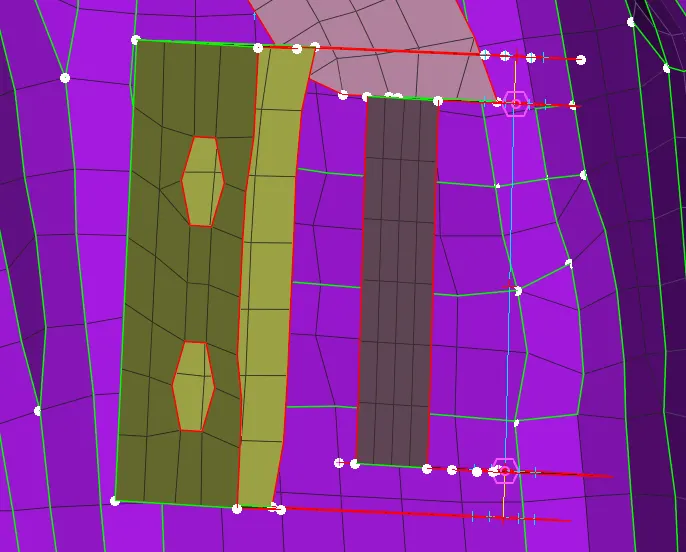
- For the rotation, restrict degree of freedom to 12345
- All other shapes of holes can be connected with rigid connections.
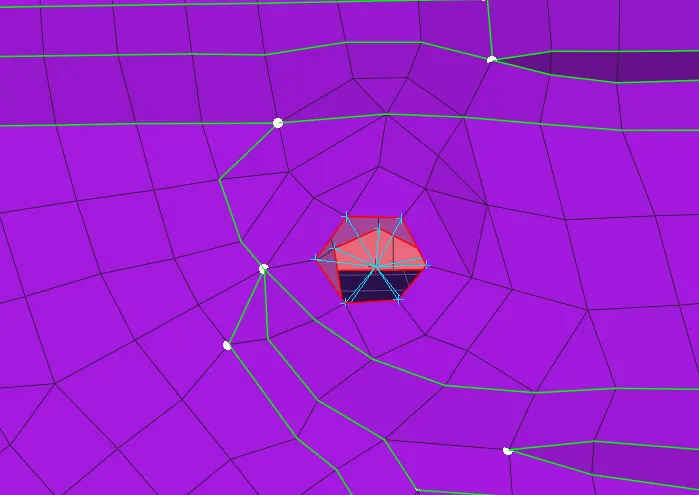
- Seam weld has to be done for the following parts
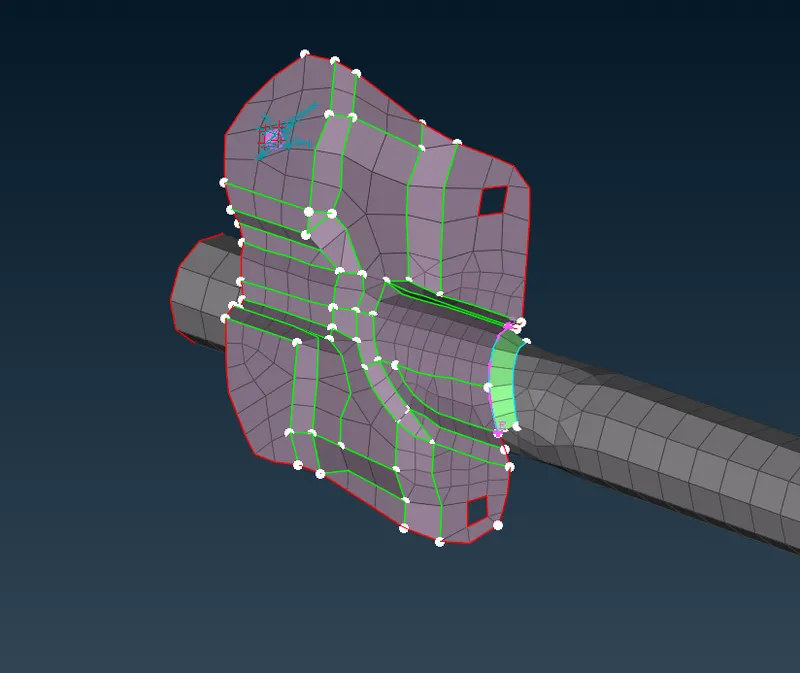
- Create curve by selecting the edges of the FE. (Topo module - Curves - Cons2Curves - Select the edges)
- Use Convert option and convert the curve to Seam line joint
- Go to connection manager and define deam weld between 2 parts with Overlap Shell joint
- Define width as element size
- For spot weld - create COG point with parallel element
- Convert the 3D point to spot weld
- Connection manager - RBE3-Hexa-RBE3 - Pinflags to 123456
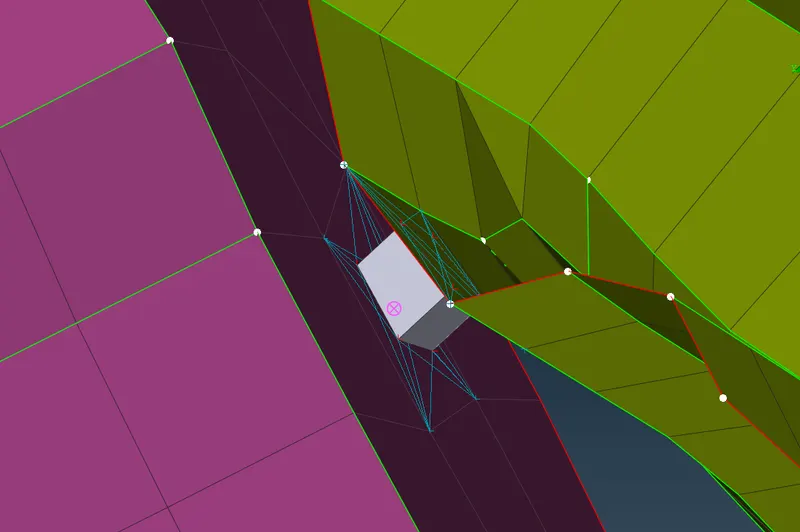
- Apply mass to door handle:
- Nastran module - CONMi
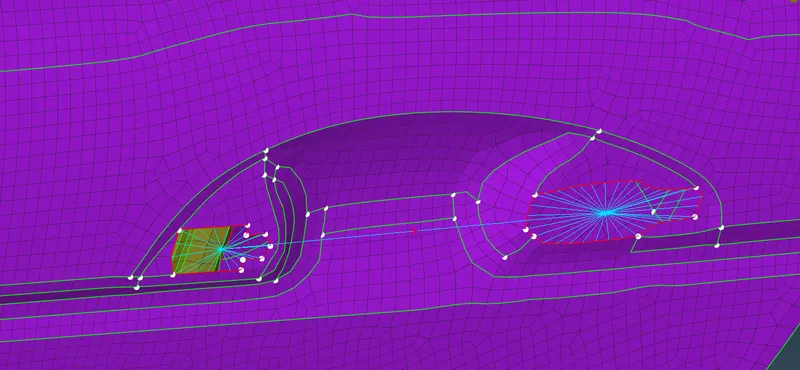
- Create PBush element for windows:
- Create curves around the window and 2 curves at the bottom
- Convert the curves to spot line
- Connection manager: S=10, RBE3-CBUSH-RBE3, all pinflags, new PBUSH element
- Give element property K1,K2,K3 = 0.001 K4,K5,K6 = 10
- Select PBUSH element form F12 - Edit the element to orient with chord and CID =0
- To do this for all elements, select all elements and modify with the same.
- For Window mechanism, Create elements upto the window and RBE2 elements
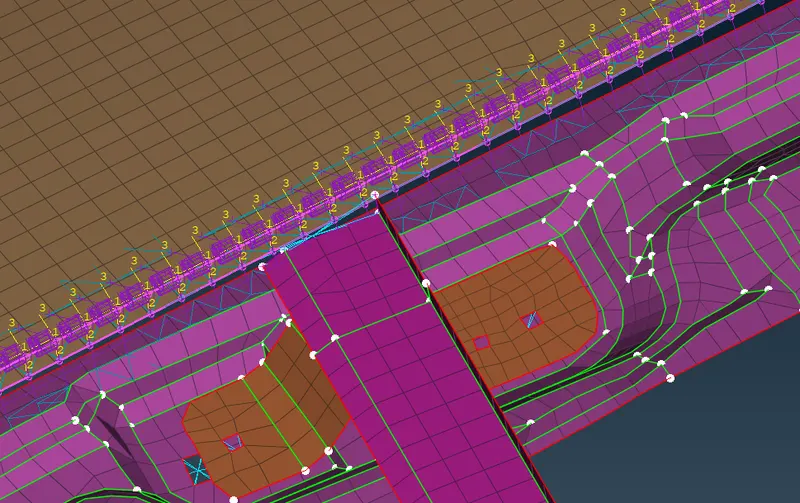
- Do the connections until, if we select a PID and give neighbour all then, all PIDs should appear.
Results: Connections has been applied to the components.