Week 6 - Creating connection for Rear door
AIM:
Apply different types of 1D CONNECTION using NASTRAN profile on the rear door FE model.
OBJECTIVE:
- The rear door mo0del is given for the connection using different types of 1D connections whichever suitable and makes the proper connection and attaches the FE model give a model for the simulation process.
PROCEDURE:
- The rear door model is inputted by the NASTRAN profile, the FE model with no geometry has the same PID for the whole component, so to realize all connection at every different part the model has been created with different PIDs.
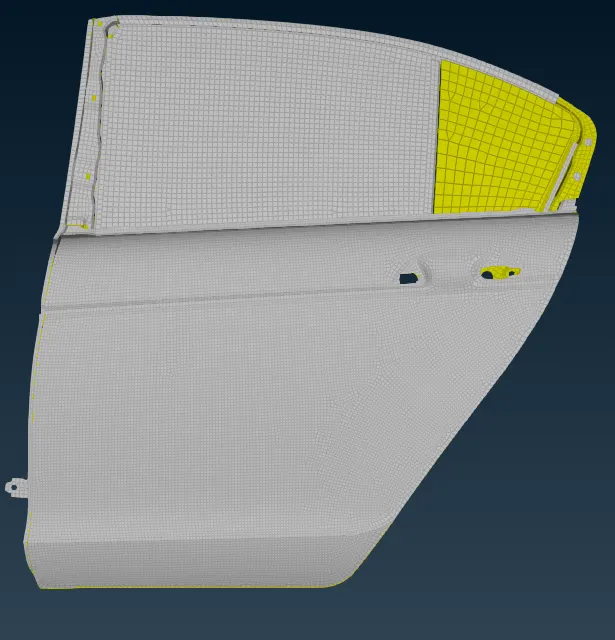
- Selecting the PID's regions helps to visualizes every part of the rear door.
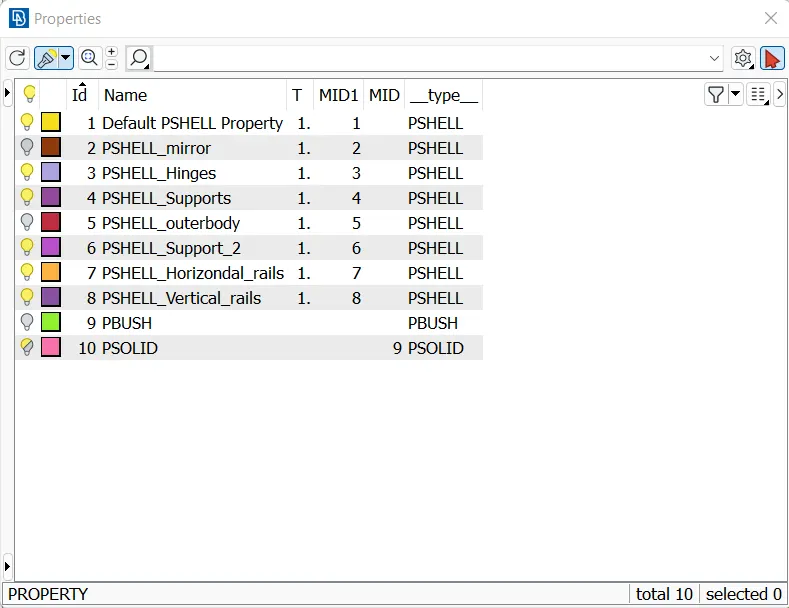
ASSIGNING PID:
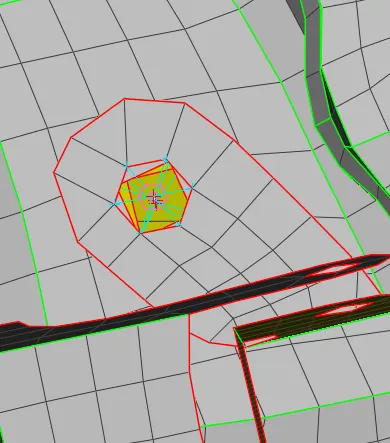
- The hinge part is an important part connected with the outer surface of the rear door connected with the outer body of the vehicle has given the rigid connection of bolts as RBE2 elements.
- Forgiven RBE2 connections there are several ways with a single surface, 2 surfaces, and 3 Surface, first with 3 surfaces are connected with COG point and converting them as 3D spot weld selecting those as master and remaining nodes as slaves the different set of RBEe2 element is created.
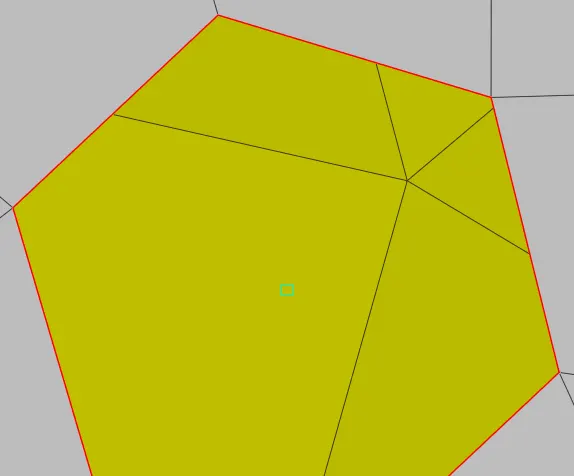
POINT DOOR HINGE :
- A different set has been created for RBE 2 elements because the body has many connections and to determine them easily they are created with groups.
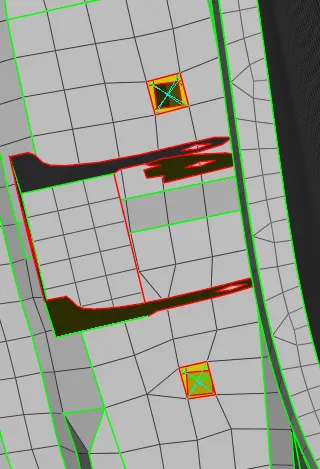
- There is one more type that is bolt connection,in this cog poit is created.
- And this 3Dpoint is converted to bolt.
- And the sufaces are assigned to p1,p2,p3.....and the bolt connection is created.
MIRROR:
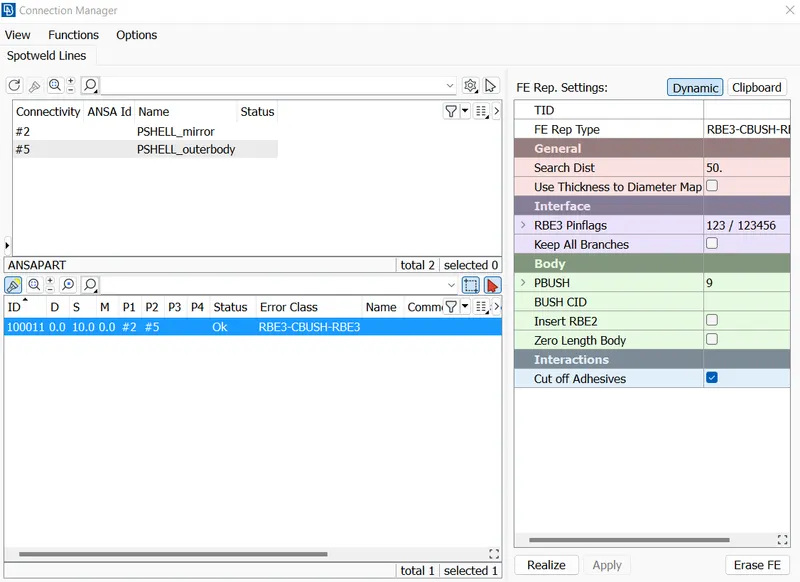
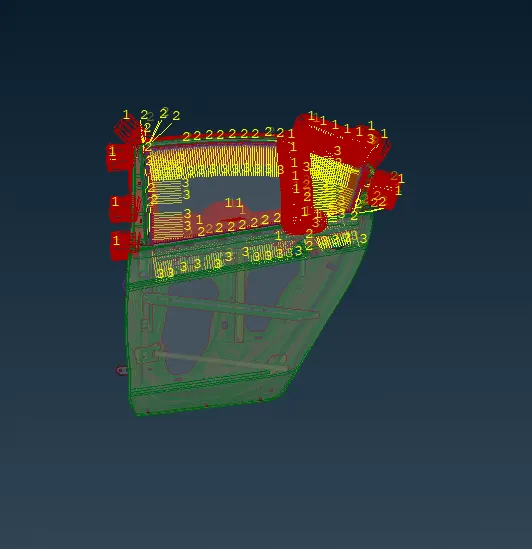
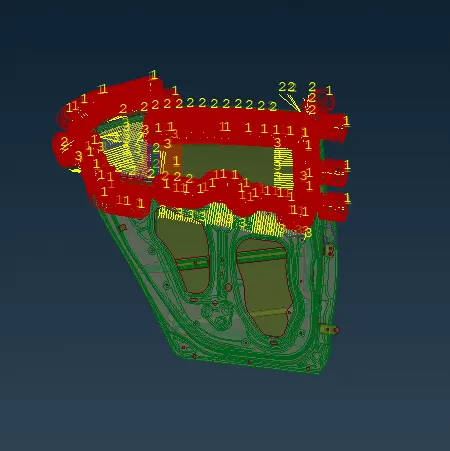
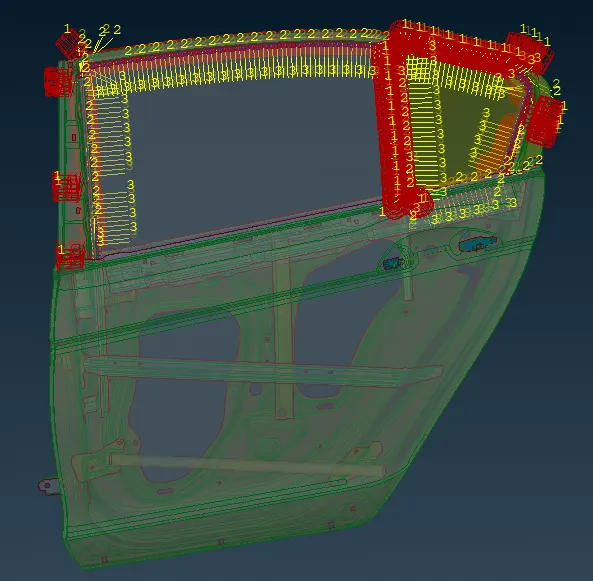
- The last type of connection involved in this challenge would be that of CBUSH RBE3 elements, which will be used wherever window weather strips (seals used to keep interior air in and external elements out) are involved.
- To begin, the perimeter of the glass components is used to create curves.
- For this, Perimeters > Feat2Curve tool is used to select and create them.
- These created curves are then used to create a single set of offset copies.
- This is considering connection requires setting up on either side of the glass.
- We can make use of the Transform > Copy tool for this.
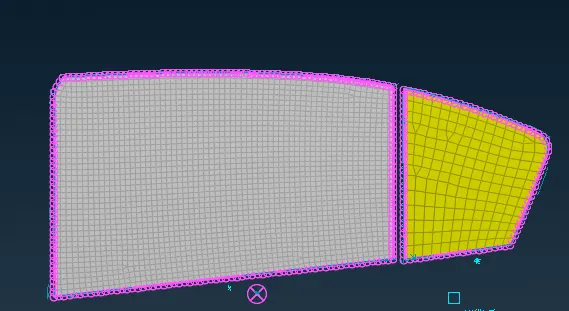
- Selecting the curves, they can be converted into Spot Lines using the Convert > Curves tool.
- Each curve needs to be selected separately and converted.
- This is to ensure they aren't grouped together when establishing the connections.
DOOR HANDLE:
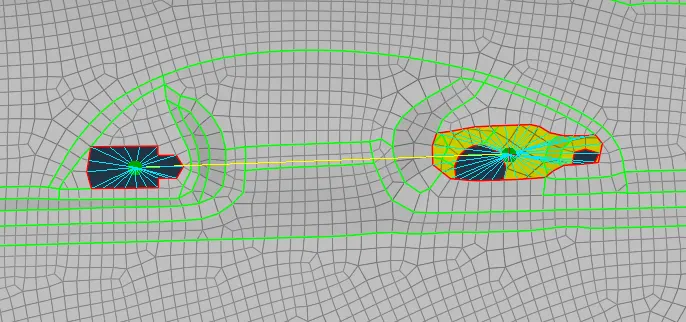
- Now onto the door handle. In this region, we need to create a connection that applies a mass (to represent the handle).
- For this, we need to create RBE2 nodes in either handle holes separately (using Elements > RBE2 > Many Nodes):
- Again, using the same tool, the two master nodes for either handle hole is selected and another connection is created, with the algorithm assigning a new master node at the centre of this connection.
- Now, we make use of the Con Mass tool, accessible through Elements > CONMi > CONM2 > Nodes.
- Then the previously mentioned master node is selected.
- This is where the mass of the handle will be concentrated.
- After proceeding, the algorithm lets us assign the mass.
WELD CONNECTION:
- Next, we shall focus on weld connections.
- We shall be looking at seam and spot weld connections.
- In the case of seam welds, the basis is creating the weld locations from curves derived from the particular feature.
- Therefore, we shall be using the Perimeters > Feat2Curve option from the Mesh deck.
- This will let us select the edge and derive a curve from it
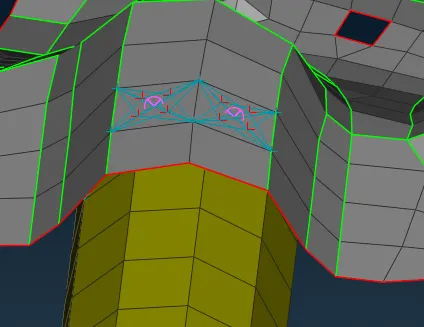
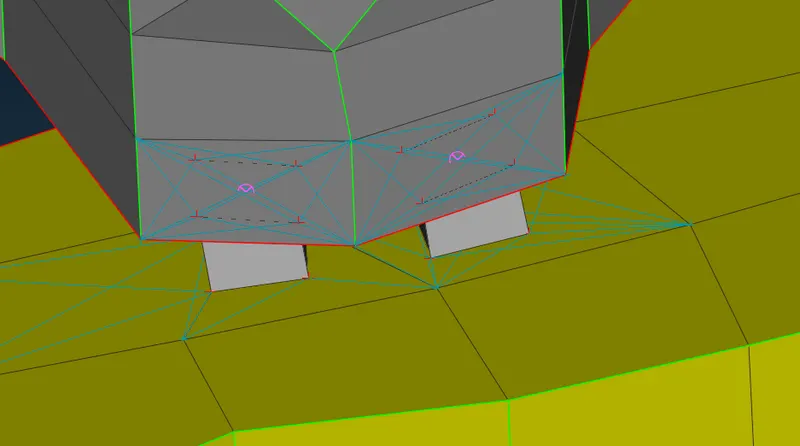
- RBE3 pinflags should be constrained in all D.O.F.s. Furthermore, a PSOLID will need to be created and assigned.
- The following are the resulting spot weld connections:
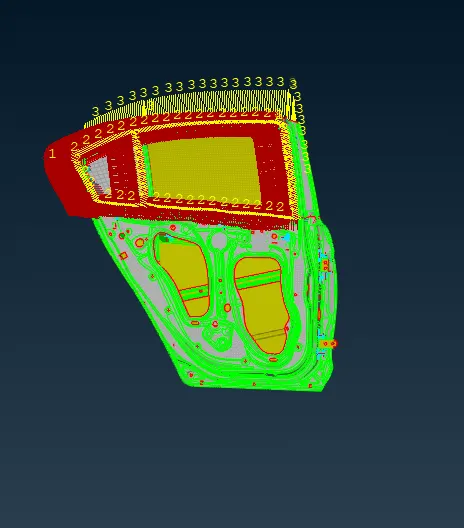
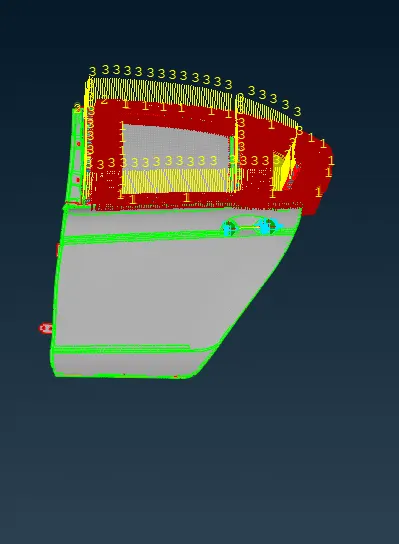
FINAL MODEL IMAGES:
LEARNING OUTCOMES:
- Learned about various connections available in the NASTRAN deck
- Learned to convert curves and points into connection lines/points.
- Learned to assign properties to connections and edit said connections as per requirements.
- Learned about the concept of weather stripping and its importance, along with the concept of tailor welds.
CONCLUSION:
- Suitable connections were deployed between various components in the rear door model after PIDs were assigned to each component.