Week 6 - Creating connection for Rear door
Week 6 - Creating connection for the Rear door
Ansa july live batch 1
Aim:
Create connections for the rear door by using different 1D elements and Create and Apply different PIDs for different components
- 1D elements are used when one dimension is very large compared to the other a large number of bolts are to be modeled, then the use of solid element representation can be far too burdensome in terms of setup time, contact complexity, and computational cost. An alternative is to use a 1D beam element representation.
- This can also use a similar preload method. There are many different implementations of this approach, but we will focus on a mthat which uses a rigid element to spider out the head and nut tend of the bolt to the top and bottom plate respectively, and can connect to 2D or 3D element representation
Rigid Elements:
A rigid element is a link from one node to one or more other nodes, where the motion of the node(s) is governed by the "degrees of freedom" you choose to connect. A rigid element is actually a constraint equation rather than an actual element.
Bolt connections:
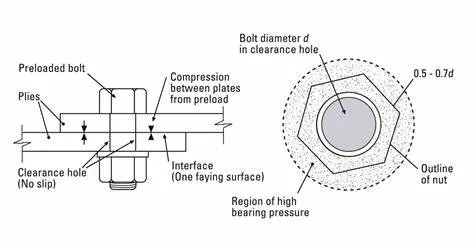
Bolted connections are a type of structural joint used to join two or more structural components in a steel structure using bolts. Bolts are a form of threaded fasteners which has a male thread and preformed matching female thread, such as nuts.
Seam weld connections:
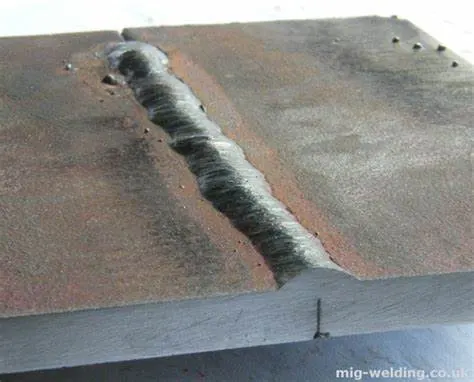
A Seam Welding Connection Property is a connection that is created from an existing Line Analysis Connection or Line Analysis Connection Within One Part.
Procedure:
- Firstly, import the FE model in the Ansa.
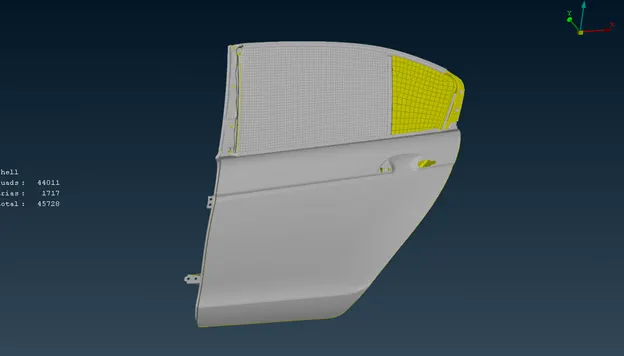
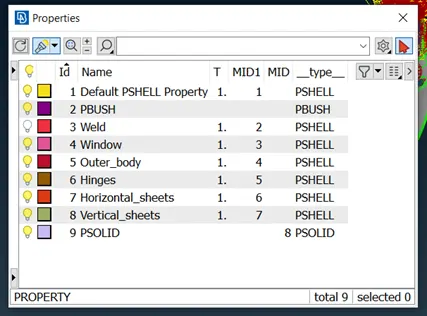
- After that we have to set PID for the separate regions
- (set PID>select region>create new property)
- For the bolt connections we have to go with
- (on COG >convert>bolt)
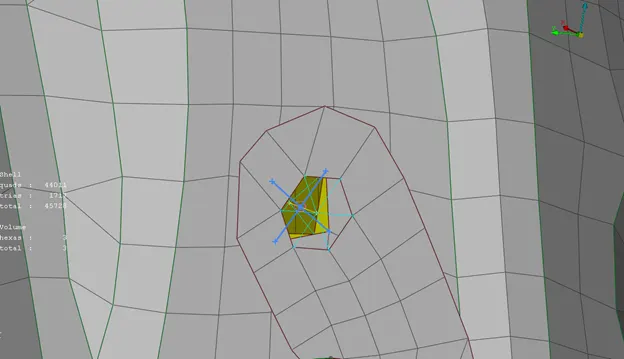
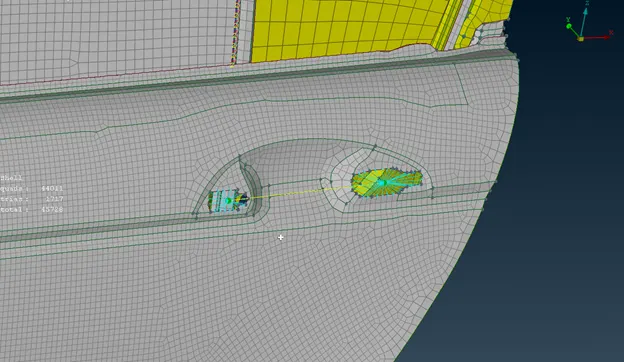
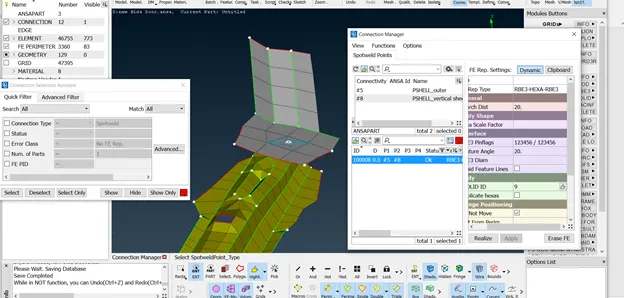
- Then spot weld connis ection created using cog points tophe topo and select the edge, and creating the point and select the spot weld connection,
- Make sure the connect is in set to RBE3-HEXA-RBthe E3 and search dist is 20
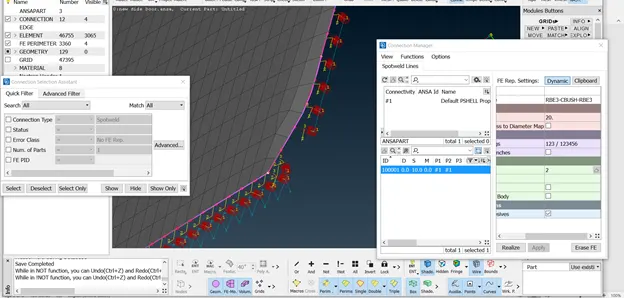
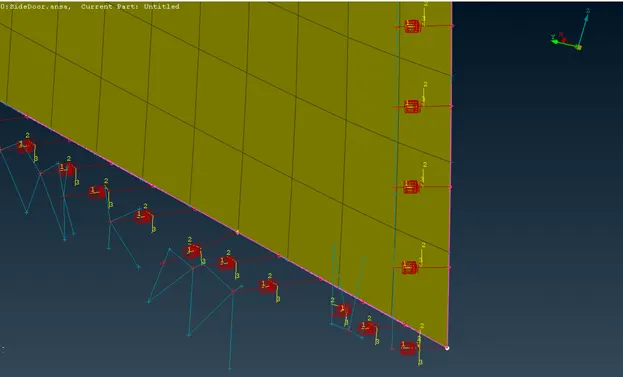
- For the CBUSH connection we have to create a curve first
- After that convert this curvea into spot line
- After that apply CBUSH connection for the window
Learning Outcomes:
- How to apply Con masses
- How to create seam weld connections.
- Bolted connections
- Rigid connections
- How to apply Con masses
Conclusion
We have successfully created different properties and deployed required connections to proper places like bolts, spoand t weld, seam weld bush connection. By using of Ansa tool