Week 6 - Creating connection for Rear door
Aim- To make the connection of the given assembly.
Objective- To set the PID for the component and perform the connection for the assembly.
Procedure -
1. Import the model.
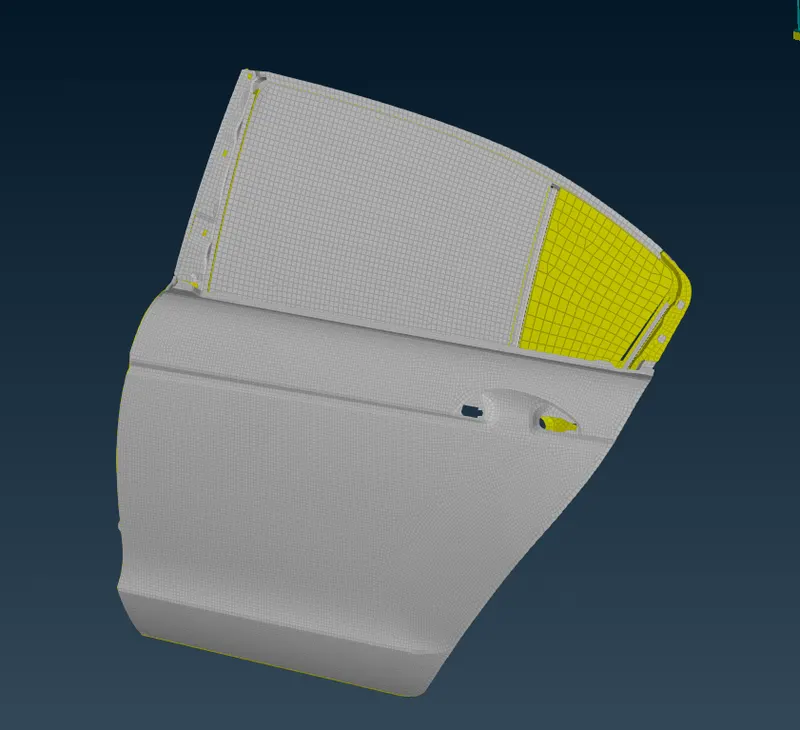
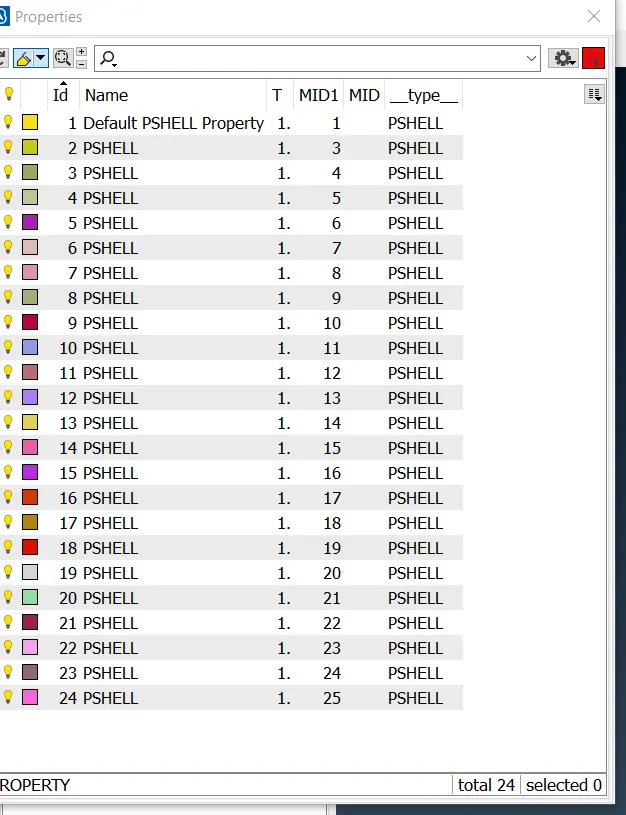
2. Set the PID for each component of the assembly.
3. Perform the connection for the components
For the bolt connection.
Create the COG point for the bolt location.
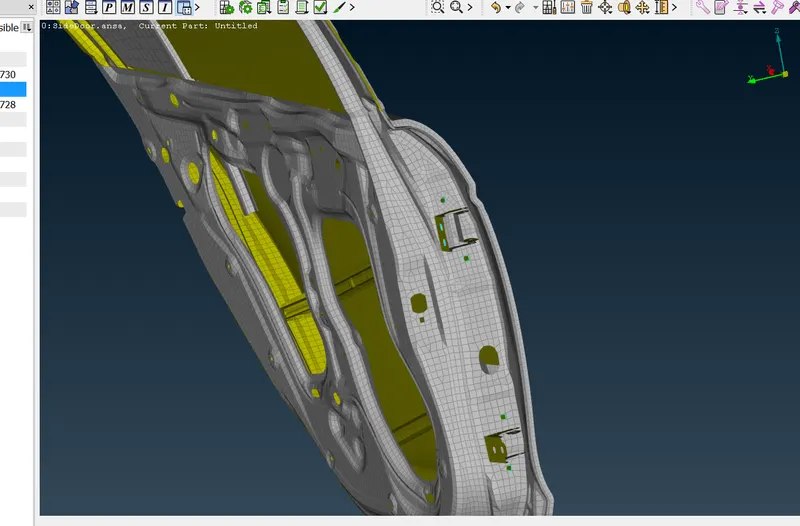
In the convert option convert the 3d points to bolts, after gp to connections and specify the faces and select the bolt And realize the connection.
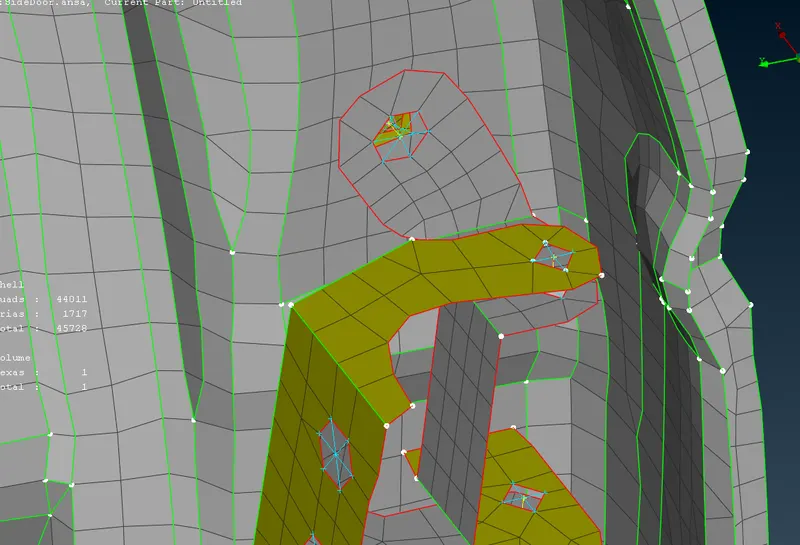
Set the bolts connection where 2 or more components is needed to be attached.
Other than that set the rbe2 connection for the singe components.
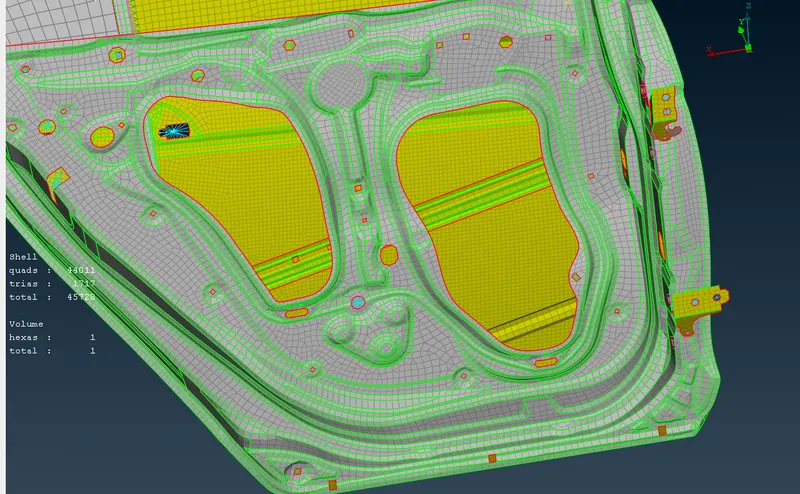
For the handle connect the 2 rbe2 pheripherry.
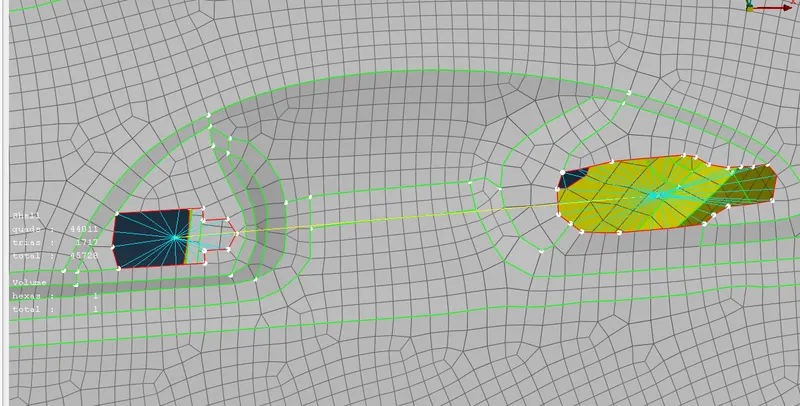
For the Points where there are 2 flat faces attach the 2 with the spot weld. make the 3d point for the element and in the connection manager select the faces and apply the reb3 hexa rbe3 connection and realize the connection.
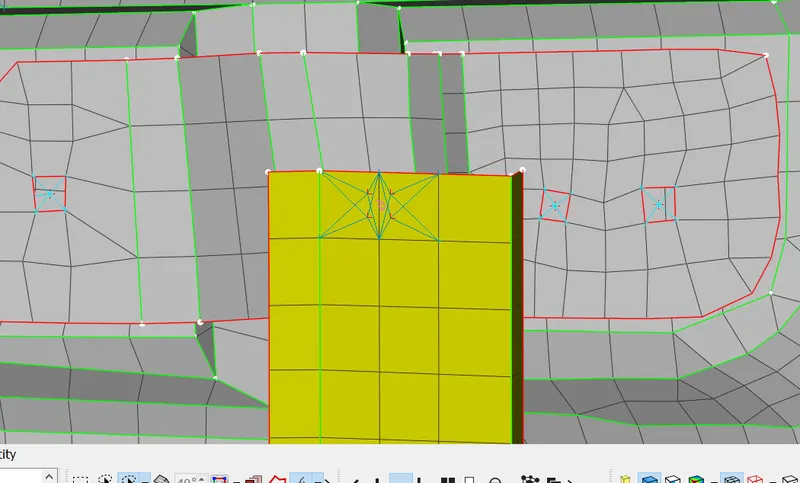
For the Cbush connection
Convert the edges of the window to curves with the cons to curve tool
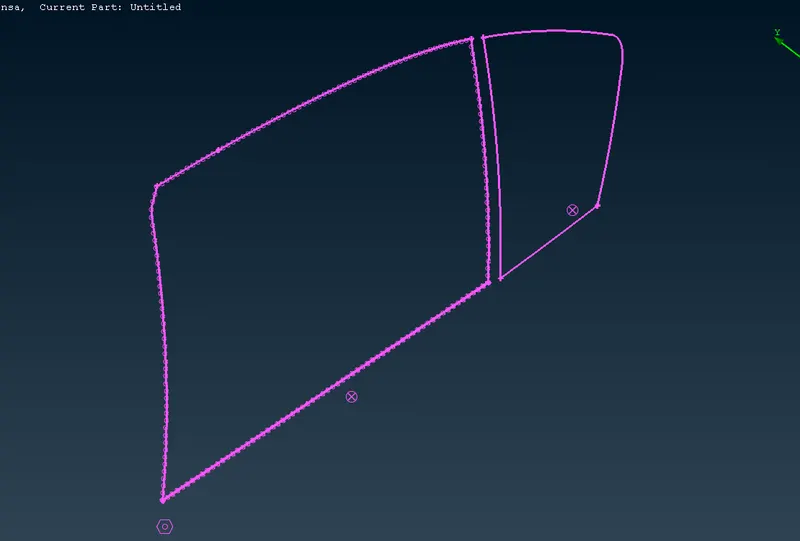
Convert the curve to the spot line.
In connection manager select the components which are to be attached.
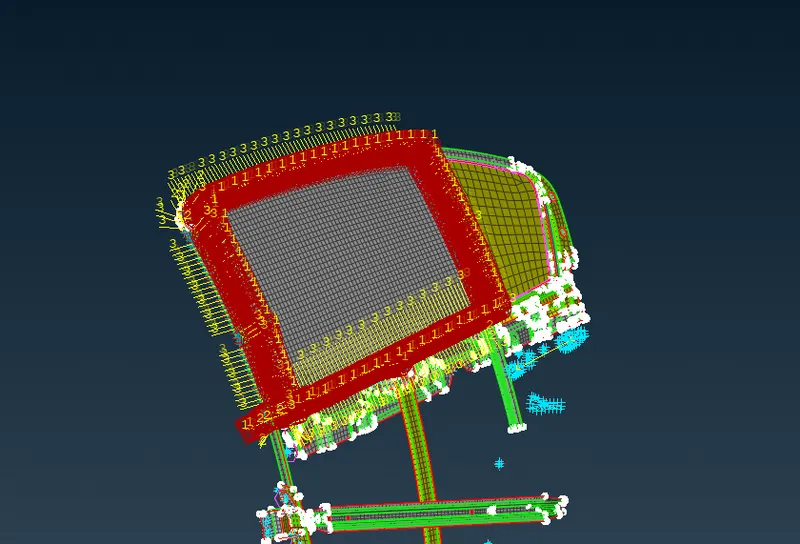
Result- The given assembly is connected with the connections with the specific PID assigned to every component.
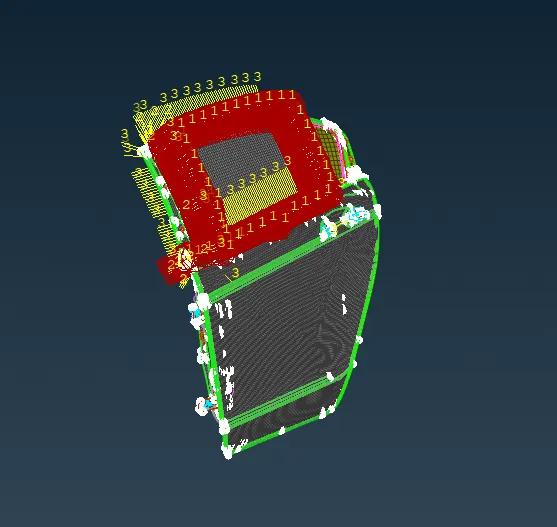
Conclusion- The following assembly is connected with the connections with different connection like bolts spot wled and spot line.