Week 6 - Creating connection for Rear door
Objective:- To perform different types of 1D connections for the given rear door FE model.
1D connectors:- 1D elements are the simple connections between nodes. 1D elements are RBE2 and RBE3 types which transfer the motion from independent node to dependent nodes.
Different types of connection in ANSA:-
a. Rigid:-
⇨ RBE2(two-node and multi-node)
⇨ RBE3(two-node and multi-node)
b. Seam Weld:-
⇨ Y joint weld for the perpendicular surface.
⇨ Overlap weld for the parallel overlapped surface.
c. Cbush elements
d. Spot weld creation.
e. Bolt
Procedure:- Import the FE model to the ANSA.
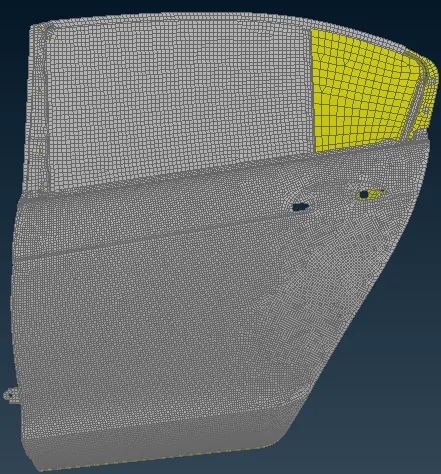
1. Bolt and Hinge connection-
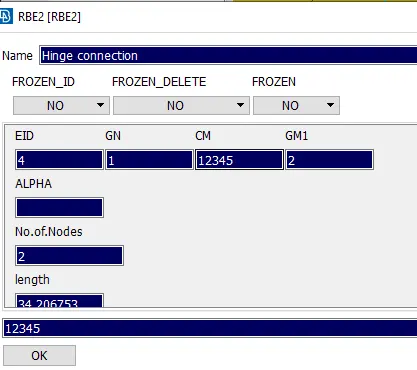
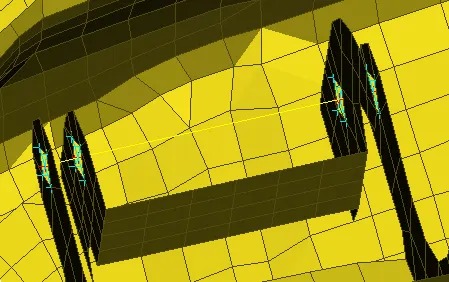
⇨ For creating bolt and hinge connection go to the nastren slover deck module select element type as RBE2 many nodes options.
⇨ After creating the RBE2 elements with many nodes connect the two nodes with the two nodes option in the RBE2 element.
⇨ For creating the connection between two nodes, have to create a separate PID and restrict the degree of freedom up to 5 directions.
2. Seam weld:-
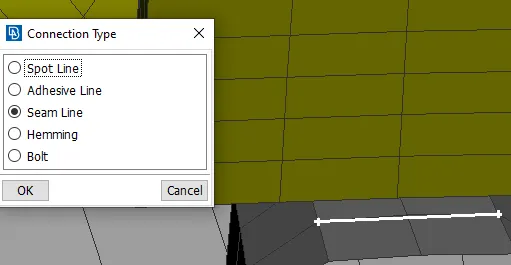
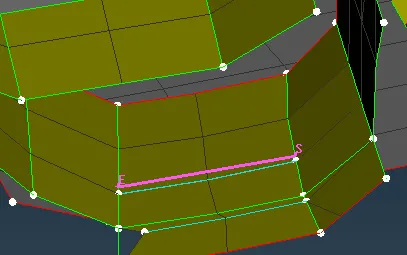
⇨ Select feature to curve option in mesh mode. select the feature and give the middle mouse click. Then right-click the part from visible and create the part name as "seam curve".
⇨ After that go to the convert option select the curve as seam line.
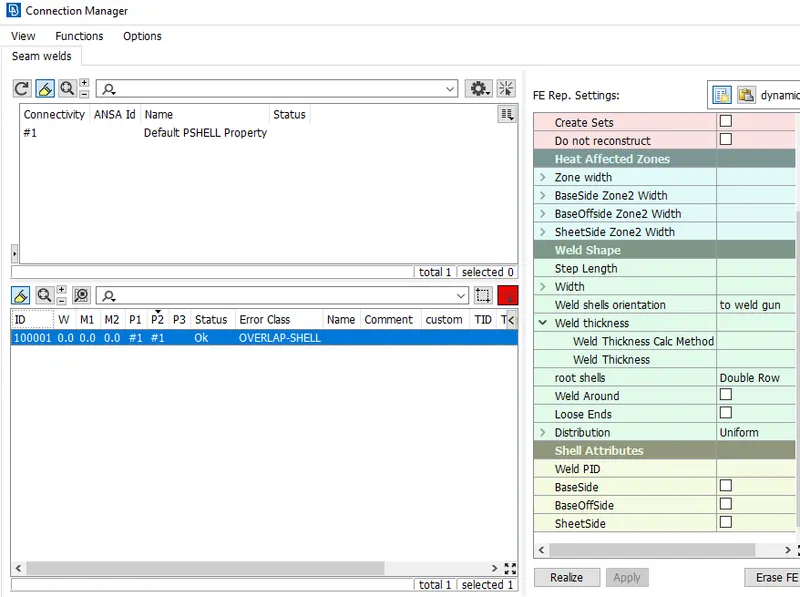
⇨ Then go to connection manager and click on the seam line curve that we have created.
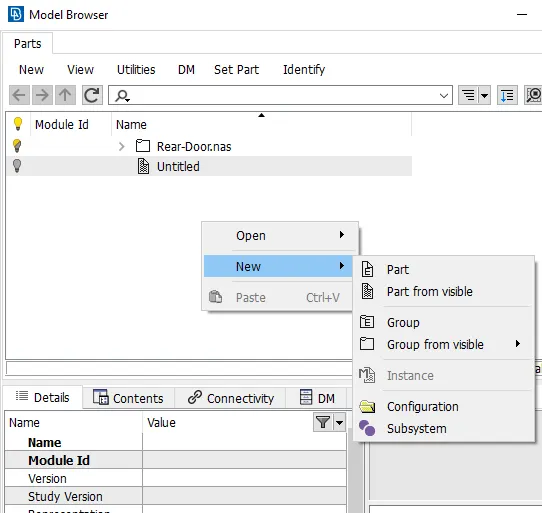
3. Con mass location:-
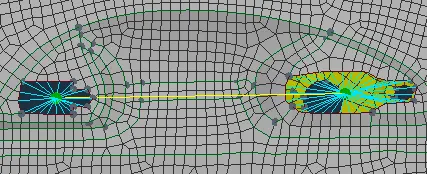
⇨ Create the RBE2 link on the front side of the hinge location then connect both hinges with two nodes parameter and restrict the degree of freedom in 5 directions.
⇨ After that click on the con mass1 option and the select node where we have to apply the mass then give middle mouse click.
4. Bolt connection:-
⇨ Create 3D points with the help of "On COG" options.
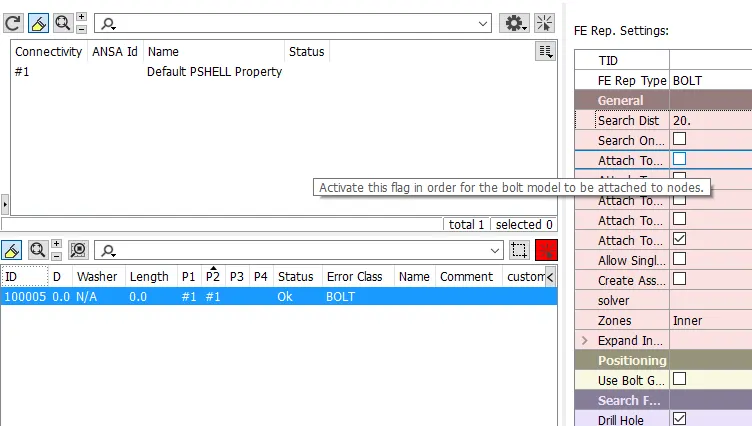
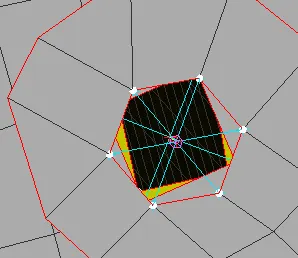
⇨ Then convert the 3D points to bolt then go to connection manager click on the bolt and provide the P1, P2, search distance then apply and realize.
5. CBUSH connection:-
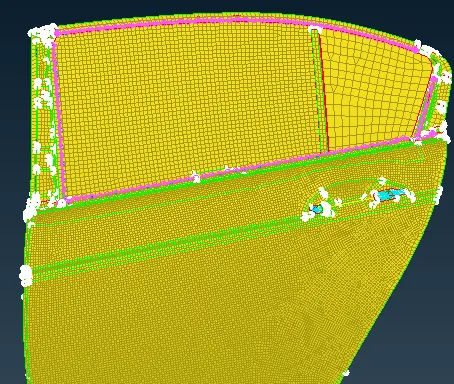
⇨ C bush connection is generally used in the outer part of the door like on the window. For this connect used the feature to curve the part from visible and create the name of the part as c bush.
⇨ Then convert the curve as a spot line then go to connection manager and assign that all parameters like search distance P1, P2 and in FE, RBE3 CBUSH RBE3 then create bush PID then apply and realize.
6. Spot weld:-
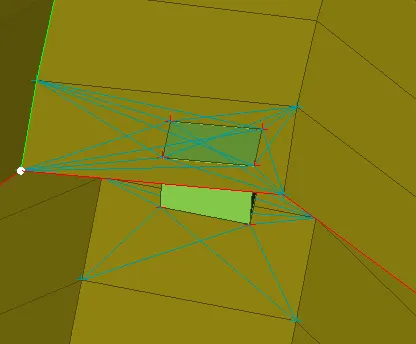
⇨ Create 3D point then go to convert and select the 3D point to convert as spot weld element then go to connection manager click on the spot weld point and give middle mouse click then assign the P1,P2 and FE as RBE3-Hexa-RBE3 search distance as 50 and create SOPT PID then apply and realize.
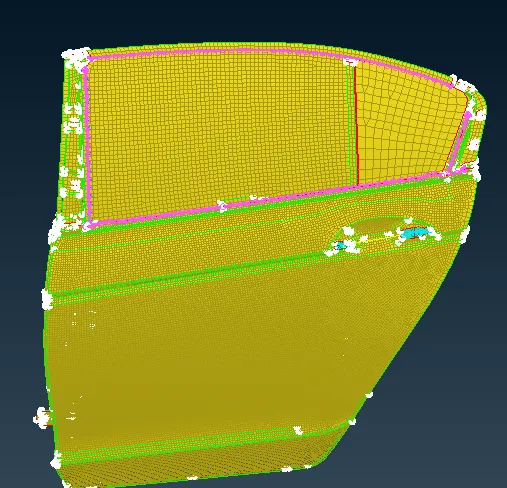
Result:-
Learning objective:-
a. Gained knowledge of various types of connectors.
b. Get to know how to create various 1D connectors like seam weld, bolt,cbush, con mass1.
c. Gain uses of connection manager and covert like tools.