Week 6 - Creating connection for Rear door
Aim: For the given Rear door FE model, Create and Apply different PIDs for different components. By using the same technique and the elements as shown in the video, Perform suitable connections.
Procedure:
1. Import the igs model in the ANSA interface
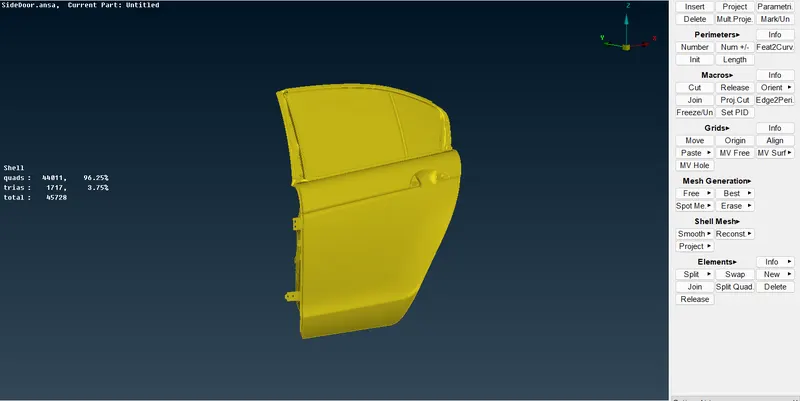
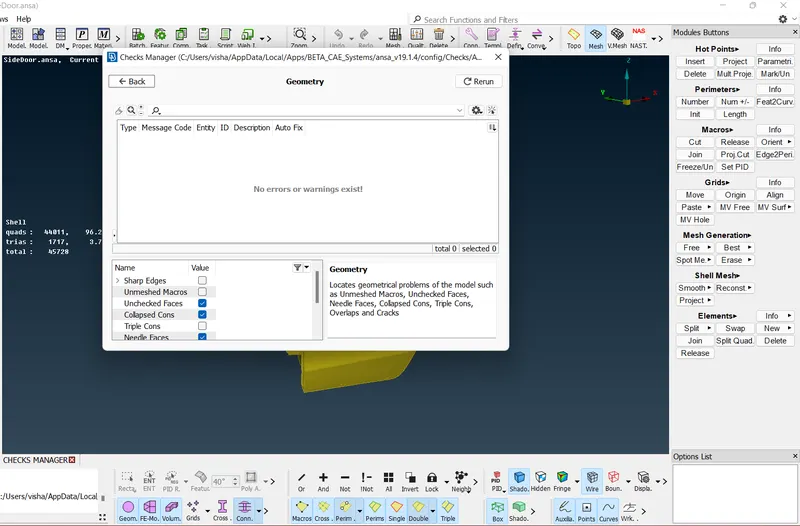
2. check for errors in the FE
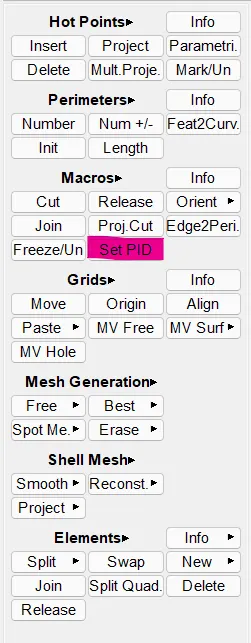
3. Set PID for every FE part to distinguish features using set PID command
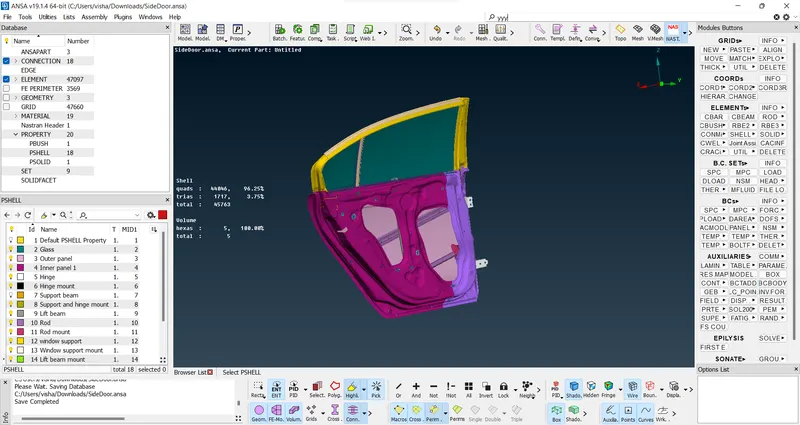
4. Then the parts are given 1D connections as per the functionality of the respective part such as rigid bolting or pivot, lift rod, etc.
The holes are given RBE2 connections to rigidize their motion in all degrees using RBE2 many nodes command
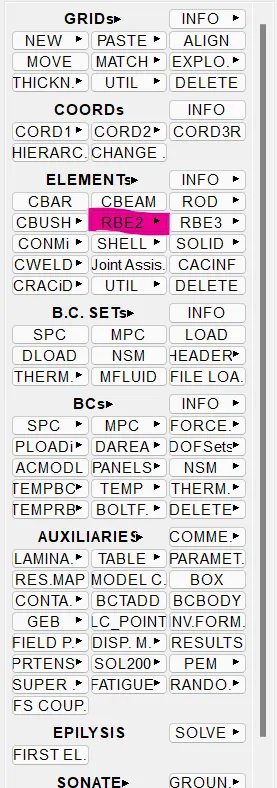
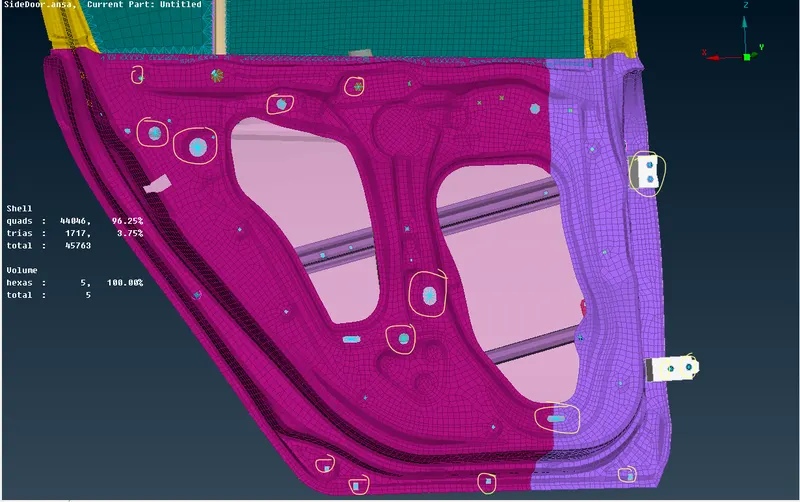
5. The hinge model needs to be be given 3D points at the COG of the matching holes where the rigid bolts need to placed using on COG command from topo modules. then the 3D point needs to be converted into a bolt module and then relaized through connection manager by selecting all surfaces that the bolt will rigidize and all the necessary parameters
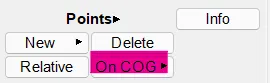
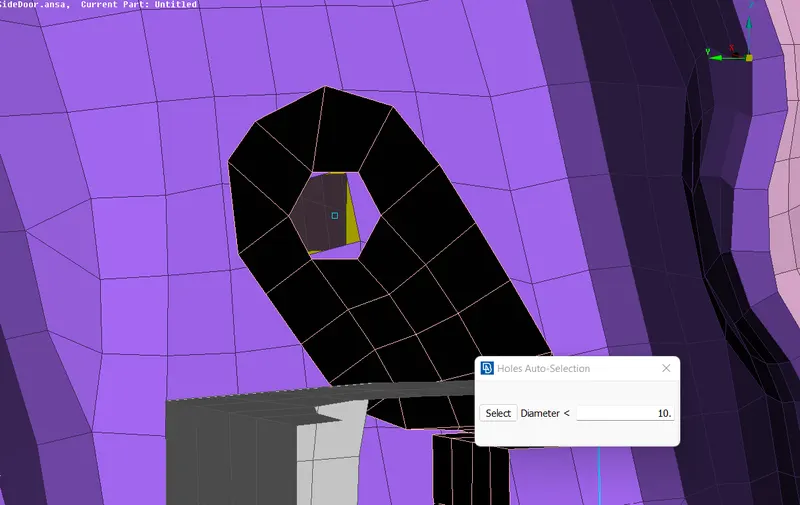
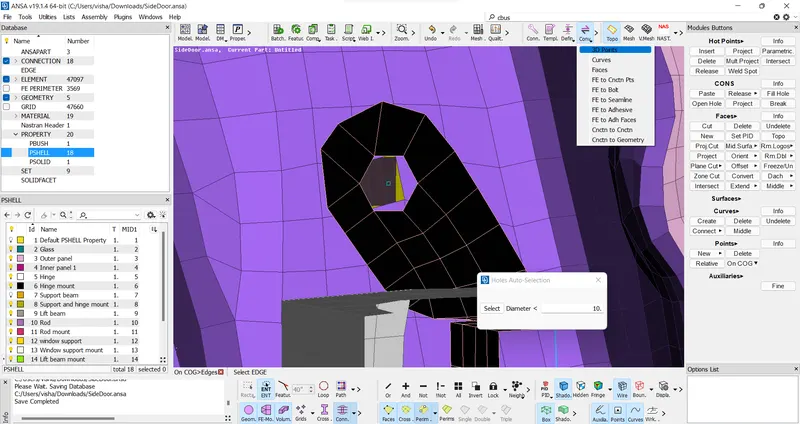
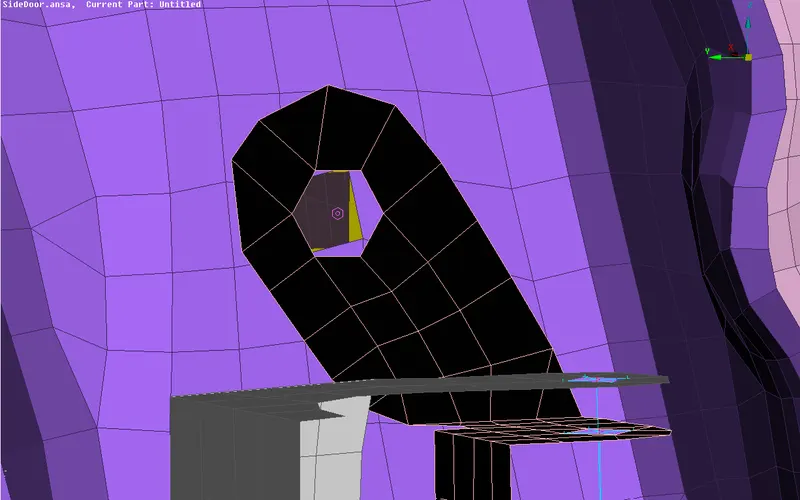
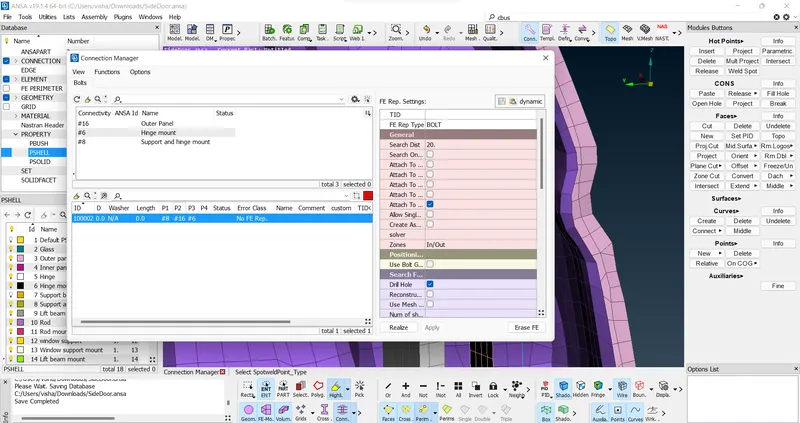
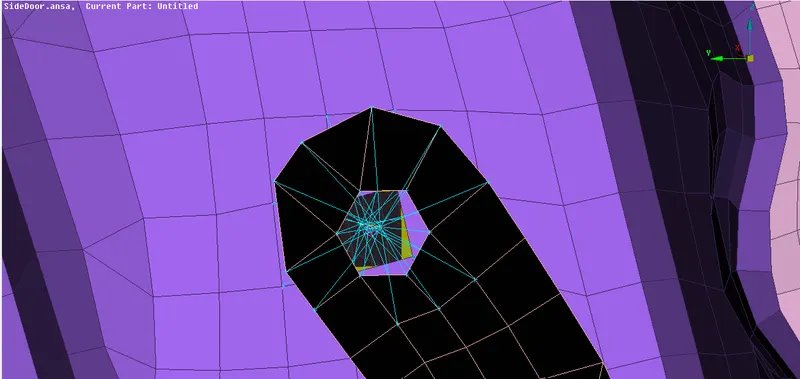
6. Then give connection for the hinge mechanism which has a special condition that it needs to be able to move on z-axis so we need to give the DOF of 12345 to allow rotary motion on z-axis.
So we first need to give RBE2 connections to all the mount holes with DOF 123456 and then connect the master nodes of all the mount holes using RBE2 to create a connection with DOF 12345 to simulate a hinge mechanism
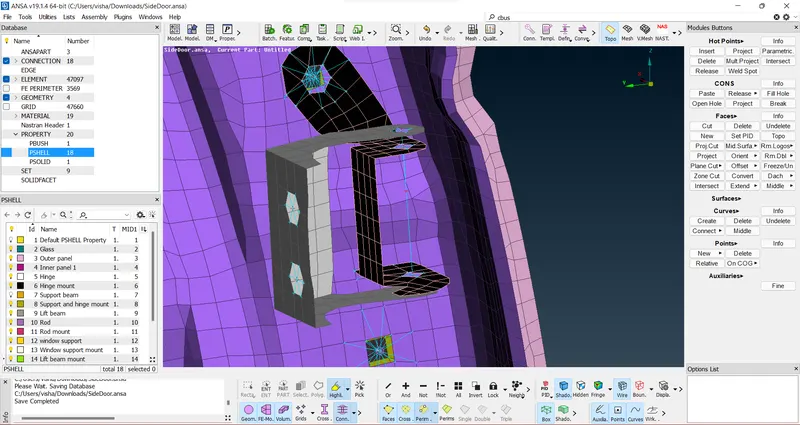
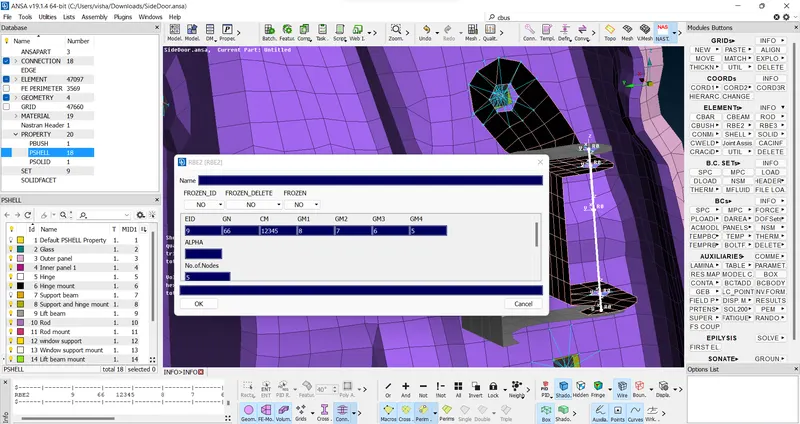
7. Then the mount plate that needs to be attached to the door is given a RBE2 connection to rigidise it's motion along all DOF
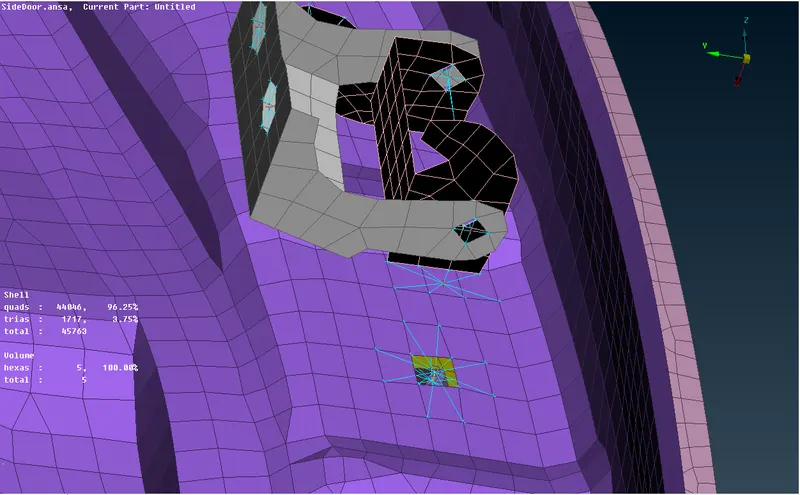
8. Some part of the model needs to attached via spotwelds, like the support rod of the door
So we, create a point at the connection area using on COG command and converting that point into a spotweld using convert option and then realizing that spotweld with connection manager.
the connection used is RBE3-HEXA-RBE3 and the spotweld is generated with a PID ID of it's own and is depolyed at necessary areas.
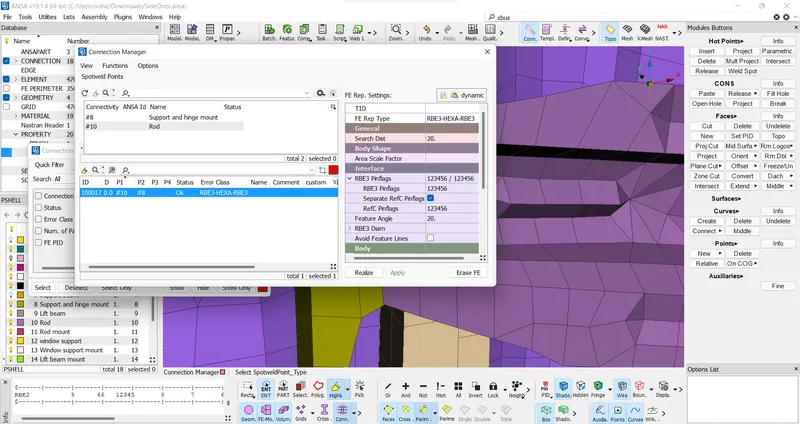
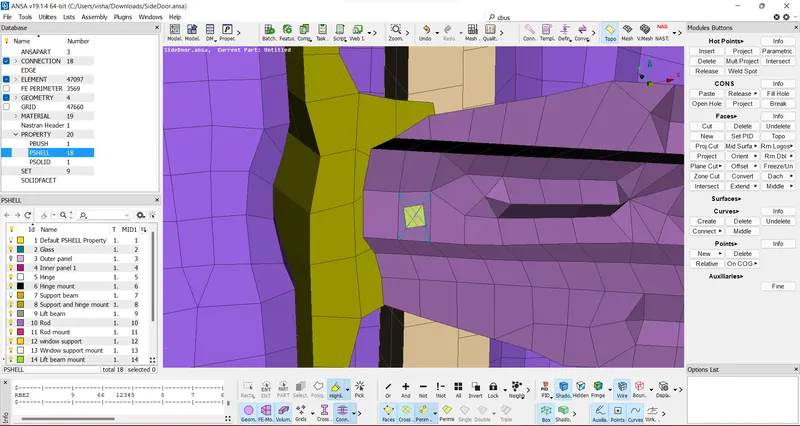
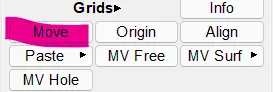
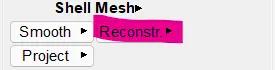
9. The lift bar of the window is moved using move command in the mesh module and then the mesh is reconstucted using reconstruct command
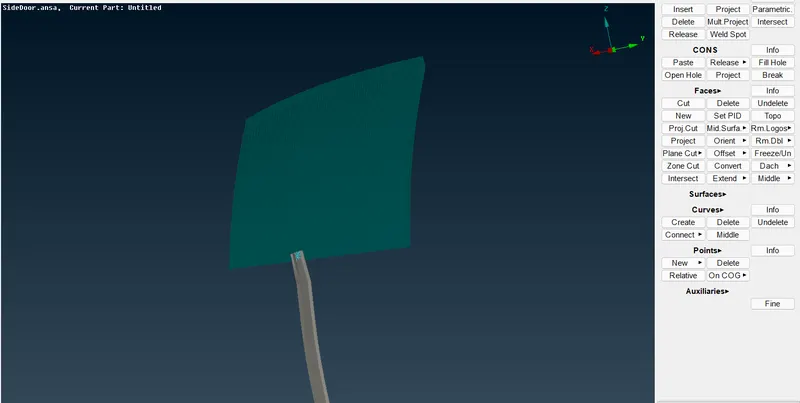
The surface that connects to the windows is rigidized with RBE2 connection
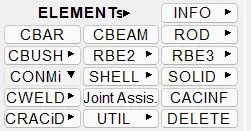
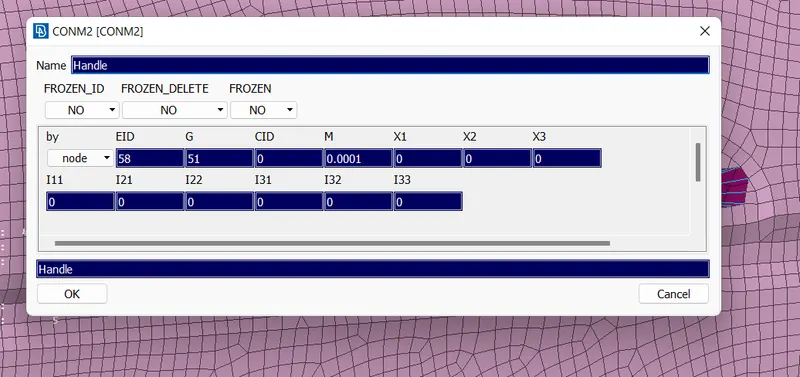
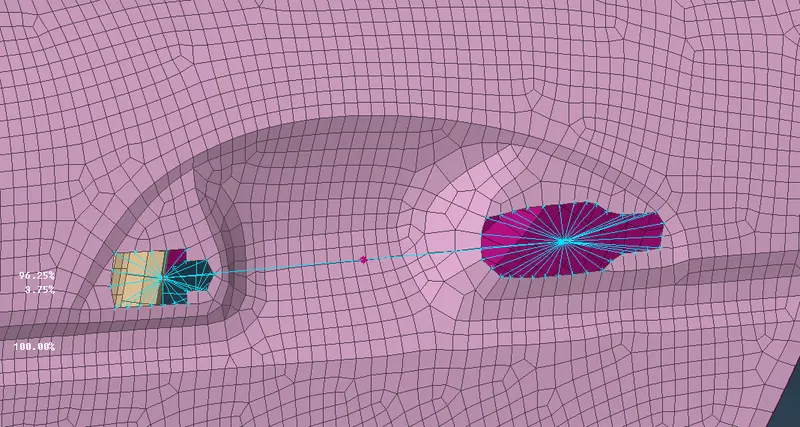
10. Then the handle is simulated by using RBE2 and CONMi commands by first generating a rigid connection at the mount holes and generating a RBE2 connection of the mount at their center by using RBE2 with their master nodes and then generating a con mass at that master node using CONMi2 and nodes.
The mass is given a value of 100 grams or 0.0001 in the tab window as it is tonnes.
11. Then we generate the bush for the windows and that is done by first making curves on the window perimeter and an additional offset curve at the bottom because of the double bush at the bottom and these curves are then converted into spotline that will be used to define the bush perimeter with the window supports.
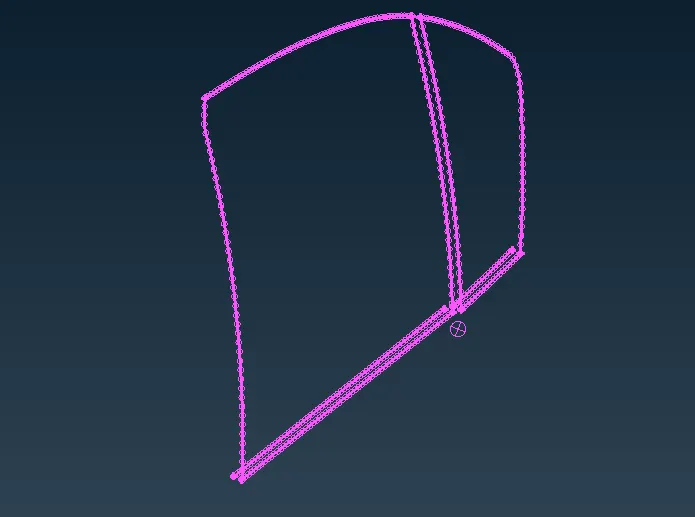
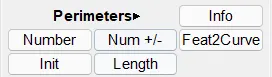 using feat2curve
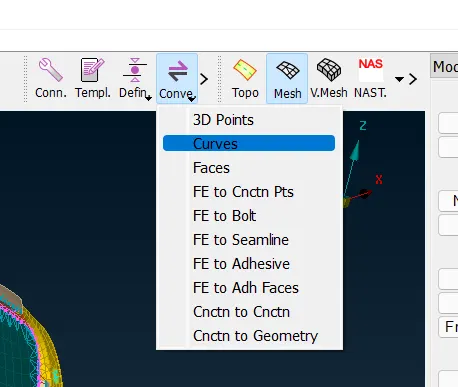
the converted spotline is given the necessary settings and a PID for bush is generated with some given properties
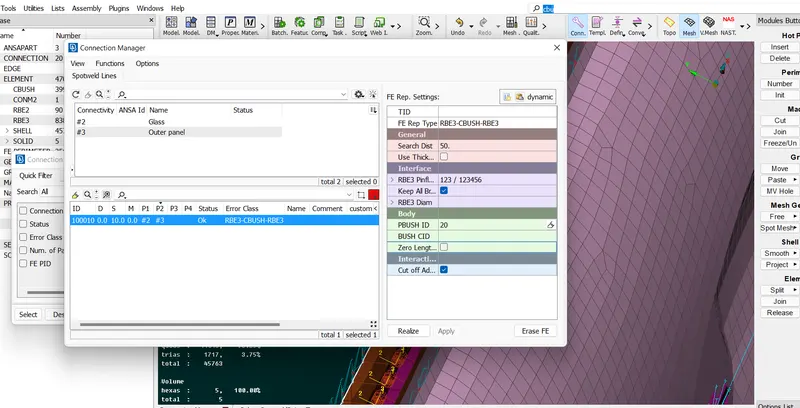
the bush is then realized for all sides
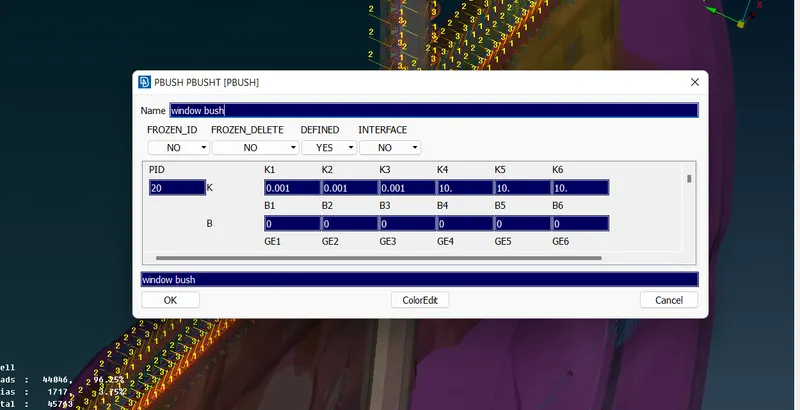
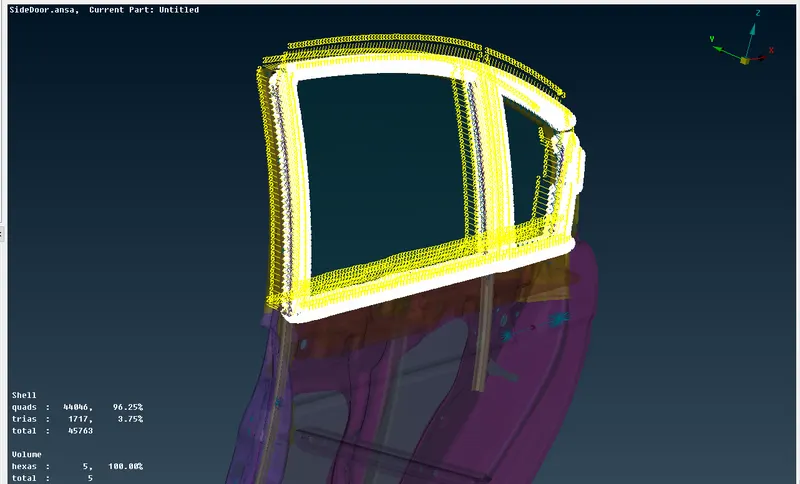
12. The bushes are then needed to be oriented with a defined co-ordinate system as it gives better results in simulation, this is done with the help of origin as the co-ordinate system whose ID is '0'.
we open the CID tab of the model that is associated with the bushes and we make orient and CID tab visible in the table,
then we give a modification command for all the bushes in one shot by using modification tool and setting orient on by cord and the CID at '0' of origin.
the bushes are then oriented with origin.
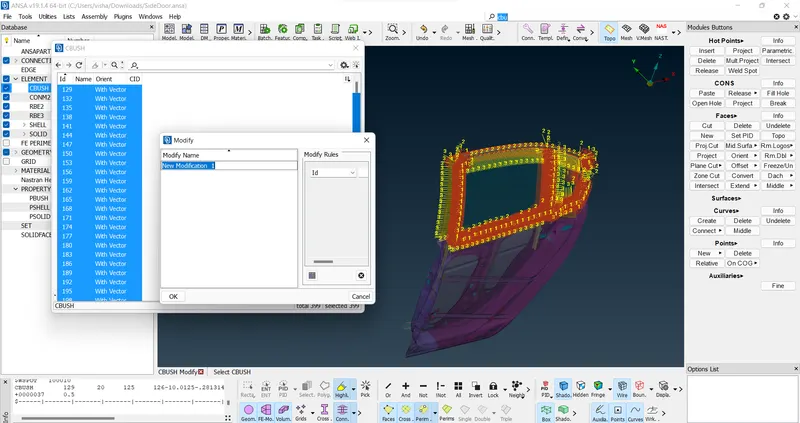
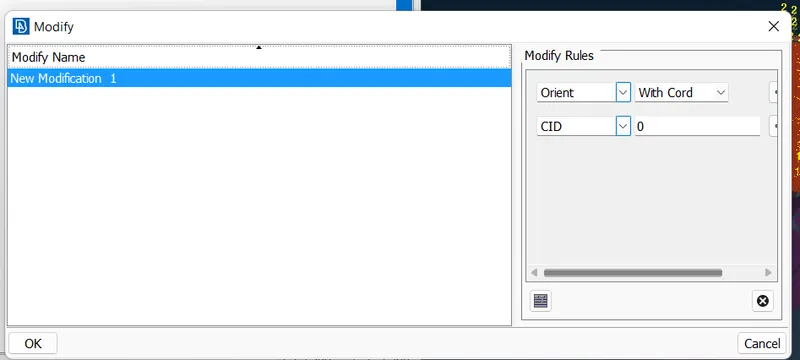
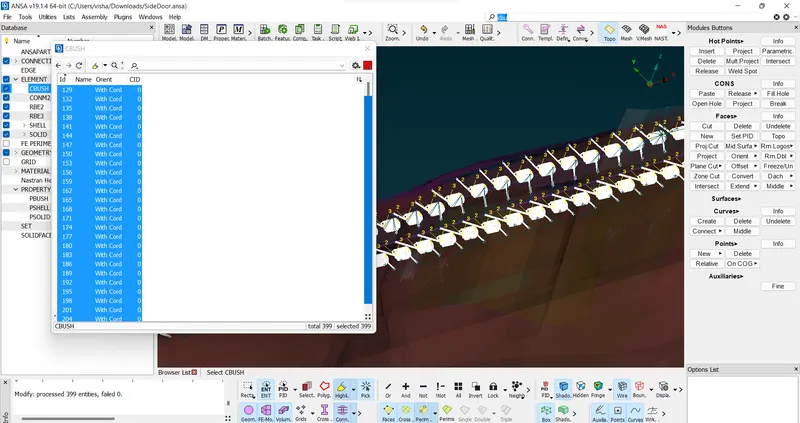
Hence, the bushes are properly oriented.
Learning outcomes: Knowledge of 1D connections and familiarity with NASTRAN modules
A general idea of connection and pre-processing
Results: A properly connected rear door model of a car for further processing.