Week 6 - Creating connection for Rear door
Aim:
For the given rear door FE model, chose a certain type of element for connecting certain parts of the door.
Procedure:
- The model has only one PID in the beginning so I have created PID for all the parts in the door.
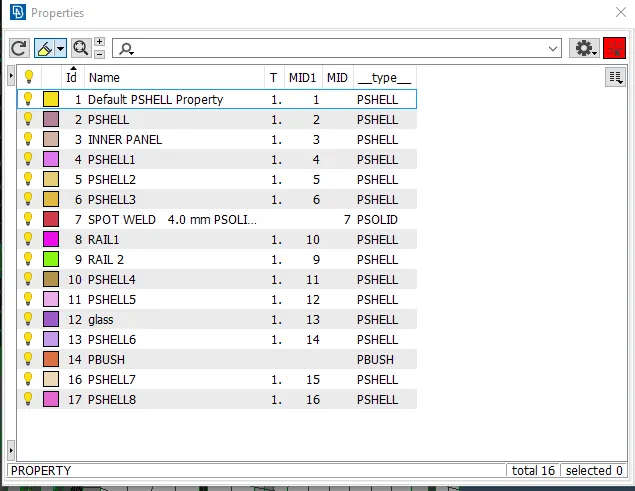
- Now to create a connection start with the sides of the door because there will be an angle set in Hinges and bolt connection will be present so for defining that connection I will use Bolt connection and cluster RBE2.
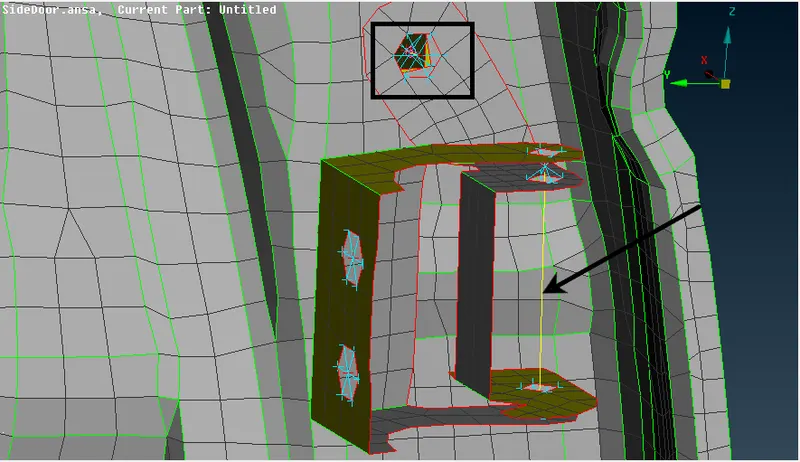
The place where the green circle is marked has cluster RBE2 connection and both the connection are joined to gather with two-node RBE2 and the y-axis is been released for it s that in Nastran simulation the door can be free on the y-axis for open and close action.
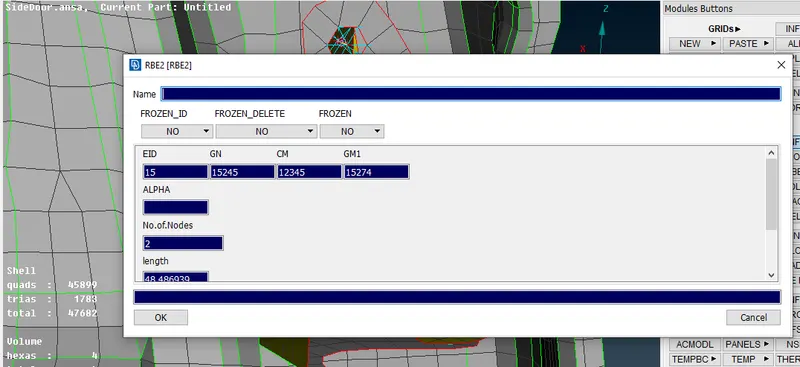
From the above image, we can see that the CM degree of freedom 123 linear translation for XYZ 456 linear rotation XYZ axis nowhere I have entered only 12345 so that the axis is free now so in simulation the door can open and close.
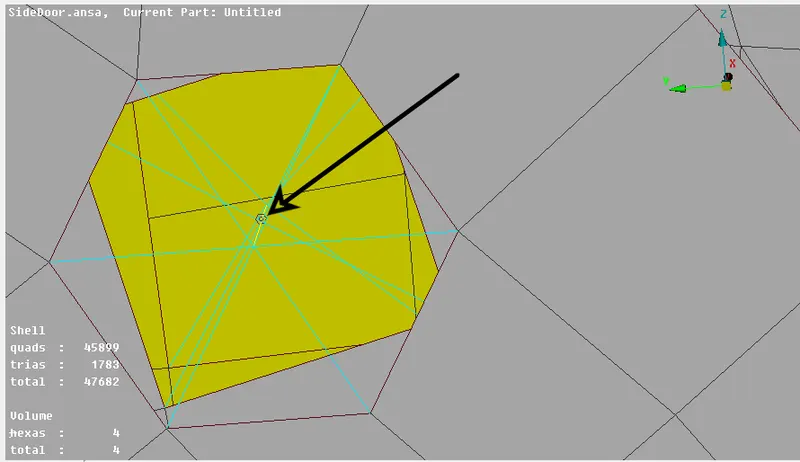
It is a bolt representation for the hinge part here I have created a COG point and converted it into bold and then created a connection as BOLT
- In Handle place, The two holes are connected with center mass for that create cluster RBE2 on two holes and with cluster, RBE2 connect the two master nodes and now Have to choose nodes in CONMI to input the mass on Handle.
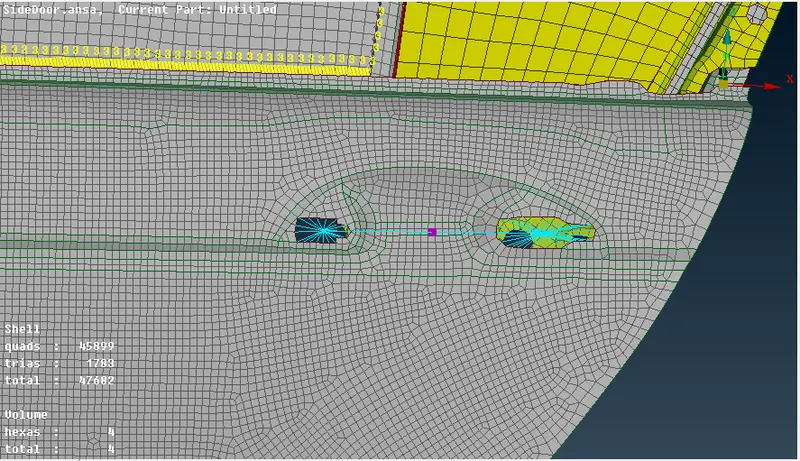
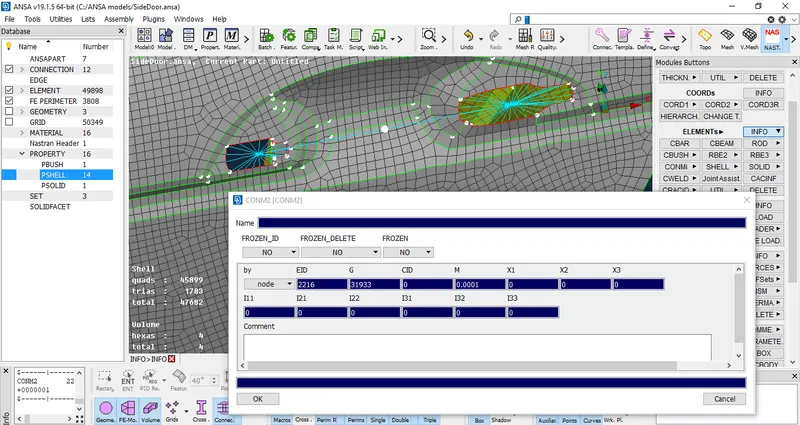
4. To create a spot weld convert the COG point to spot weld. in the image below show the COG point spot weld.
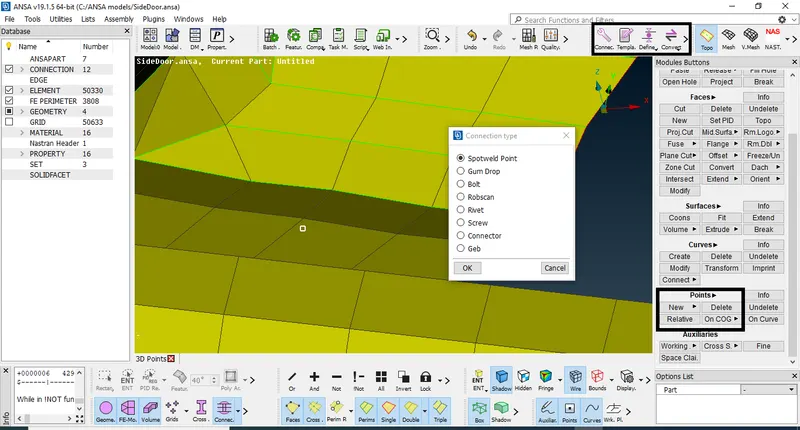
once creating the COG point (green and orange box) the highlighted yellow box shows the conversion of points and curves the blue box shows the variety of point conversions we have to choose spot weld and arrow which shows the pink spot is actually the spot weld point after conversion.
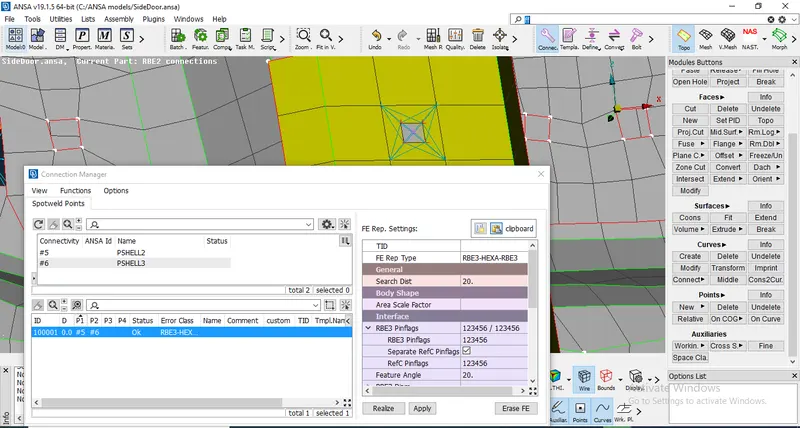
The above image shows the variety of options to create the spot weld here P1 and P2 are the two parts which have to select for welding. and the rest of the option on the right side is the standers given for a particular part. these standards may change for different types of part property.
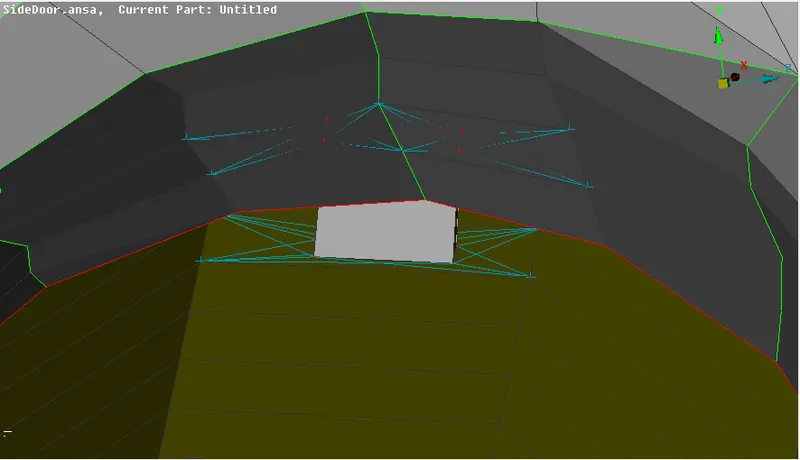
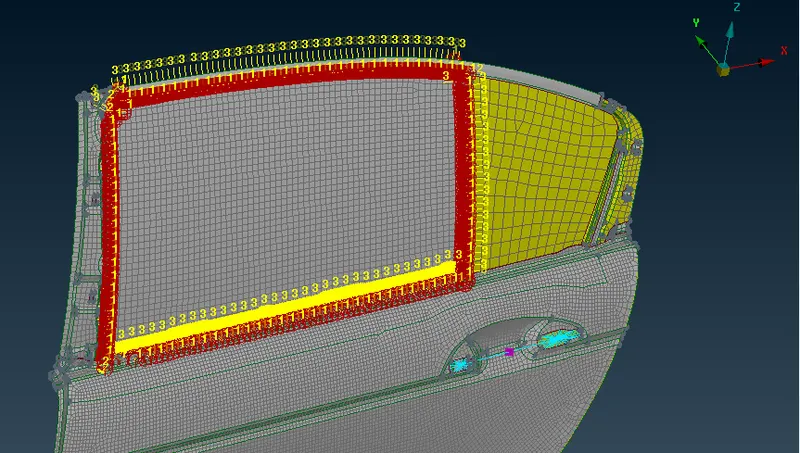
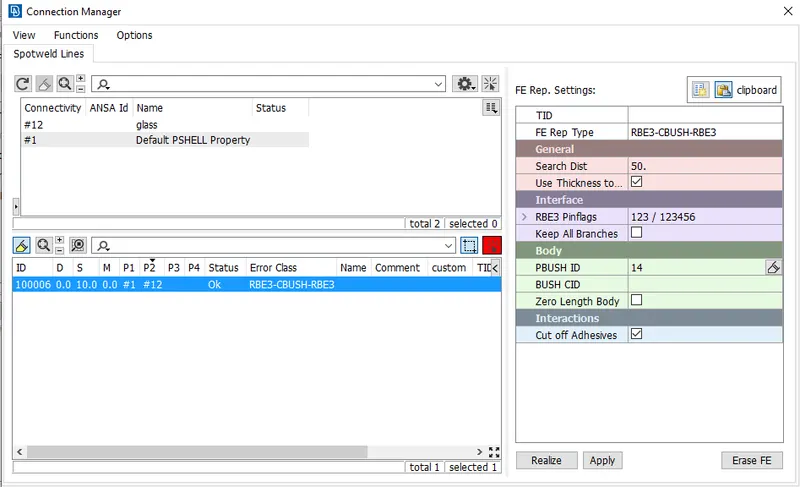
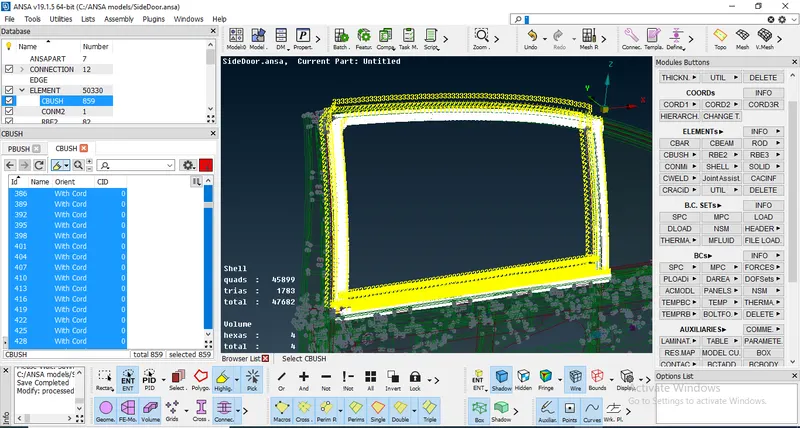
For Representing the door weather strips and window weatherstrips RBE3-CBUSH-RBE3 connection is made it contains stiffness, damping coefficient The working of these strips help keep wind and rain out of your car by sealing the cracks and filling the gaps of car. They make sure car windows and doors stay closed and secure.
Learning Outcomes:
With all the input parameters, meshing, connection the bolt, seam weld, weatherstrip, etc. all types of connection has to be set before the simulation process are created, focusing on Durability, NVH, and Crash analysis. Applying the automation tool to the development process reduces the time needed to create CAE models with stable quality.
- Two nodes RBE2 connection
- Many node RBE2 connections
- Bolt connection
- Seam weld Connection
- Torsion spring connection.
- Weatherstrip connection.
Conclusion:
The given Door model is completed using different types of connections created to define the model.