Week 6- Challenge
Ojective:
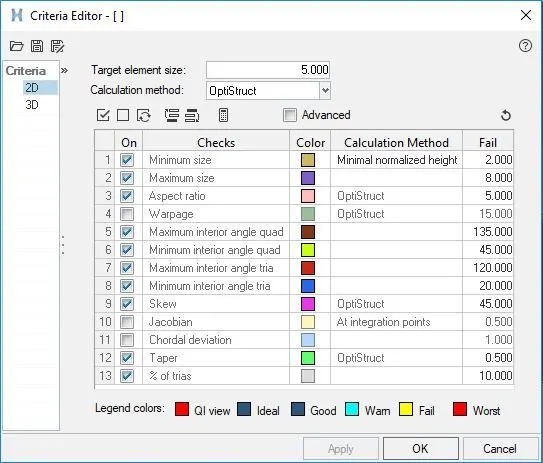
To extract the midsurface of the given component and to mesh it with a target element length of 5mm and the rest of the quality criteria as follows:
| S.No | Quality Criteria | Value |
| 1 | Aspect Ratio | 5 |
| 2 | Skewness | 45 |
| 3 | Warping | 15 |
| 4 | Taper | 0.5 |
| 5 | Min. Length | 2mm |
| 6 | Max. Length | 8mm |
| 7 | Min angle Quad | 45 |
| 8 | Max angle Quad | 135 |
| 9 | Min angle Tria | 20 |
| 10 | Max angle Tria | 120 |
| 11 | Tria % | 10 |
Procedure:
case setup & Execution:
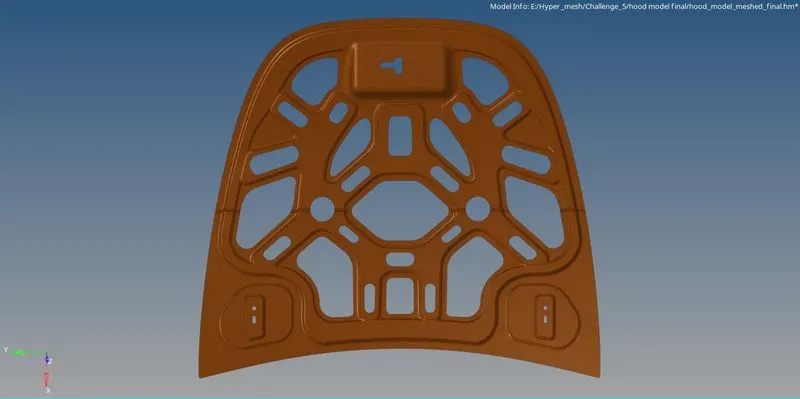
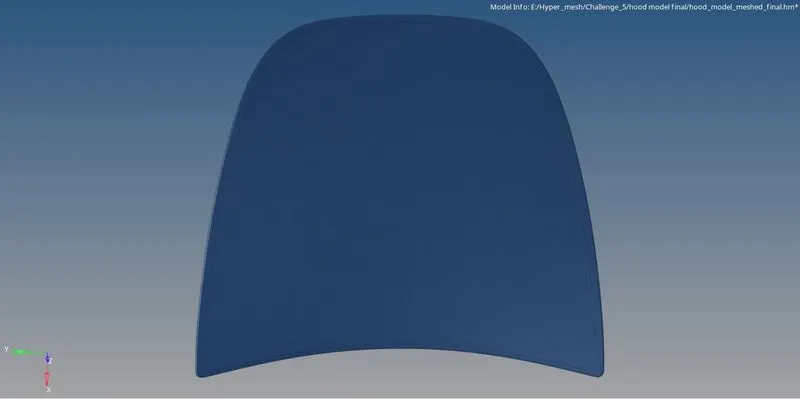
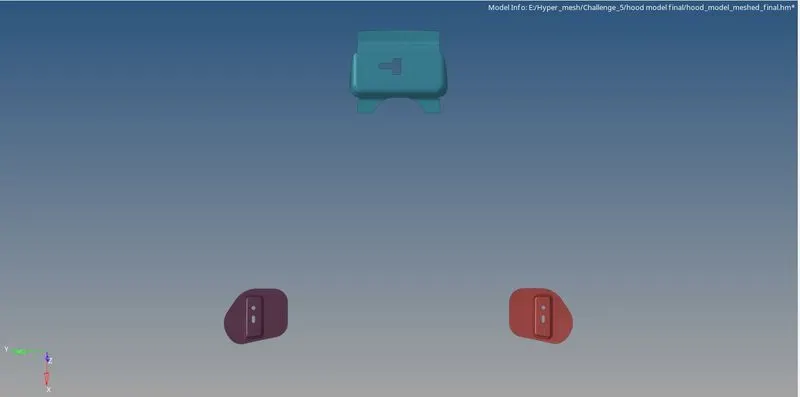
1. The given model is imported into hyperworks and it can be seen that there is four components present namely Outer_hood, Inner_hood, Latch reinforcement and two hinge reinforcements. after sorting out the components the solid present in the model needed tobe deleted by using F2 (Keyboard shortcut for delete) then selecting the solids to be deleted.
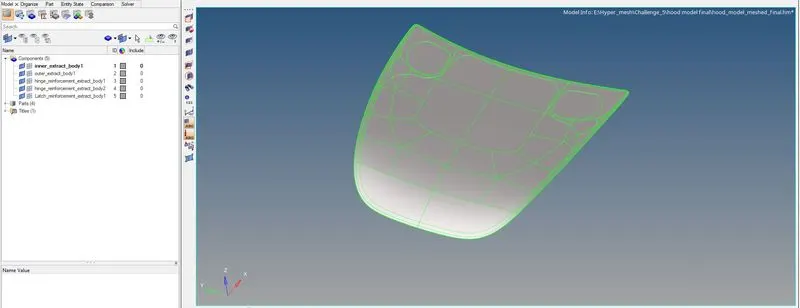
2. Now to create the midsurface, each component is selected individually and set to current component then the midsurface is generated to using the following commands: Geometry `rarr`Midsurface `rarr`Extraction option ( skin offset ) `rarr`Auto extraction `rarr`Surface `rarr`Extract
The Extracted midsurface is then assigned a material card and property card with thickness of 0.75 mm
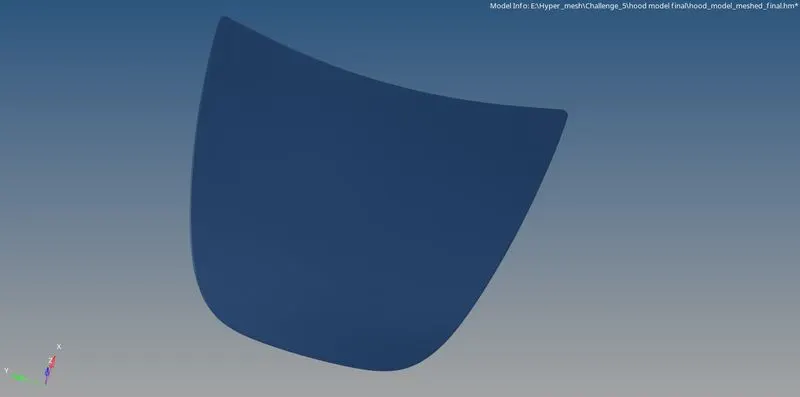
Extracted midsurface:
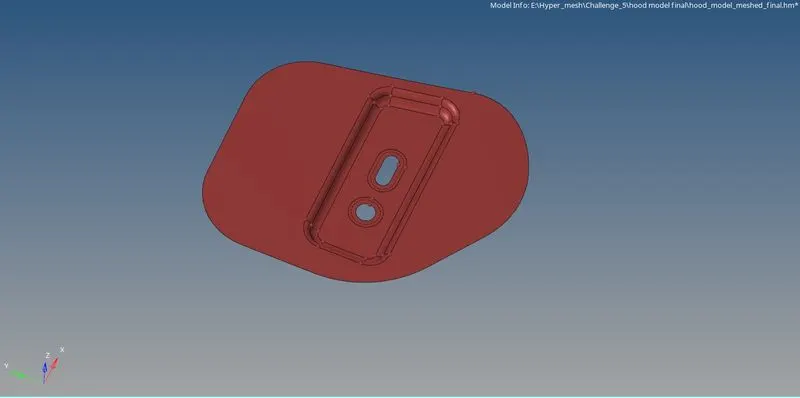
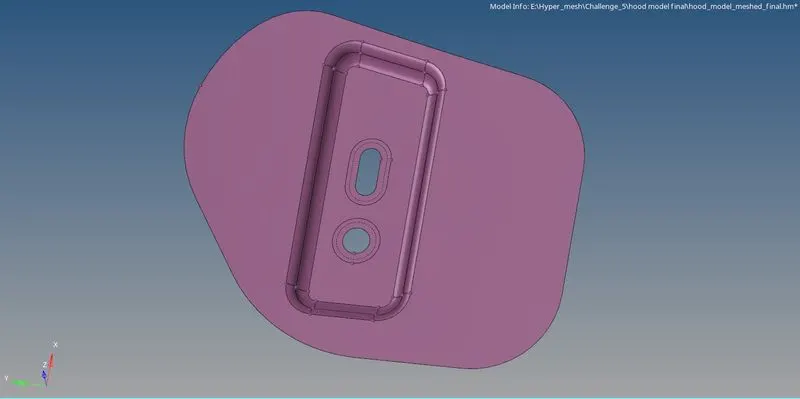
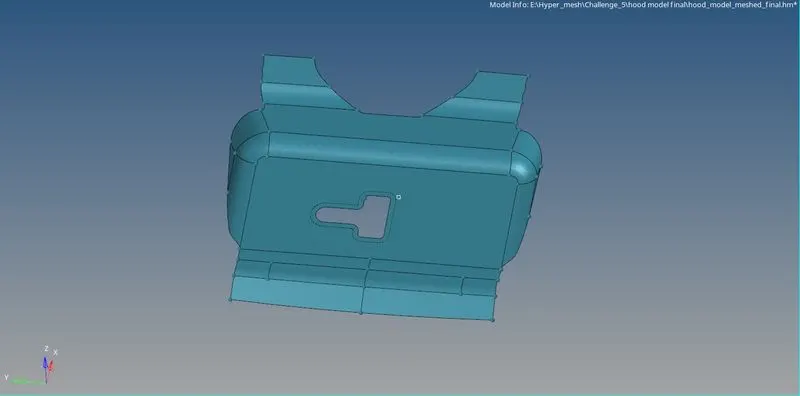
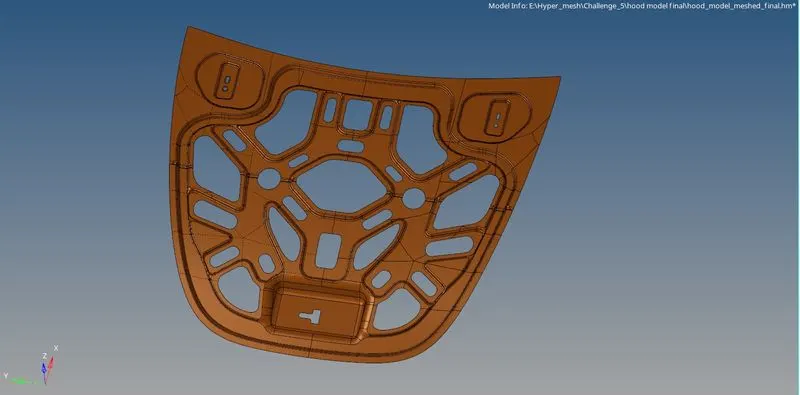
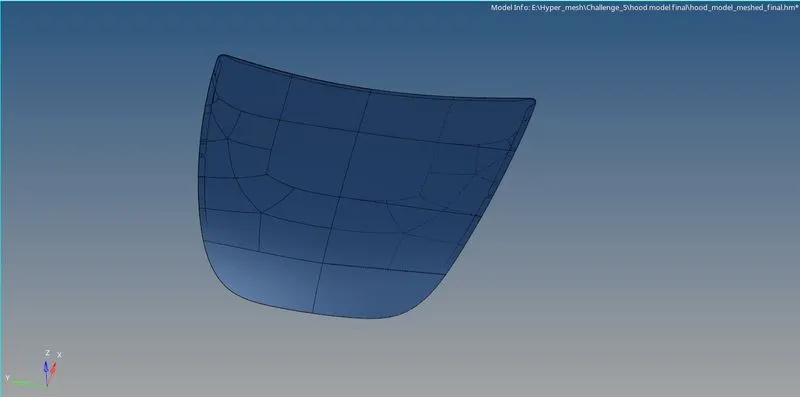
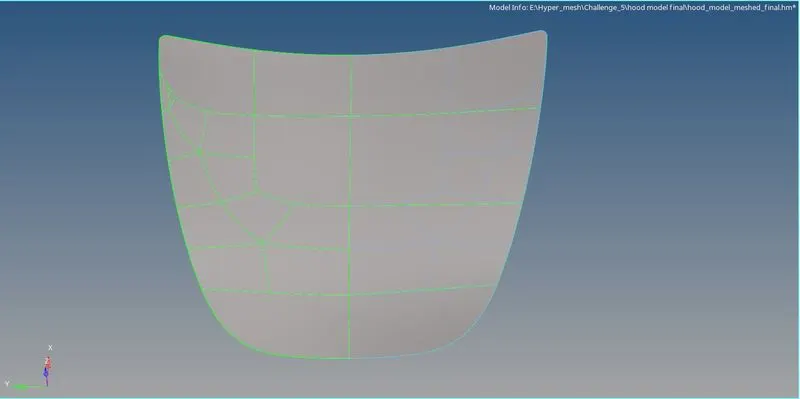
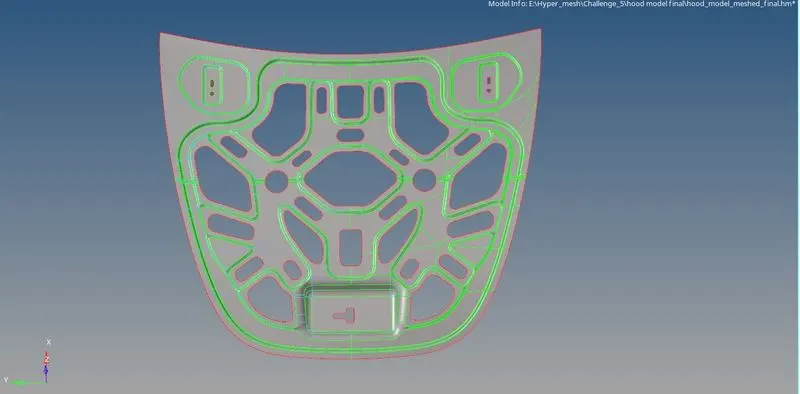
3. Geometric cleanup needed to be done to remove unnecessary guide lines which are present in the midsurface that may affect the quality of the mesh, this can be done with the help of various tools available in the quick edit menu which is available in the geometry panel.

- The outer midsurface is divided into two portions for our convinence, then the one portion alone is cleaned up by toogling the unnecessary guide lines and split surface option is also used.
- Similarly for the inner midsurface is also separated into two portions and either one of the two portion is chosen .
- For latch and hinges many complicated lines which may disturb the mesh flow is removed. also washer split if needed is created.
4. Once the midsurface are cleaned up we can proceed to meshing, Each component is meshed individually by first setting it to the current component then 2D meshing is done by using the automesh option available in 2D panel.

Meshed surfaces as follows:
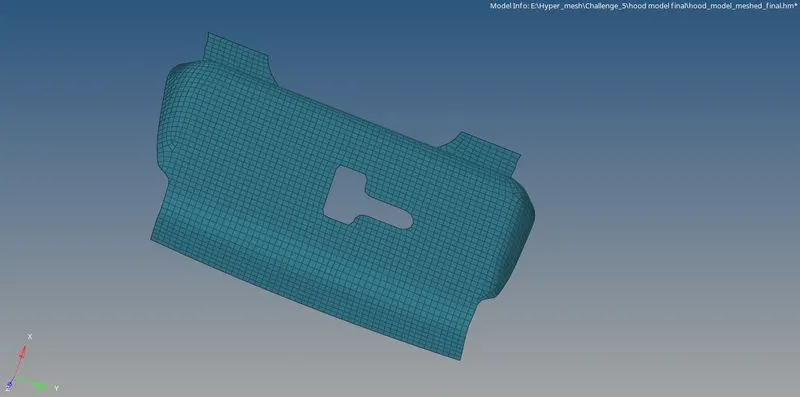
Latch reinforcement:
Manual 2D mesh is done on the component by the auto mesh option with the target element size of 5mm
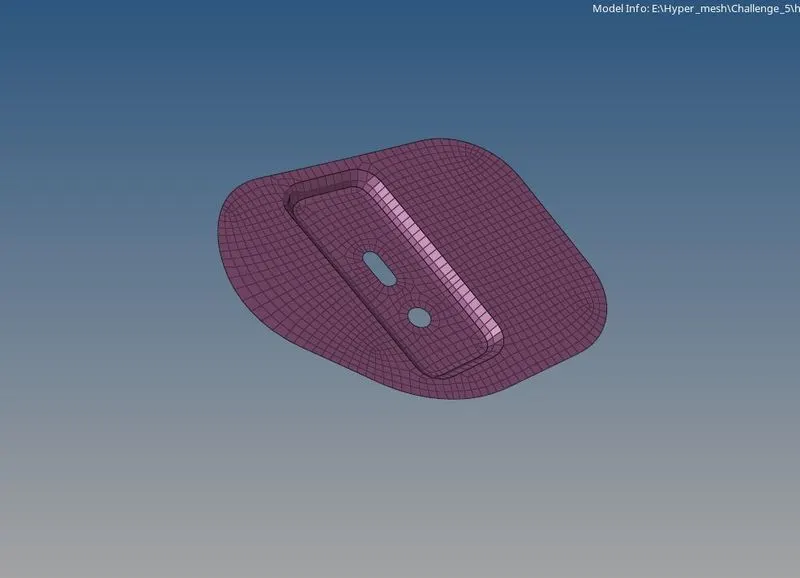
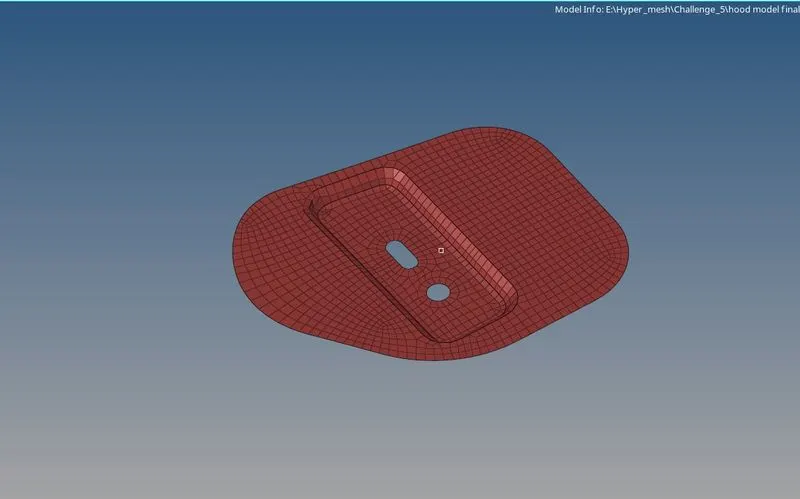
Hinge reinforcement:
Manual 2D mesh is done on the component by the auto mesh option with the target element size of 5mm
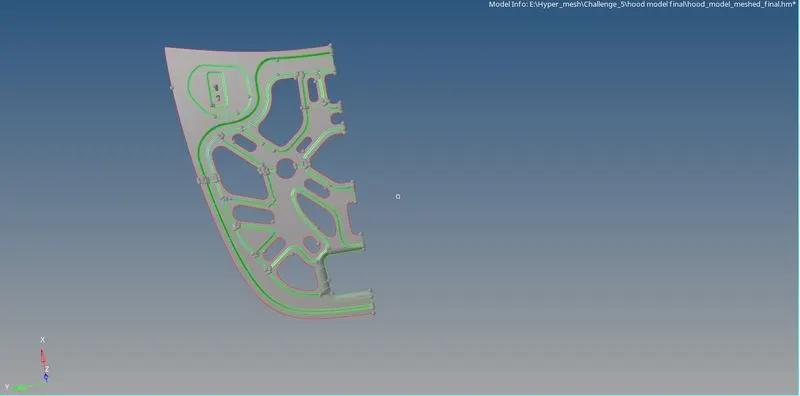
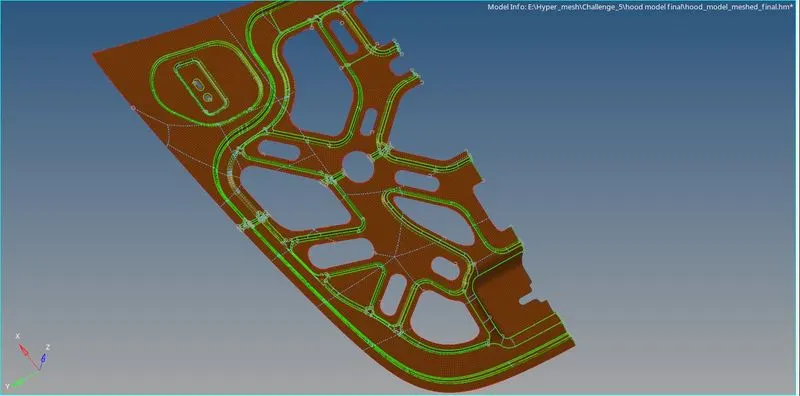
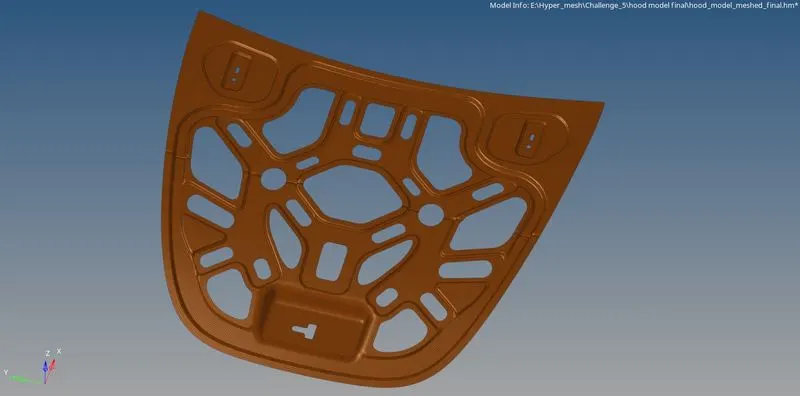
Inner hood:
As mentioned during the geometric cleanup, only the cleaned up surface is meshed, the second portion is generated with the help of reflect option avaliable in the tools panel ( Note: Reflect option is ideal only for symmetric components ).
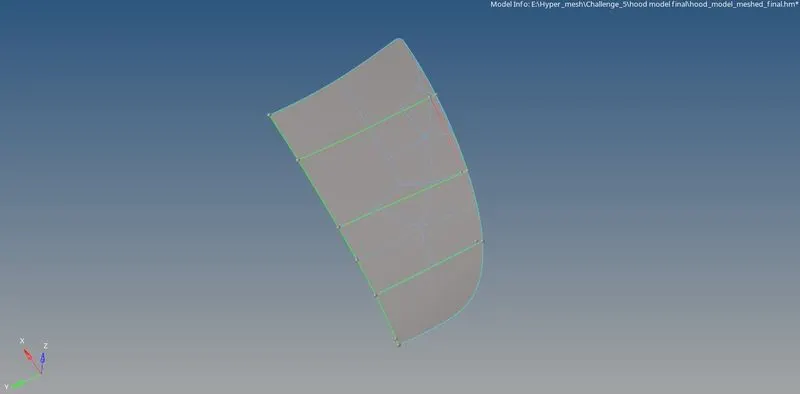
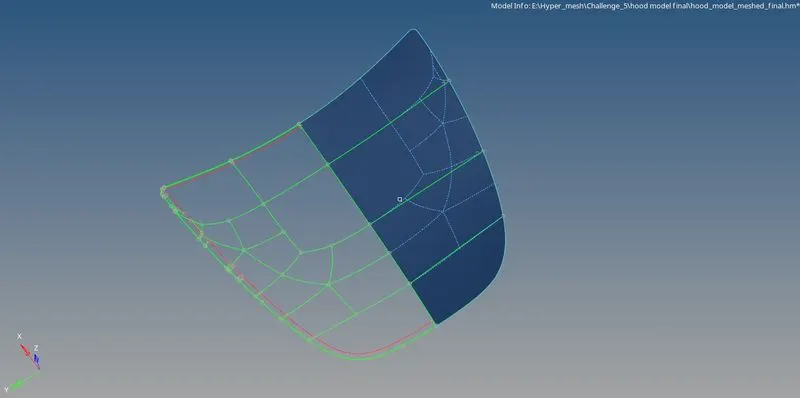
Outer hood:
As mentioned during the geometric cleanup, only the cleaned up surface is meshed, the second portion is generated with the help of reflect option avaliable in the tools panel ( Note: Reflect option is ideal only for symmetric components ).
5. After completing and adjusting the mesh quality is needed to be checked, which can be done by using the check elements option available in the tools panel also keyboard shortcut F10 can be used.

various tools available in the quality index option available in the 2D panel is also used tocheck and clear the recommended quality criteria. this needed to be done by following the steps below
The given quality criteria is needed to be entered into the criteria file editor by selecting the option preferences in title bar.
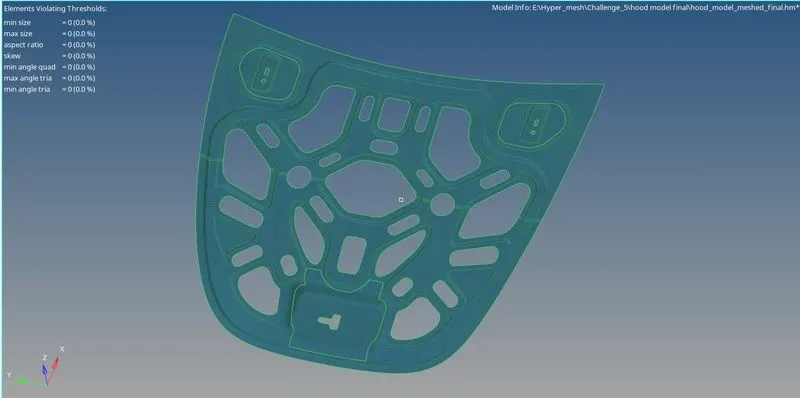
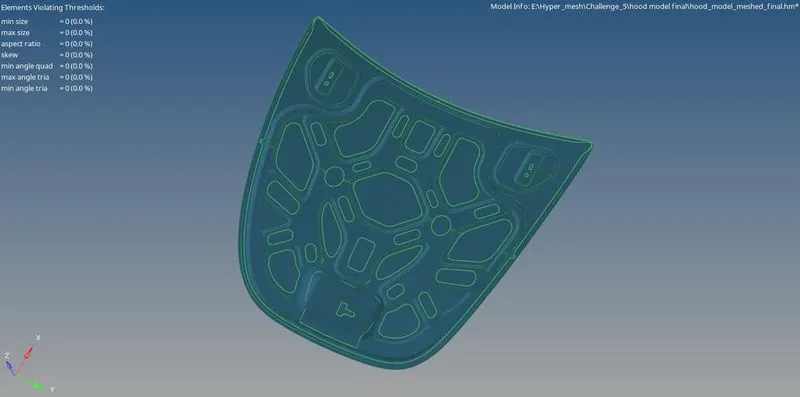
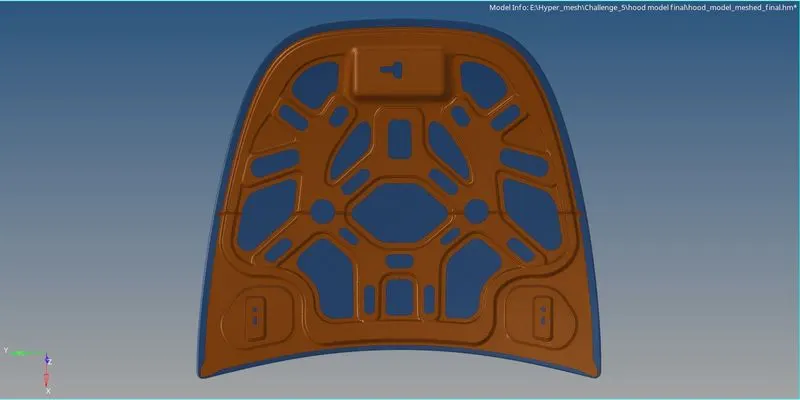
Final Image:
Conclusion:
For the given hood model midsurface is generated, thickness is assigned then 2D mesh is generated in hyperworks with the elements clearing the given quality criteria proper mesh flow is achieved.