Making connection on the Rear Door Assembly by using ANSA Pre-processor
AIM:
The main objective of the challenge is the given Door assembly has to been connected as per the requirements.
COMPONENTS:
The Main components present in Door assembly is,
- Car Exterior
- Car interior
- Hinge
- Weatherstrip
- Door window
- Door latch
PROCEDURE:
- Open the latest version of ANSA software in your system.
- Open the given cad/Nastran deck file.
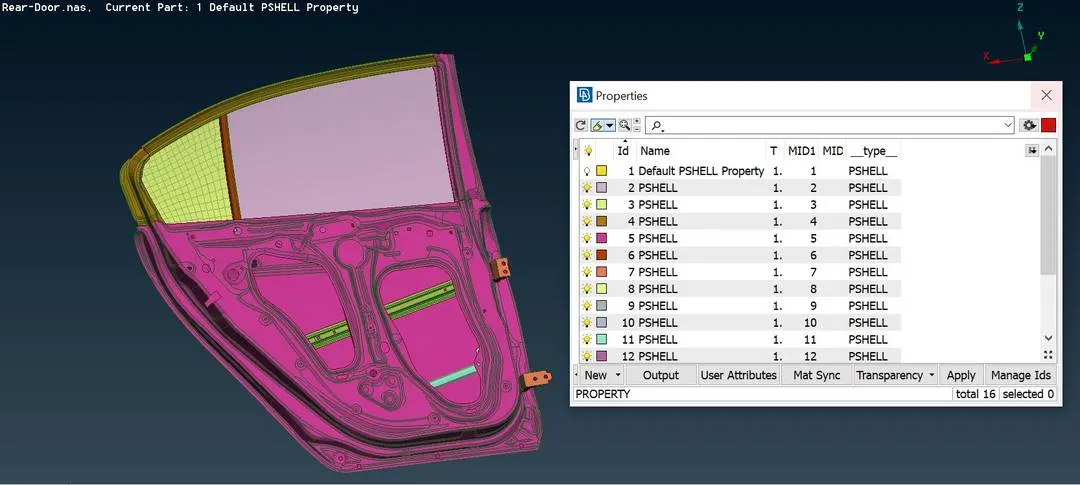
- Assign PID’s for every single component.
- Identify the bolt connection areas, and using Nastran deck element RBE2-Many nodes by the way of selecting nodes as loops.
- The door handle will be connected separately as RBE2 – many nodes and then master nodes are connected by RBE2 – two nodes and assign the mass as 100g through CONM2-nodes and the mass should be entered in Tonnes.
- Overlapping parts should as connected as spotweld.
- For the Hinge, the DOF should release at Z-axis, DOF – 12345 only.
- For the windows, we use weatherstrip as the connection for smooth performance.
TYPES OF CONNECTION:
- Bolt connection
- Spot-weld connection
- CBush connection
- Con-mass connection
GIVEN MODEL:
The Door connection was given as a single property type.
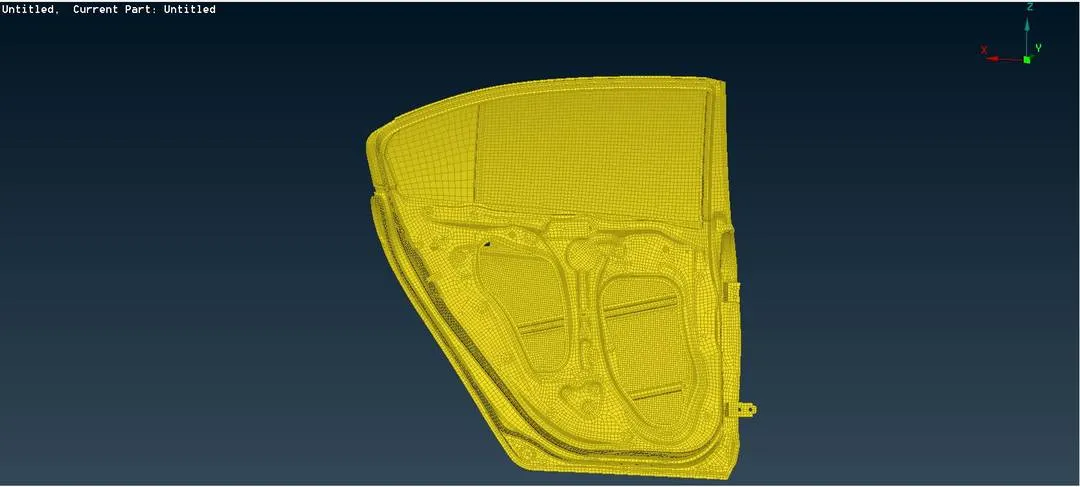
Assign the PID's for every single part.
Create the bolt connection by using the manual method.
- Identify the connection, where the bolt has to be made.
- Create the Cog at any one of the part centers.
- Convert the point into the bolt through the convert option in the Assembly tab.
- By using the connection manager from the Assembly tab, input the required details like P1 P2 & P3 as per the below image.
- Input the search dist. as 10 for the bolt connection.
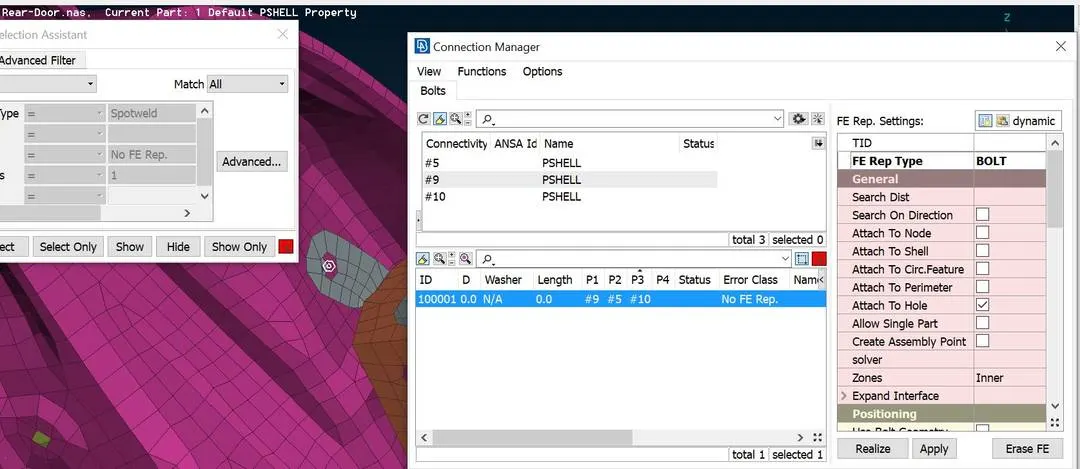
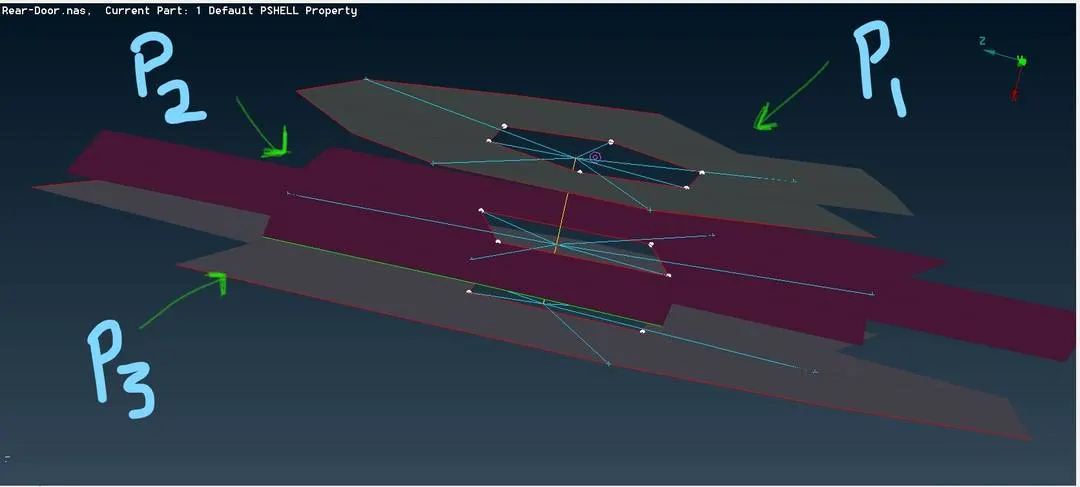
- Create the stem of the bolt by connecting the two master nodes of both RBE2 connections.
- RBE2 > Two nodes > select both master nodes > Release the DOF from the z-axis of Rotation.
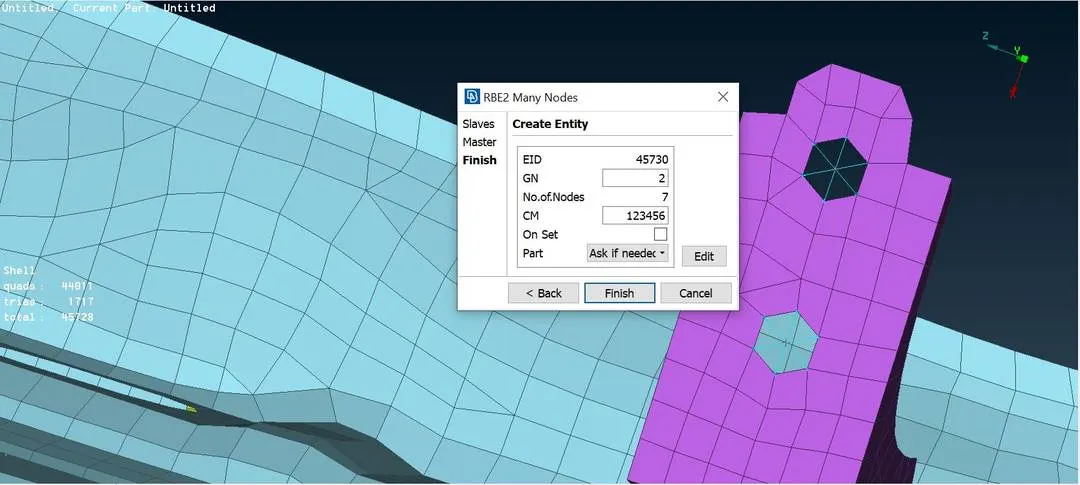
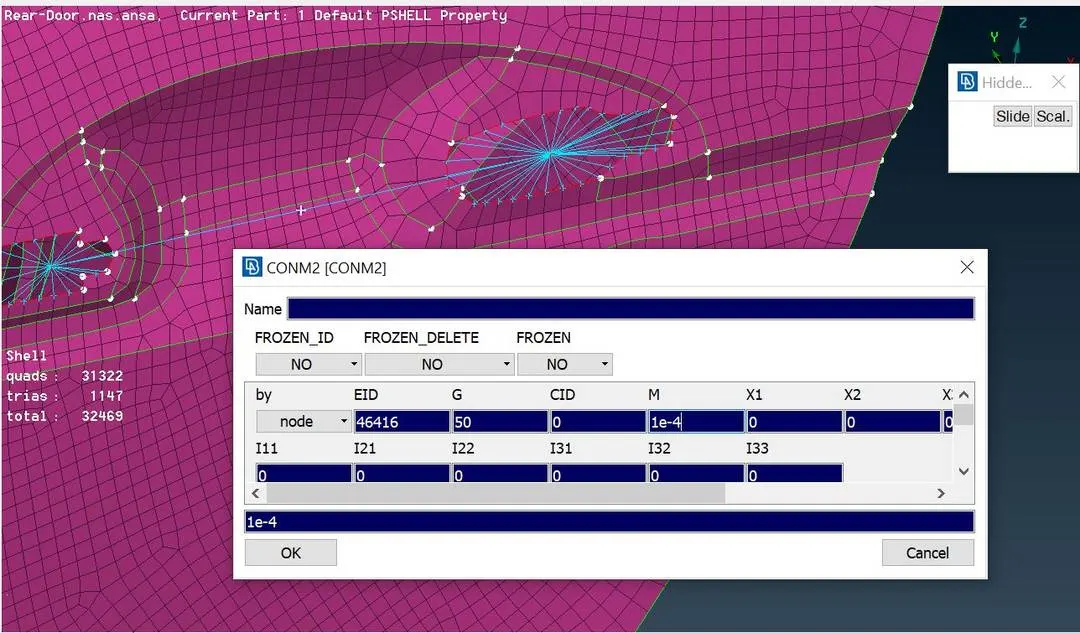
Door handle connection.
- The door handle, which needs two rigid support from two sides.
- By using the RBE2 method from the NASTRAN deck, select the nodes by using the loops method for instant selection. Don't forget the loop is not used in every area.
- After creating the slave and master nodes, input the mass at the center of the handle by using the CONM2 > node method.
- Put the mass of 100g in tonnes in the M tab.
Spotweld Connection:
- These types of connections are used in overlapped areas without any proper holes to make.
- Create a COG point at the place where the welding has to occur.
- Convert the 3D point as the spotweld point through the Convert option in the Assembly tab.
- Now create the Connection by using the connection manager in the assembly tab.
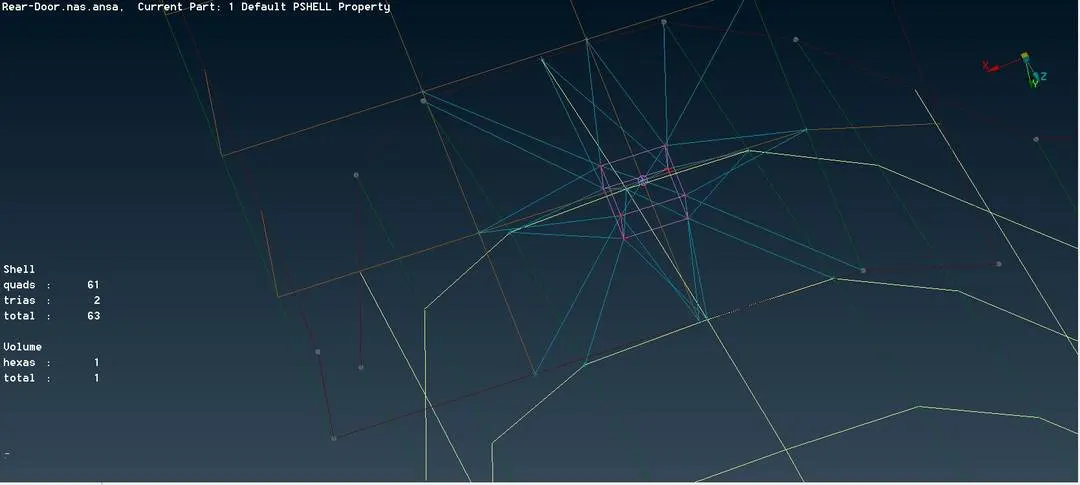
Window slider connection:
- The slider is connected to the window glass for up/down movement.
- Add the surface by using MV free in the elements tab and mesh the entity by applying 9 as the average length.
- By using the RBE2 method, add the connection between the mirror and the slider.
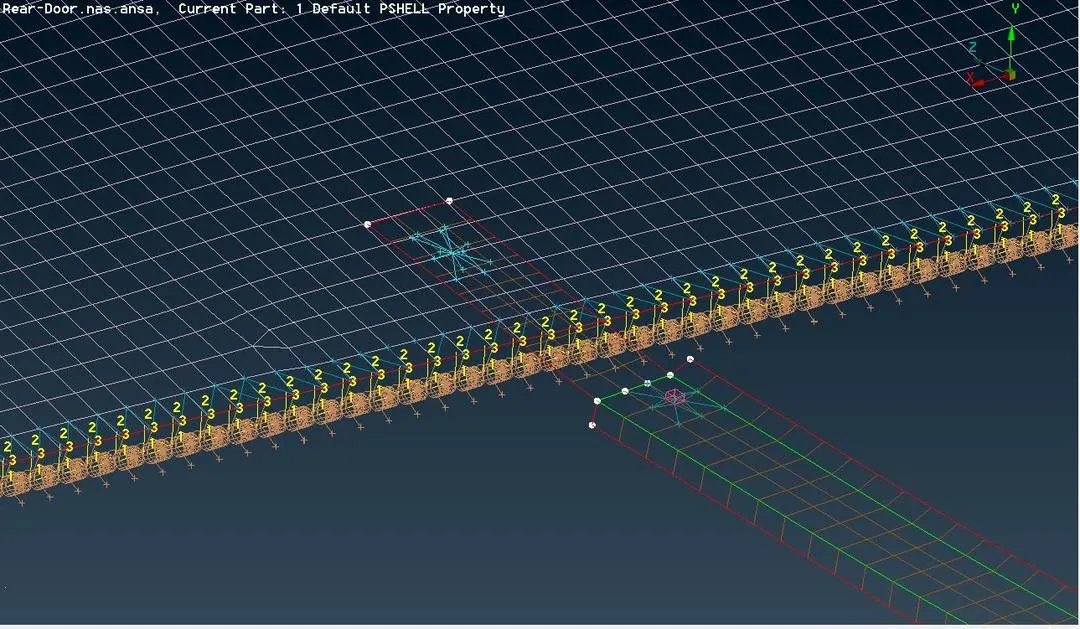
Weathershield connection:
- Create the curve by using the Feat2curve option in the element tab.
- After creating, Convert the curve into the spotline in the assembly tab.
- After converting, open the connection manager in the assembly tab, select the spot line.
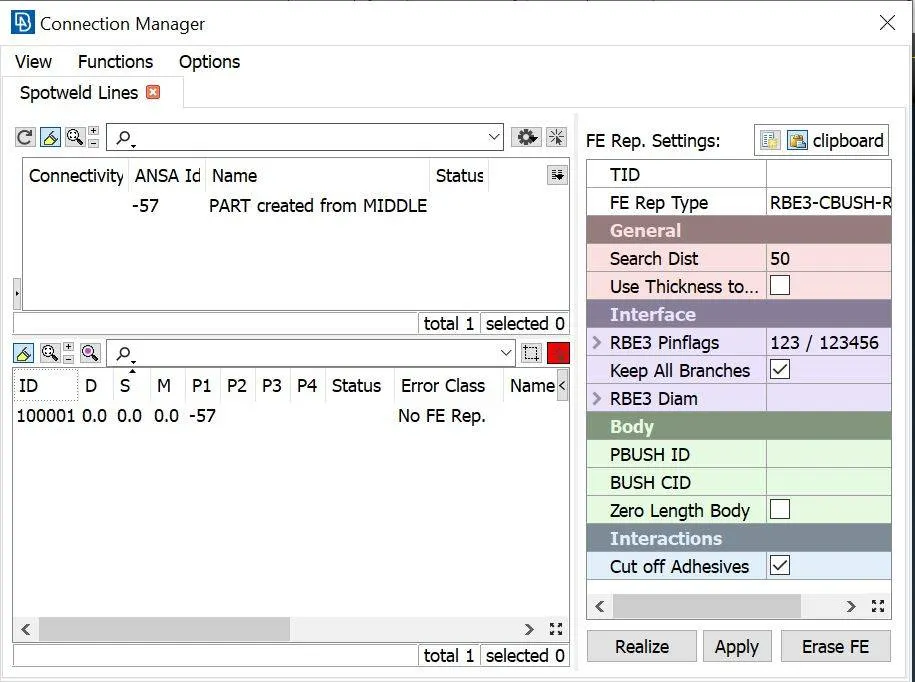
- Apply the FE Rep type into RBE3-CBUSH-RBE3 and search dist. as 50.
- As s as 10 and select P1 and P2.
- Keep all branches tick and insert PBUSH ID.
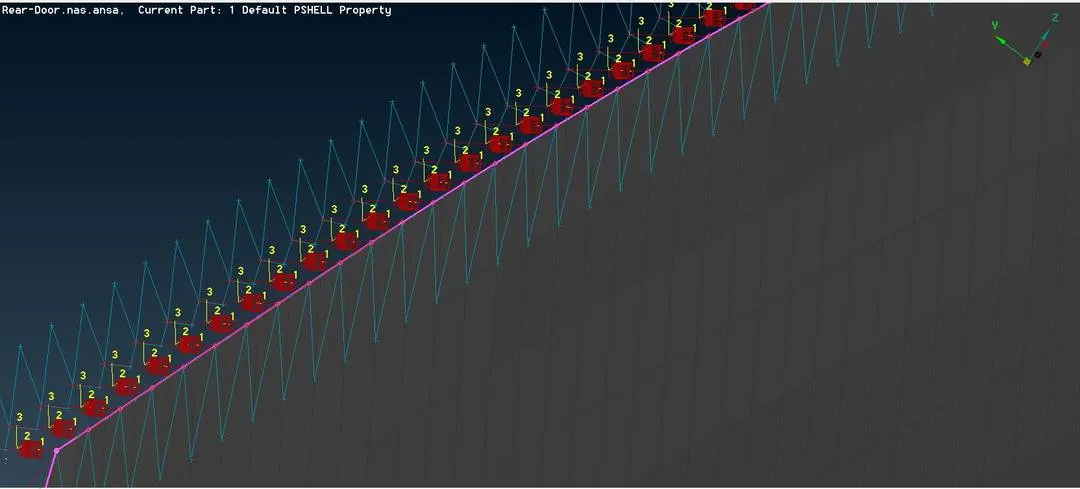
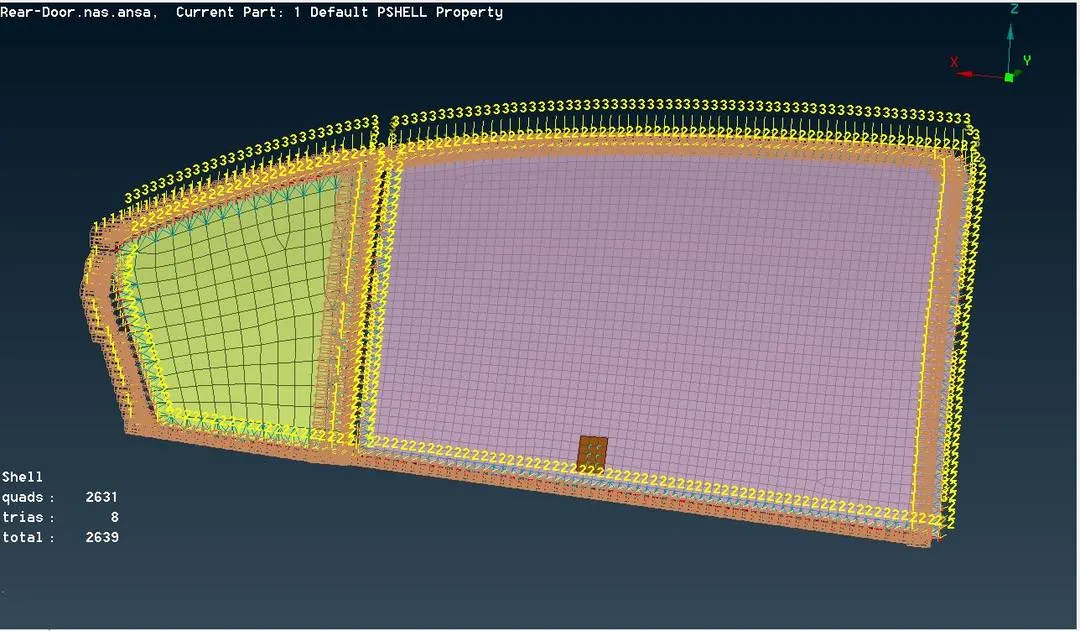
- Modify all the bushes on the same cord as zero, which makes the alignment of the bushes a neat look.
- Change, the vector into the cord as orient.
- Input CID as zero.
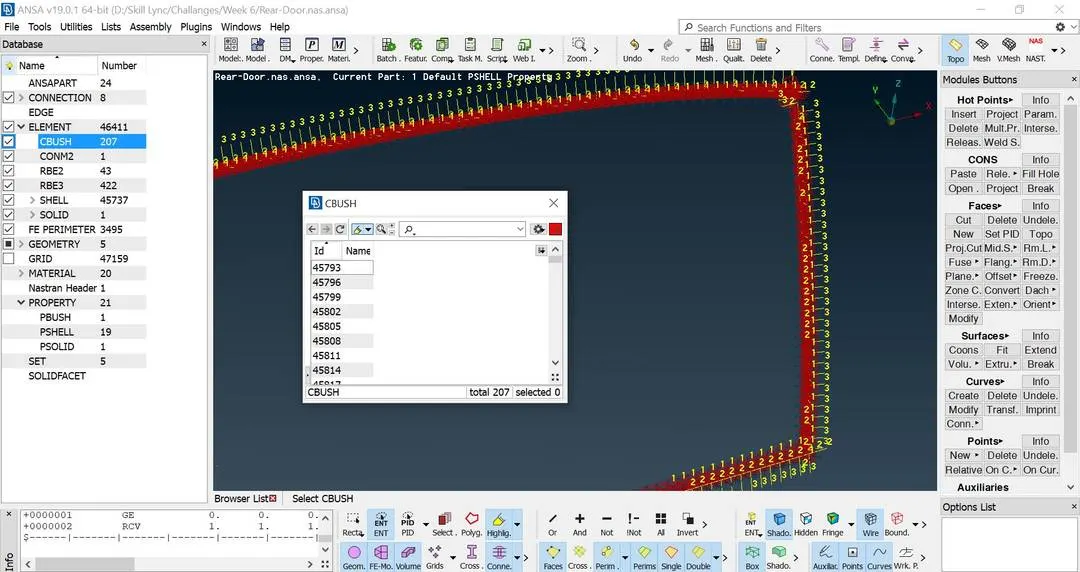
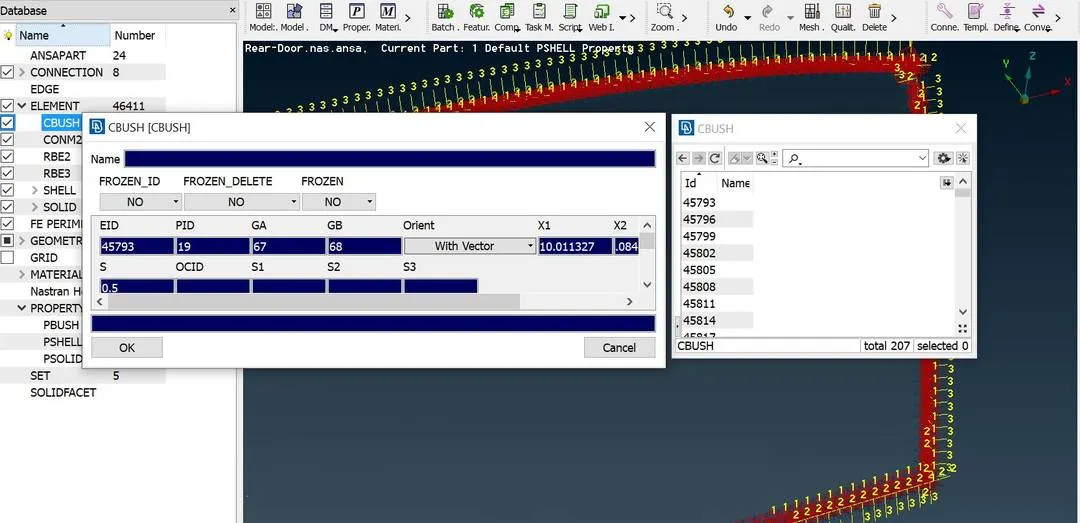
The alignment looked like the below image.
CONCLUSION:
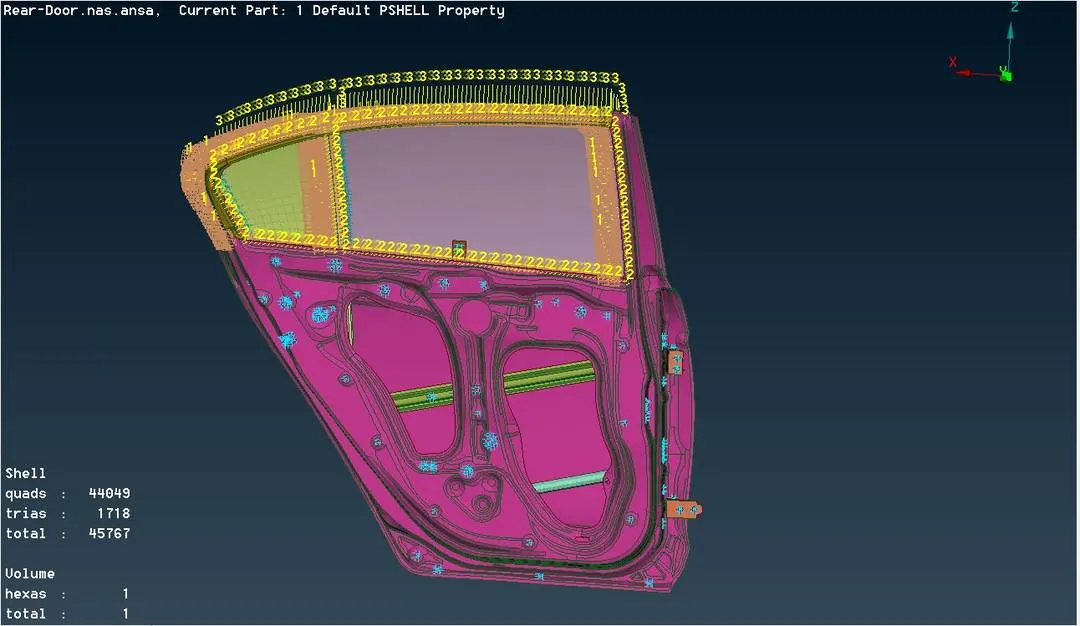
After all the connection was made as per the requirements and areas, the given Rear door looked like the below figure.
Learning Outcome:
- Learned a lot about the connection in the door.
- Learn some mechanism was present in the door and their connection type.
- Learned a lot about the Nastran Deck.
- About Hinge, Latch, weatherstrip, and the hidden details of the door.
Google Drive Link:
https://drive.google.com/file/d/1DYFQau56mRFmot6JQ1JINEAajqNfIiB6/view?usp=sharing