Week- 5 - Solid meshing
AIM: To understand solid meshing techniques in ANSA.
OBJECTIVE:
To mesh the given rear-view mirror component using volume mesh.
- Geometry clean-up
- Mesh creation
- Quality check
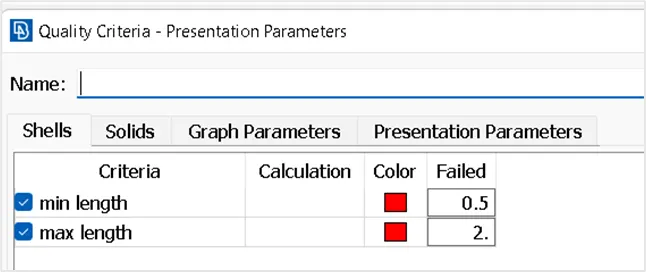
Quality criteria for 2D elements:
|
S.No |
Quality Criteria |
Value |
|
1 |
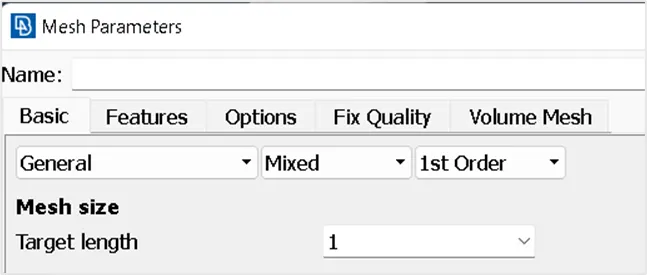
Target/Average length |
1 |
|
2 |
Minimum Length |
0.5 |
|
3 |
Maximum Length |
2 |
Quality criteria for 3D elements:
|
S.No |
Quality Criteria |
Value |
|
1 |
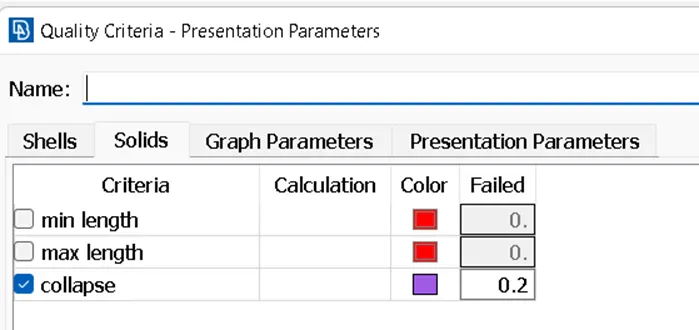
Tet collapse |
0.2 |
Description:
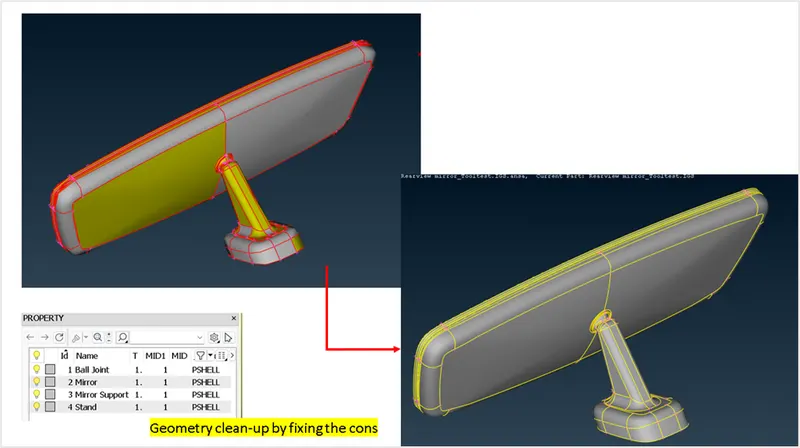
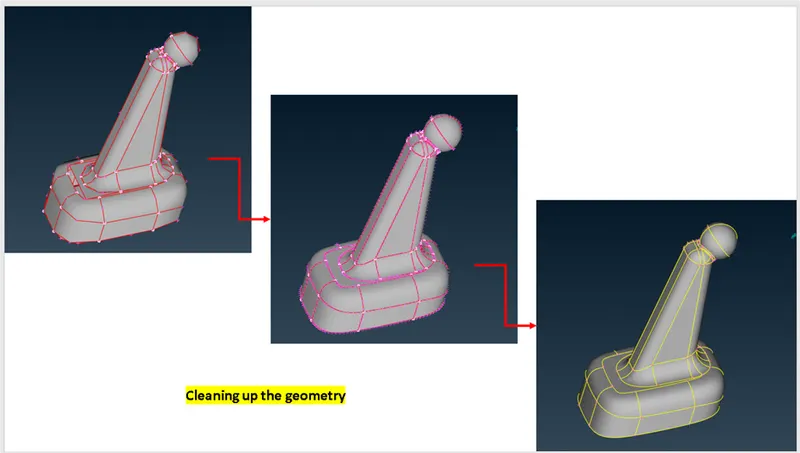
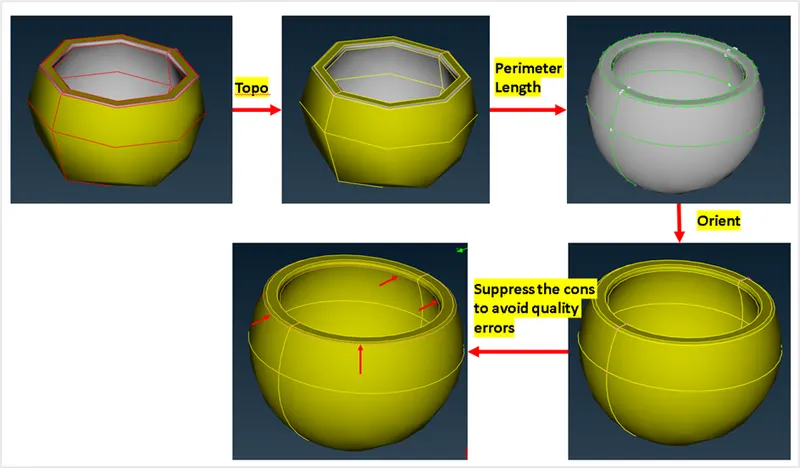
We have IGS file as an input for this project which is a rear-view mirror. First the geometry clean-up is performed using two options and we can see the result as shown in following image:
- Checks > Geometry
- Classic Topo > Faces > Topo
The nearby cons must be checked and suppressed to avoid the quality errors while meshing.
The orientation must be fixed for the sub-components by using Classic Topo > Faces > Orient.
Here are couple of components that are shown in the images for geometry clean-up.
2D Meshing:
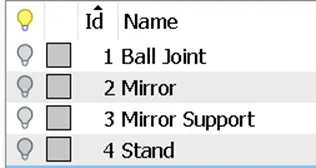
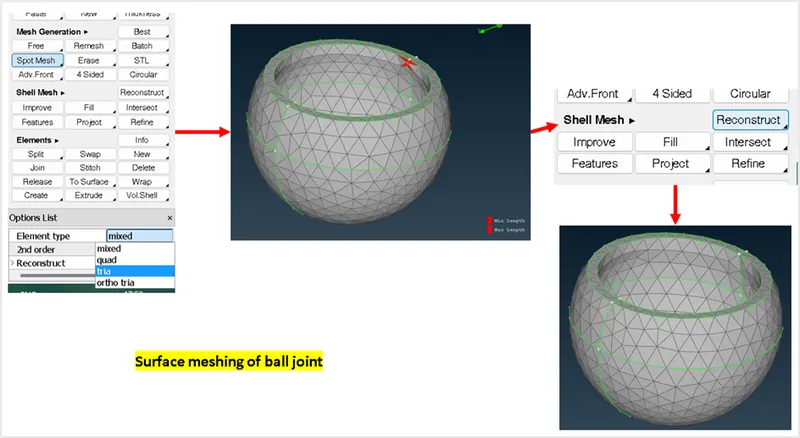
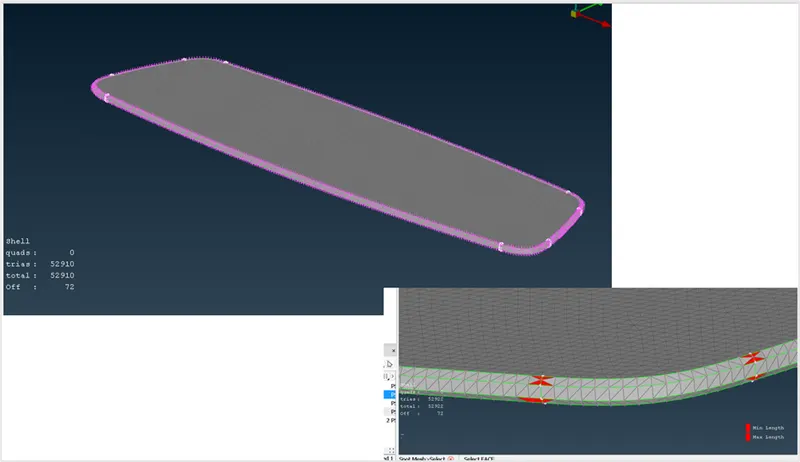
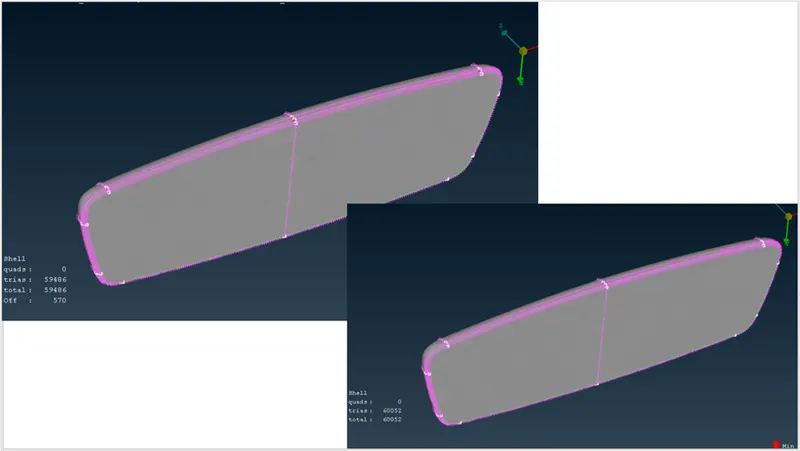
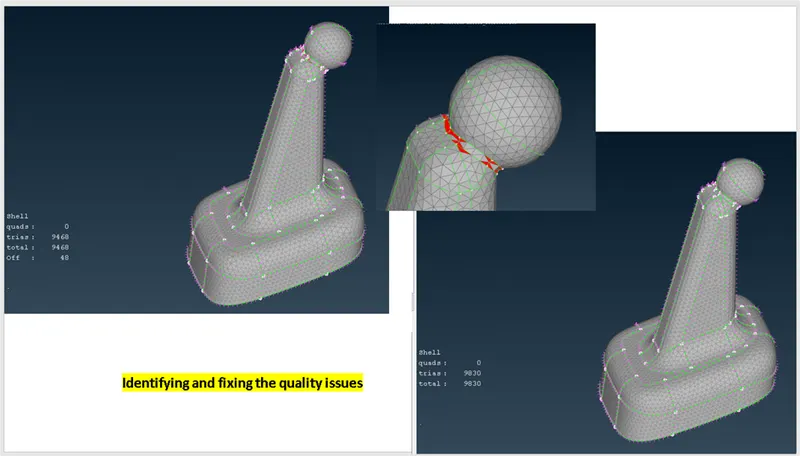
Now that the geometry clean-up and orientation is done, we can proceed for meshing the components. As we can see there are four sub-components in this model, we shall do spot-mesh one by one and fix the quality issues as shown in following images.
In this project Tria type element is used for meshing the entire component. It is recommended to go with Ortho tria type element in case of curvatures for better mesh quality.
Ensure that there are no OFF elements in the meshing.
Volume meshing:
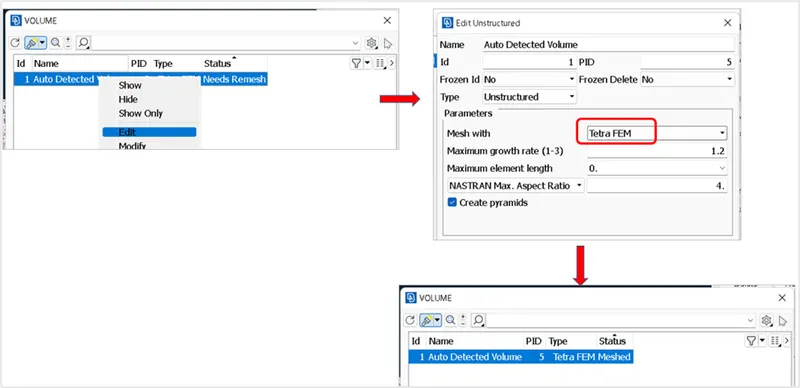
Once the 2D meshing is done, we can proceed to assigning volumes manually to each set of closed-shell elements. This can be done by using Volumes > Define > Manual and then selecting the regions that comprise a particular volume. The steps are mentioned in below images.
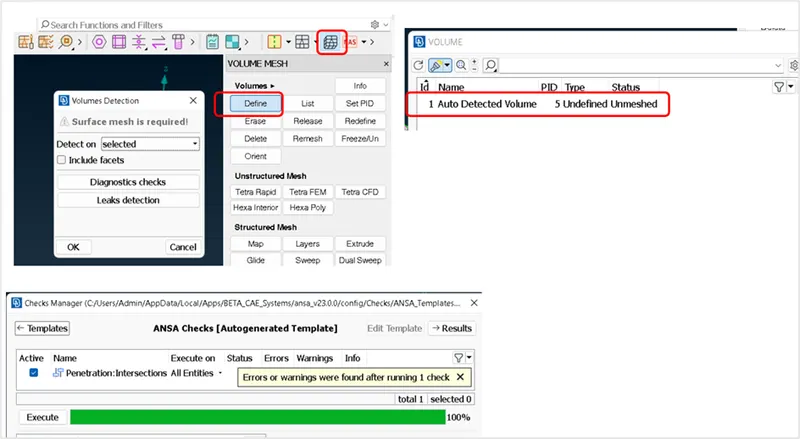
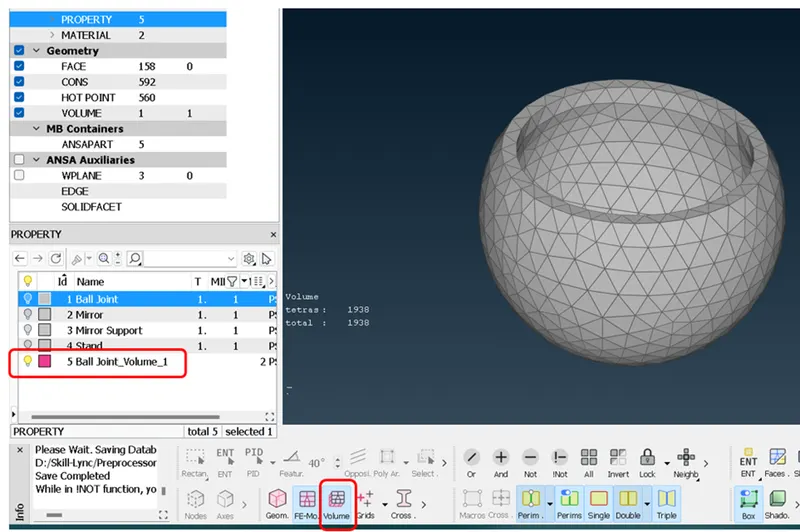
A new PID shall be generated under the property section which contains the volume metric mesh. This mesh can also be highlighted or de-highlighted by using the Volume option in the bottom taskbar.
Similarly, the volume mesh is created for other components as well.
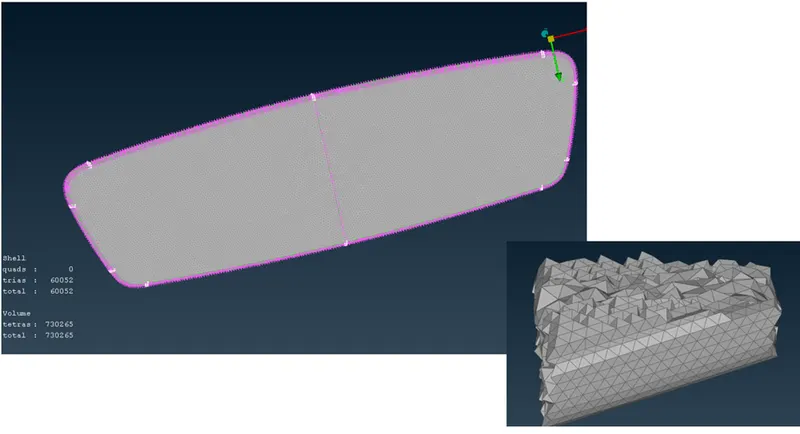
In 3D meshing, make sure the tetra element is not failing for Collapse criteria. If in case, it is failing for that criterion, we can use Volume mesh> Improve>Fix quality or Volume mesh> Improve>Move options to fix the quality. By using move option, we can tweak the nodes as per the requirement and re-mesh it to avoid any kinks or protrusions in the 3D mesh.
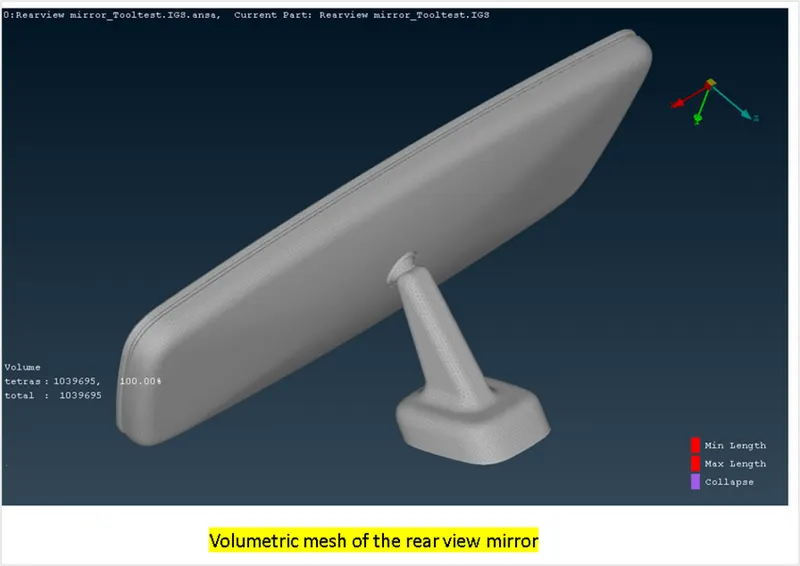
Finally, all the components are switched on to see the mesh elements in the component. As mentioned in the beginning, ortho tria can also be used in this component to get a better mesh quality/flow.
Learnings:
- Familiarized with solid meshing tools.
- Fixing collapse failures.
- Familiarized with the ortho tria and tria mesh types and understood its application.
Conclusion:
Thus, the 3D(Volume) meshing of a rear-view mirror is performed and the quality issues of the mesh elements were fixed.
Refer to the attached model here for more clarity.
References:
https://skill-lync.com/knowledgebase/how-to-solve-tet-collapse-in-tetra-unstructured-mesh