Week- 5 - Solid meshing
AIM
- To do a pre-processing on a given Rearview mirror component model and to perform solid meshing on the model using ANSA.
OBJECTIVE:
- To check the geometrical error on the Rearview mirror model.
- To generate 2D mesh on the components based on the quality criteria given.
- To generate volume mesh on the component using tetra elements.
PROCEDURE:
IMPORTING THE CAD MODEL:
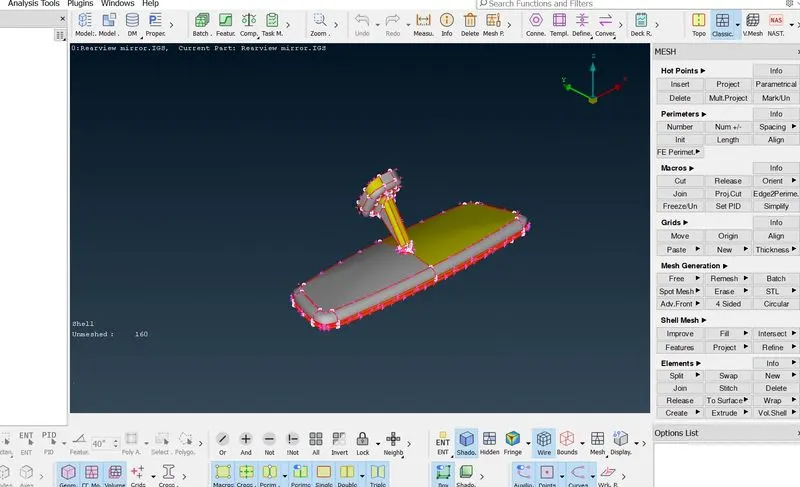
- The CAD model is imported into the workspace by using file > open and select the CAD model.
- The model will be imported into the workspace.
- In ANSA we can import all types of CAD software file formats.
CONS RESOLUTION
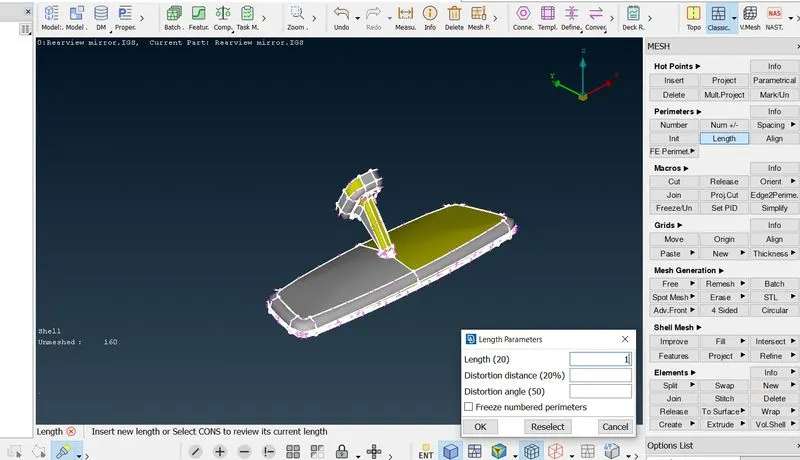
- Cons resolution has to be done in order to ensure the equal distance between the cons.
- This is done by going into the classic mesh module- permimeters-lenghth and then input the lengths 1.(in this case)
- Topo is done later from topo module> faces> topo. select the entire model and give the centre mouse click.
2D MESHING:
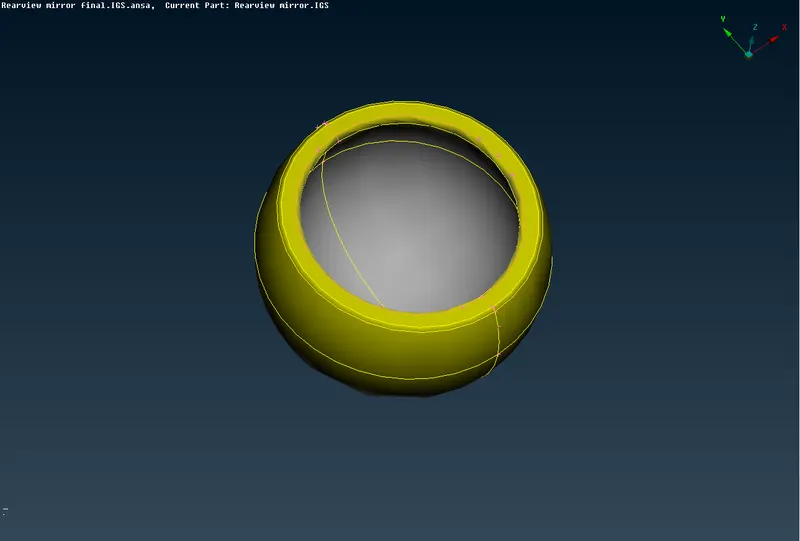
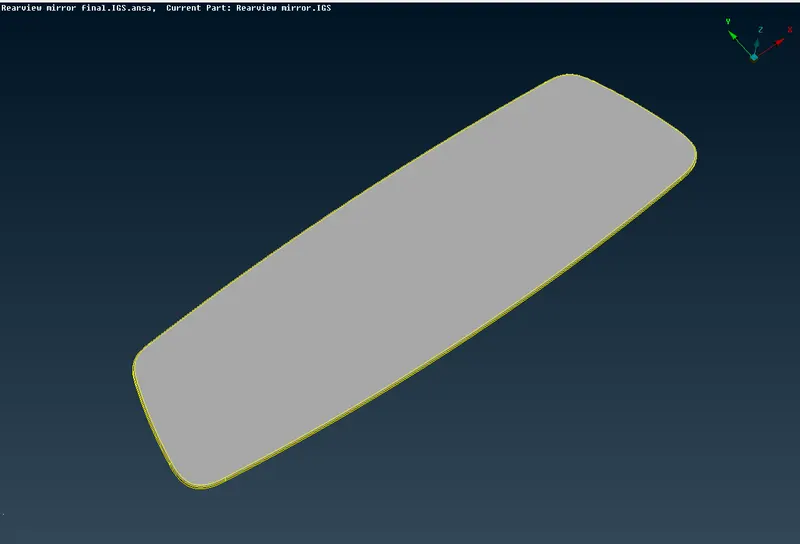
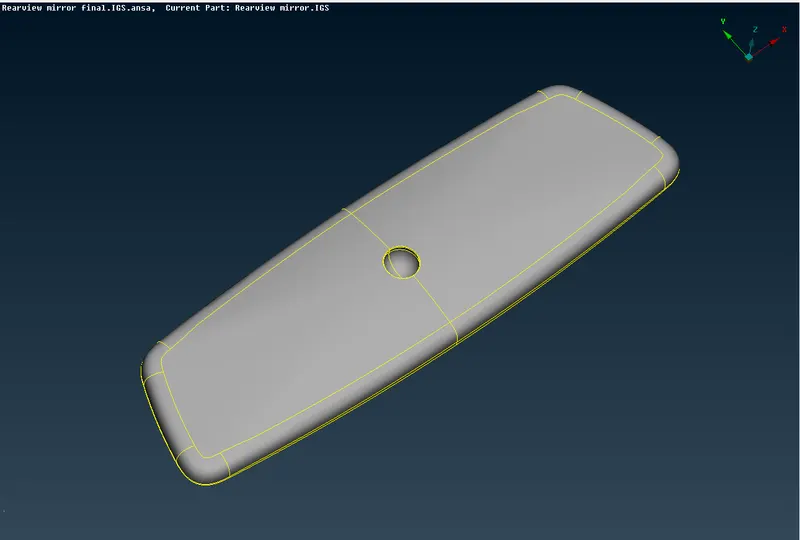
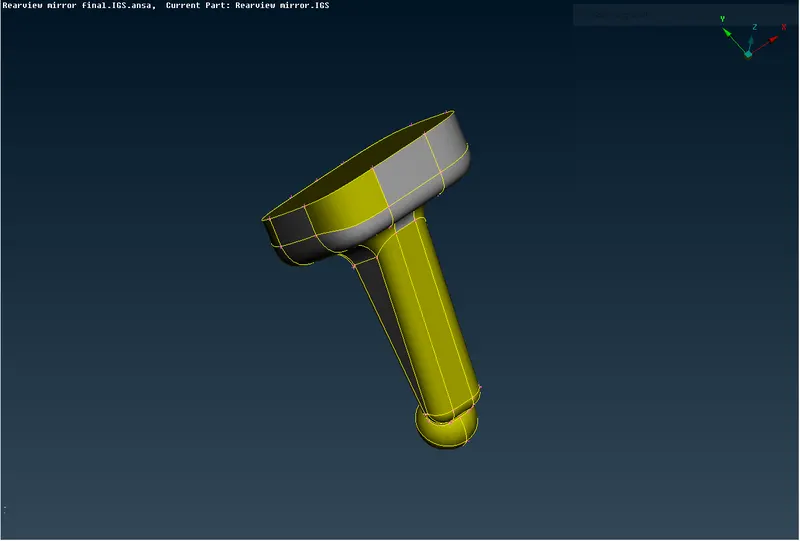
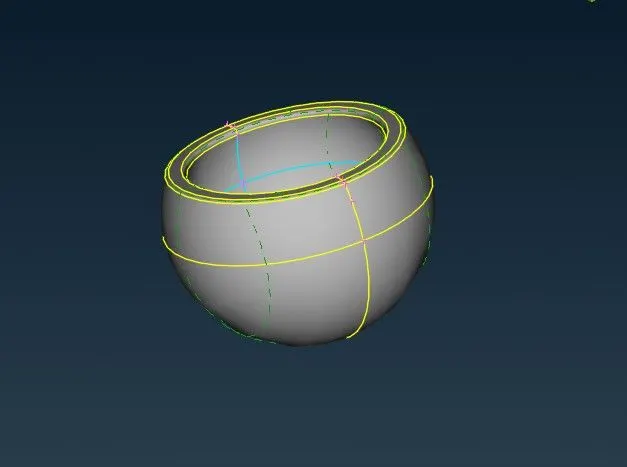
- First, the model is split into 4 components based on the property each with different property id. The four different components are shown below.
Quality Criteria.
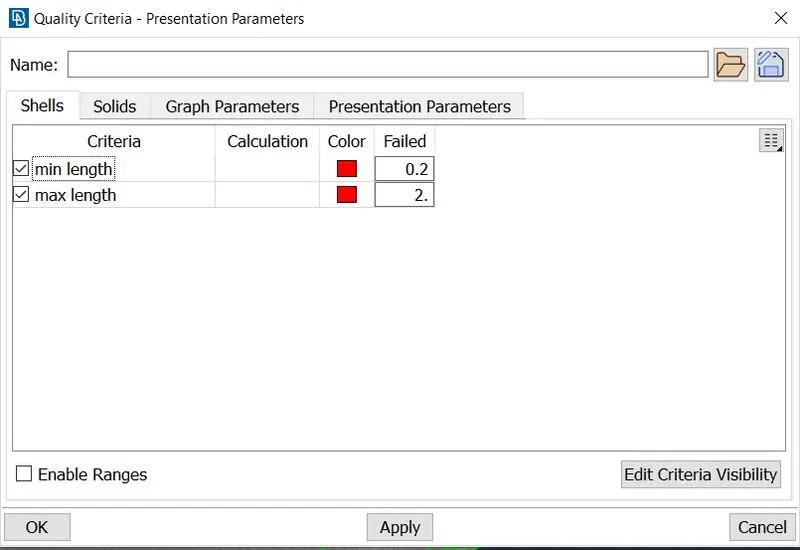
- Go to quality criteria (shells option)and input the criteria mentioned in the question.; i.e min length= 0.5 , max length=2.
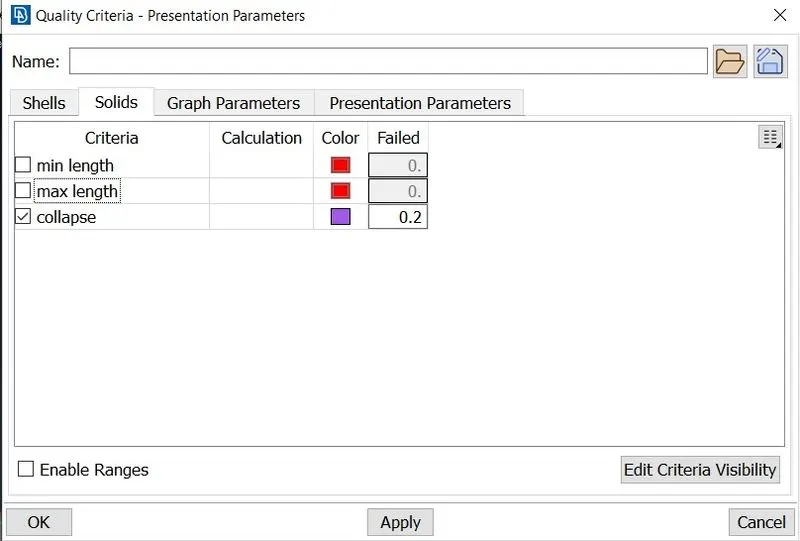
- then go to solids option and select collapse option and enter the value 0.2.
- apply and close.
MESH parameters
- after selecting the mesh parameters option from the tool bar - change the target length to 1 and min length to 0.5.
- change the type of mesh required to _ tria.
BASIC STEPS Followed:
- After cons reolution for the entire model, each and every different part is seperately taken.
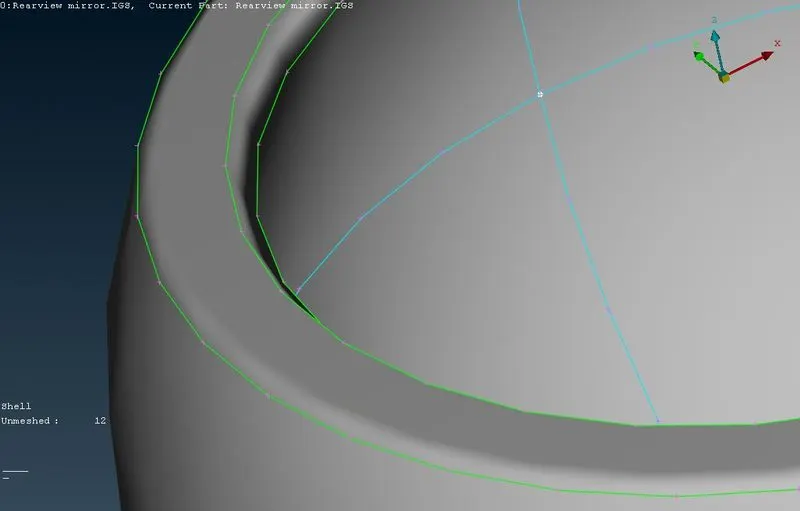
- As a first process after the selection of one of the individual part- Topo is given to eliminate all single cons. topo module>faces>topo
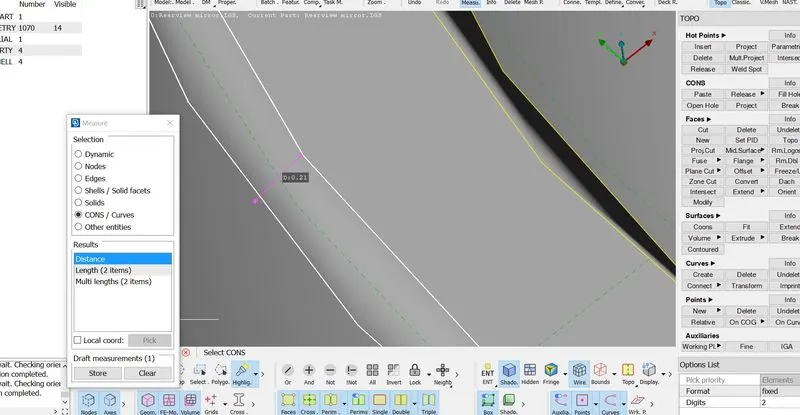
- The parts are measured for the distance between the cons using the measure tool.
- if the distance between the two cons is less than the given minimum length(in the question) the cut tool from classic mesh module> macros>cut is used to remove on of the cons, resulting in the surface becoming clearer and the min length being achieved.
PROCEDURE used for meshing
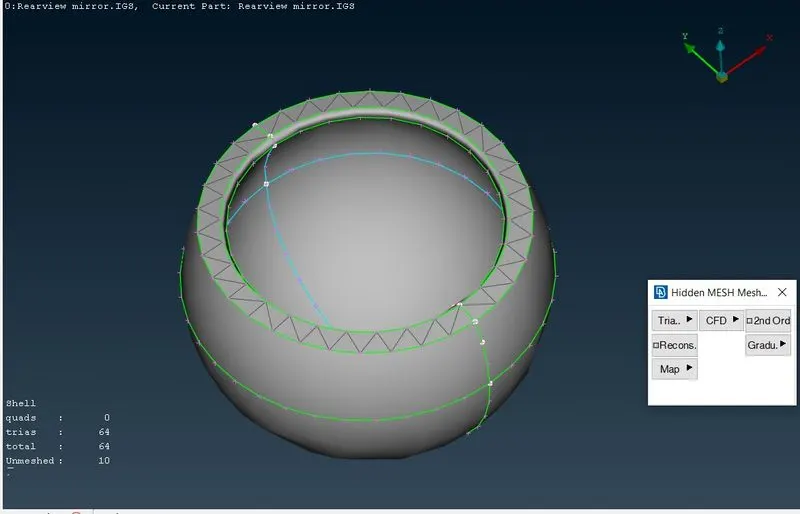
- The meshing is done using mesh generation > best mesh tool. This tool generates the mesh using the element type given.
- The curved faces are given the mesh element type as ortho tria and the flat surfaces are given the mesh element type as tria.
- If any erroes are shown(in red) with respect to the min or max length on any surface- this can be be rectified using > shell mesh> reconstruct or smooth option.
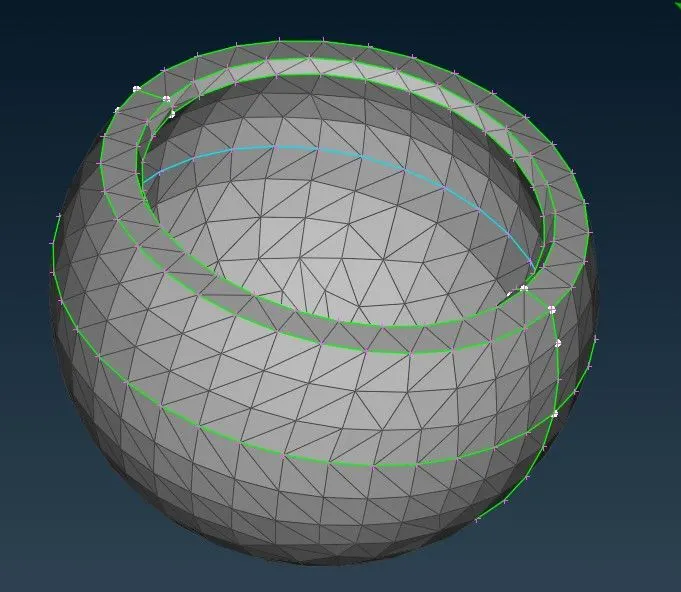
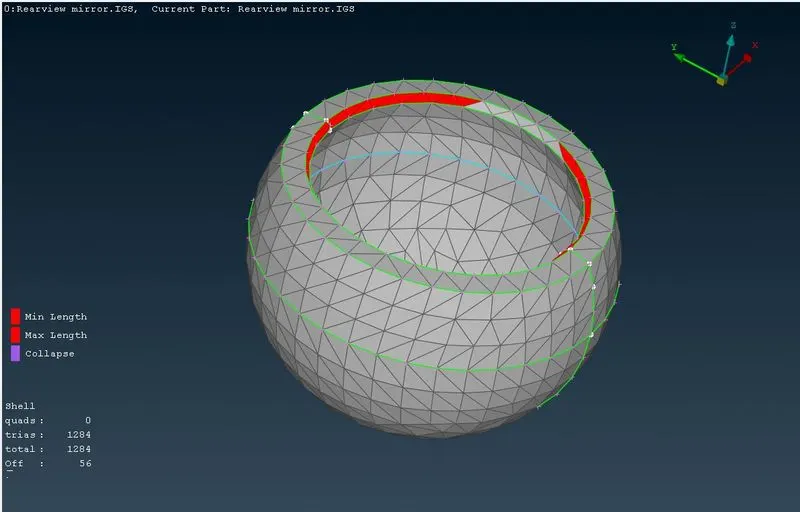
- The errors in red are cleared using the classic mesh module> shell mesh > reconstruct or smooth command.
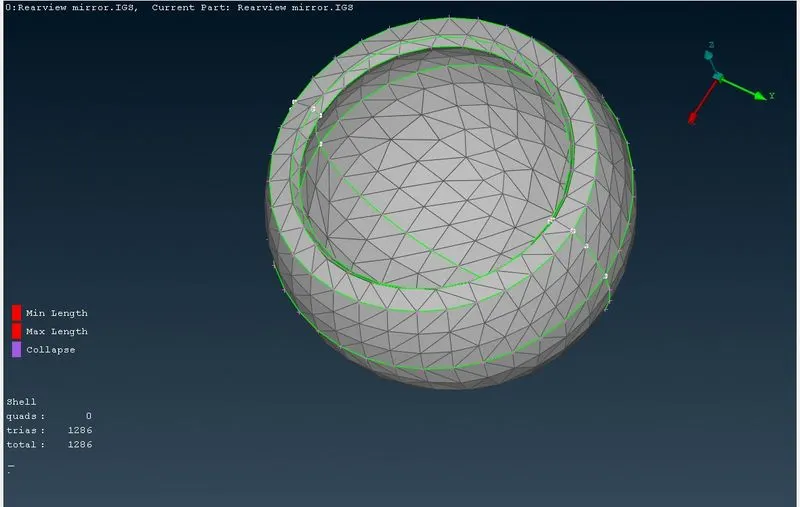
Volume addition process:
- After meshing and making the surface free of errors- go to checks> penetration > intersectiona and click execute.
- After this process go to V.mesh odule> volume> define and select in the drop down select visible.
- Afer that go to unstcuctured mesh>Tetra rapid and select the entire modela nd click centre mouse. Volume is defined.
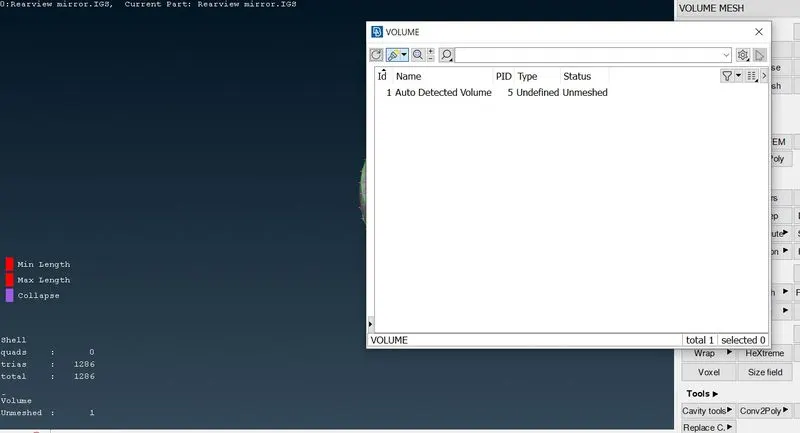
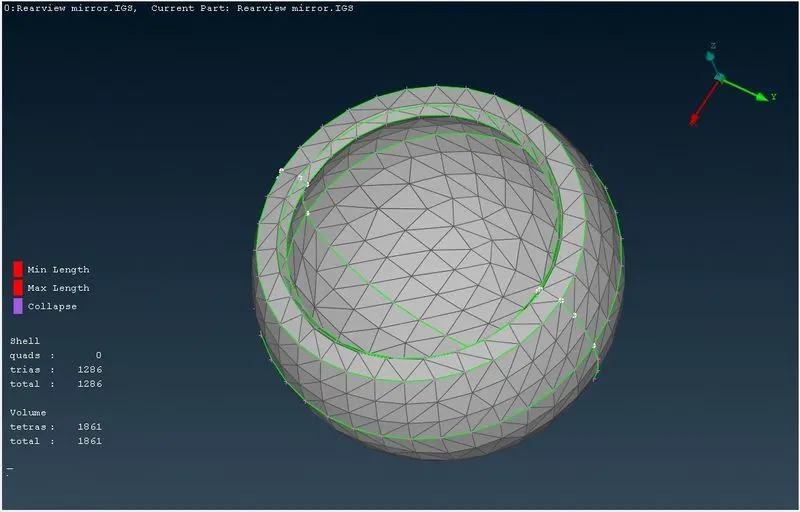
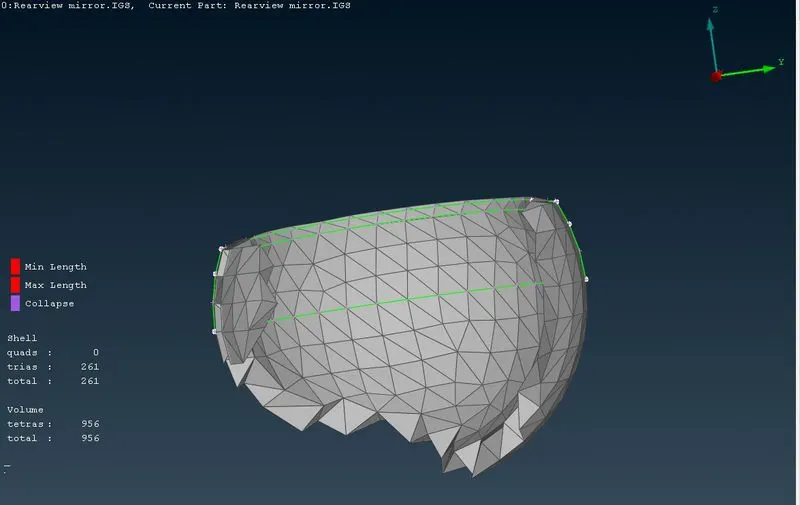
Similar process is followed for all the remaining 3 components. (photos attached).
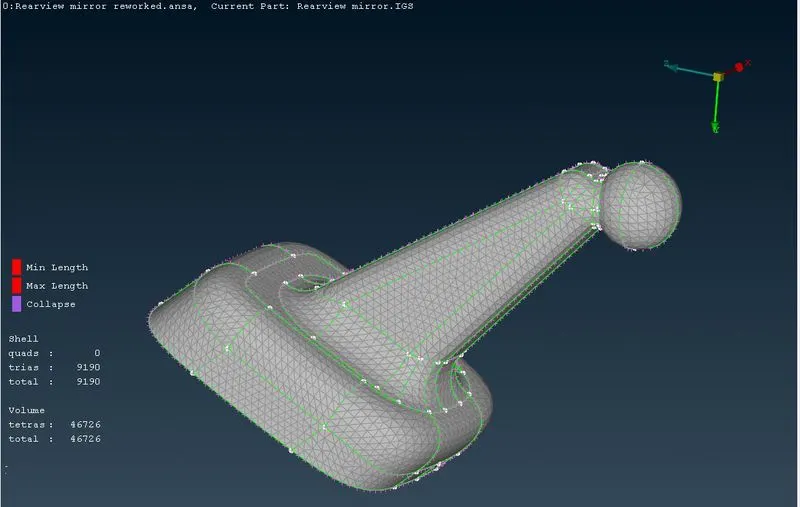
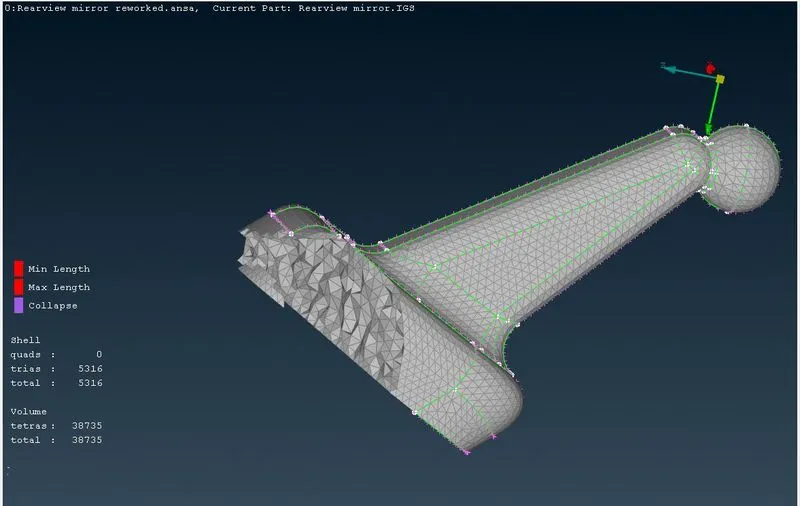
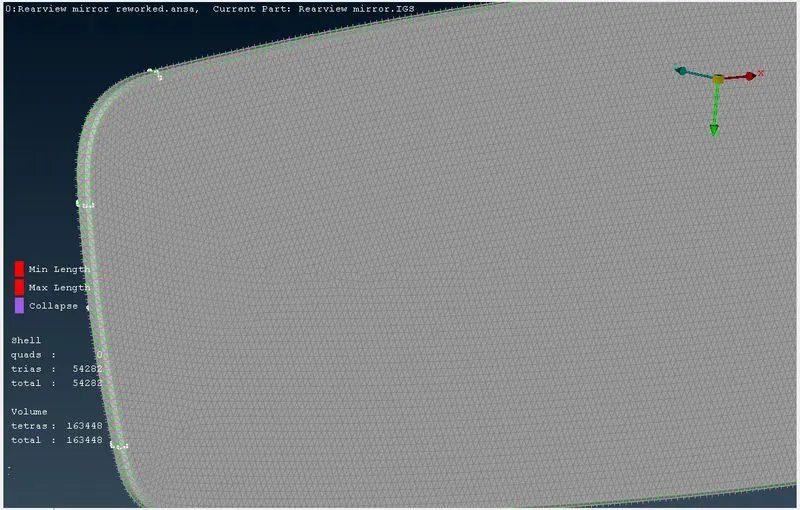
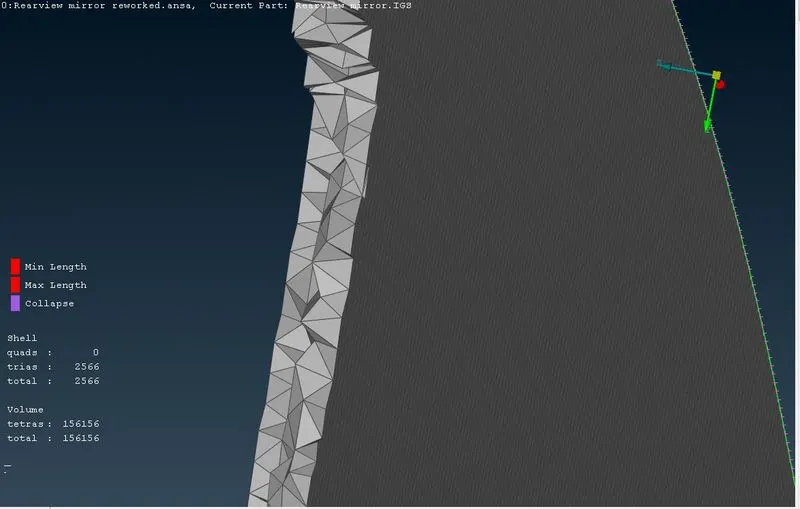
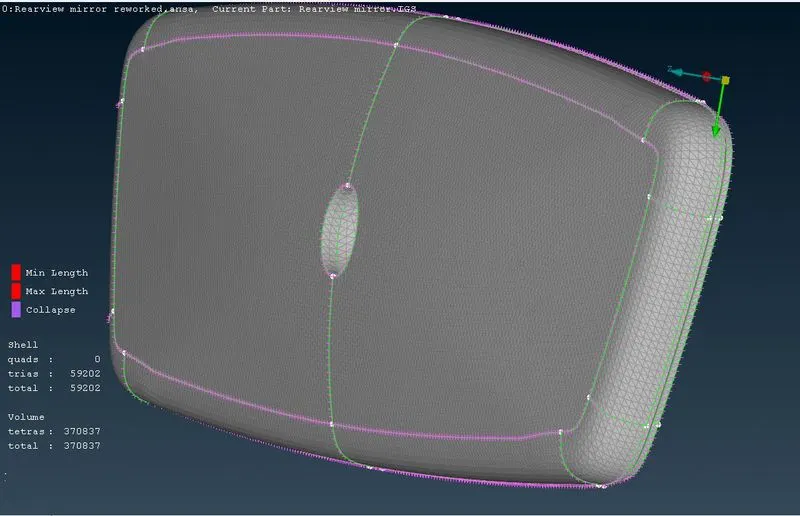
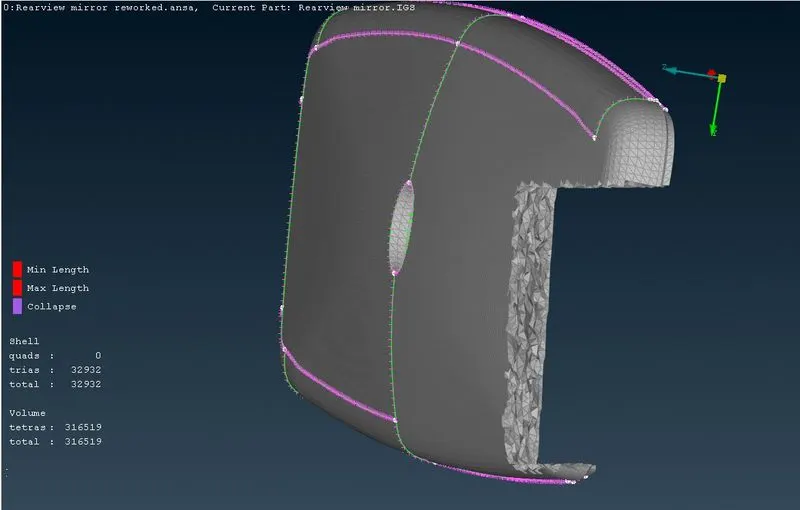
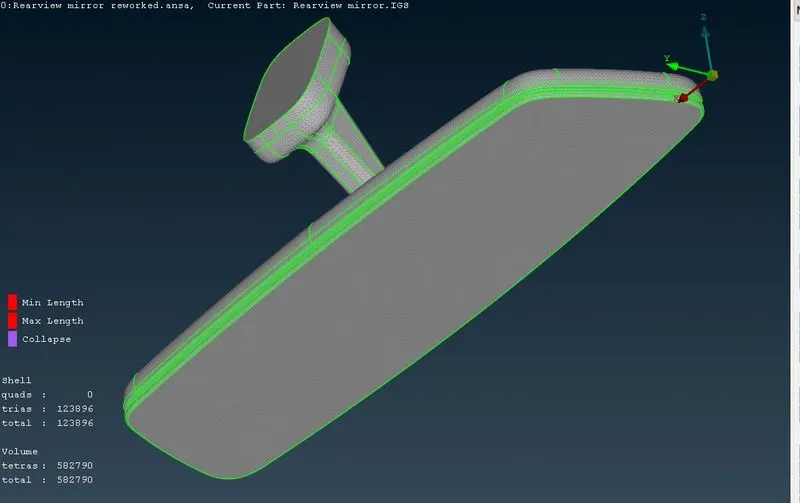
FINAL COMPLETED MODEL
LEARNING OUTCOMES:
- Learned how to mesh the given component using tria and ortho tria elements.
- Learned how to define the volume and apply volume meshing.
CONCLUSION:
Geometry cleanup, 2D meshing and volume meshing of the given Rearview mirror model were successfully done.