Week- 5 - Solid meshing
REPORT
Aim: -
- The main aim of this challenge is to check for the geometrical errors and mesh the surfaces with the given 2D element quality criteria.
- Also, to use tetra elements to mesh the volumes defined in the model and check for the tet collapse quality after volume meshing.
Procedure: -
- The rear-view mirror model was imported/opened in ANSA.
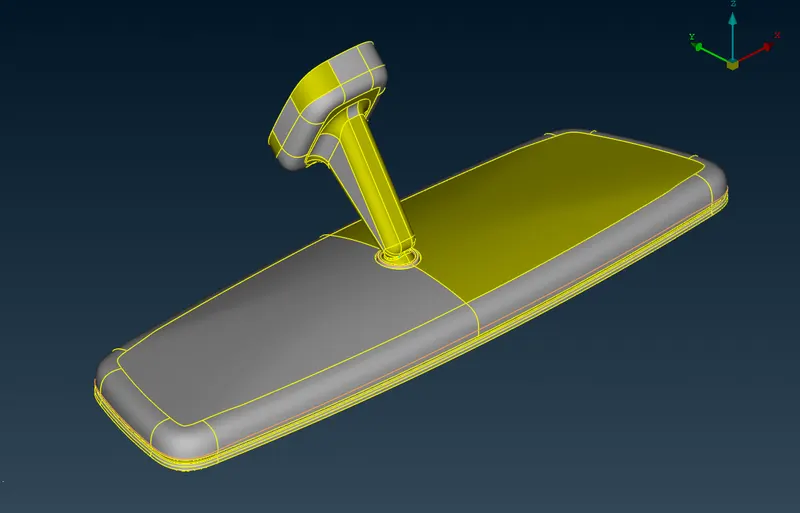
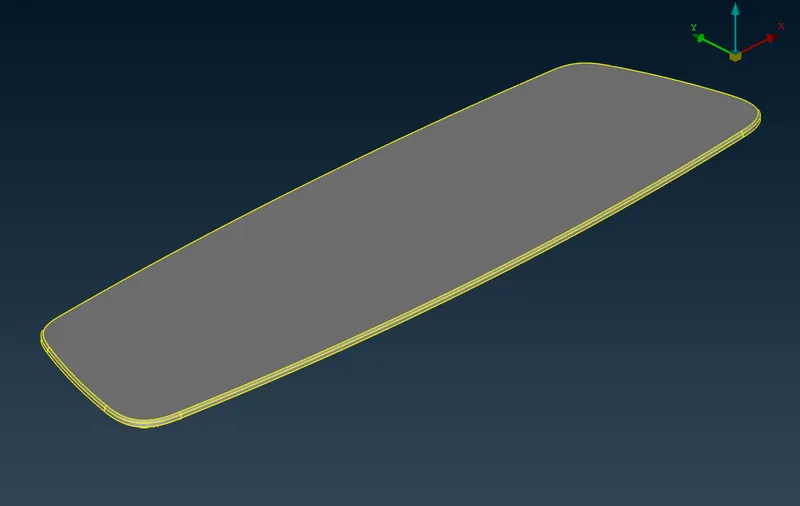
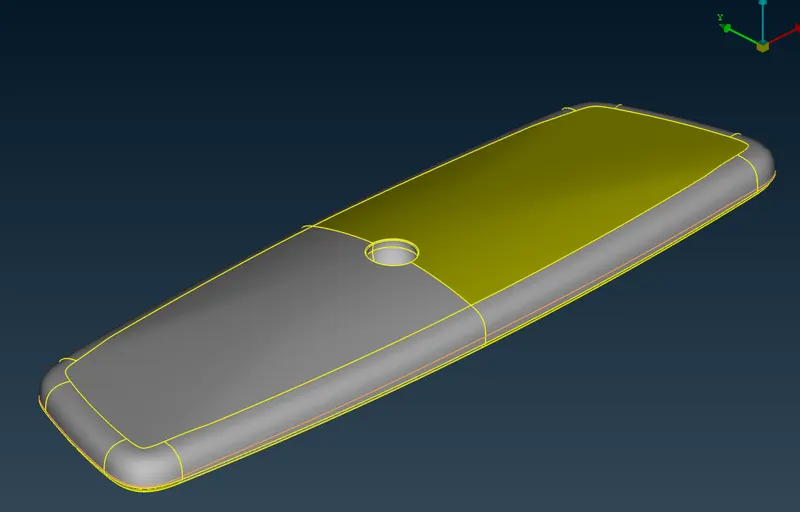
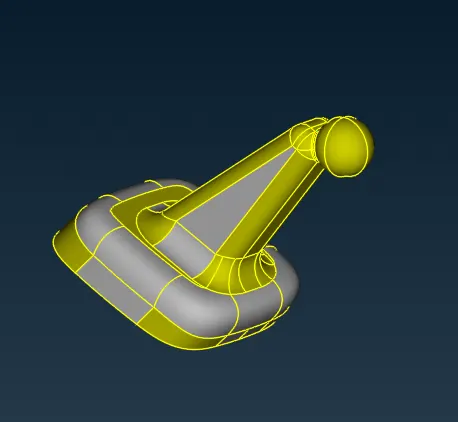
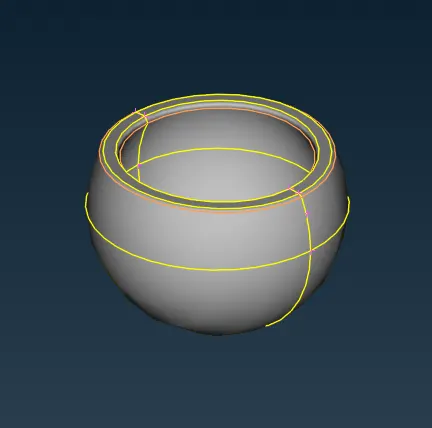
2. The first step after importing is to apply cons resolution.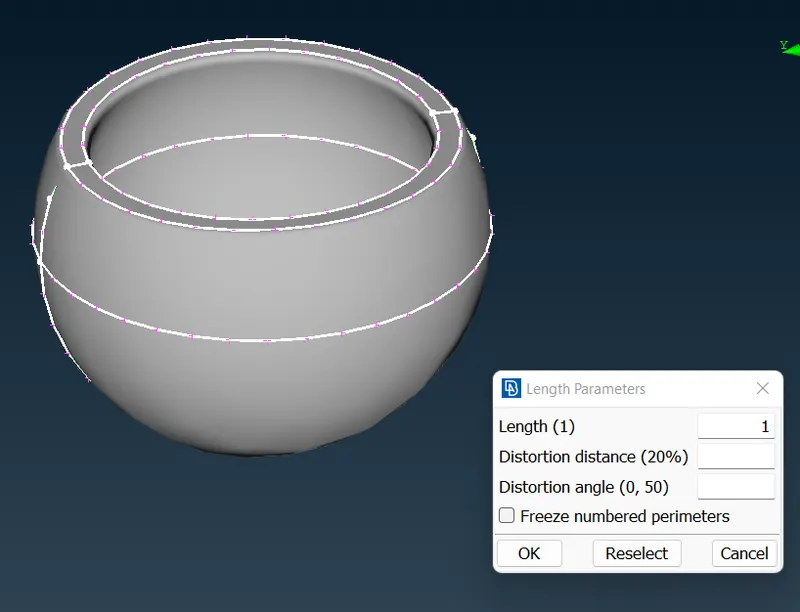
Applying Cons Resolution
- Then it is followed by the cons check-up
- Then we proceed with the single cons, which is done by hiding the single and double cons.

Single con check-up
- Then we have to check for the orientation.
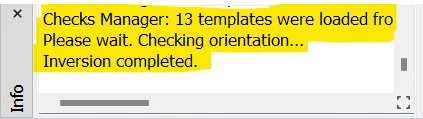
Checks Manager for orient
- After that we can proceed to the geometry check-up which is done by check manager >geometry >check single cons and other parameters >execute
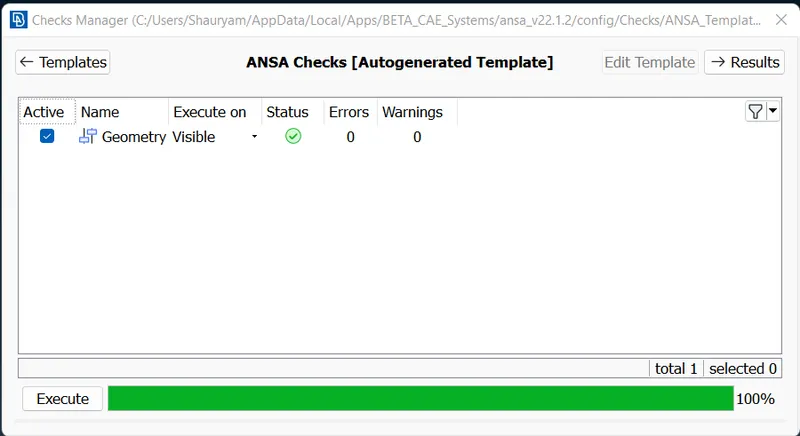
Geometry check-up using checks Manager
- If there are errors, they are rectified there only by right click on the error and fix.
- Before starting meshing, we observe if there are any points or any close feature lines which might result in element failure and if so we suppress any one of the lines to avoid element failure.
- To begin with 2D meshing, the first step is to go to Perimeter> Length> enter the target element length which is 1mm.
Mesh Cons Setup
- Then we set up the Mesh parameter which has been given
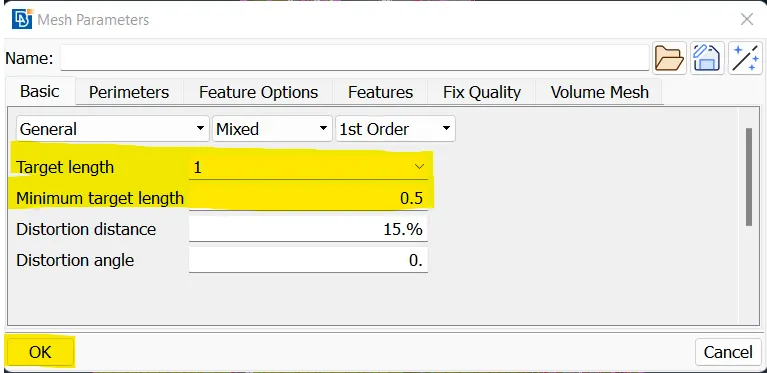
Mesh Parameters Setup
- Then we set up the quality criteria which has been given
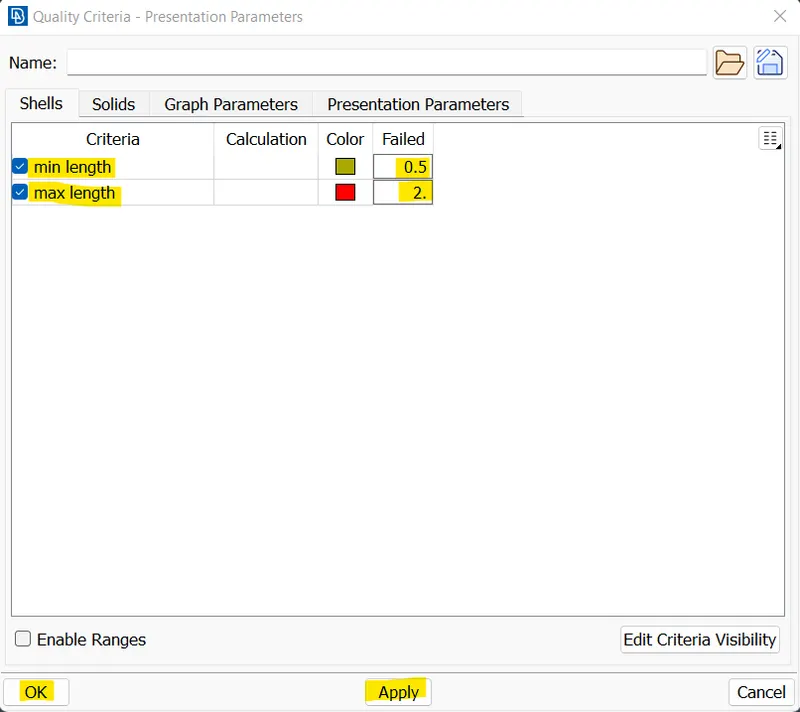
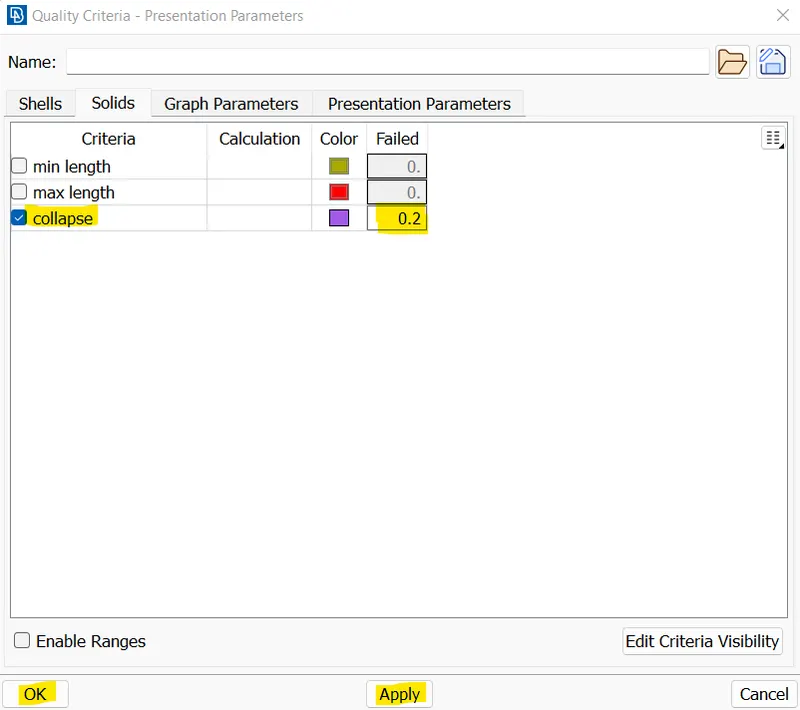
Quality Criteria Setup
While setting up the quality criteria, in the “shells” section we enter only the max. length and the minimum length as 0.5 and 2 respectively, while in the “Solids” section we enter the tet collapse value as 0.2.
- Then we begin with meshing under - mesh module>mesh generation>best
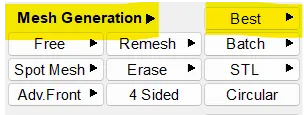
Mesh Generation
- While meshing, all the surfaces which are flat in nature are meshed with tria elements whereas the surfaces which are curved in nature are meshed with ortho tria elements.
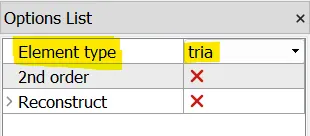
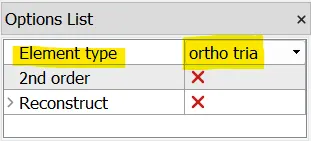
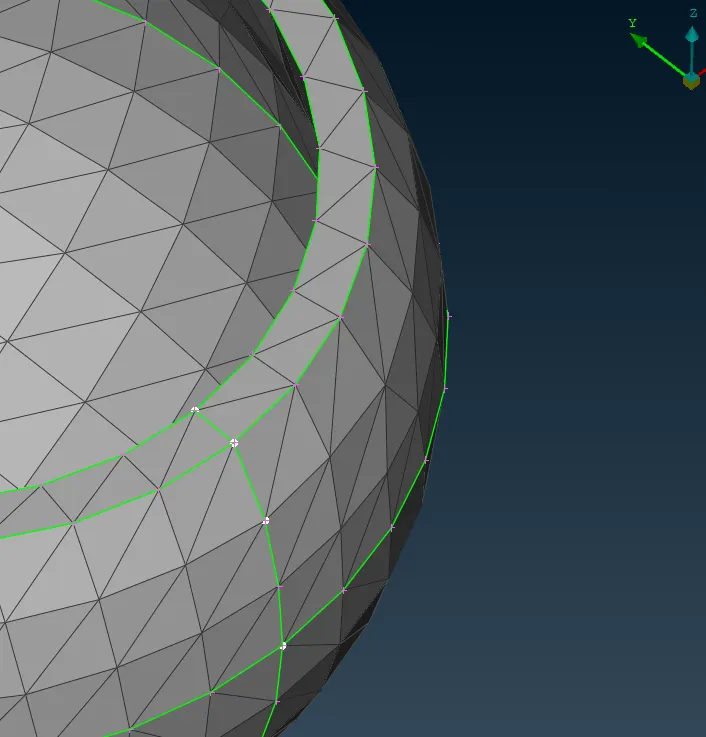
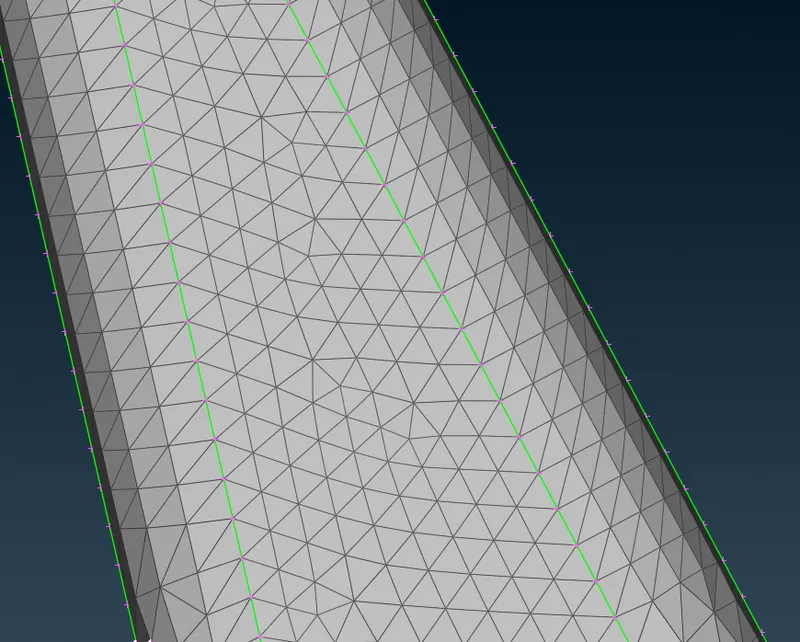
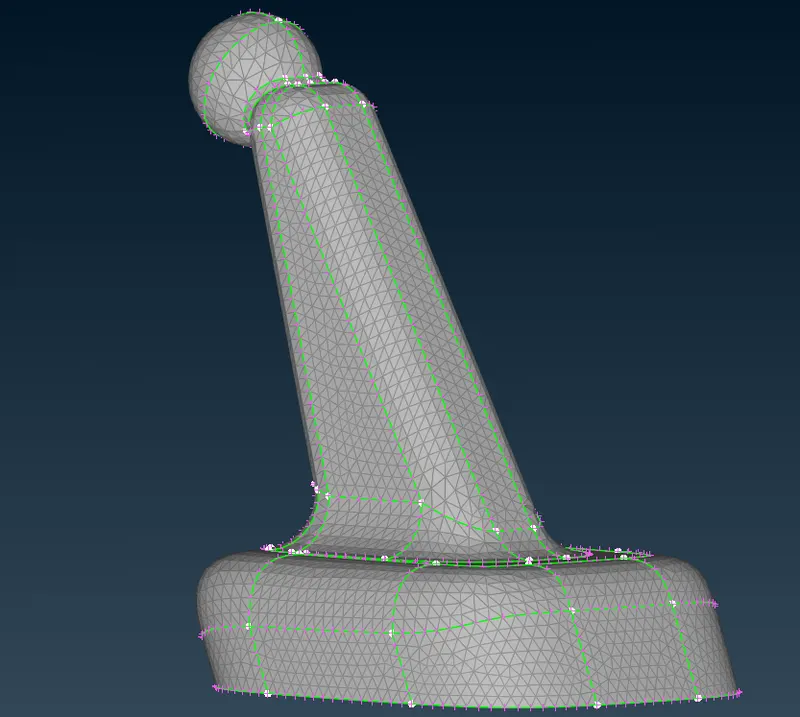
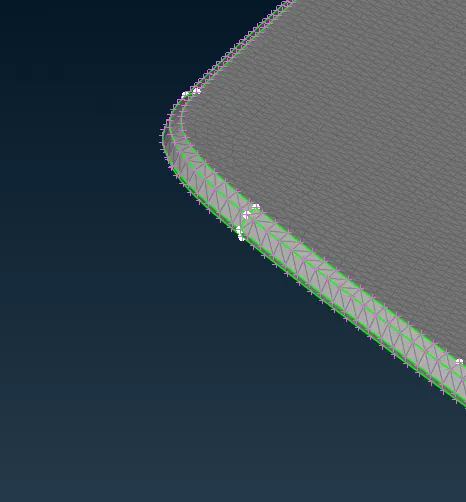
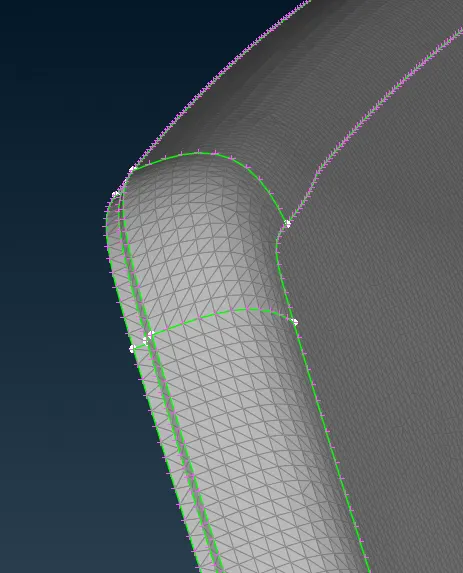
Meshed with tria and ortho tria elements
14.If the mesh generated is not proper, we reconstruct is using the - shell mesh>reconstruct . Then it is followed by smooth. 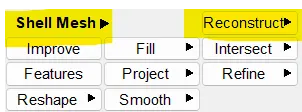
Mesh Reconstruct
- After meshing we switch to volume mesh where we define the previously created surface mesh.
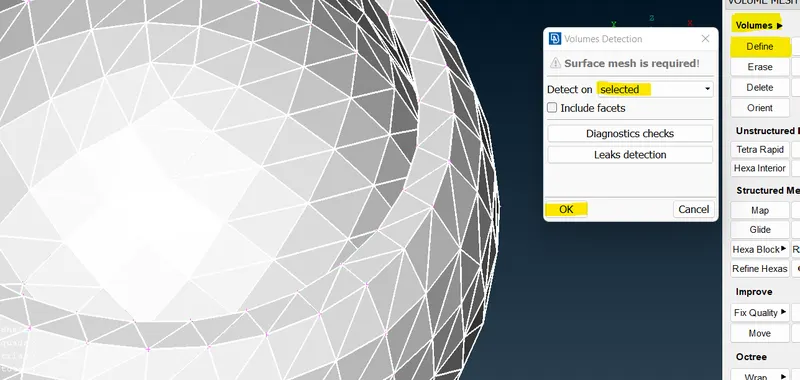
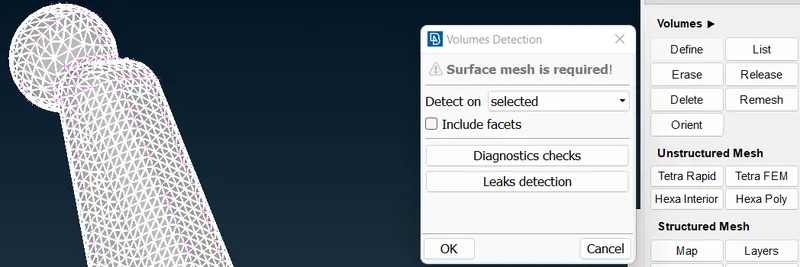
Volume Meshing- Selecting Surface Mesh
16. After this step we open the ‘List’ options under volume mesh which opens up the volume window and under the status section we can see the volume as “unmeshed”.
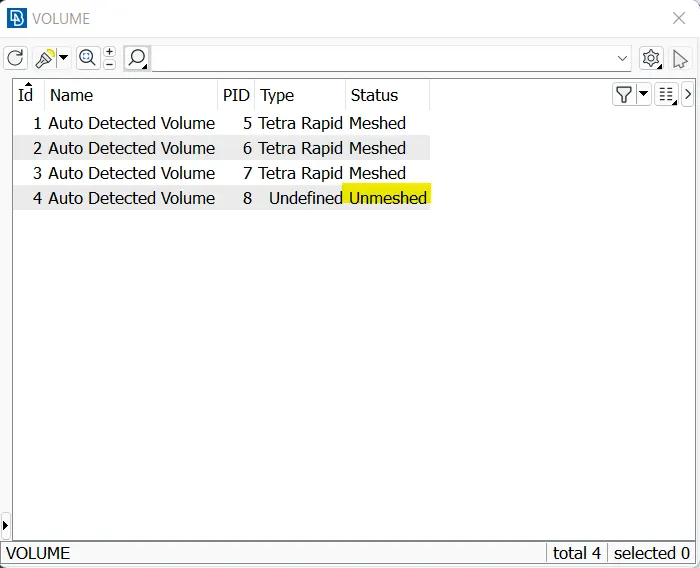
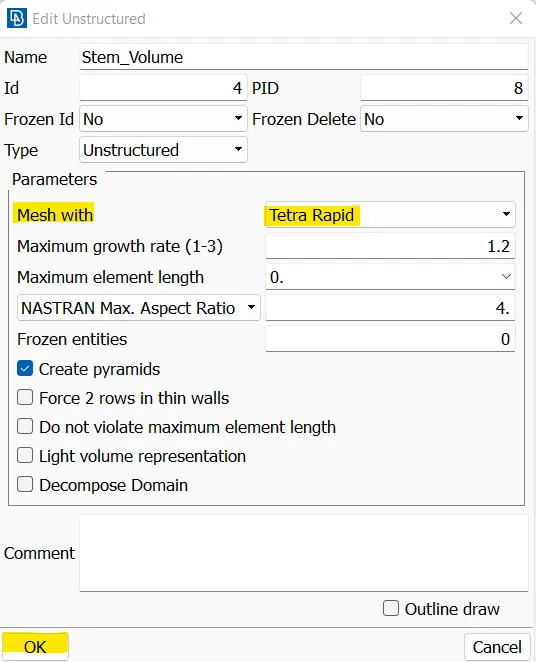
17.Now, we right click on that particular property and open ‘edit’. Under edit option we selected the Parameters > Mesh type as Tetra Rapid and click OK.
18. Now, we go back again to that property and right click and select the “remesh” option which remeshes the entire volume as tetra elements and the status changes to “meshed”.
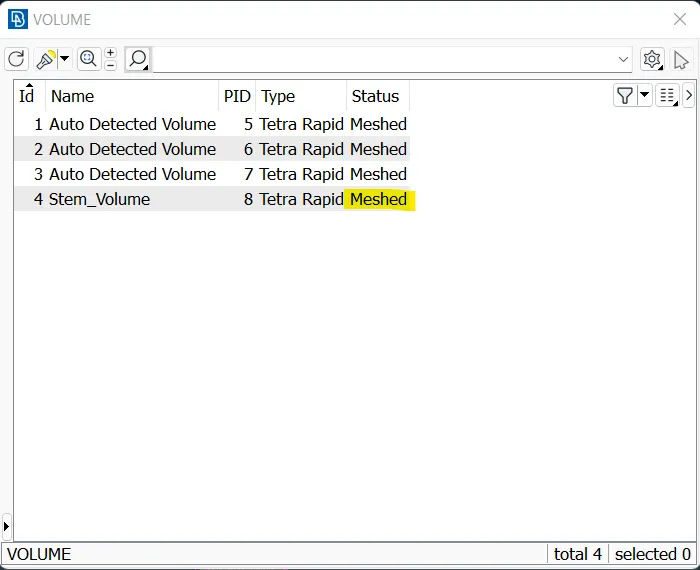
19. Once this step is done, we can see that tetra elements have been formed.
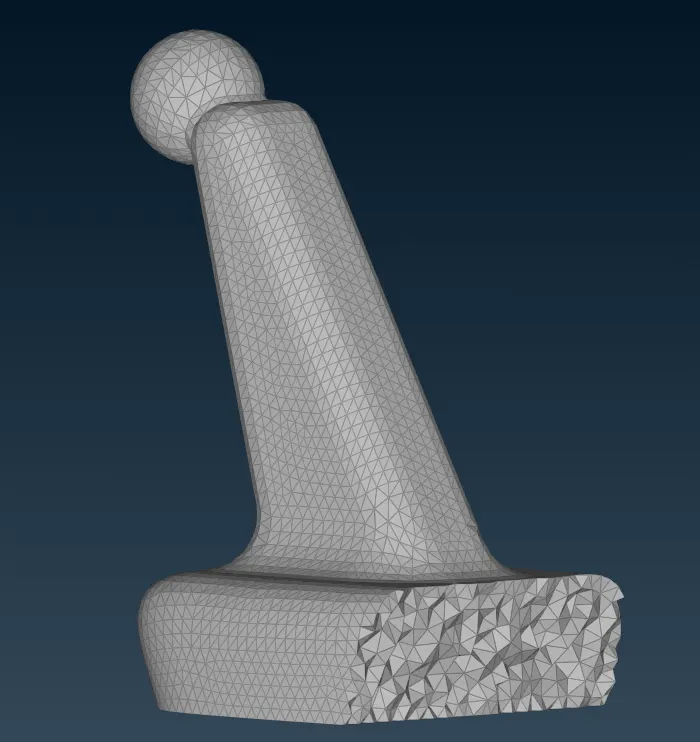
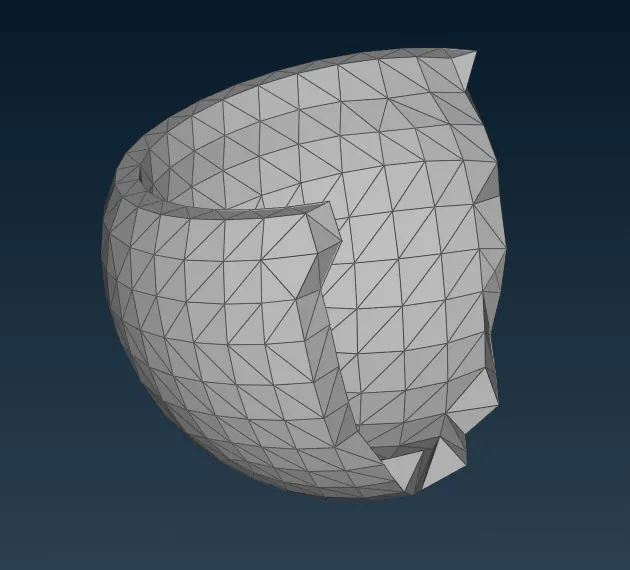
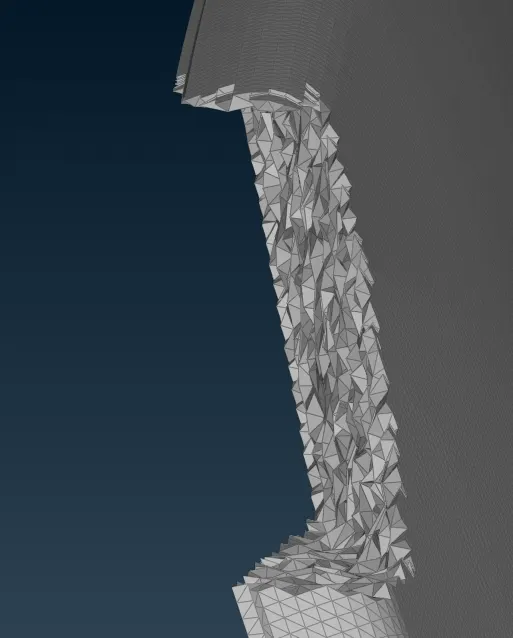
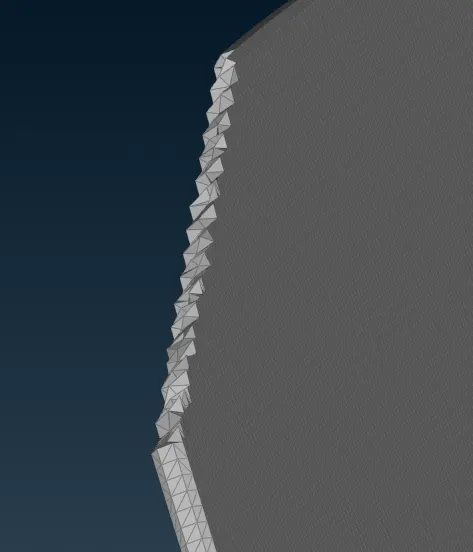
Tetra Mesh
20. After this, we check the solids quality criteria and see whether elements are failing for tet collapse and minimum and maximum length or not.
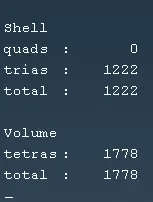
21. If some elements are failing for tet collapse, we improve it under Volume mesh> Improve> Fix quality> Visible.
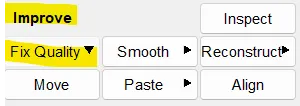
22. Smoothing is done after necessary changes in mesh in order to generate good mesh flow by making the elements near to ideal.
23. Similar steps are incorporated for each and every part.
Learning Outcomes: -
- Learnt about topology clean-ups
- Learnt about 2D meshing and 3D meshing
- Learnt about element selection for flat and curved surfaces
- Learnt about Volume Mesh
Conclusion:-
It can be concluded that every step is crucial for obtaining a good mesh