Week 5 Challenge : Surface wrap on Automotive Assembly
Aim: To create the suraface mesh for the given quality criteria after performing the cleaning operation and merging the geometry.
Objective:
- Import the geometries.
- Clean the geometries for all the errors and delete the unwanted parts.
- Prepare the geometry for the surface mesh by closing all the holes or open surfaces.
- Merge all the three geometries.
- Now delete all the PID's from the geometry using the compress option.
- Perform the surface mesh for the merged geometry.
Theory:
- Surface wrap or surface mesh is referred when the geometry is meshed for the outer surface only which is used for the analysis.
- Here only the outer surface of the geometry is of interest for the analysis.
- The internal errors or the conflicts are of no interest as the surface mesh creates the hollow volume capturing only the outer parts.
- Only the outer surfaces must not have any confict or errors.
Content of the body:
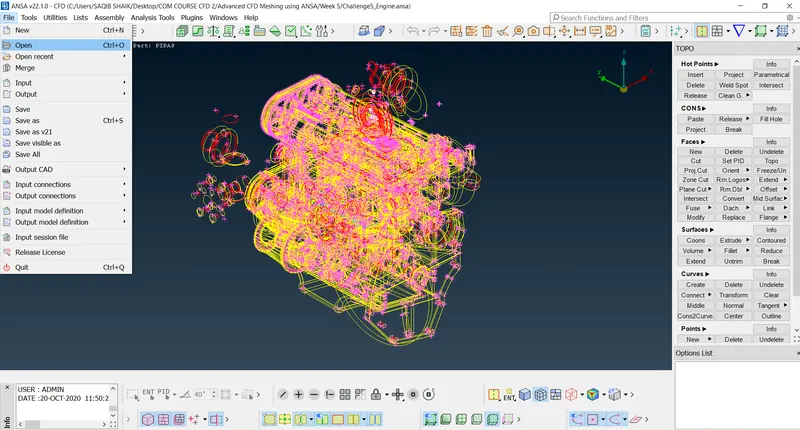
- Import the geometries(File > open > Engine geometry):
- Deleteing the all unwanted surfaces causing the errors.
- There are three geometries:
- Engine:
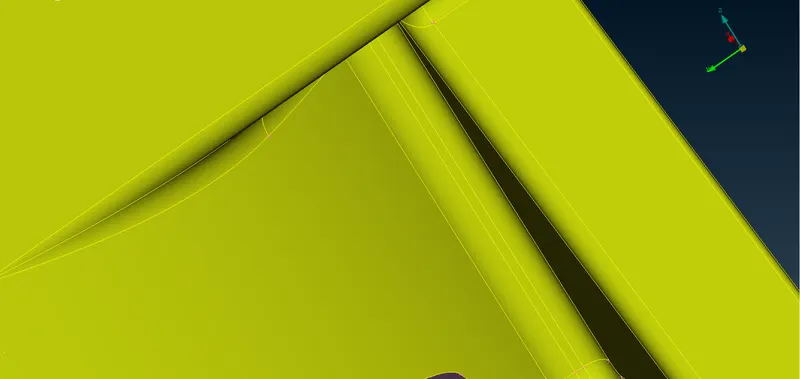
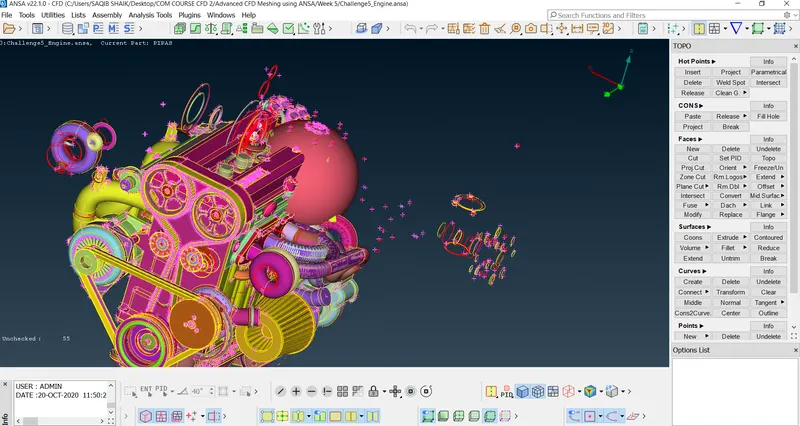
- As it can be seen there are may floating surfaces and have no use in the geometry for surface wrap:
- Now selecting the useful PID's and hiding them:
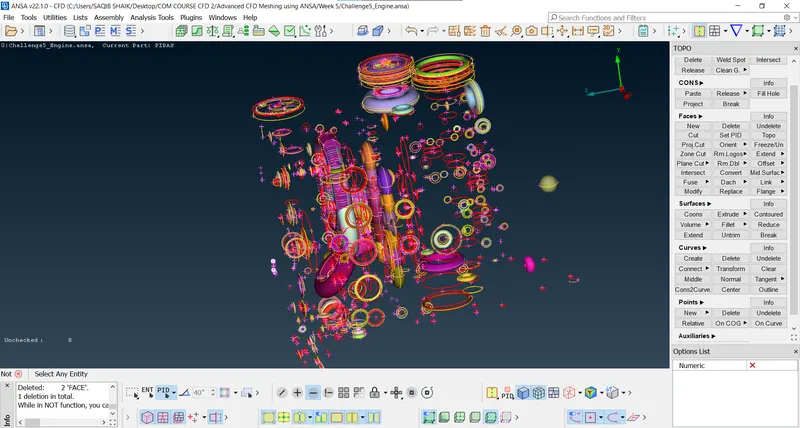
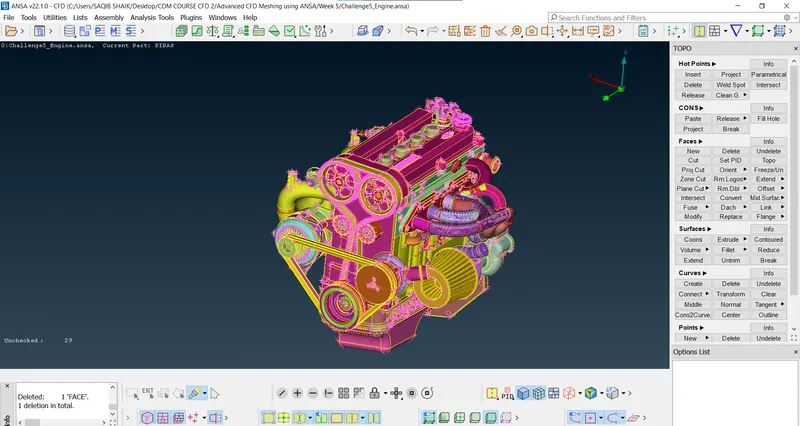
- Deleting the unwanted parts one by one after checking:
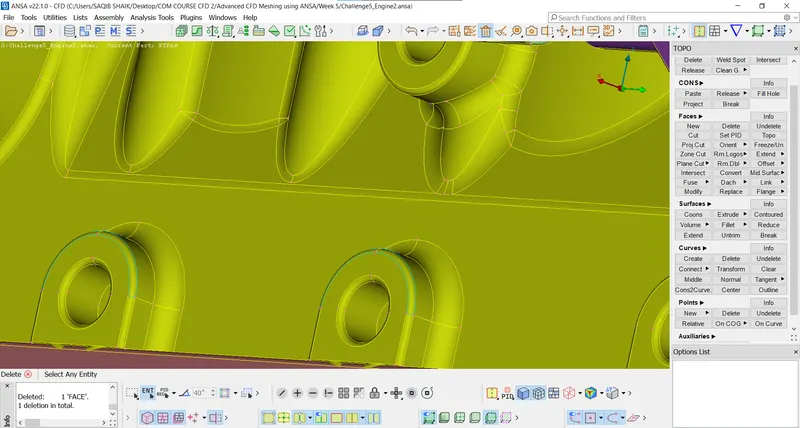
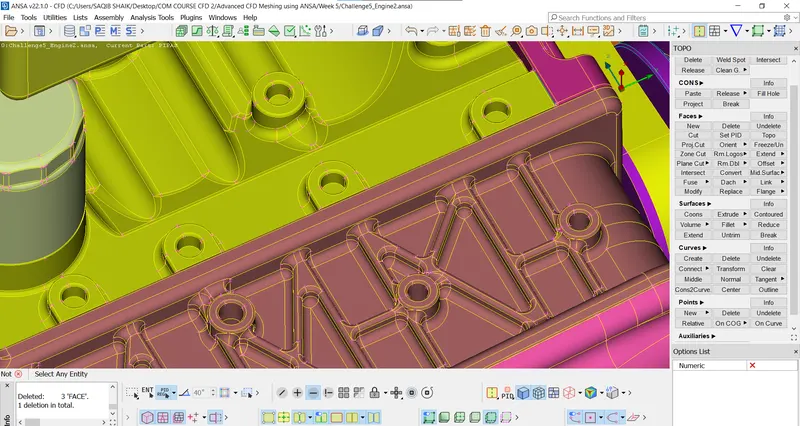
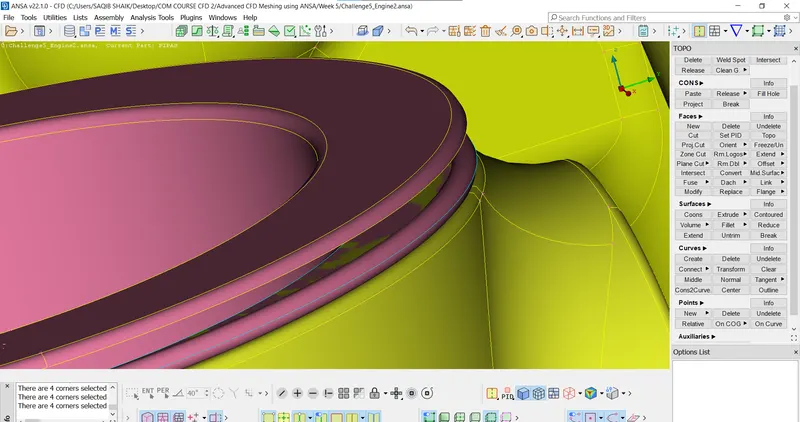
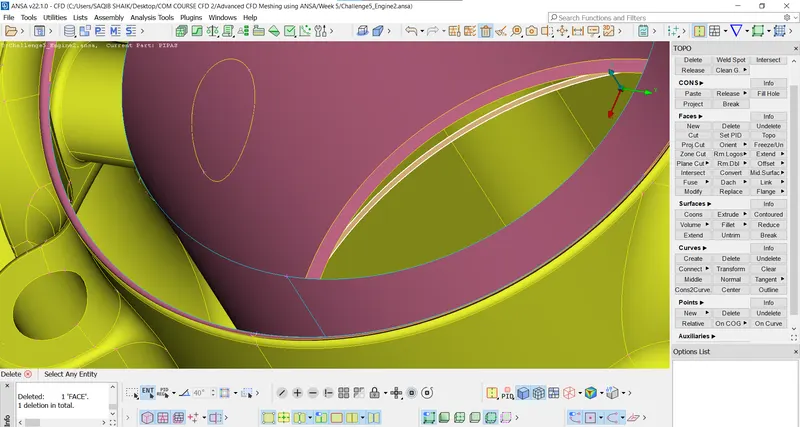
- Pipes:
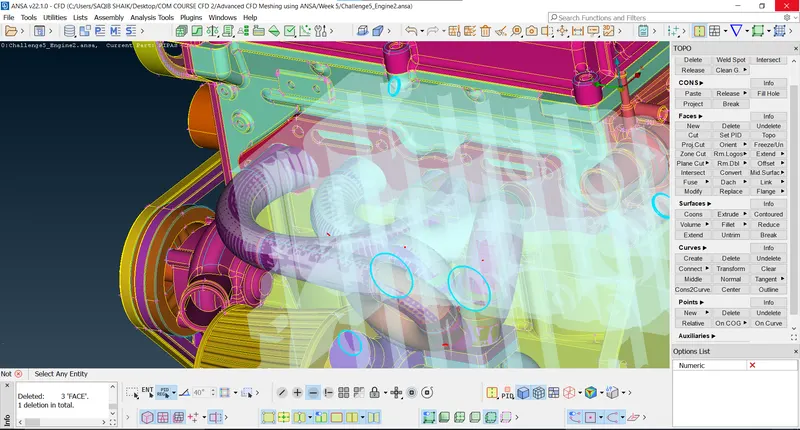
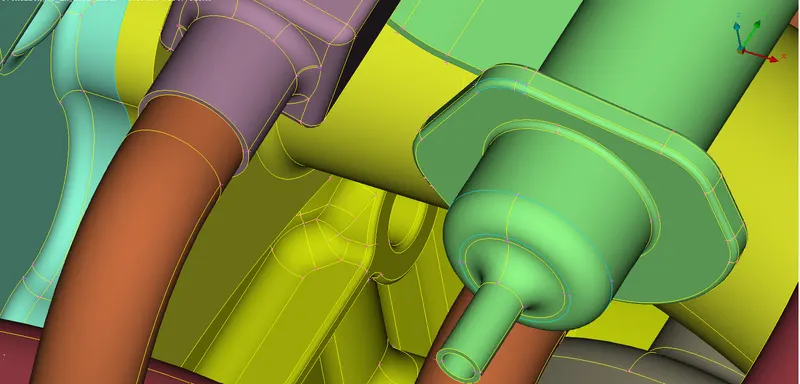
- As the pipes hace errors/distortions we have delete and make new parts:
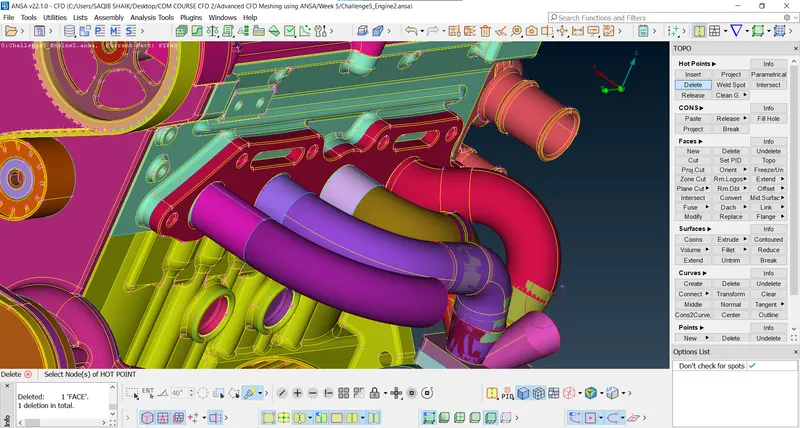
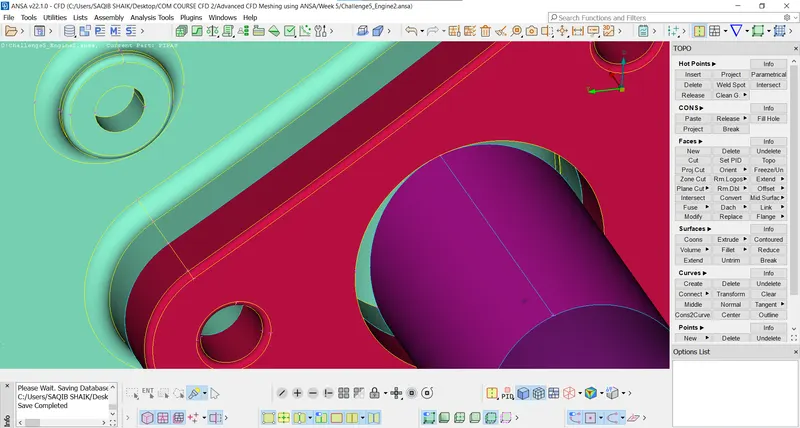
- As fixing thm requires more time and these elements can be neglected as they have less impact on the analysis:
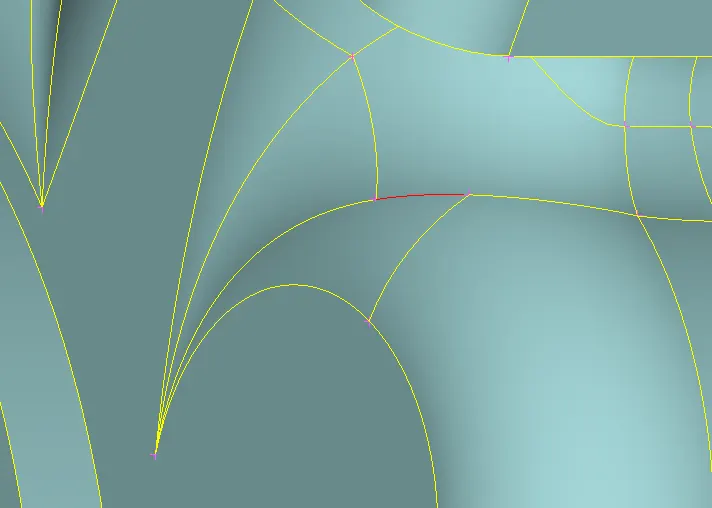
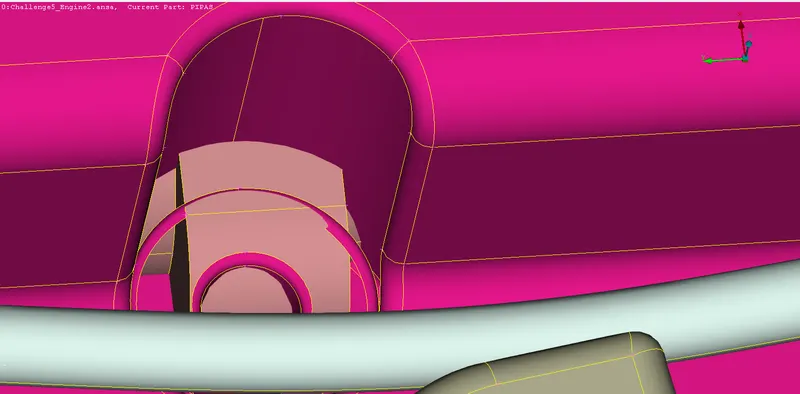
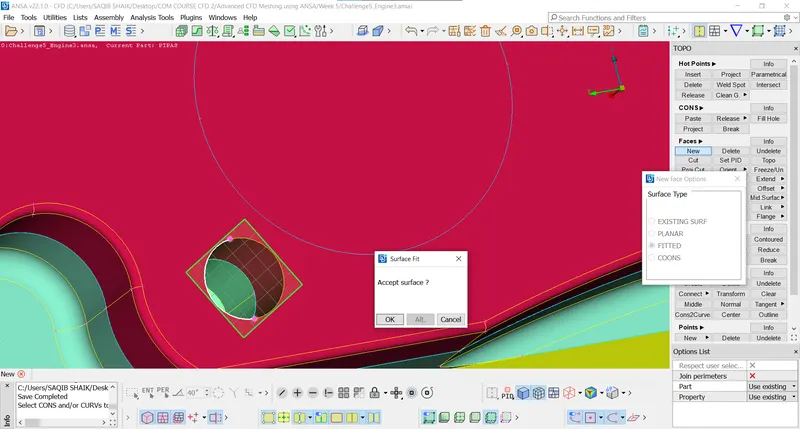
- Using fill hole after deleting the surface:
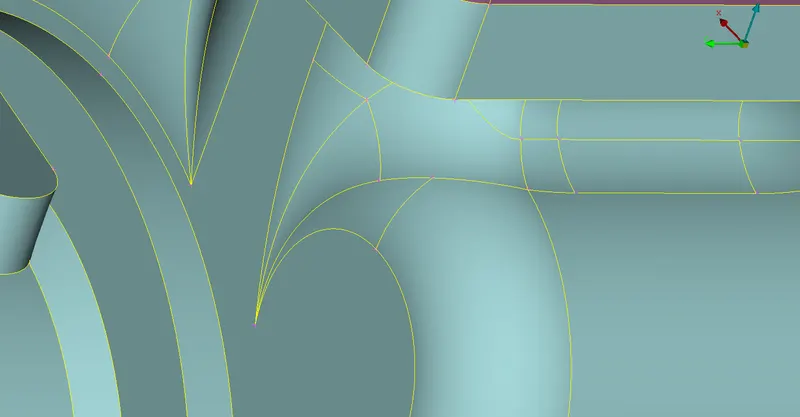
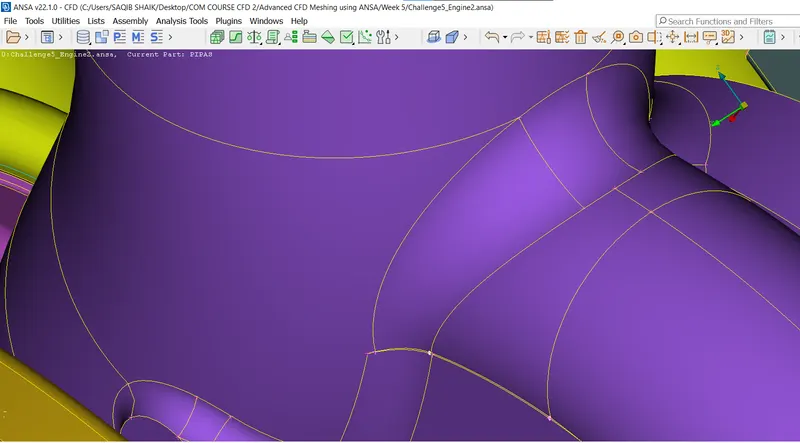
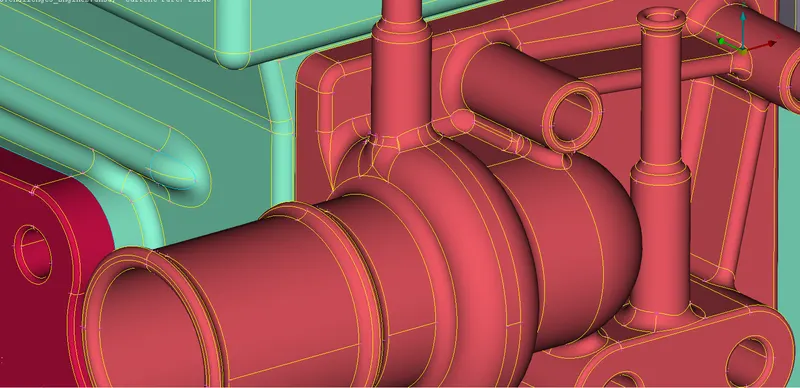
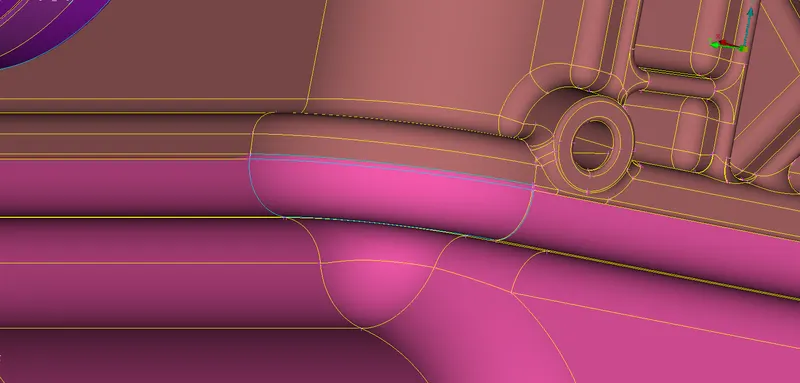
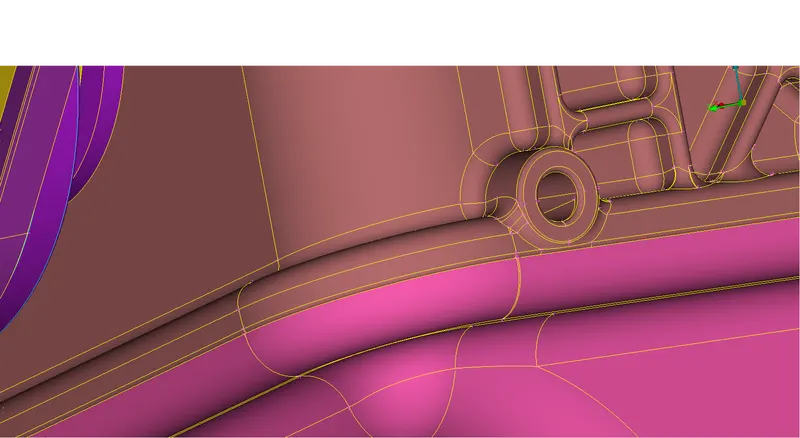
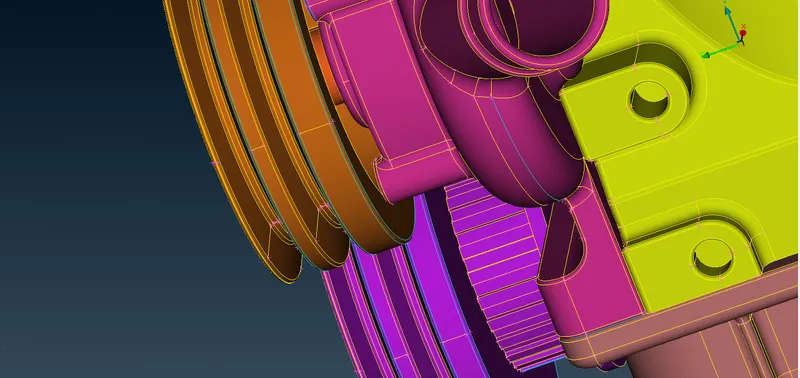
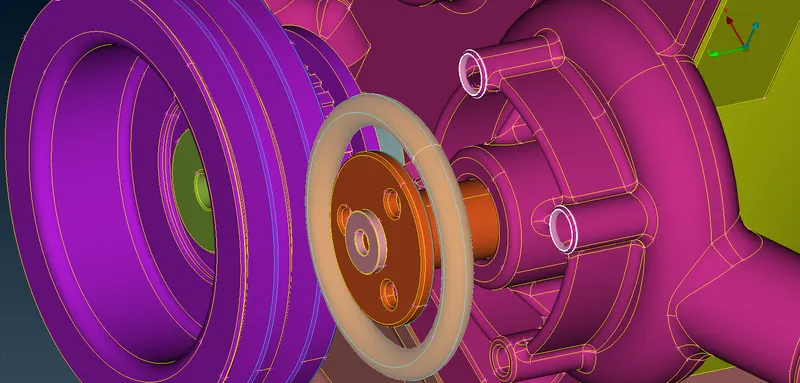
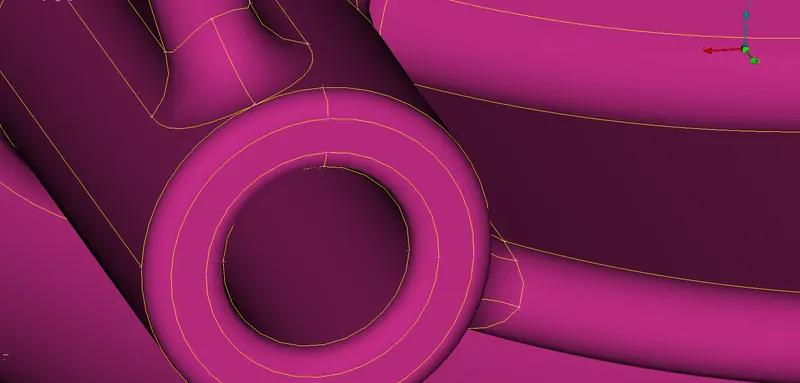
- Cut > Fill hole.
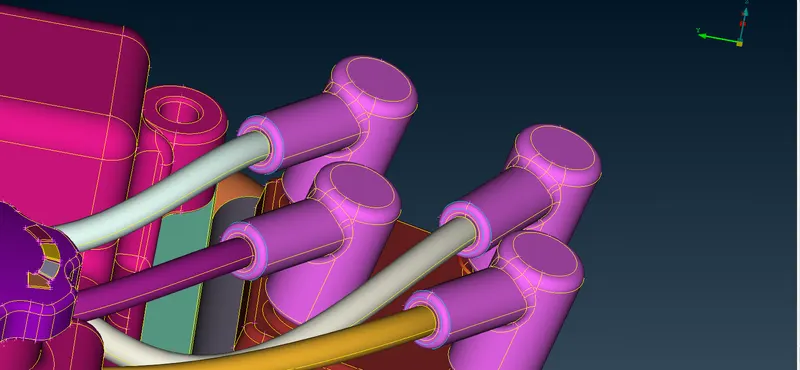
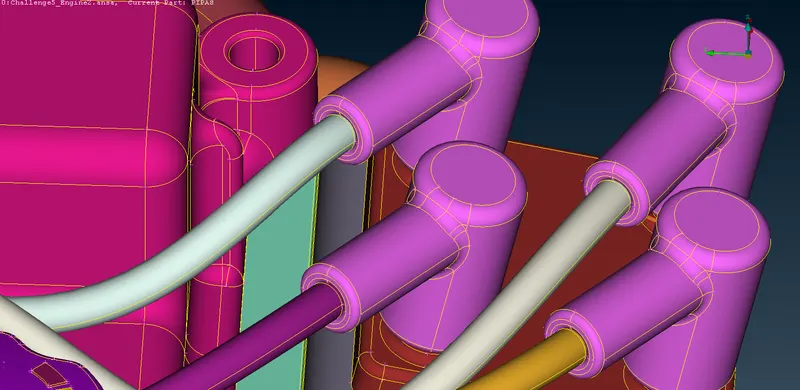
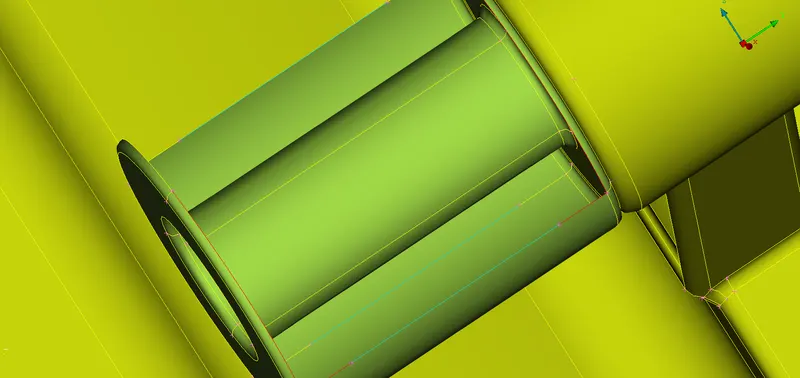
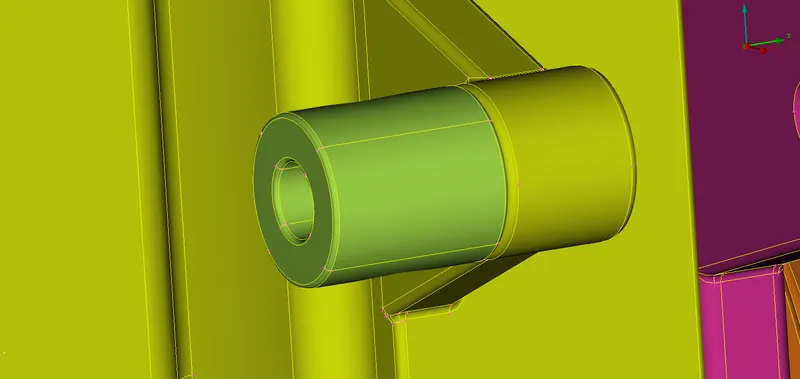
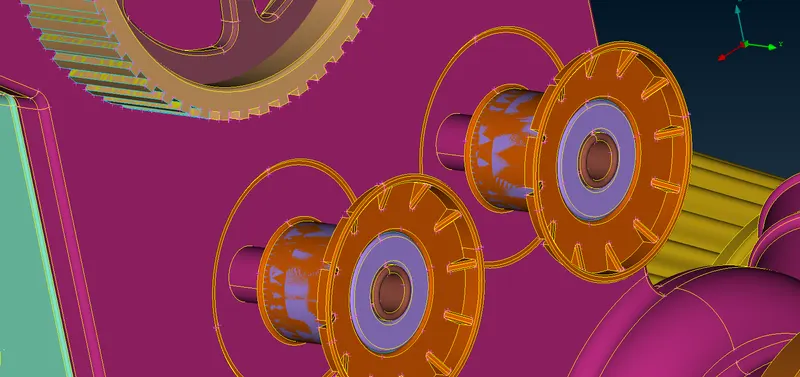
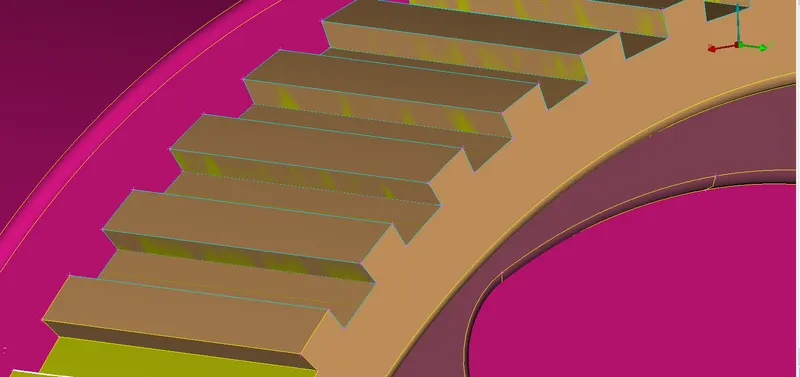
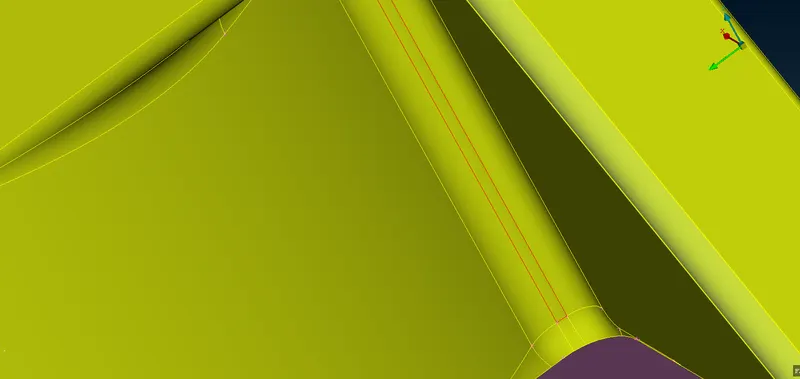
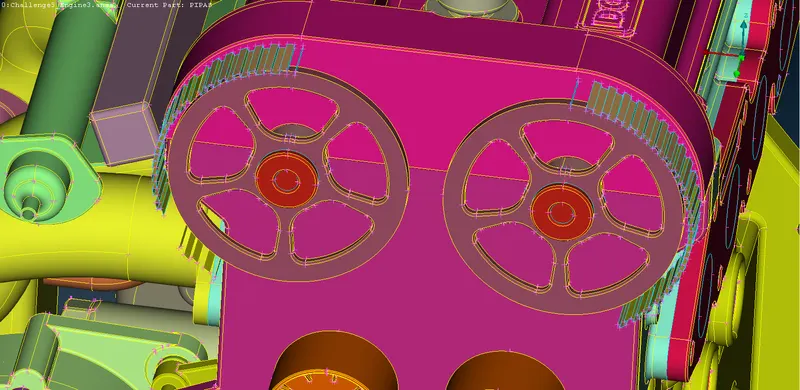
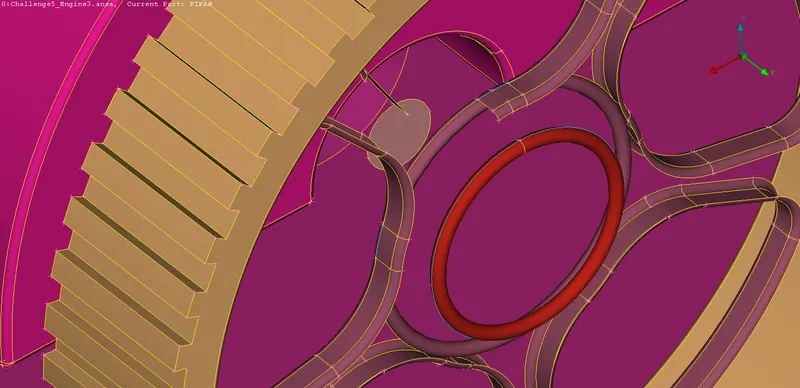
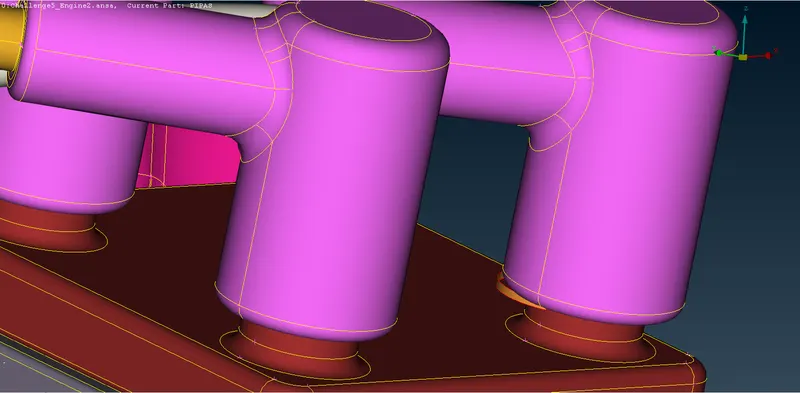
- Removing the thin surfaces such as belts etc.
- Deleting the free hanging bodies:
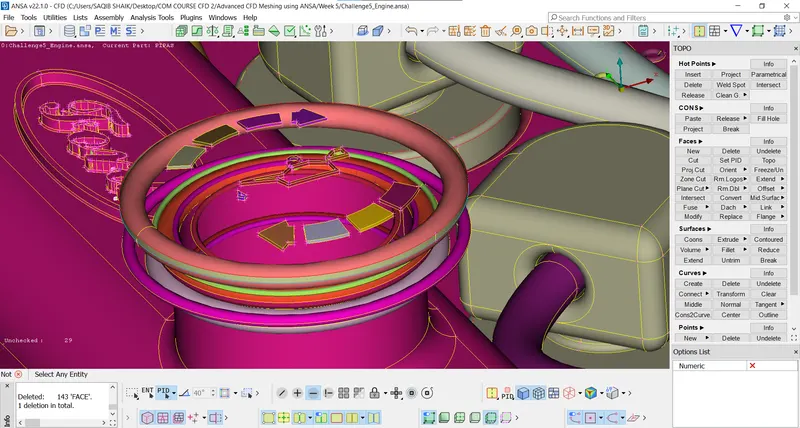
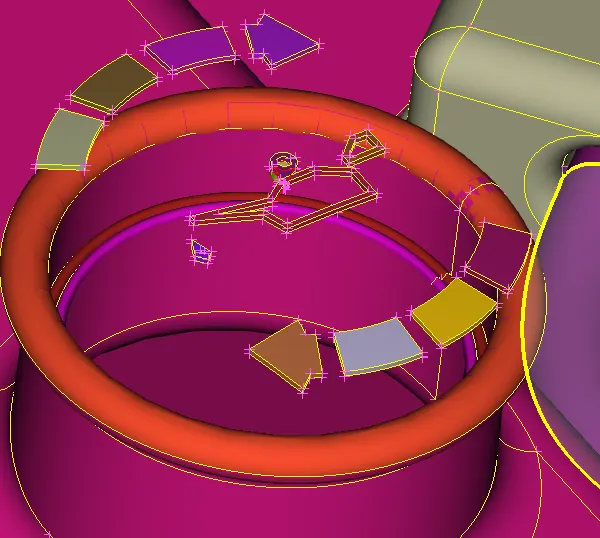
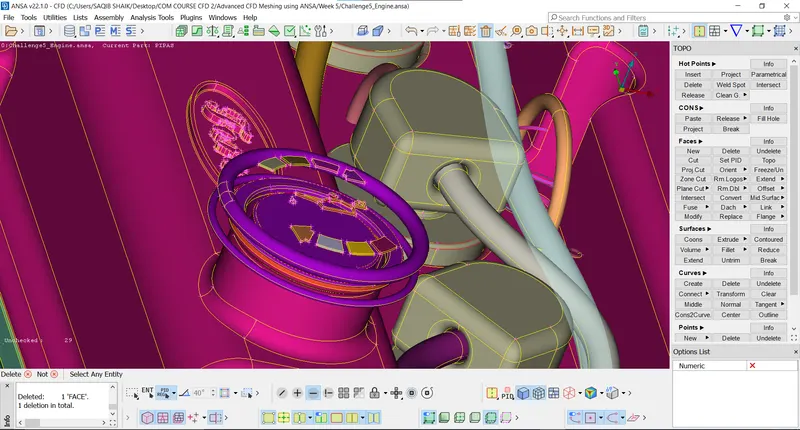
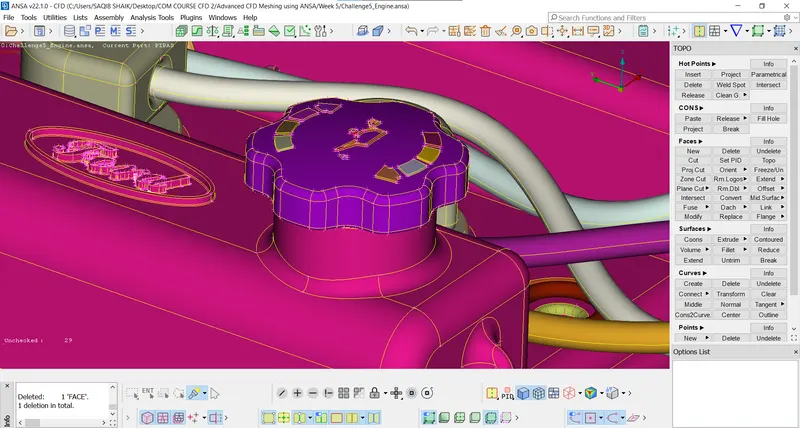
- After cleaning: There are some triple cons and intersecting/duplicate surfaces which in side the geometry as they dont have an affect on the surface meshing they can left as it is for now they will be cleaned during the geometry clean up:
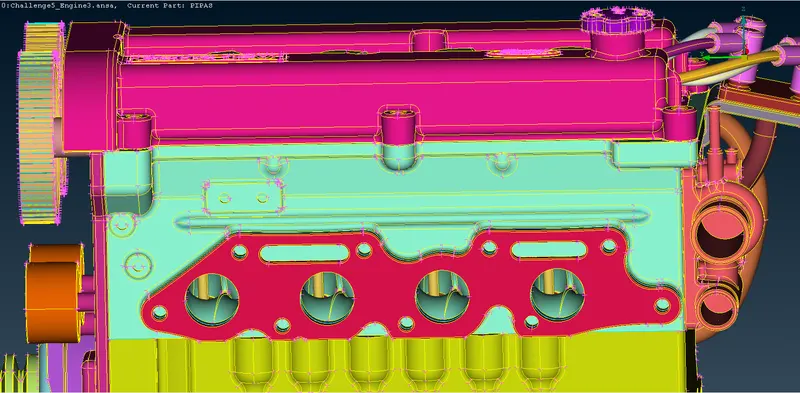
- Closing the surfaces:
- Before:
- `
- `
- After:
- Before:
- As it can be seen there are may floating surfaces and have no use in the geometry for surface wrap:
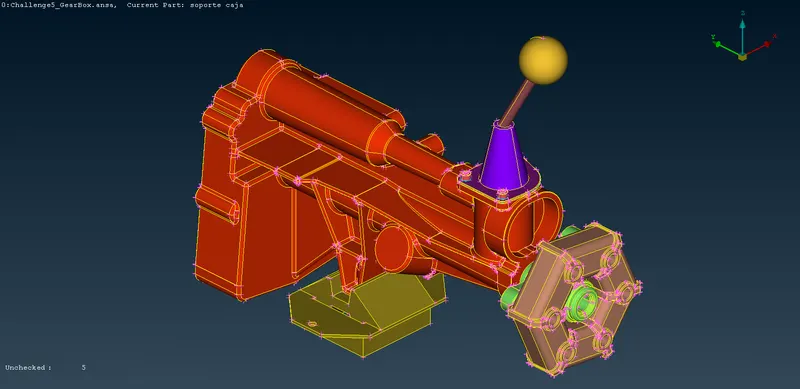
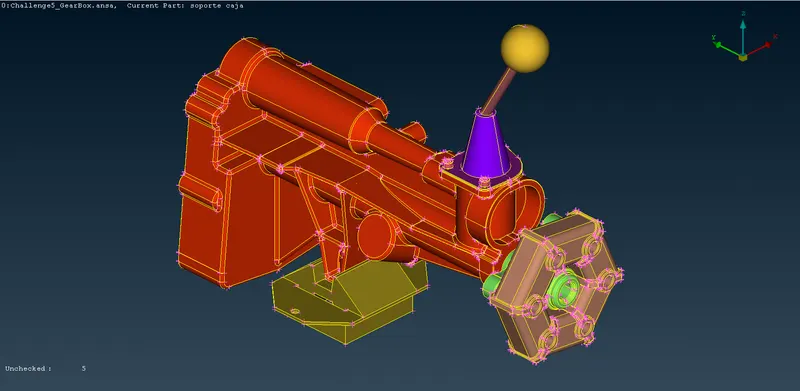
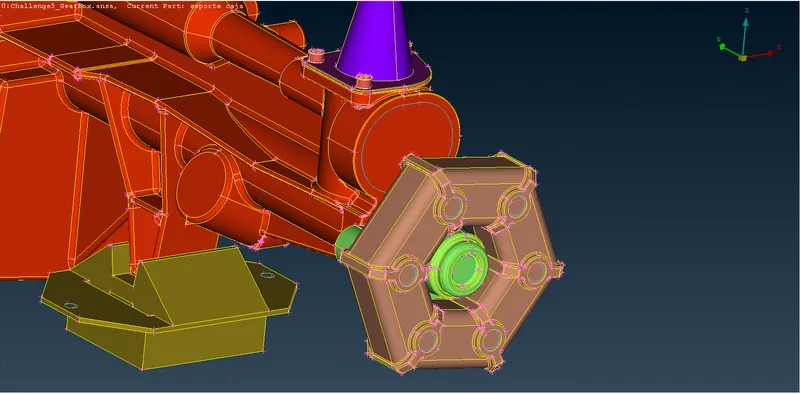
- Geatbox:
- Import the gearbox:
- Cleaning the geometry:
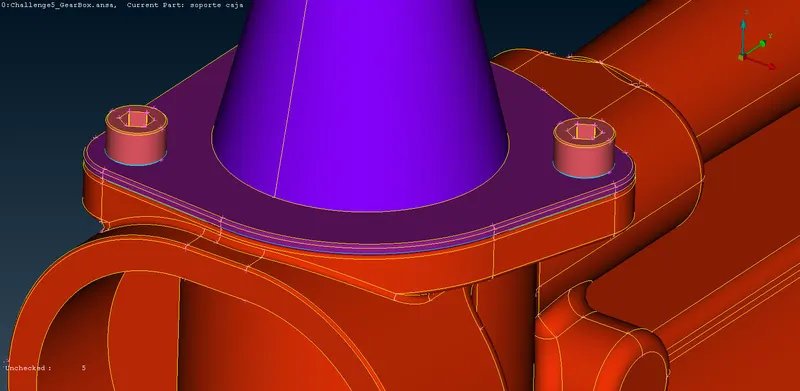
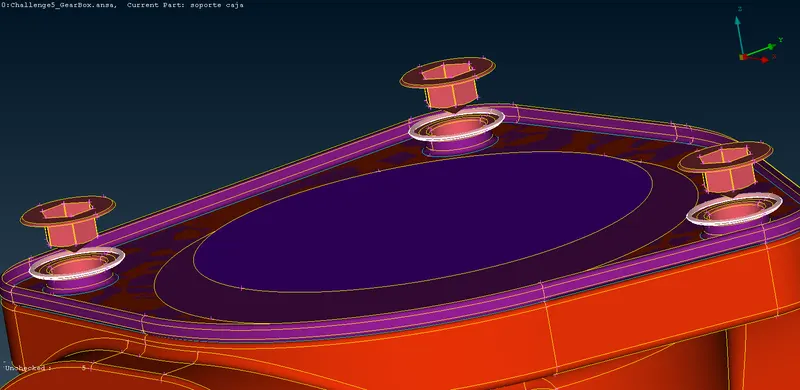
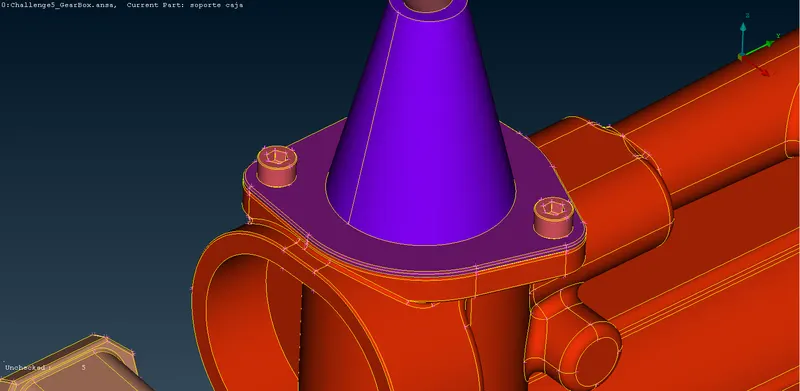
- Single coons:
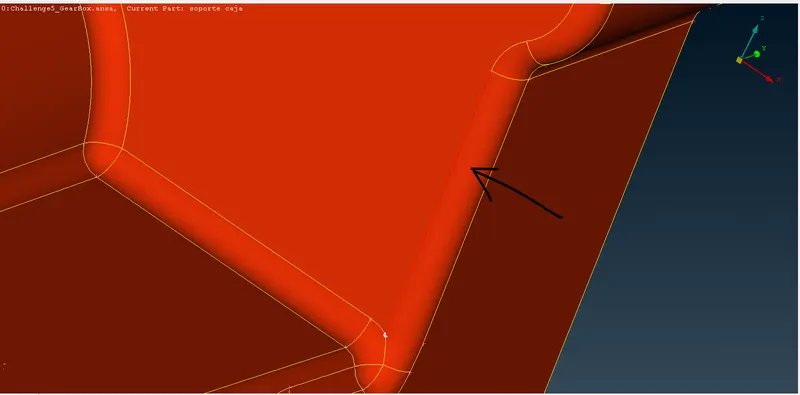
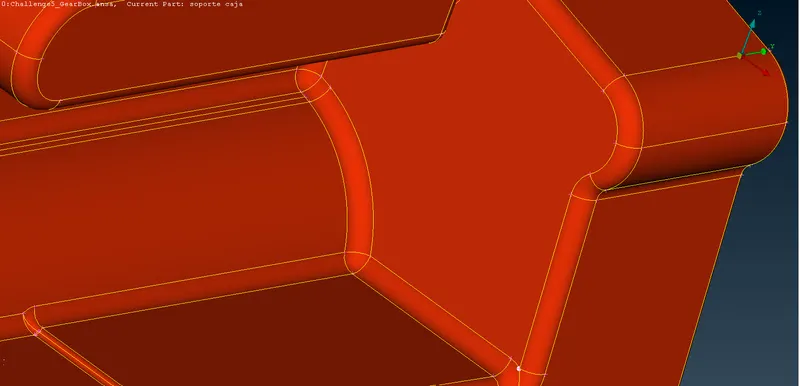
- After cleaning:
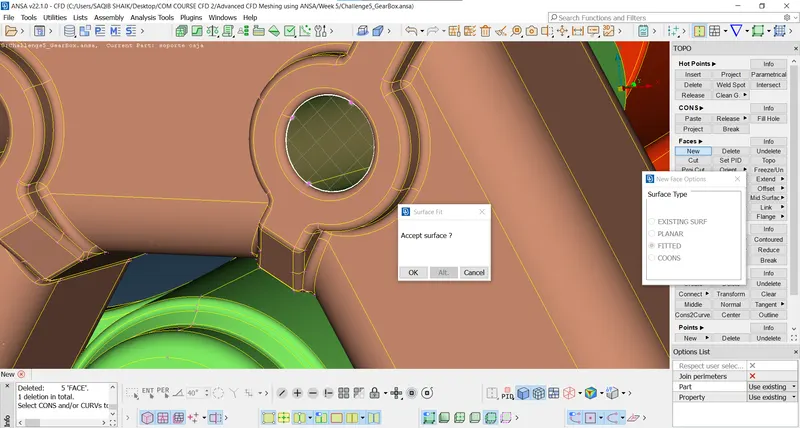
- Closing all the holes:
- Import the gearbox:
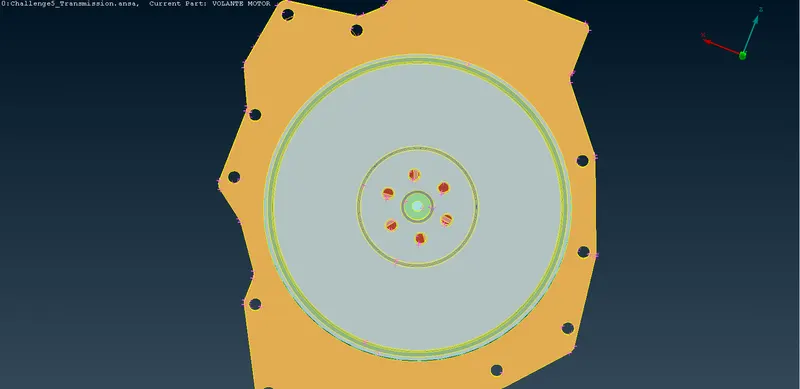
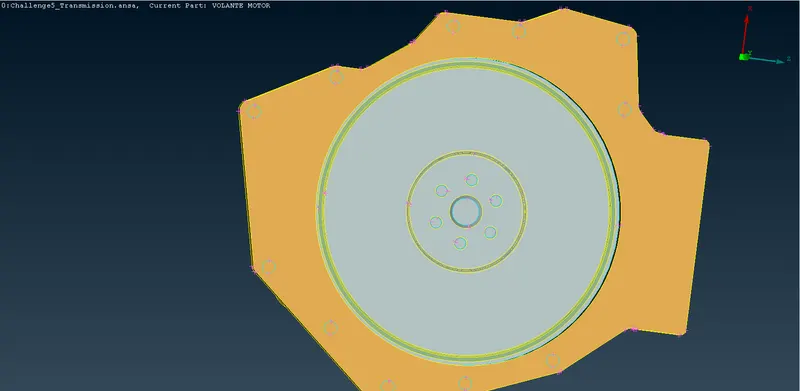
- Transmission:
- Import the transmission:
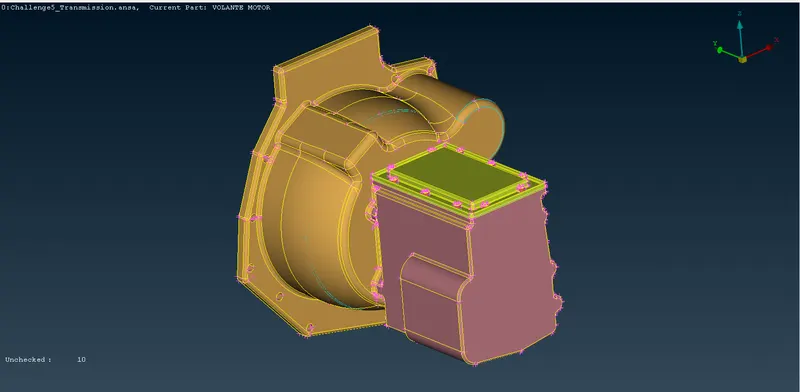
- There are triple cons:
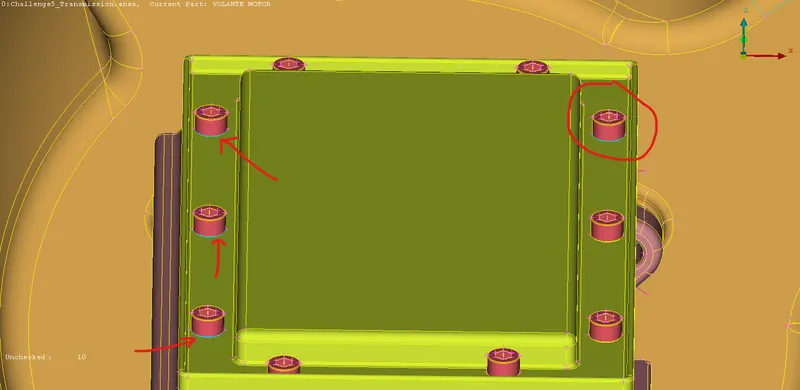
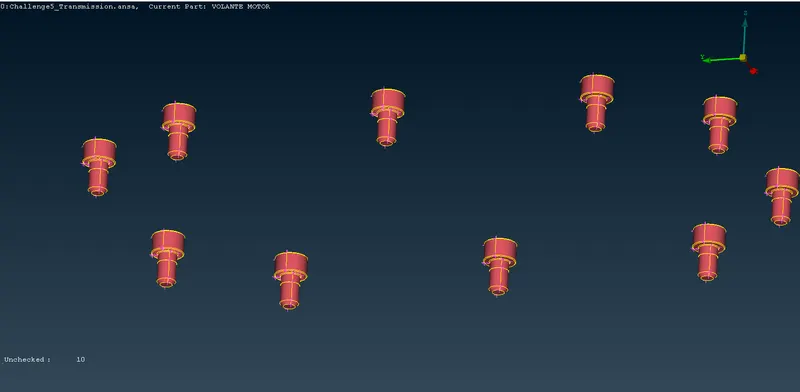
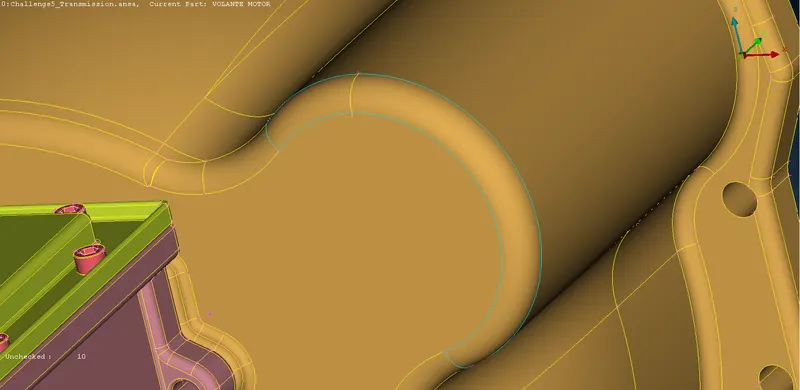
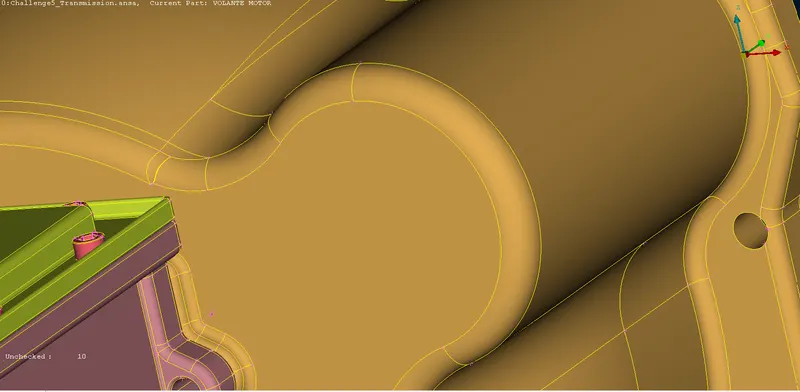
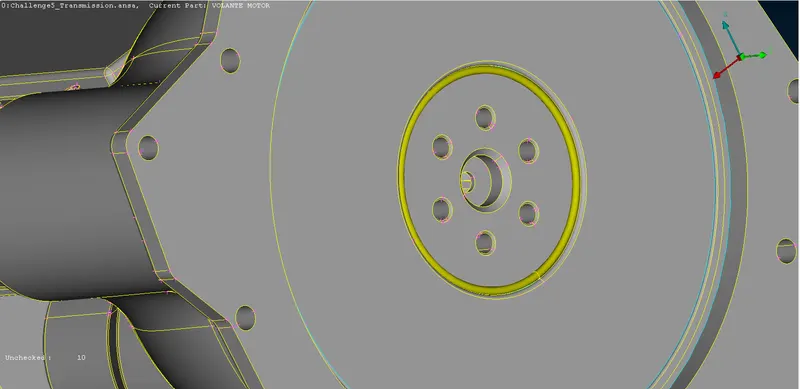
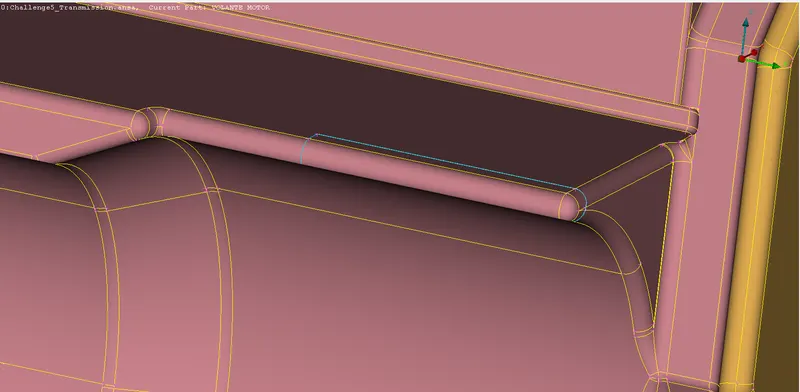
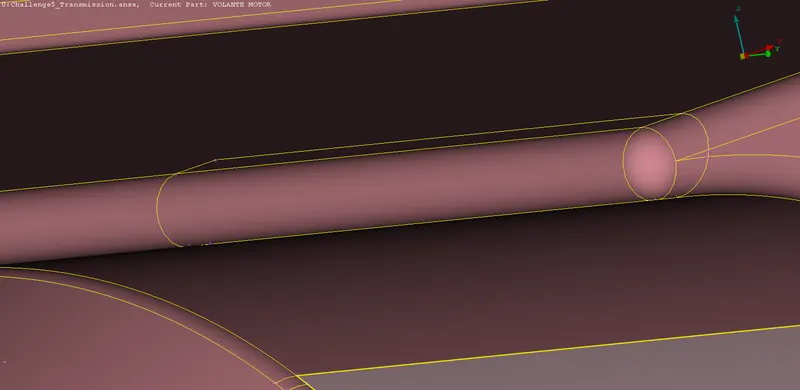
- There are lot of unchecked elements:
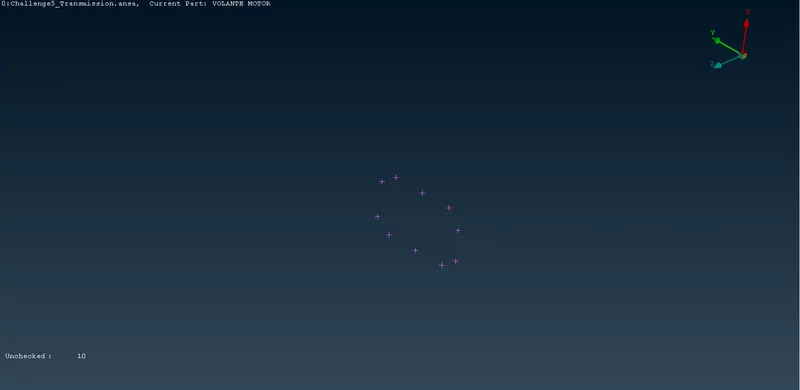
- Deleting them.
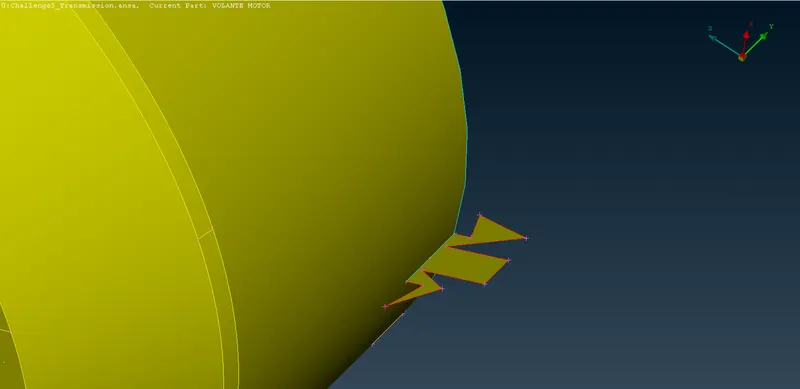
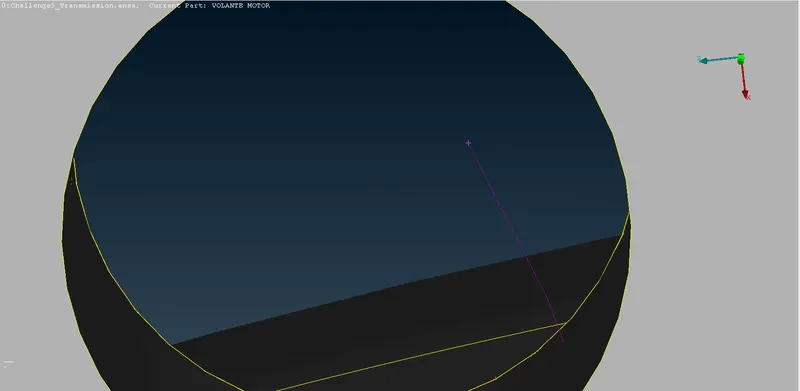
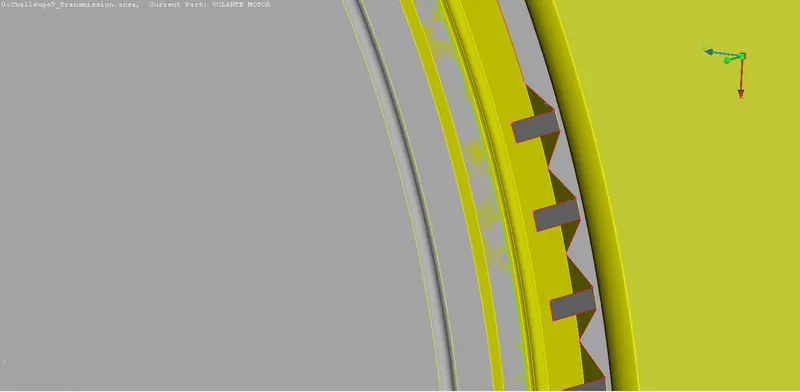
- As these surfaces are iside the geometry they have no effect on the surface mesh so can let them be:
- Now the geometry is cleaned at the surfaces(New surface > Fitted/coons), so filling the hole and meshing the surface:
- Import the transmission:
- Engine:
- The opening or the holes in the geometries can be done before or after the merging
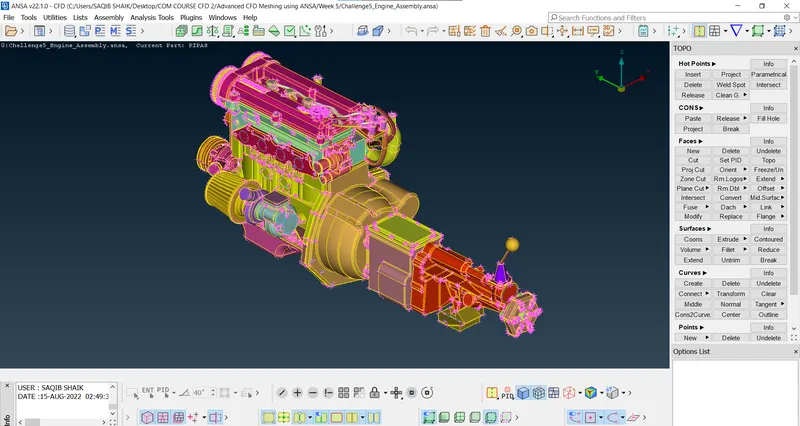
- Merging:
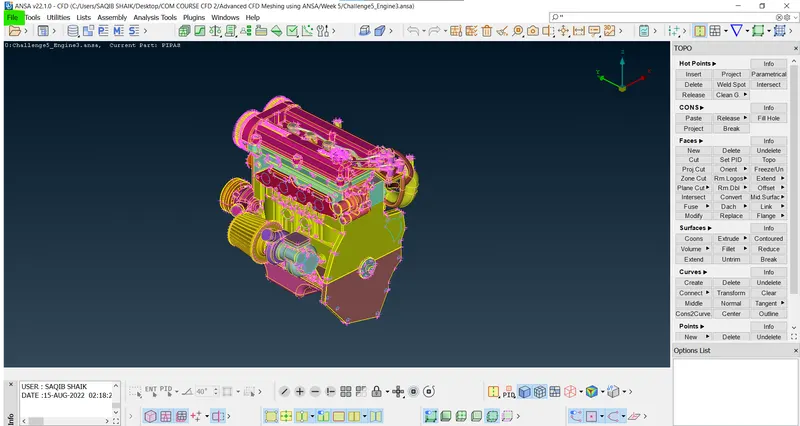
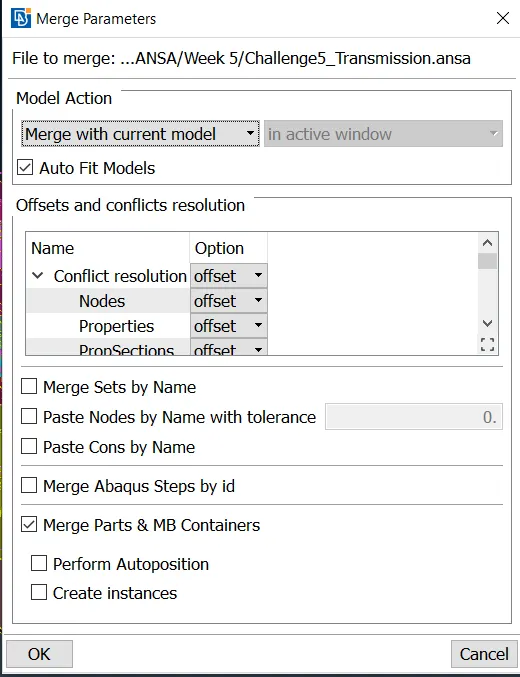
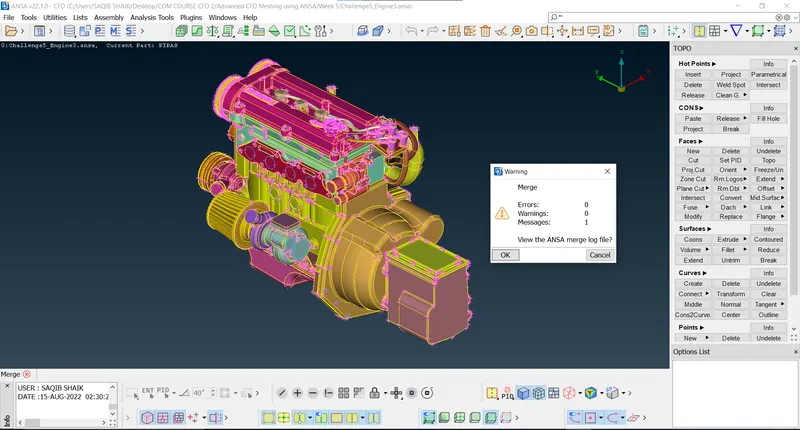
- To merge a geometry follow the steps as : File > Merge > Select the geometry > Merge the geometries > OK.
- Transmission:
- Gear box:
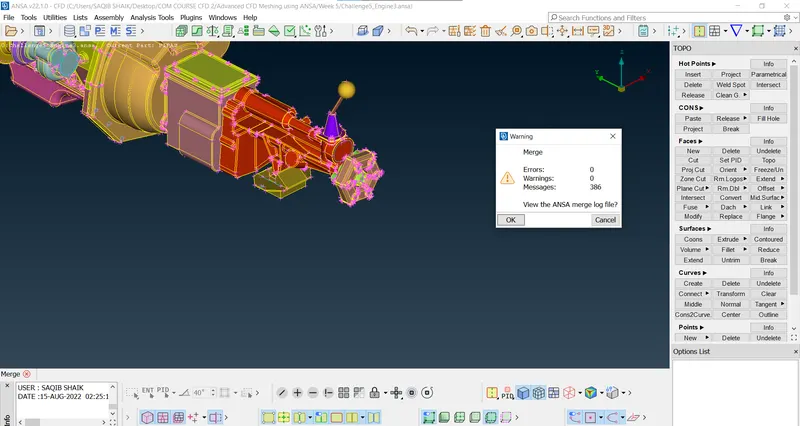
- After merging:
- To merge a geometry follow the steps as : File > Merge > Select the geometry > Merge the geometries > OK.
- Surface meshing/wrap:
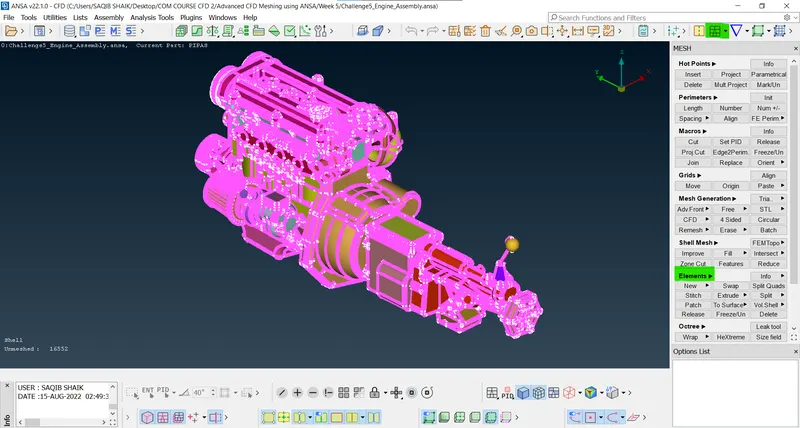
- First select the classic mesh in the tool bar:
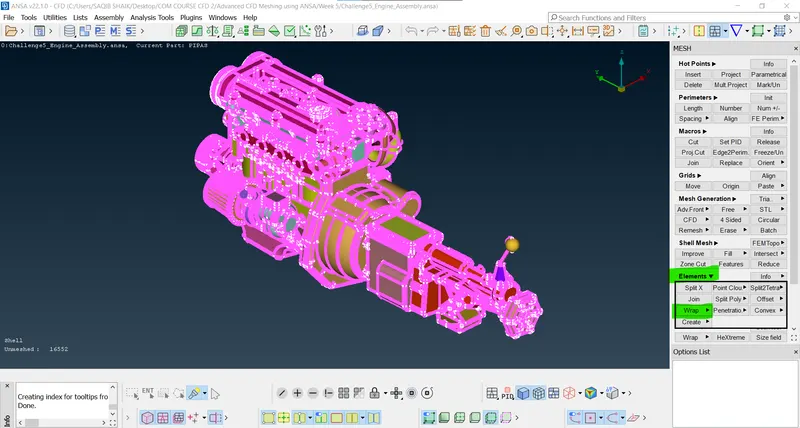
- Then select the elements options in the side tool bar and select wrap option with constant length:
- Now a window pop up will show the options and details of the mesh:
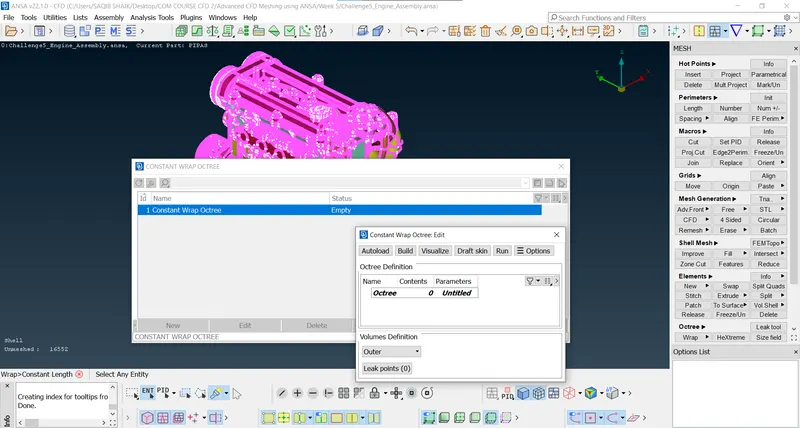
- There are two options in the surface mesh constant length(has only one target length, compromised on the quality of capture) and the variable length(can have multiple element size to capture the geomertry efficiently and effectively).
- For this problem the constant length is choosen:
- Click on the parameters tab and give the predefined target length i.e. 3mm and define the name of the mesh:
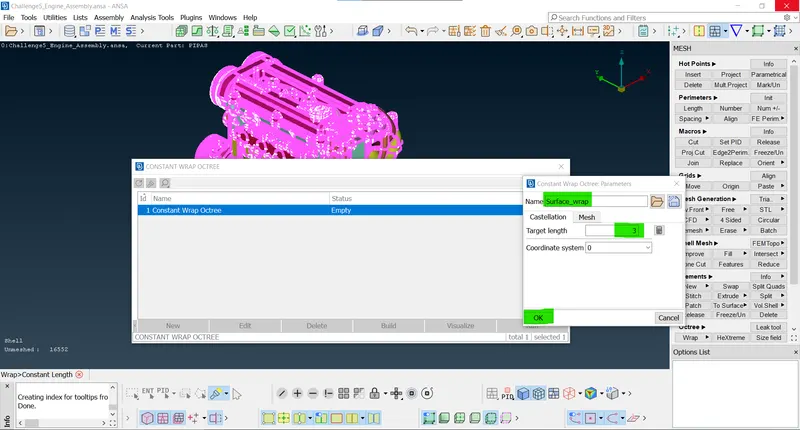
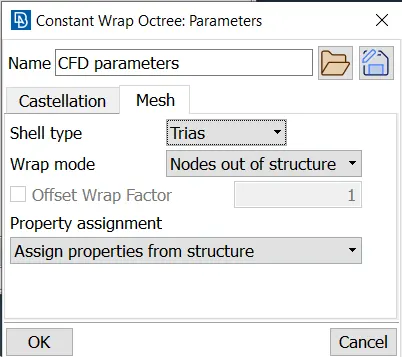
- In the mesh tab select the 'Nodes out of structure' and 'Assign properties from the structure' option.
- Note: Be sure to compress the PID's so to delete the unwanted or deleted PID's.
- Open the contents column and add the PID's:
- Now add all the PID's for surface meshing:
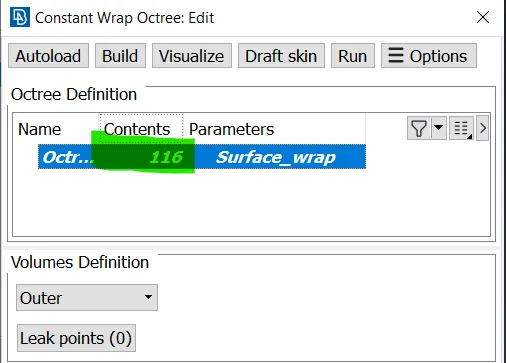
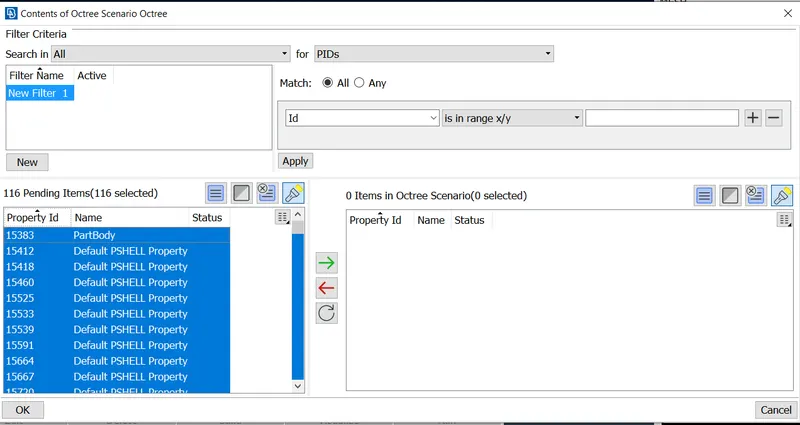
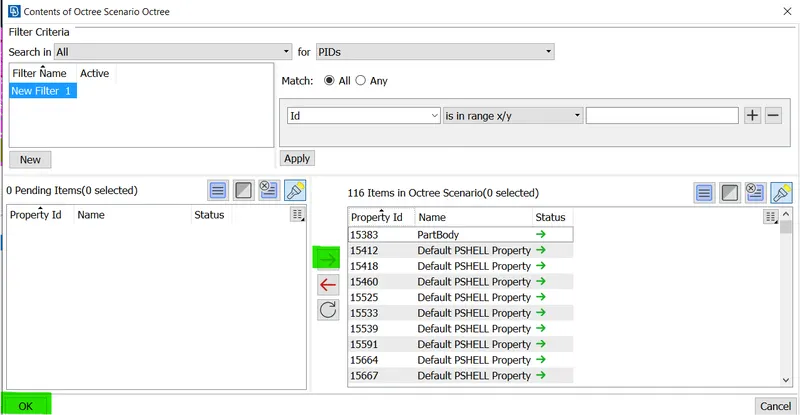
- Now select the run option to complete the surface mesh:
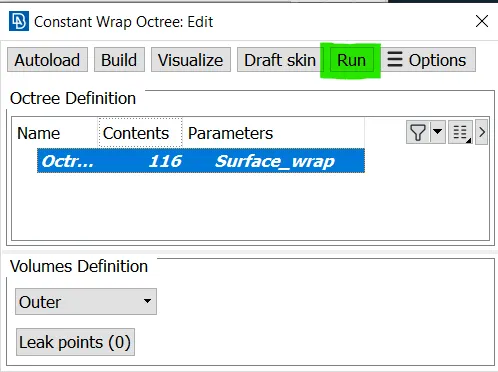
- First select the classic mesh in the tool bar:
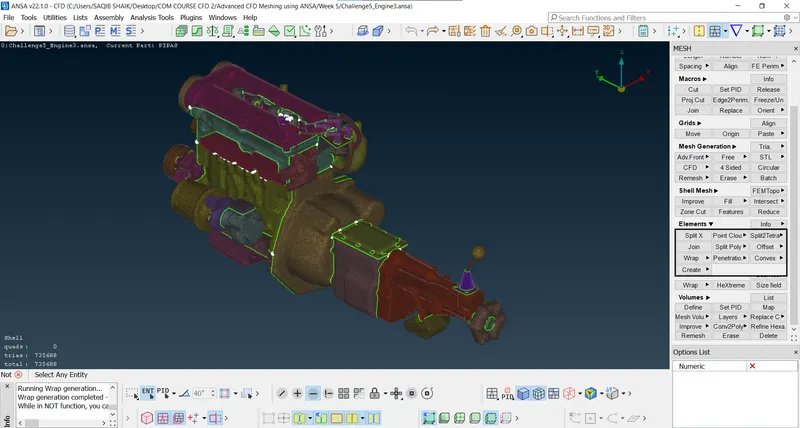
- After the surface mesh has finished working:
- Checking the surface wrap:
- Using not option hide the front and end part:
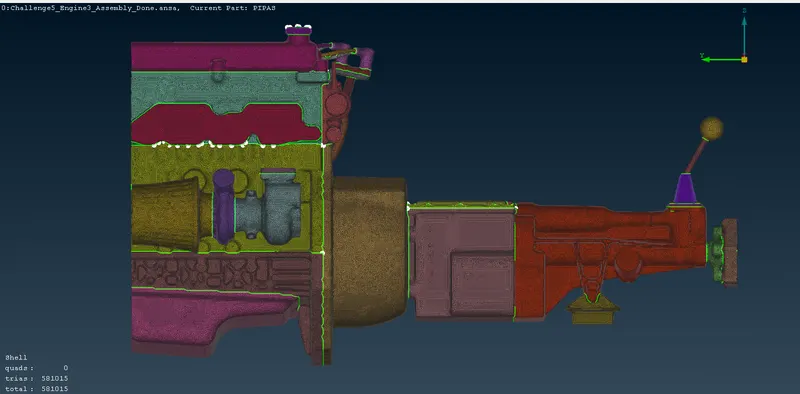
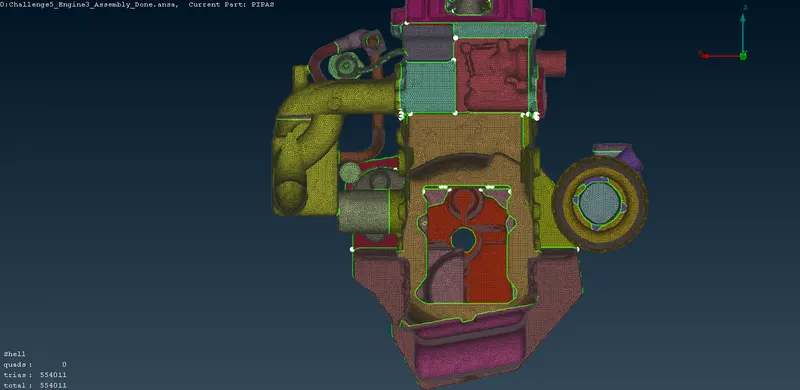
- As the inner volume is hollow and doesn't have any protruding or intersecting surfaces represents the surface mesh is successfull.
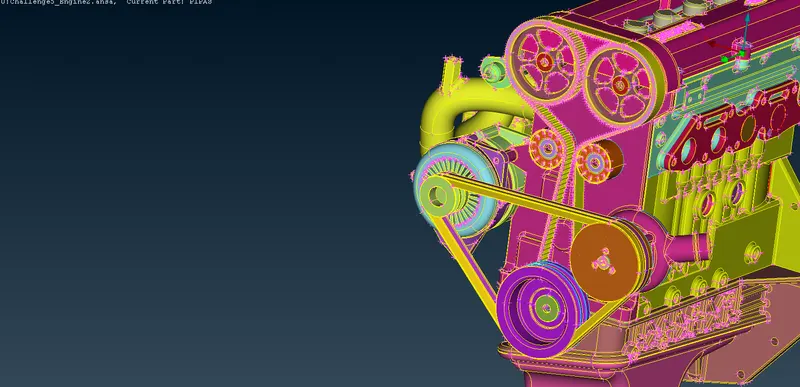
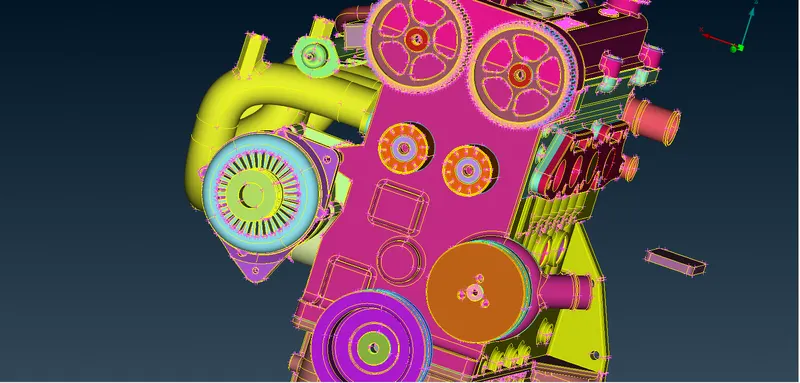
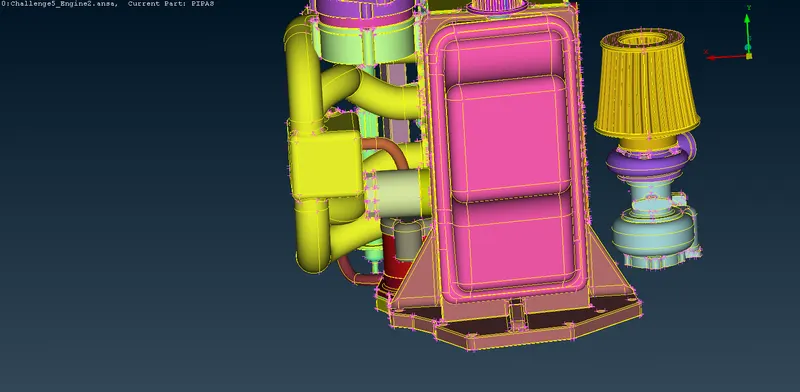
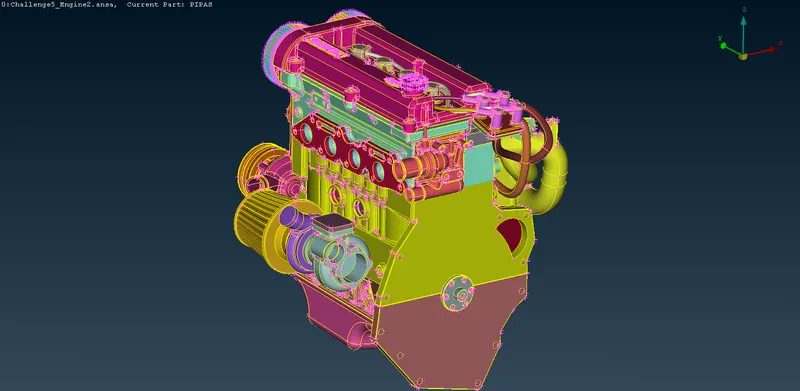
Results:
- Cleaning:
- Before:
- After:
- Before:
- Merging:
- Surface meshing/wrap:
- Before:
- After:
- Before:
Learning Outcomes:
- Learnt about the surface wrap and for what is used for.
- Process of cleaning the geometry for the surface wrap.
- How to generate the surface wrap.
- How to validate the surface wrap.
- Effect of the target length on the geometry capture.
- Types of methods(Constant length and Variable Length).
Geometry:
Conclusions:
- The geometries are cleaned for the errors and the unwanted parts.
- The geometries are merged and successfully surface wraped.
- The detailed explaination and the figure describing are mention.