Week 5 Challenge : Surface wrap on Automotive Assembly
Aim
To clear the geometrical error and delete unwanted surfaces to surface wrap the given model.
Objective
The given model consists of a lot of unwanted surfaces that are present, to clear those surfaces and geometrical errors of three models separately and after these models are merged and perform surface wrap at a target length of 3mm.
The given models are
- Engine
- Transmission
- Gearbox
Procedure
Models are downloaded and opened in the ANSA application work on these models separately.
- Topo clean
- Merge
- Surface wrap
These are detailed and explained with worked images below.
1. Topo clean
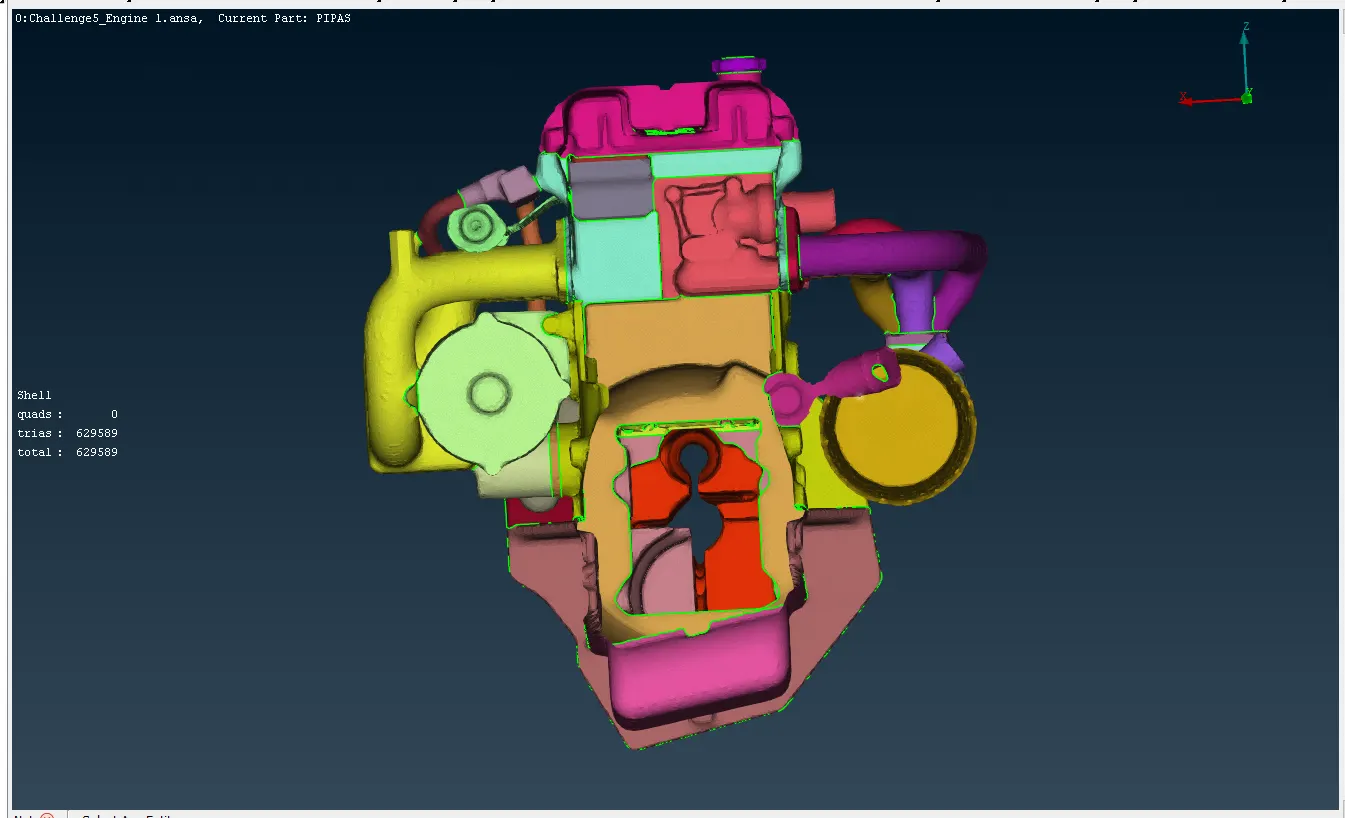
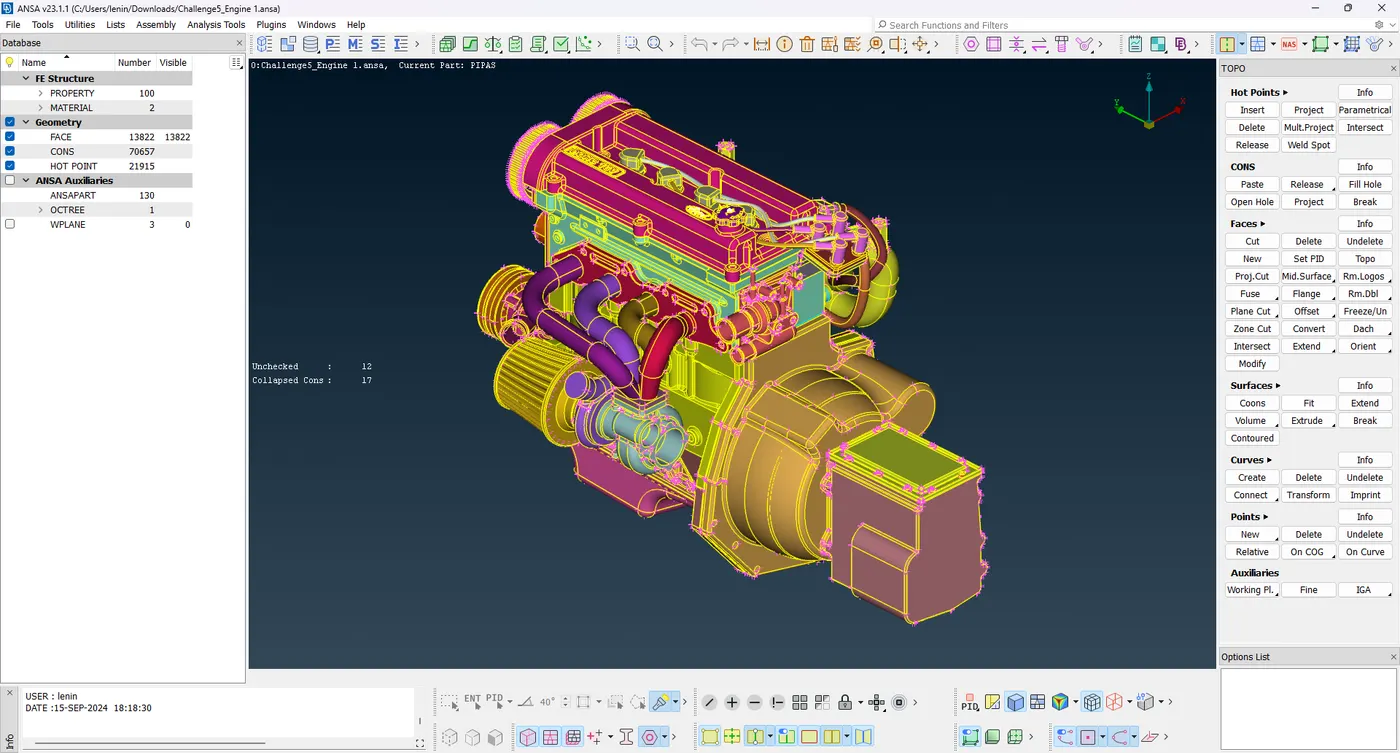
The Engine model file is open, it consists of 1422 PIDs most of which are unwanted surfaces. The unwanted surfaces are balls, rings, belts and cylindrical surfaces of different sizes that are present in the immersed and merged odd one of the model, these do not match the model. Also, delete the timing belt and selfmotor belt because thin surfaces are not involved in surface wrap.
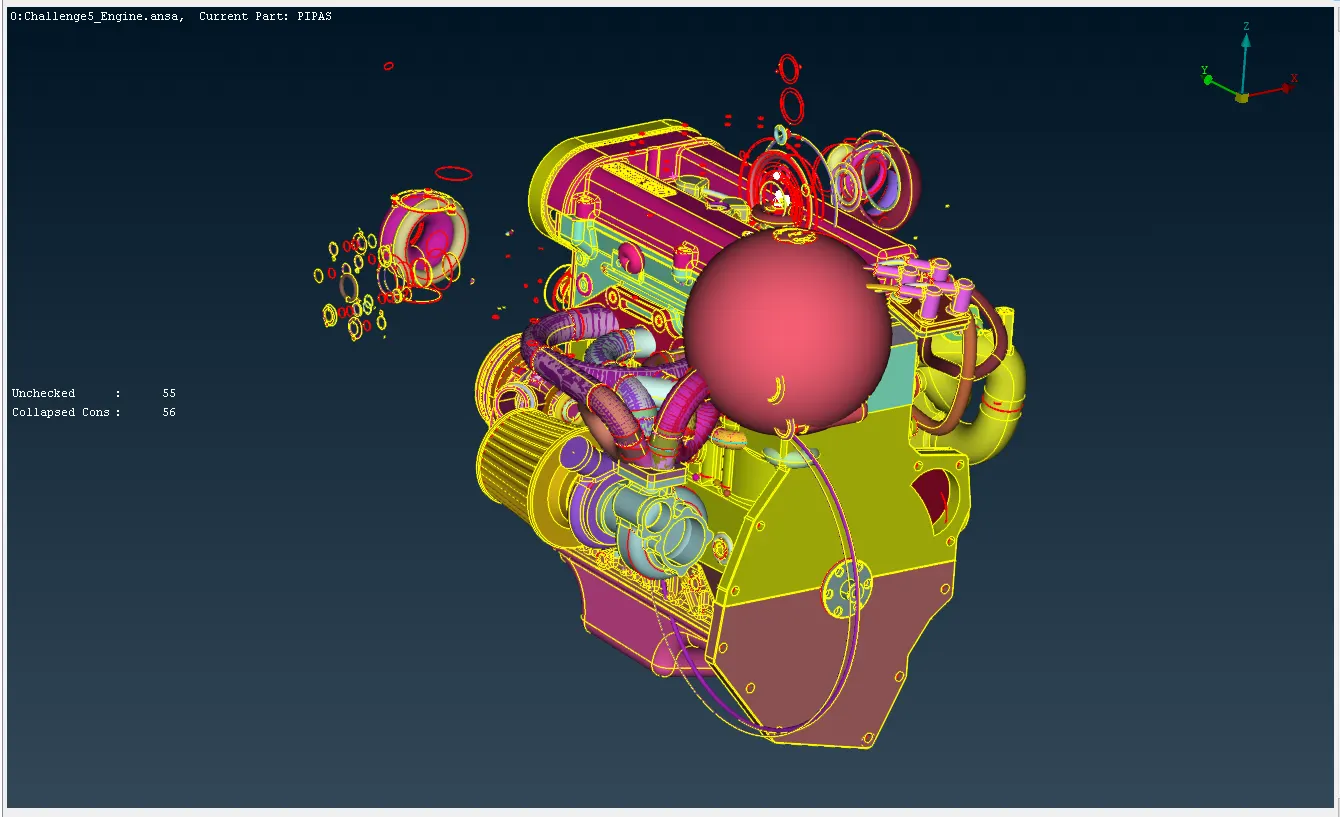
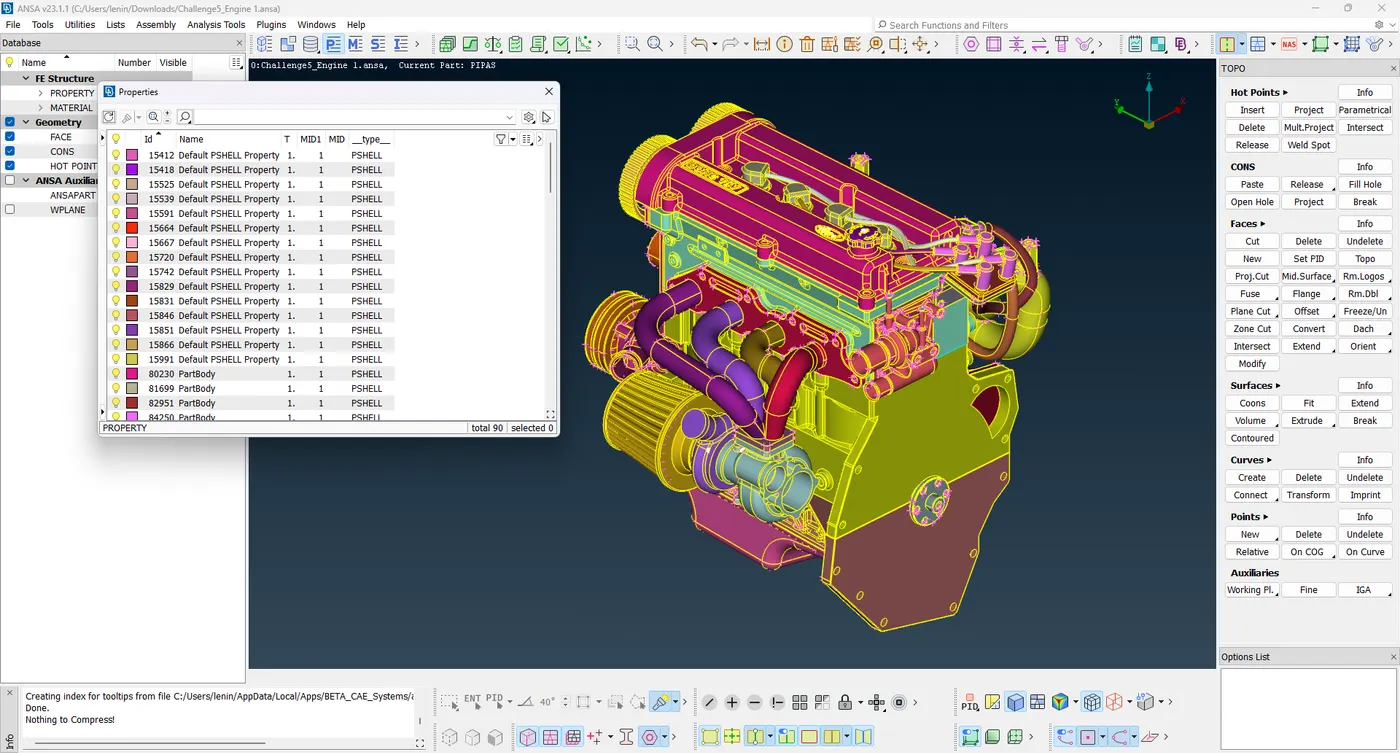
Surfaces are identified by examining triple and single cons. These surfaces are then removed after carefully inspecting the model without disturbing the original design. This process takes longer because it involves the elimination of numerous unwanted surfaces. After completing the process it consists of 90 PIDs from 1422 PIDs are shown in the image below.
After completing the engine model, start working on the transmission model, which consists of 152 PIDs that have some unwanted surfaces. The model was thoroughly inspected, and the unwanted surfaces were deleted.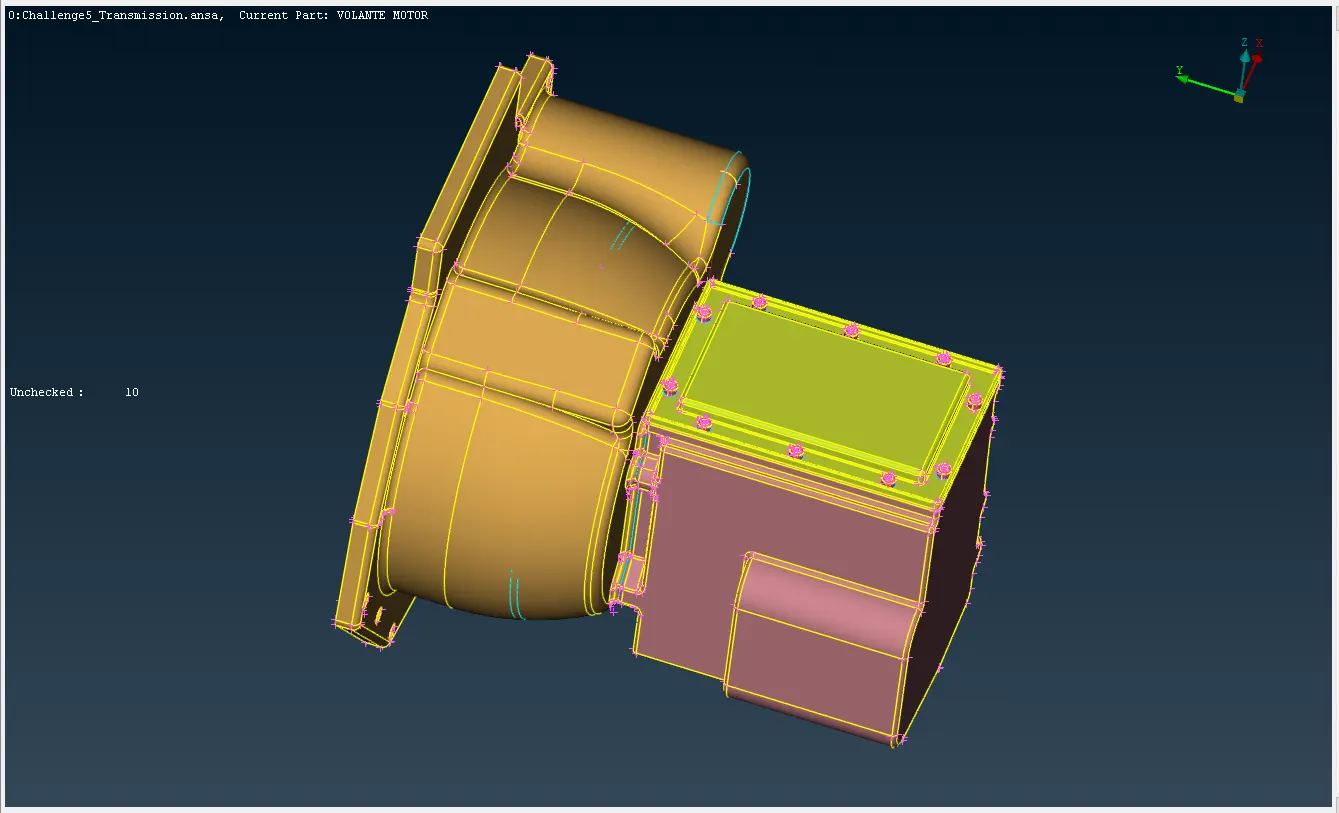
By using the tools Not, And, New, Paste, Topo, and Delete, after deleting these surfaces, 10 PIDs remain out of 152 PIDs, as shown in the image below.
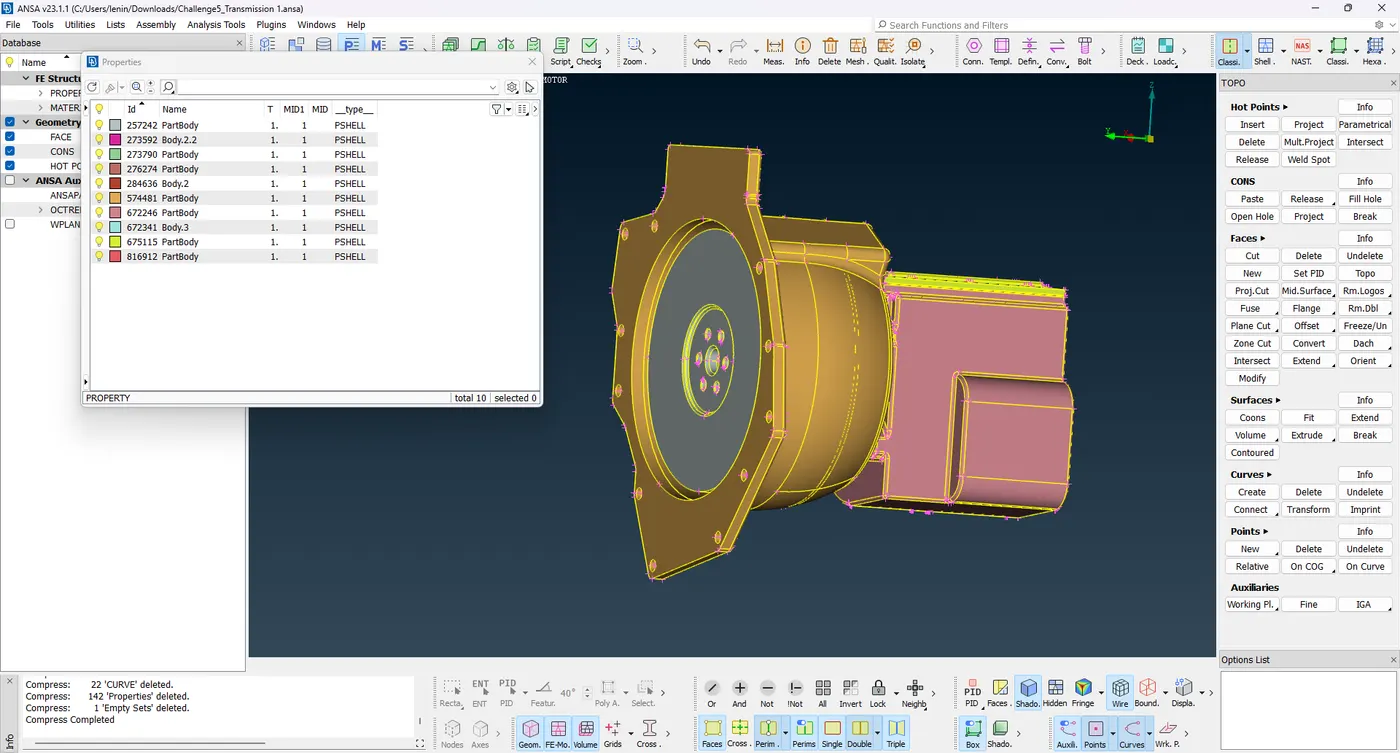
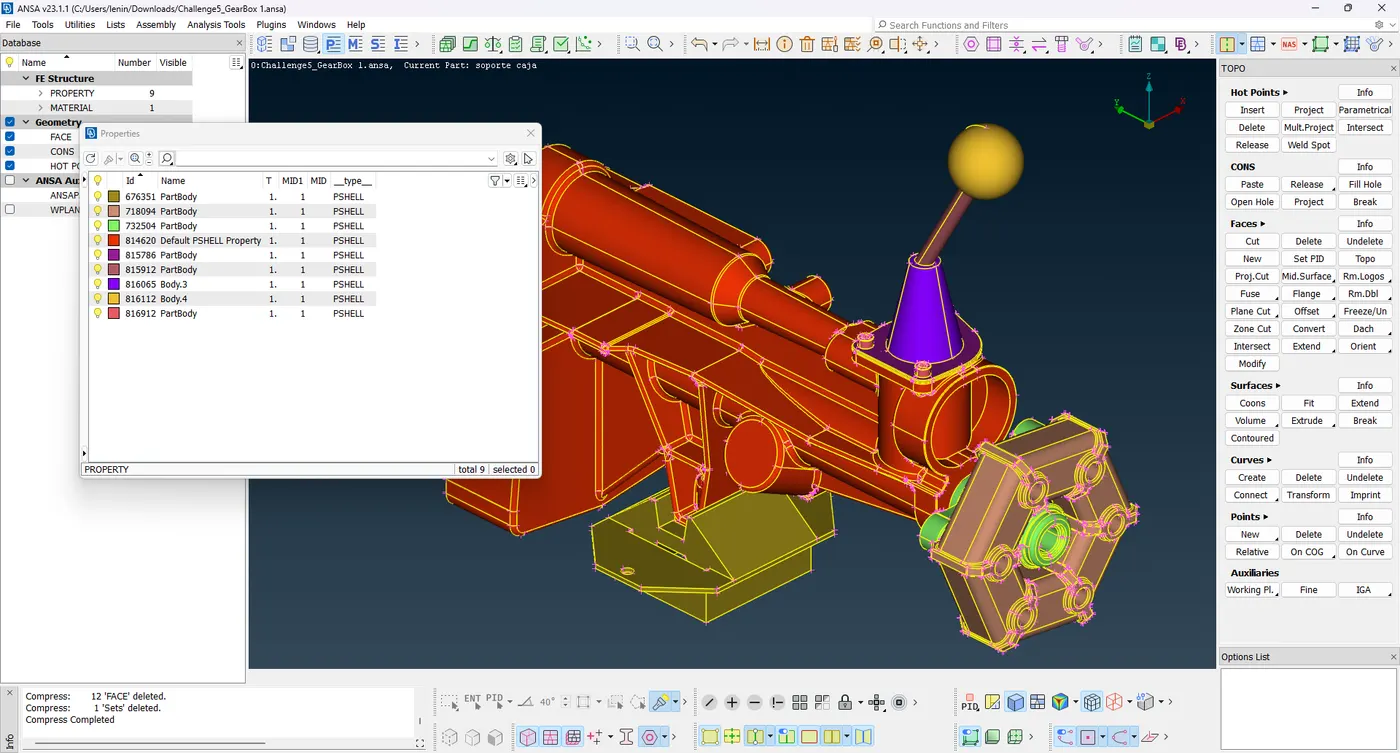
Completing the transmission model next work is on the gearbox model. This model consists of 9 PIDs and it has only a wanted surface no unnecessary surface, so easy to finish this model.
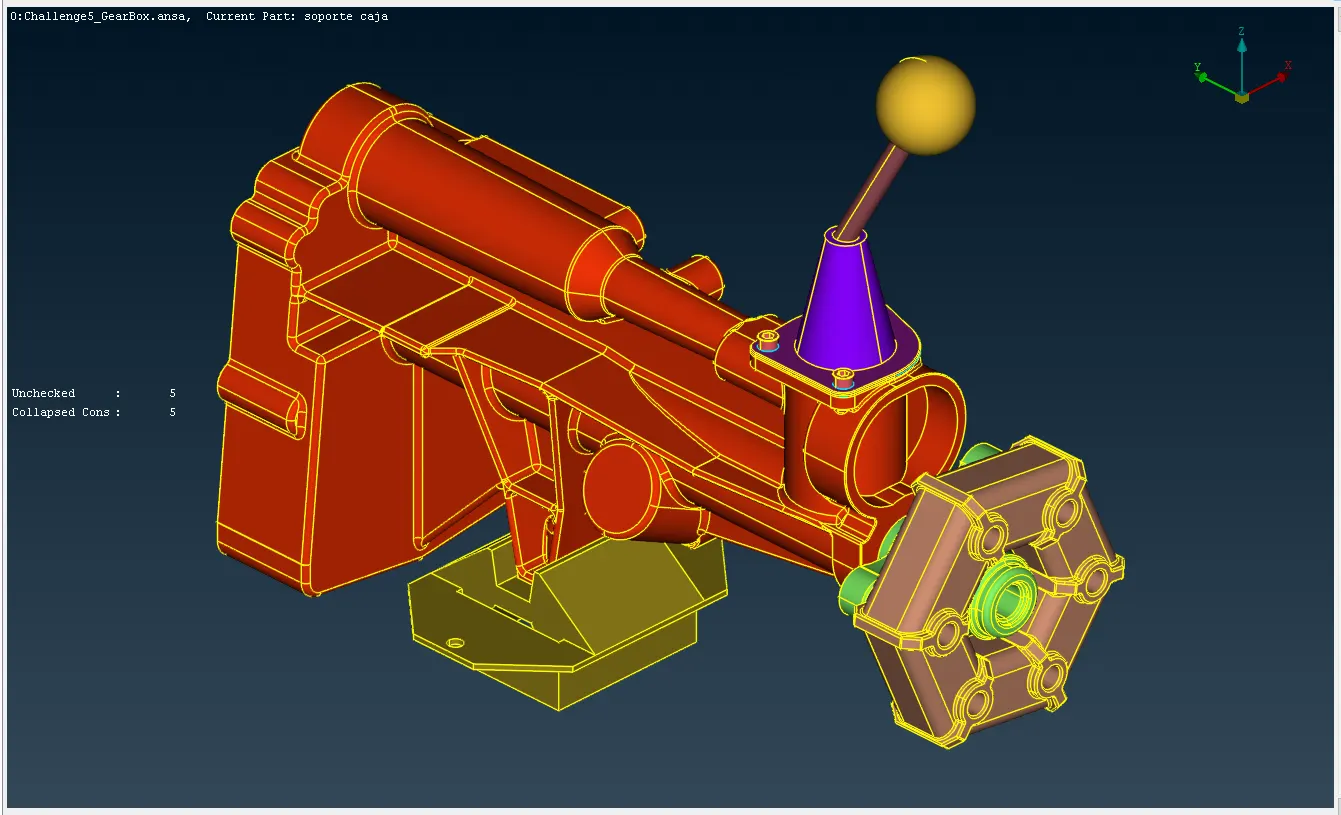
The gearbox consists of a minor geometrical error, to clear the triple cons presented in the bolts connecting parts are shown in the image below.
2. Merge
After completing the Topo clean, merge the three models and close the holes because it will affect the surface wrap volume. Goto the engine model open the File -> click the Merge -> new tab will open Select the file and open -> Merge parameter tab open -> select the option "Merge with current model" -> thick the "Autofit model" -> click Ok, these are the steps to merge the two models. First, merge the transmission with the engine model. After merging, the gearbox will be shown in individual images below.
3. Surface Wrap
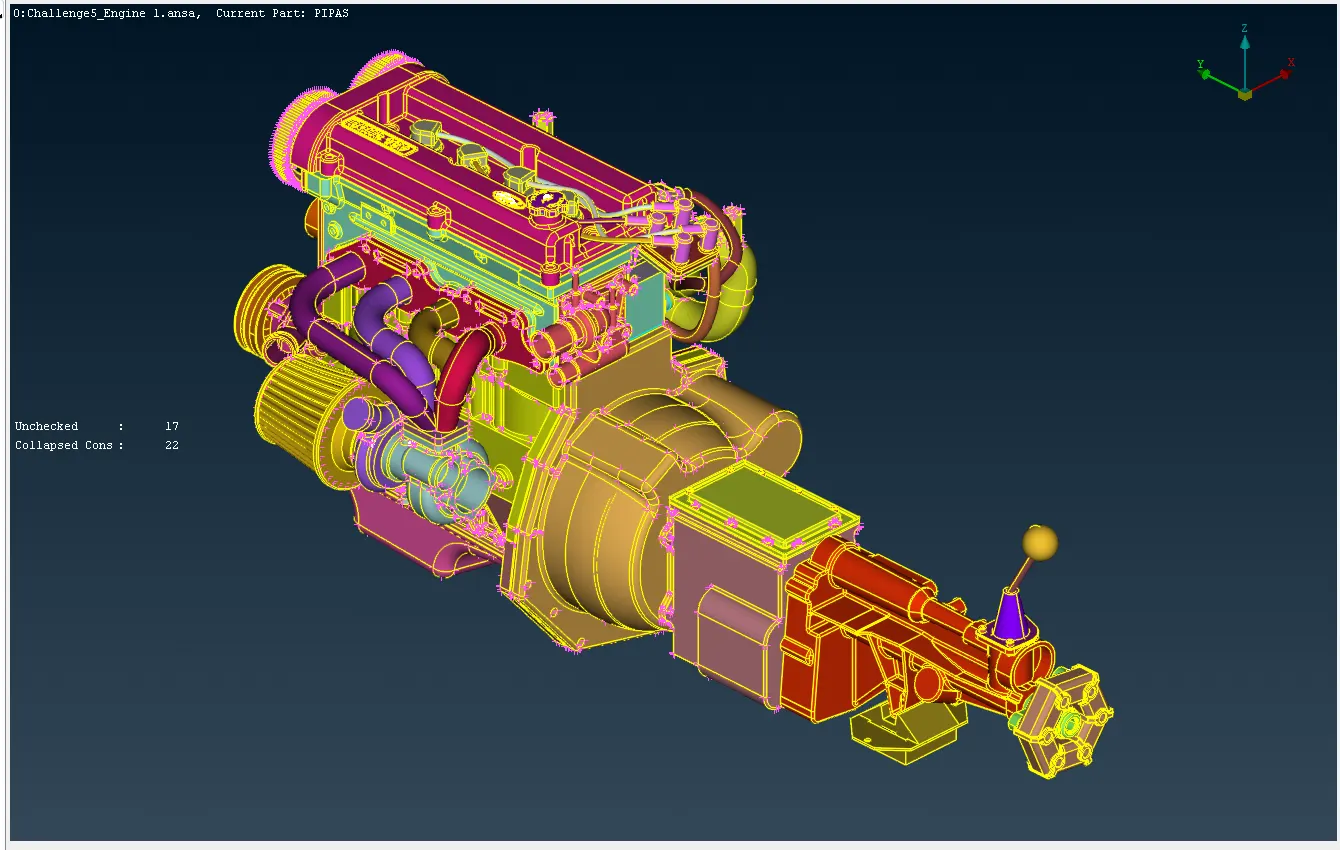
Merged the three models, after creating the surface over the tiny bolt holes, pulleys and air inlet outlet holes by using tools New and Fil Hole options. To inspect all unnecessary holes, whether open or closed. Ensure outer surfaces are ready to surface wrap are shown in the image below. And finally, it consists of 109 PIDs in the automotive assembly.
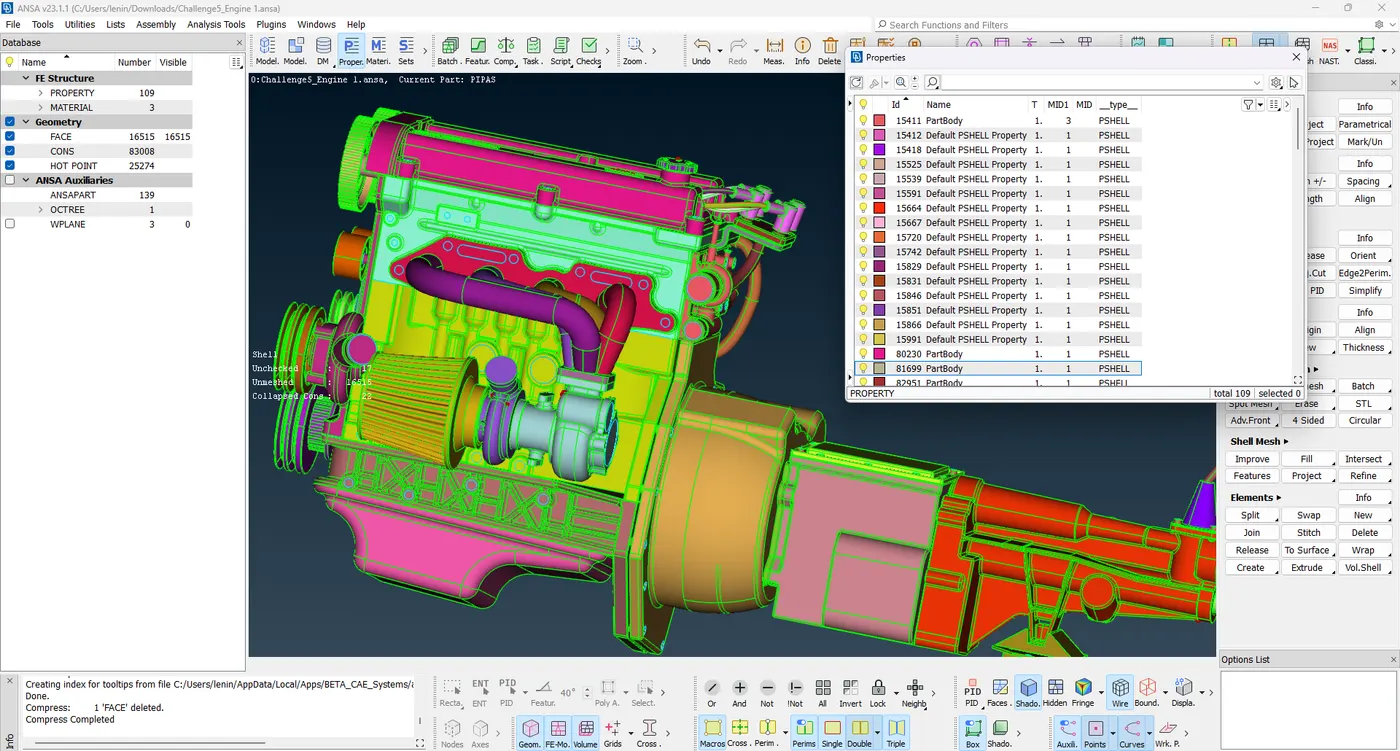
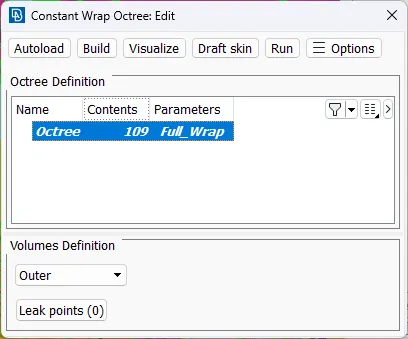
Goto Mesh -> Classic Mesh -> Elements -> Wrap -> select the "Constant Length" -> CONSTANT WRAP OCTREE tab will open -> the status is Empty -> double click the Empty -> new tab open "Constant wrap octree edit" -> rename the OCTREE to Full_Wrap -> double click the "Untiltle" -> open the new tab "Constant wrap octree: parameter" -> in here named as Full_Wrap -> give the target length is 3 mm -> Ok -> come back to "Constant wrap octree edit -> double click the "0" in content -> open a new tab "content of octree scenario octree" -> enter file name is Full_Wrap -> select all PIDs -> to shift right side column -> click Ok -> come back to "Constant wrap octree edit" now the content is "109" -> click the RUN it takes some time to finish -> surface wrap are applied in the engine assembly are shown in the images below.
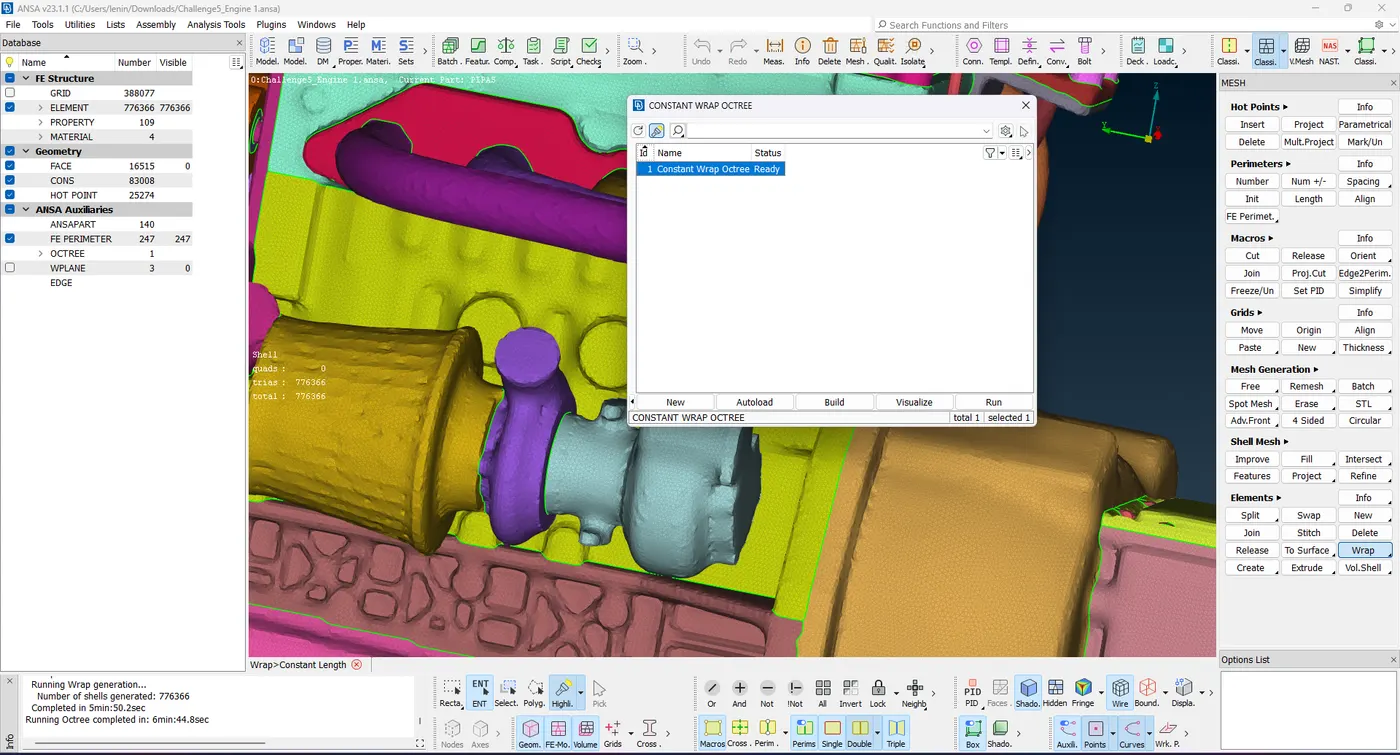
These are the steps involved in the surface wrap on automotive surfaces.
Learning outcomes
This project aims to explore the application and uses of surface wrap in the automobile industry.
Result
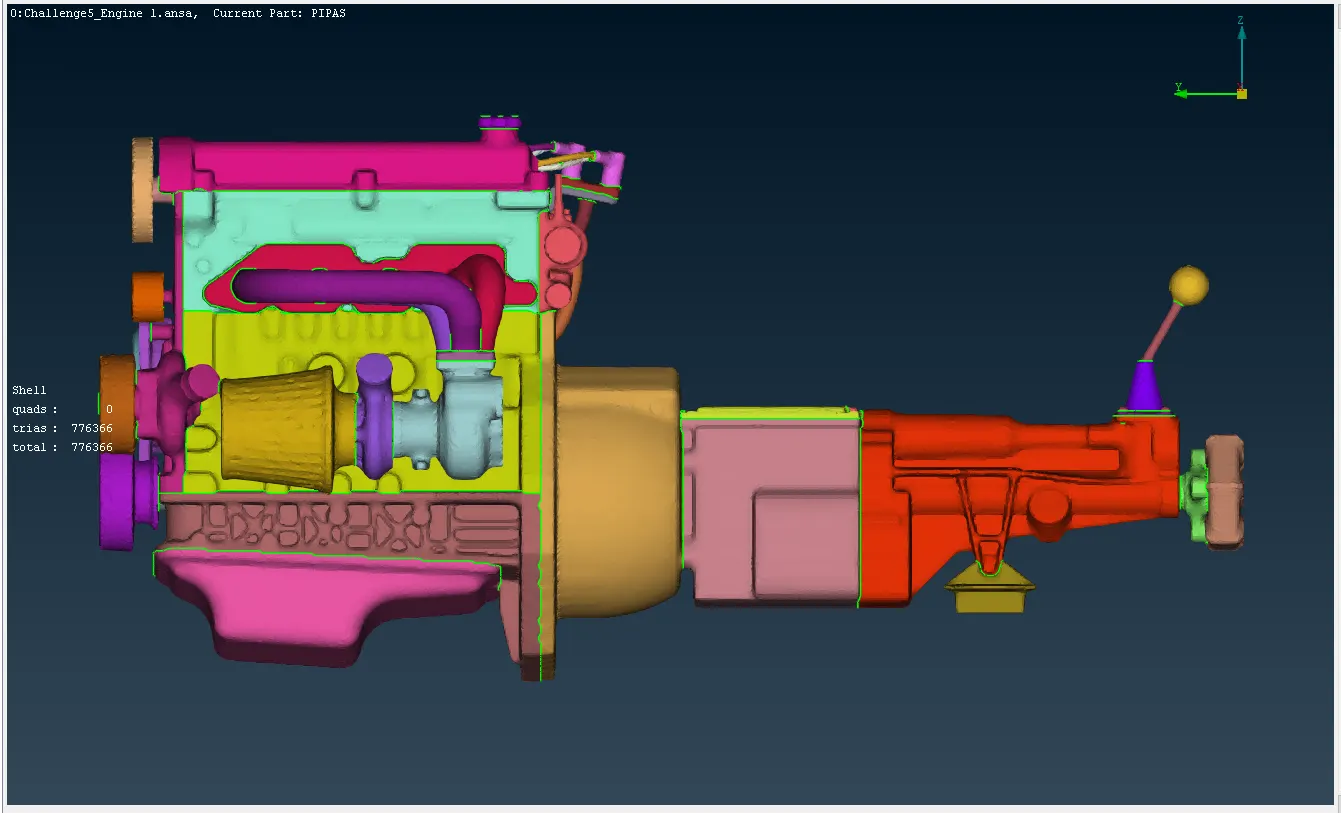
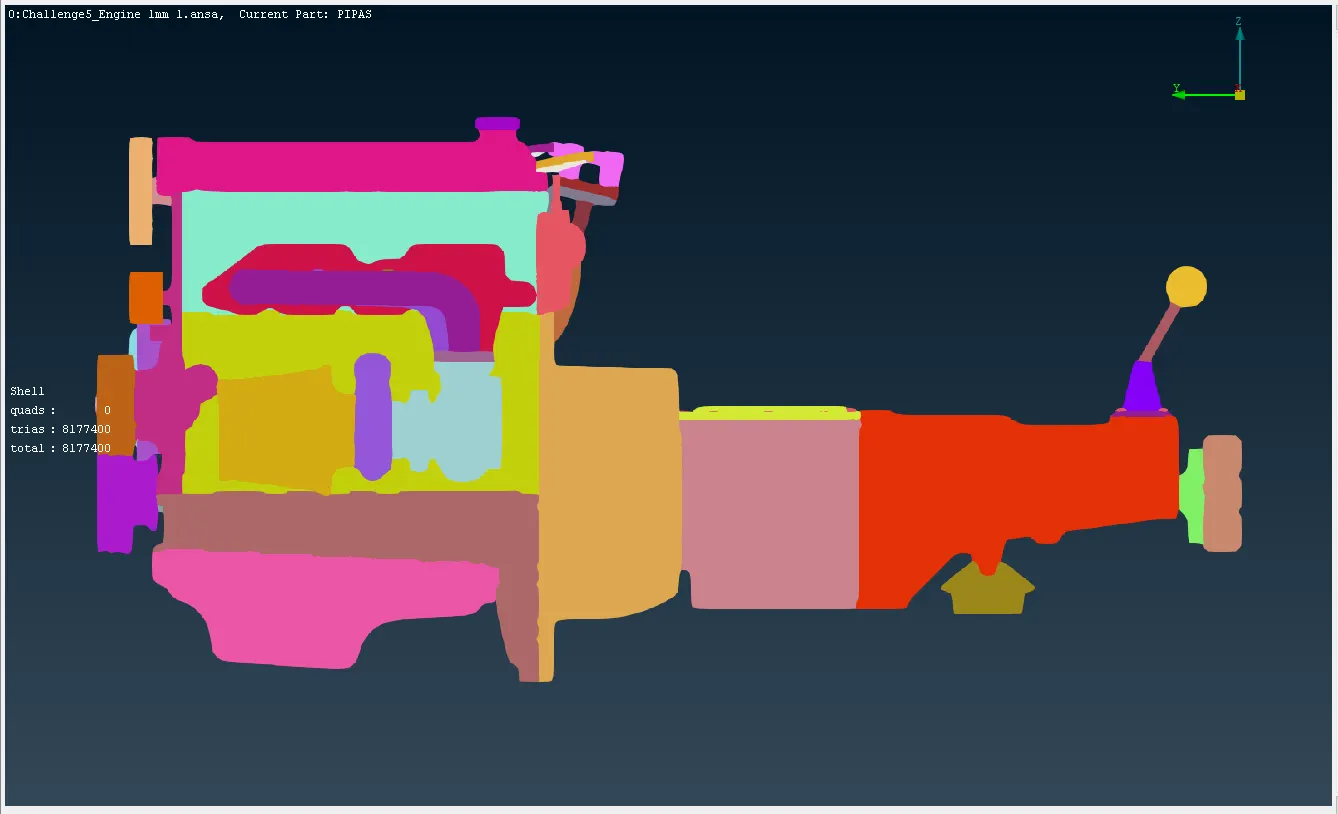
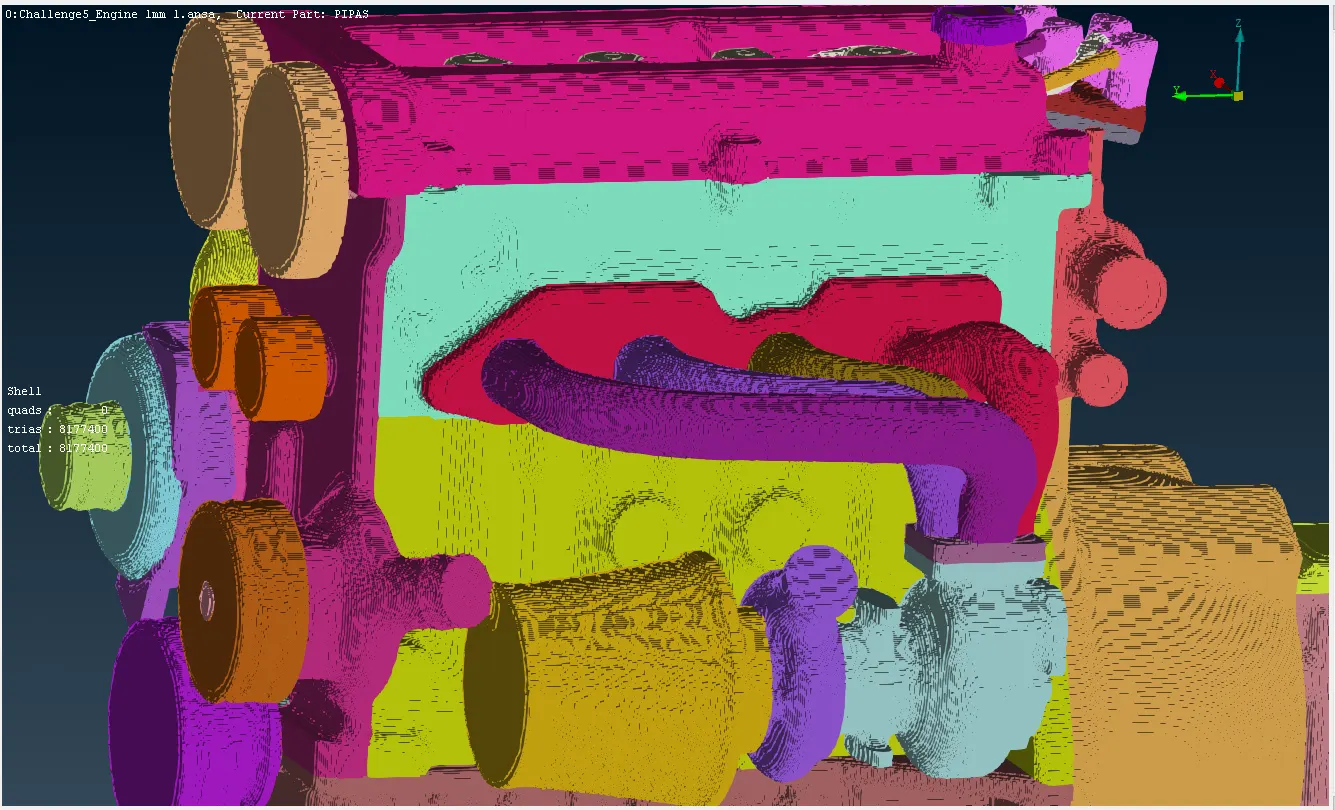
In the lecture video, the automotive assembly surface wrap at a target length of 5 mm is not suitable and the detailing of the assembly is missing. In the project, the Surface Wrap at a target length of 3 mm has meshed on the automotive assembly as shown below. Then I think about how the surface wrap performs in a target length of 1 mm on the automotive assembly and I work on that as shown in the images only below.
The surface wrap of the automotive assembly in 1 mm is not suitable the model is meshed like a block construction (lego build).
Conclusion
The automotive assembly is successfully surface-wrapped at a target length of 3 mm. The surface wrap applied at the outer surface of the automotive assembly is shown in the image and link below.
Click here -> Surface wrap on Automotive Assembly.