Week 4 Challenge : CFD Meshing for BMW car
Aim
To solve the geometrical error of the given model and assign the PIDs to mesh in the given quality criteria of the model.
Objective
For the given model, check and solve all geometrical errors on the half portion, assign appropriate PIDs, and perform meshing with the target length and element quality criteria. After meshing the half model, symmetry is applied to the other side.
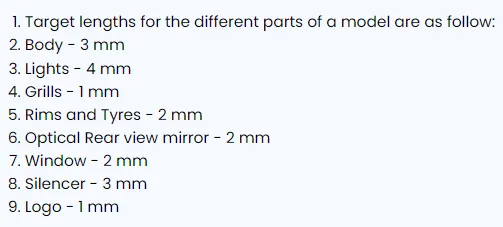
The target length for the different parts of a model are as follows
> Body - 3 mm
> Lights - 4 mm
> Grills - 1 mm
> Rims and tyres - 2 mm
> Optical Rearview Mirror - 2 mm
> Window - 2 mm
> Silencer - 3 mm
> Logo - 1 mm.
Procedure
In this given model solve geometry errors, assign PIDs and meshing by using ANSA. The procedure consists of five parts are
- Topo clean
- Assign PIDs and Surface mesh
- Surface mesh
- Wind tunnel Create
these are detailed and explained below.
1. TOPO CLEAN
The given model is open in the ANSA application. The model has irregular shapes while opening the file to solve by Mesh -> Perimeter -> Length -> Perimeters and Macros at 1 mm -> ok, the model's original shape will retain.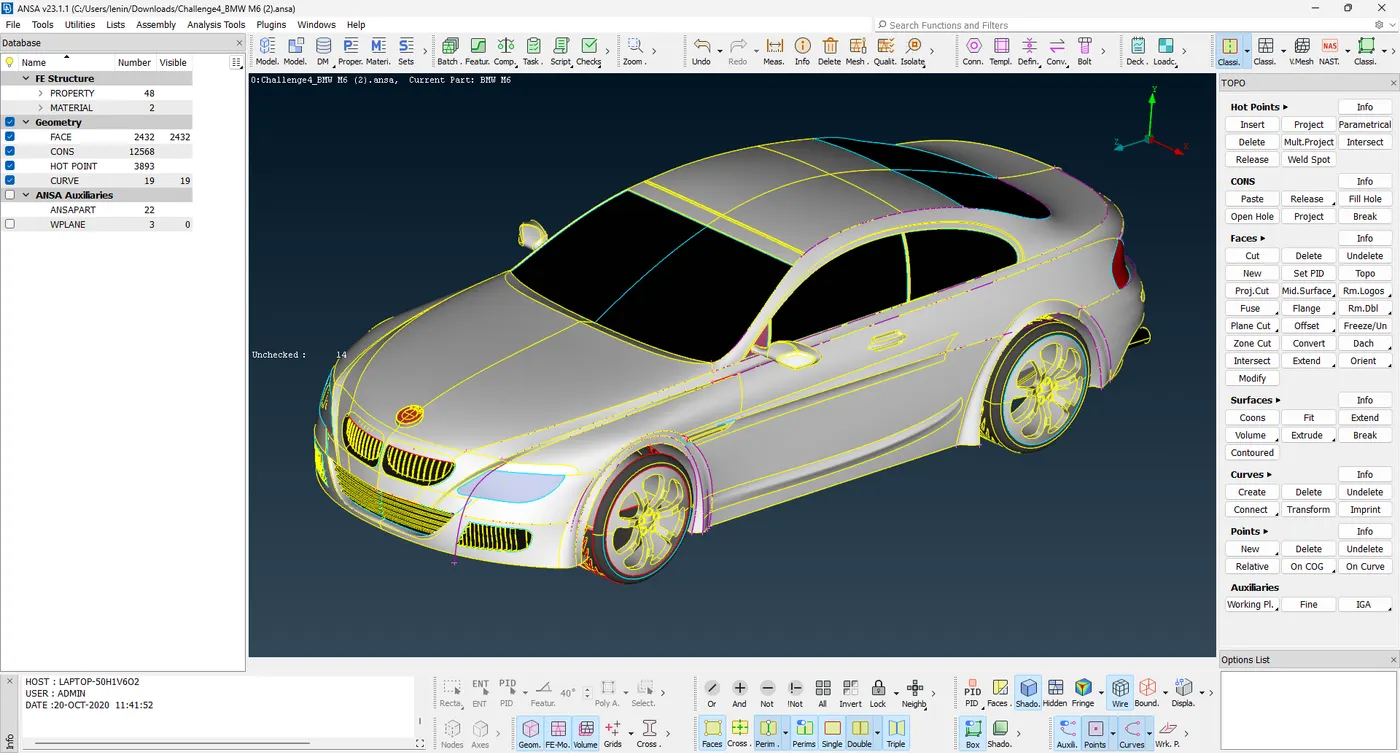
The model is symmetrical based on the centre axis, so delete the half portion of the model except the logo because it is not symmetrical. Start work in Lights use the iNOT option to show light and near-surface, only need the outermost surface and back side of the light part to be deleted. After deleting the back side of the light one single conc to paste the single by using CONS -> PASTE -> Select the line -> Select the face -> Ok.
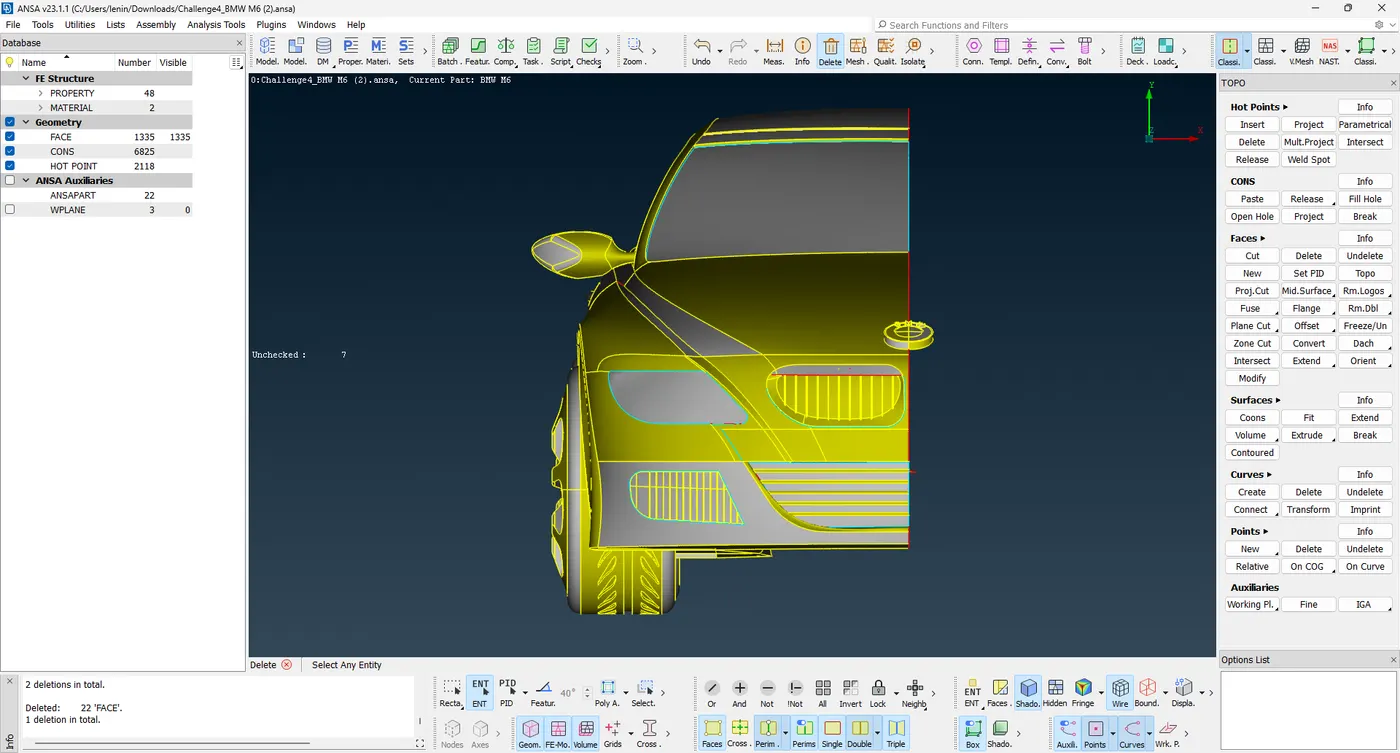
Next, work on the Grills of the model to delete the backside parts and join the part in a single volume with a closed surface. Triple cons are deleted to form double cons with a single one by using the tools Paste, Release, Project, Cut, Delete, Undelete, New, Topo, Project cut and Intersect.
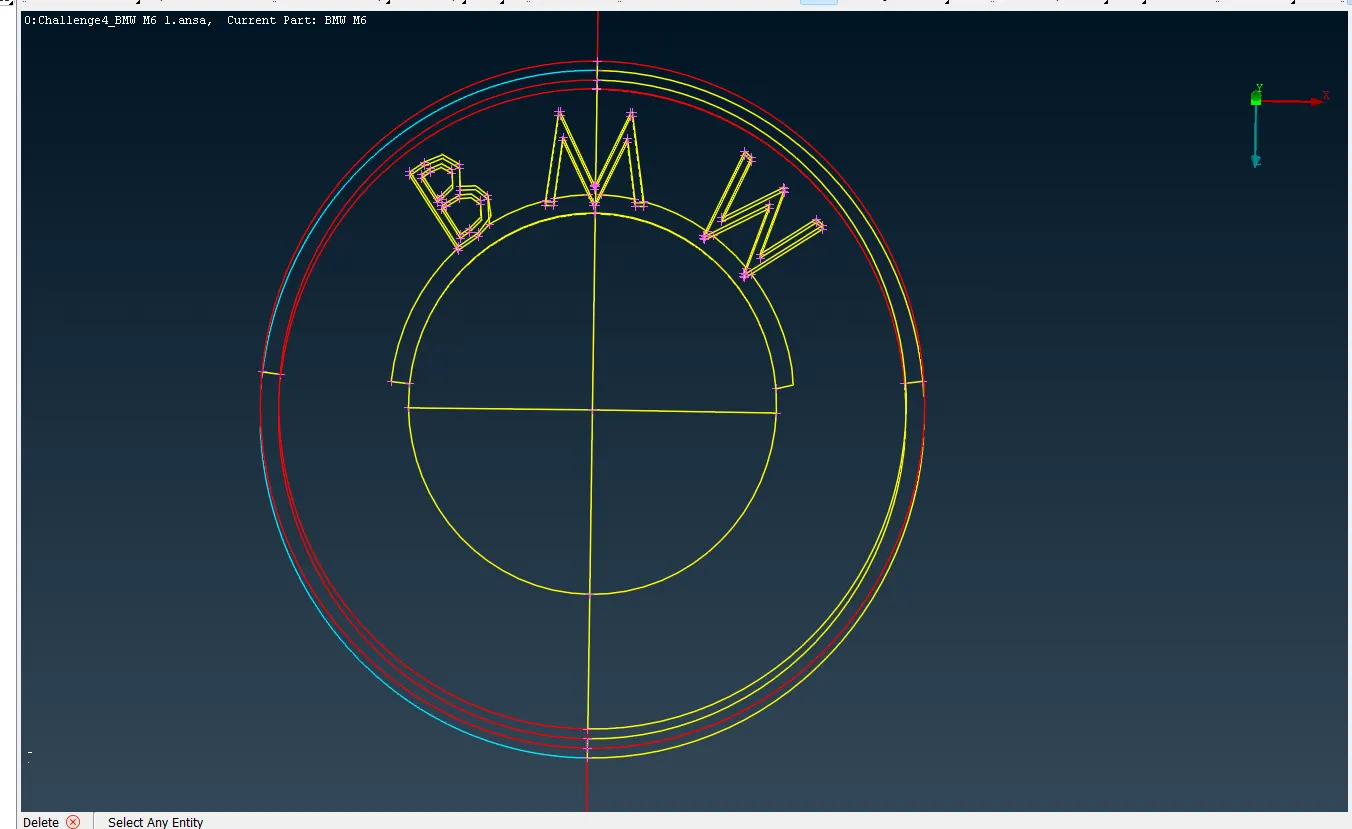
BMW Logo consists of three parts to delete the unwanted parts and create a single part. After completing the logo work on the Optical side mirror and Air vent to remove the unwanted surfaces and delete the triple cons create the single surface of the model. Next work on the bottom floor of the model consists of multiple surfaces intersecting together to remove unwanted surfaces to create a single floor of the model.
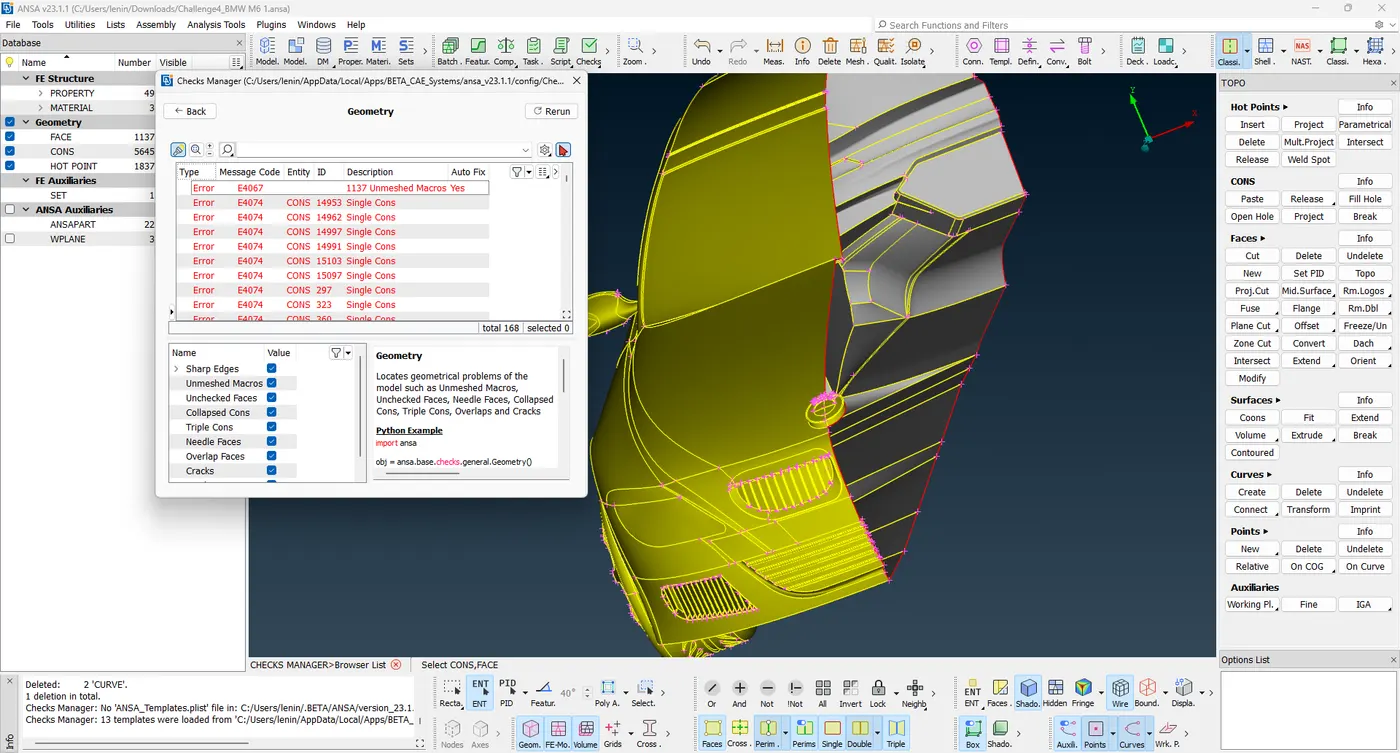
Rims and tyres have triple cons clear the triple to make a tyre in a single one. Delete the triple cons and extra surface to create the new parts with a single volume. All the Triple cons are deleted to create the double cons and clear the single cons except the car middle line.
2. Assign PIDs and Surface Mesh
After clearing the triple cons and single cons to assign the PIDs and surface mesh of the model with the given quality criteria are shown below.
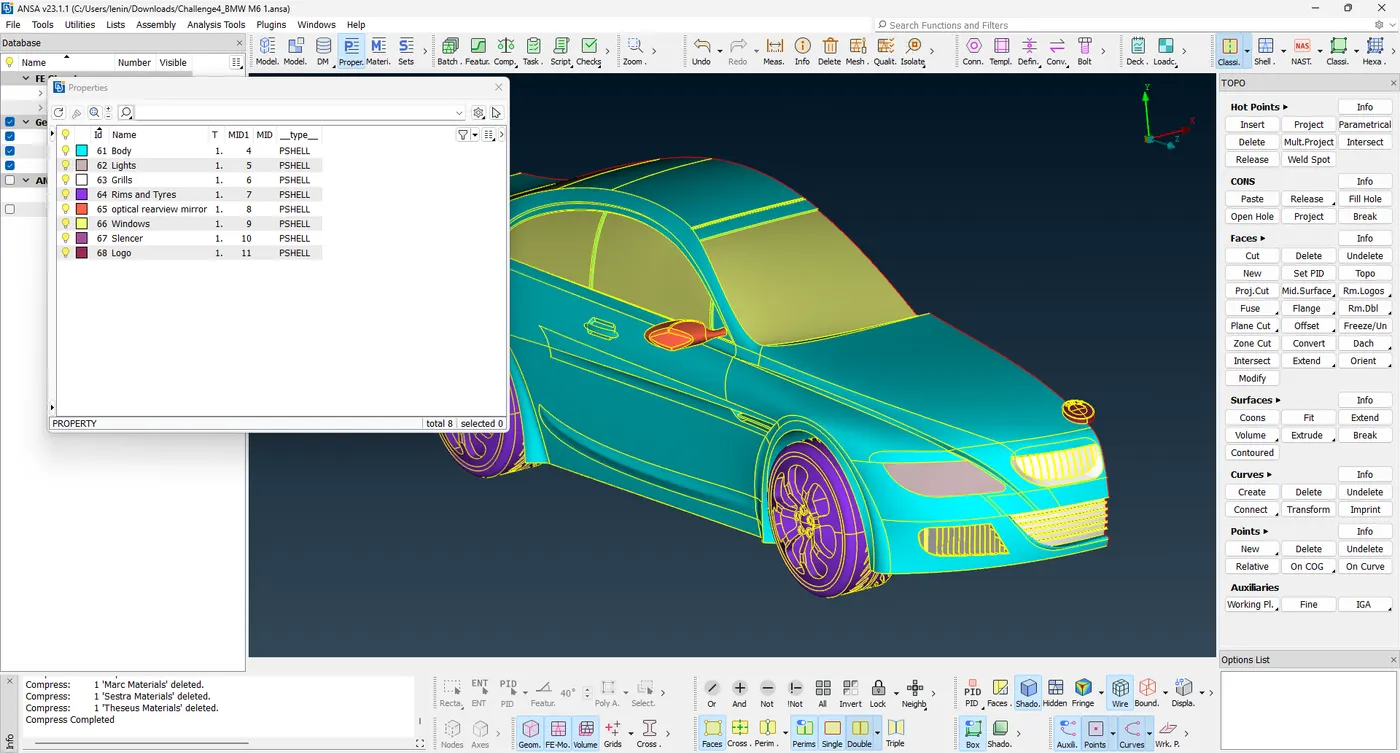
The PIDs are assigned the given name of the quality criteria. Create the new PIDs to change the name in the given criteria and select the part to assign the PIDs. After assigning the PIDs to delete the unwanted PID by using the compressed option Menubar -> Compressed -> Select all criteria -> to run the compressor it automatically deletes the empty PIDs to retain the assigned one as shown in the image below.
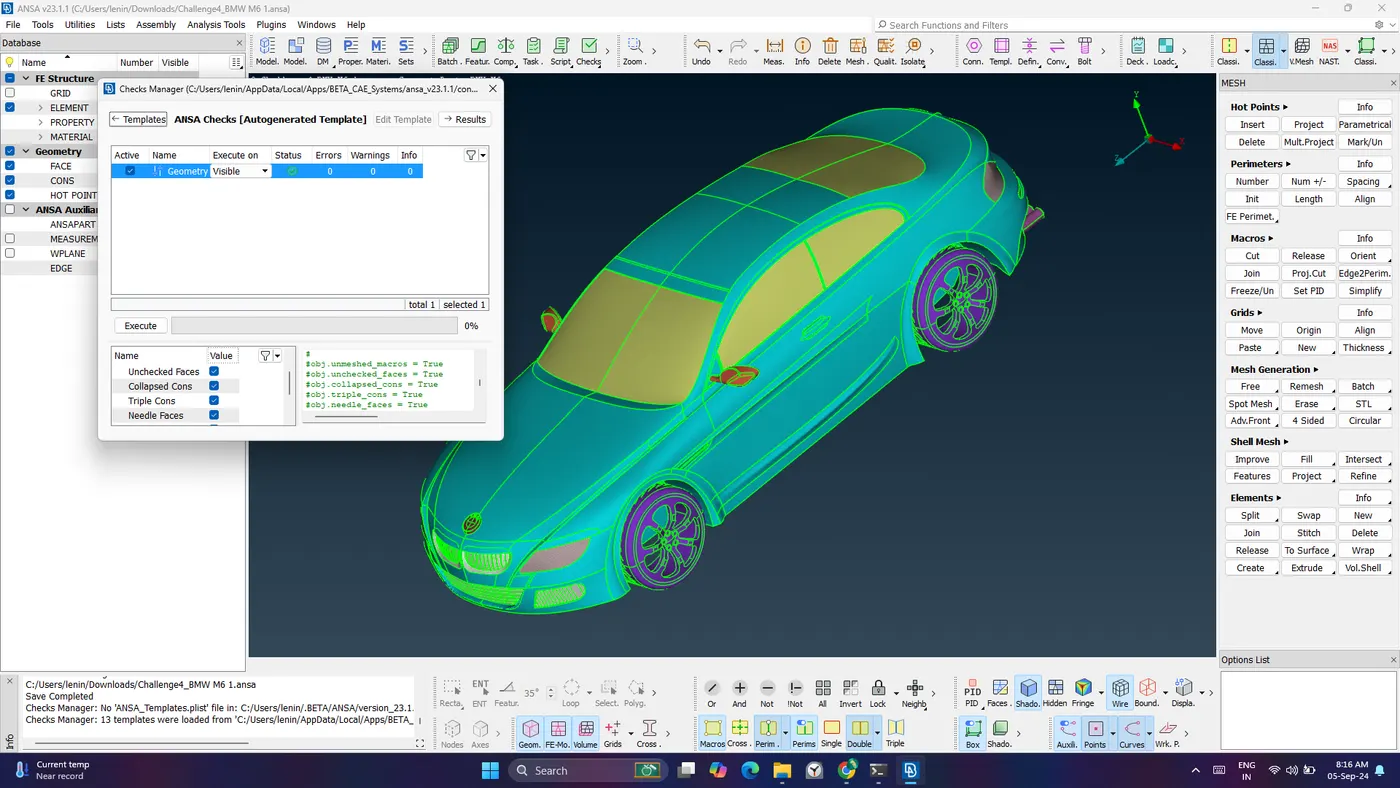
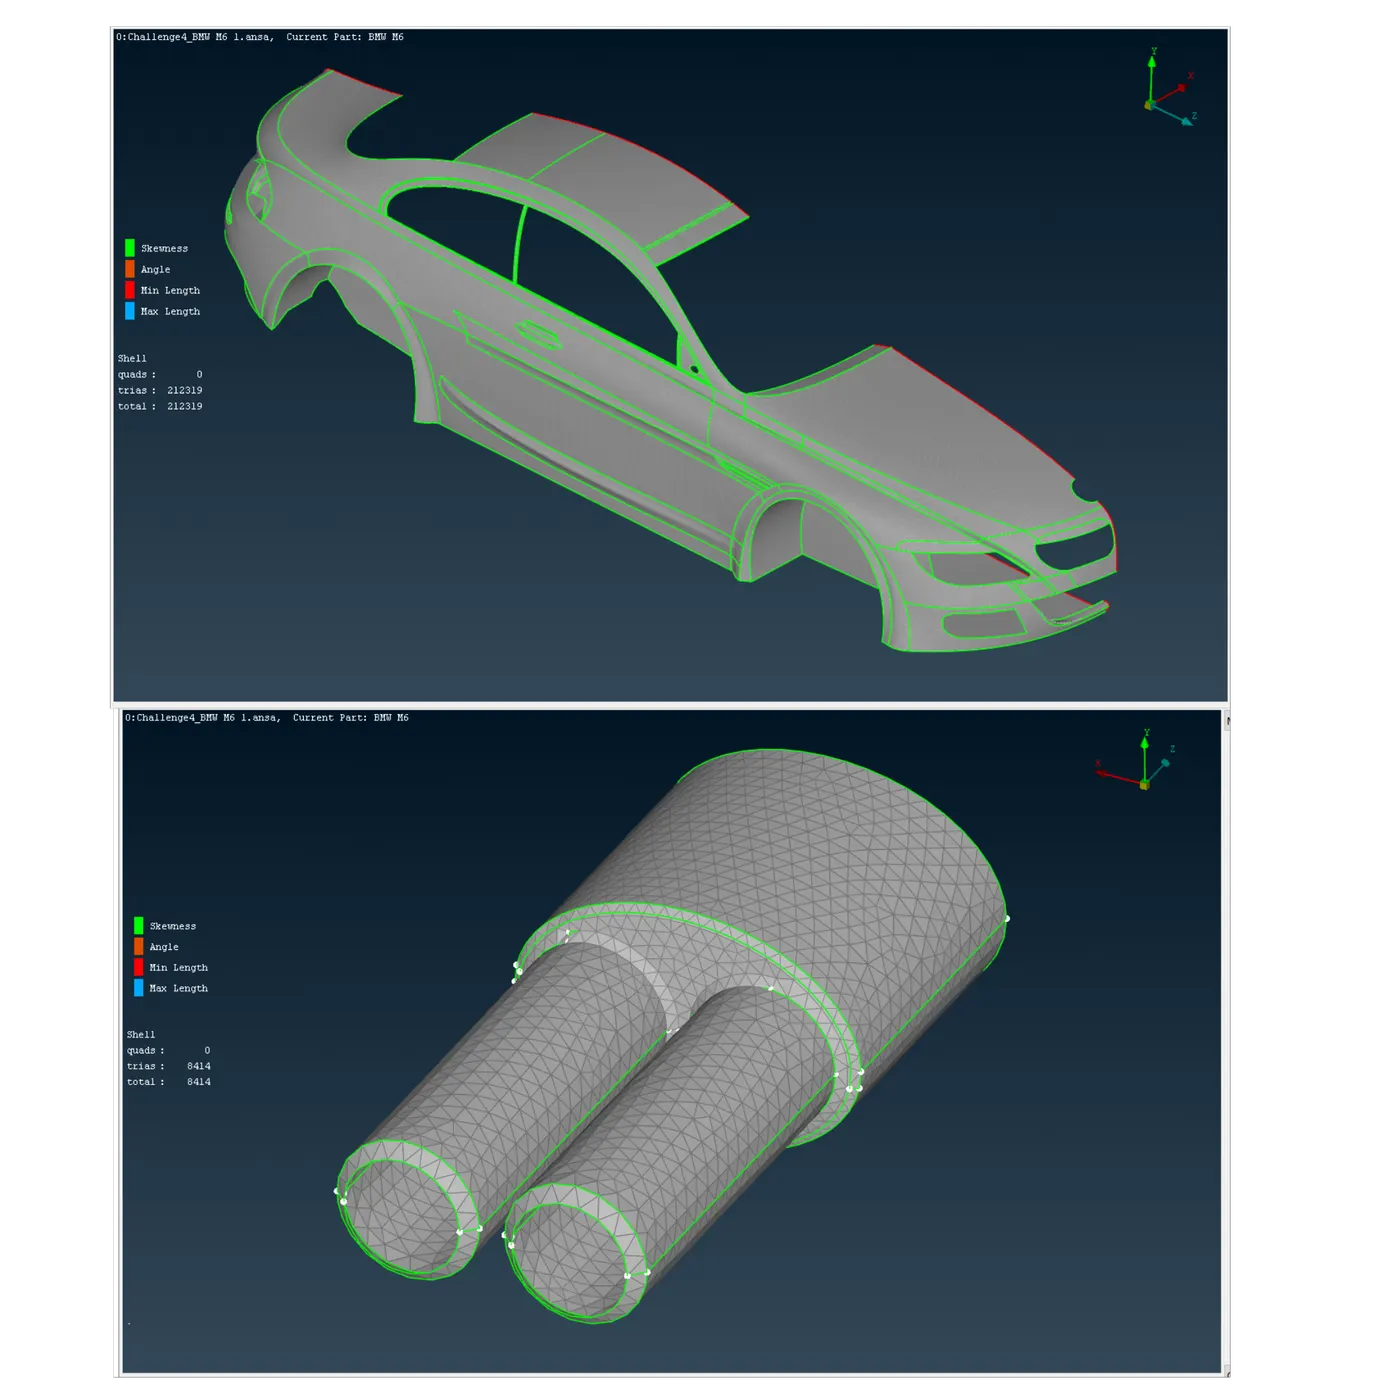
After assigning the PIDs to change the Mesh parameters and Quality criteria according to the target length of the given Parts to mesh the surface of the parts one by one. Next, change the PID mode to ENT mode and Shadow to Hidden mode to check the skewness, angle, minimum and maximum length of the mesh, if it comes to clearing these to make free from the mentioned above one. The surface model clear by the tools is the Refine and Move option is used to adjust the single mesh drag to move automatically and some manually. After checking these conditions are accepted parts are shown in the below images.
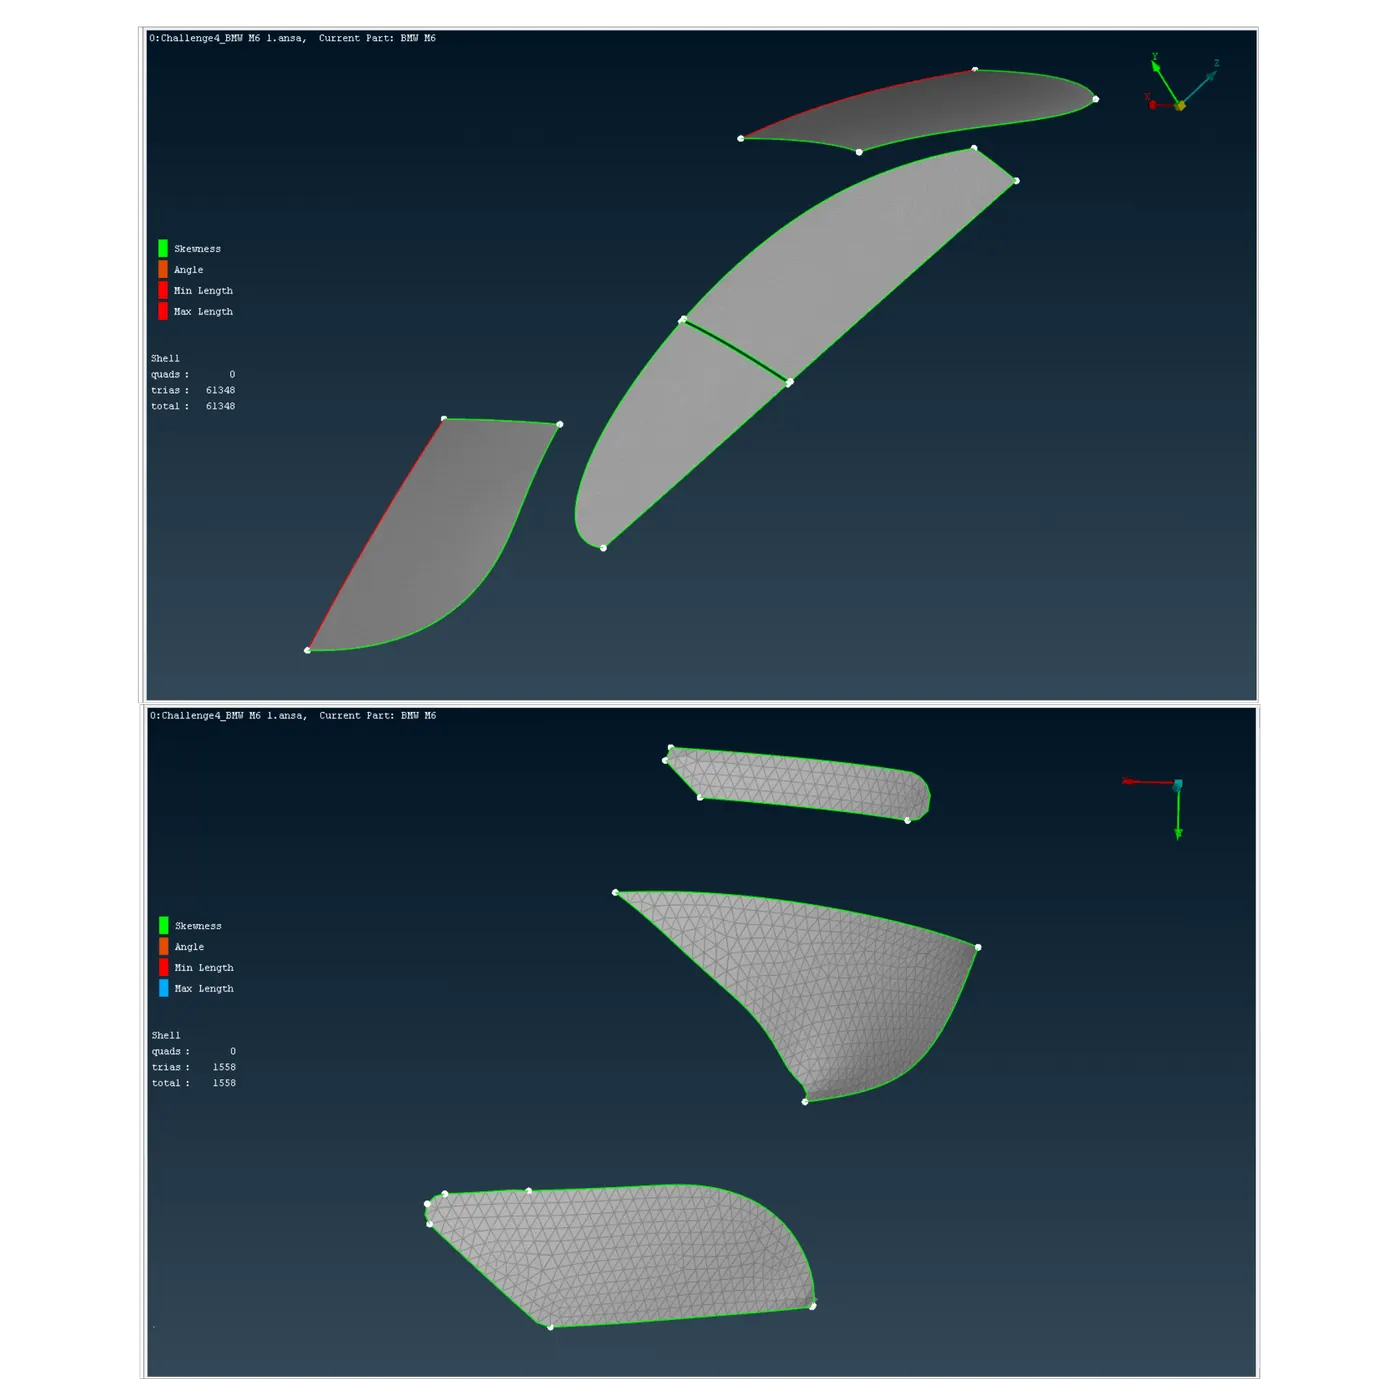
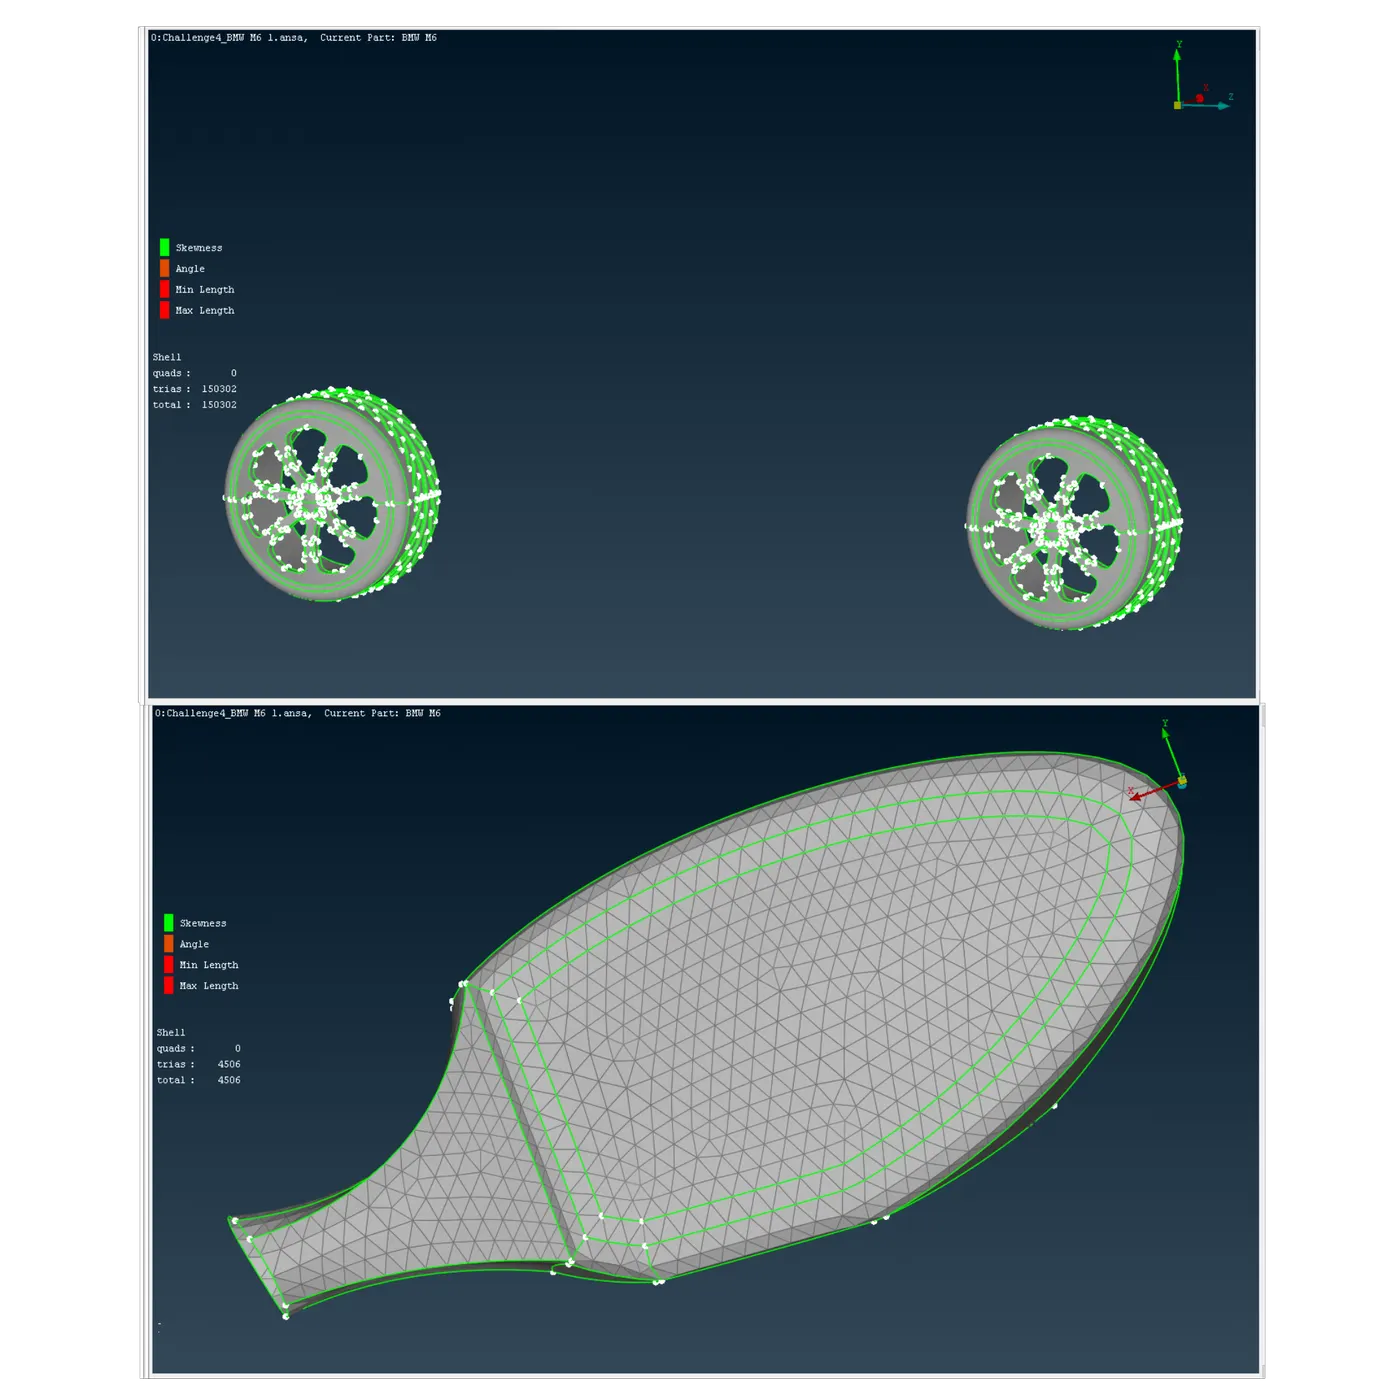
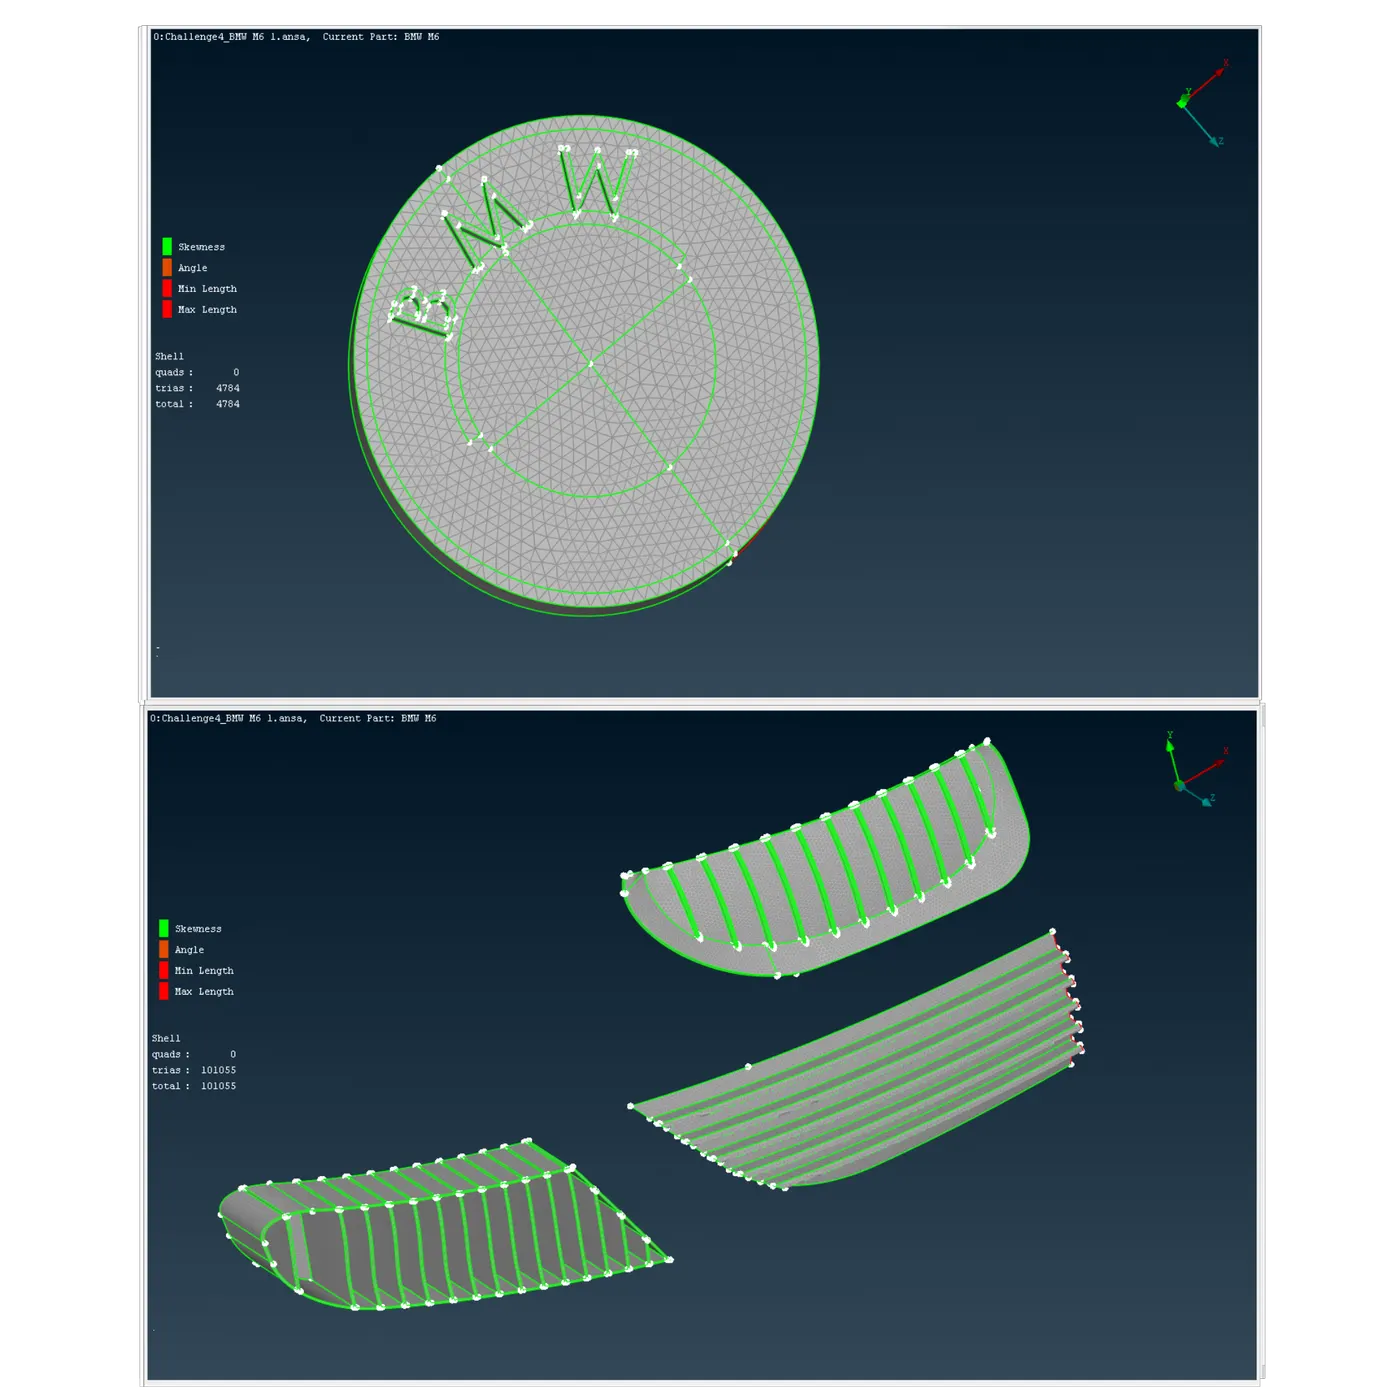
3. Wind Tunnel
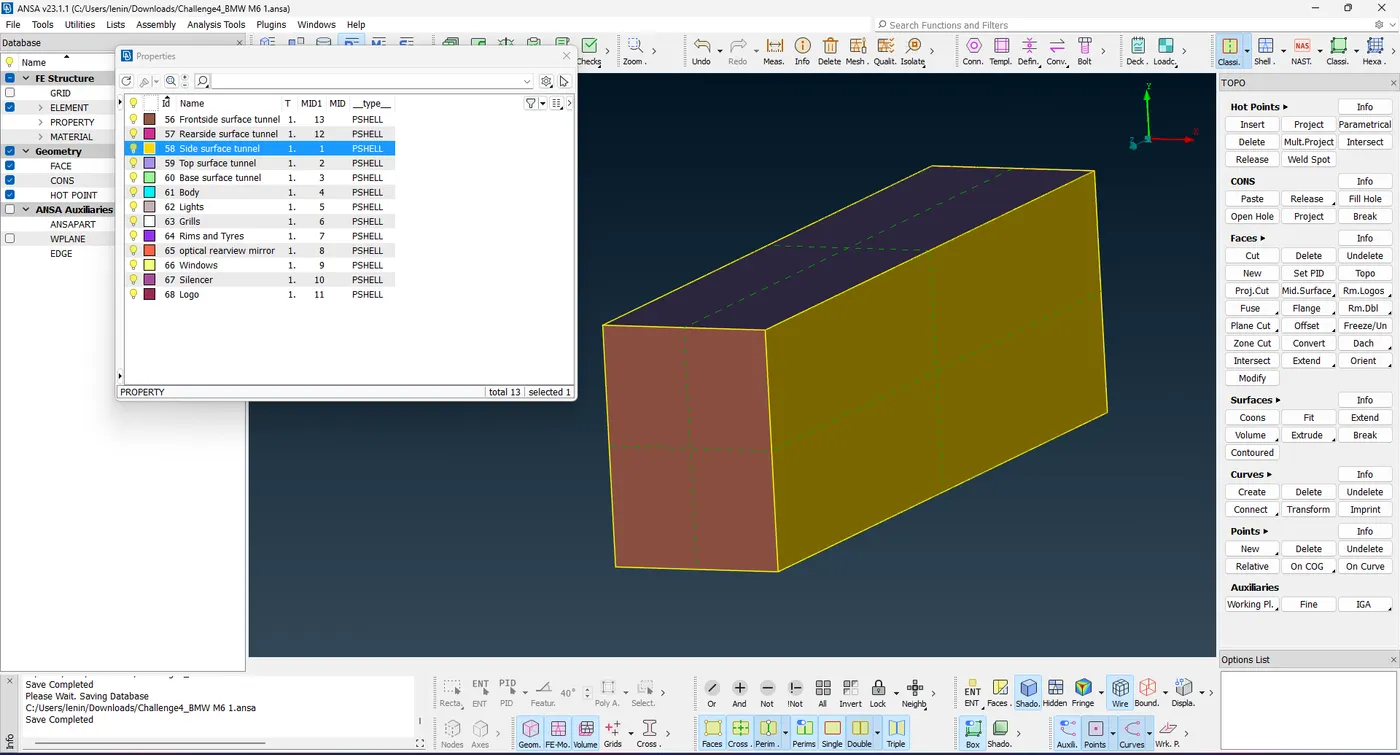
The wind tunnel surface is created over the model by using the Point option to create points below from the model at 75mm, Topo -> Points -> New. The points joining by Topo -> Curves -> Create, to create the plane and make a new surface by Faces -> New -> Coons. After creating the bottom surface to offset the surface above the model at 4250mm from the surface the front surface is created at a distance of 5915mm and the back surface is created at a distance of 8350mm. The side surface is created at a distance of 316mm from the centre of the model as shown below.
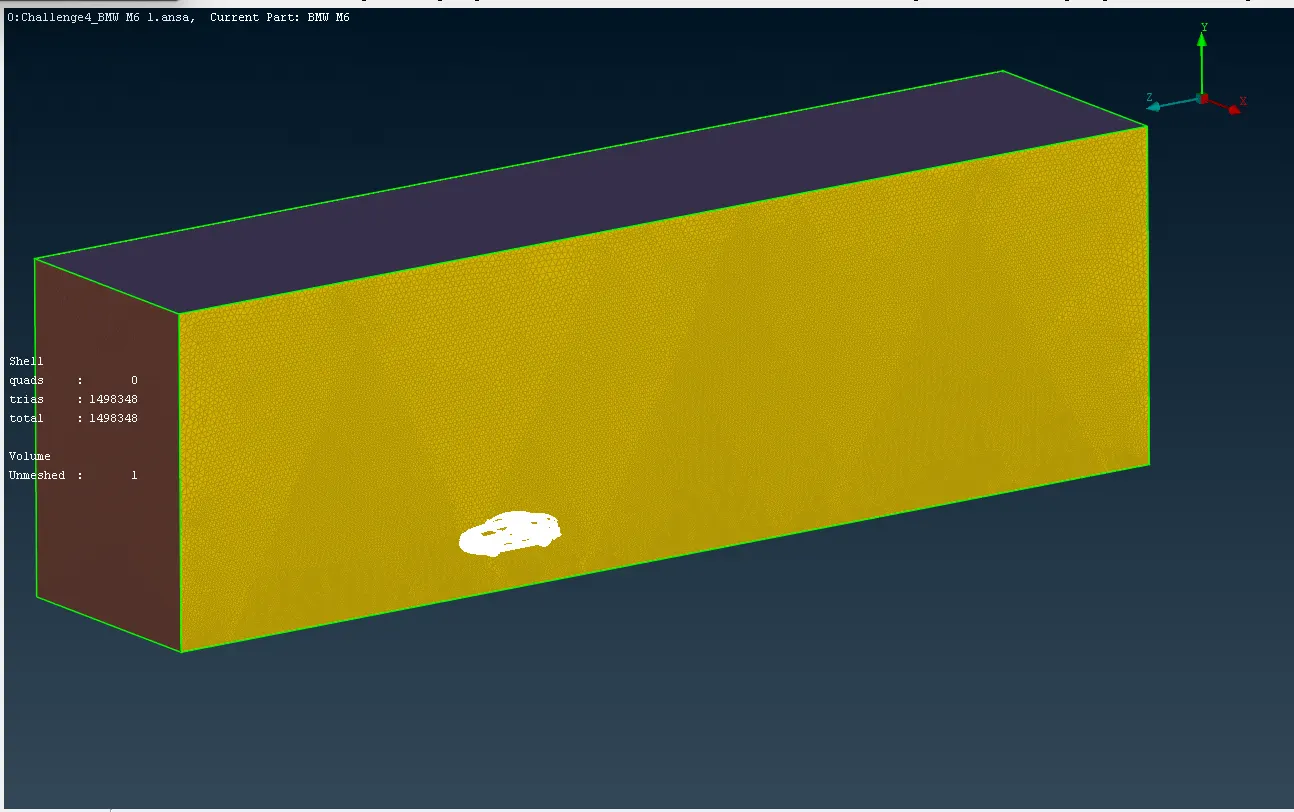
After creating the wind tunnel assign the new PIDs to are Bottom surface tunnel, top surface tunnel, frontside surface tunnel, rear side surface tunnel and side surface tunnel. Next, to mesh the surface at the different target lengths are bottom surface tunnel is 20mm and the top surface tunnel is 100mm. And remaining surfaces are mesh at varying target lengths from 20mm to 100mm to upward by using the Mesh -> Perimeters -> Spacing -> Click geometry -> set limit start 20mm -> set limit end 100mm -> set Factor at 1:1 -> select the cons -> Ok. The mesh is done as shown below.
Learn outcomes
This project helps how to mesh the whole car at different target lengths with a wind tunnel over the car. I learned new tools to solve this project with a better experience to create hope in the ANSA application.
Result
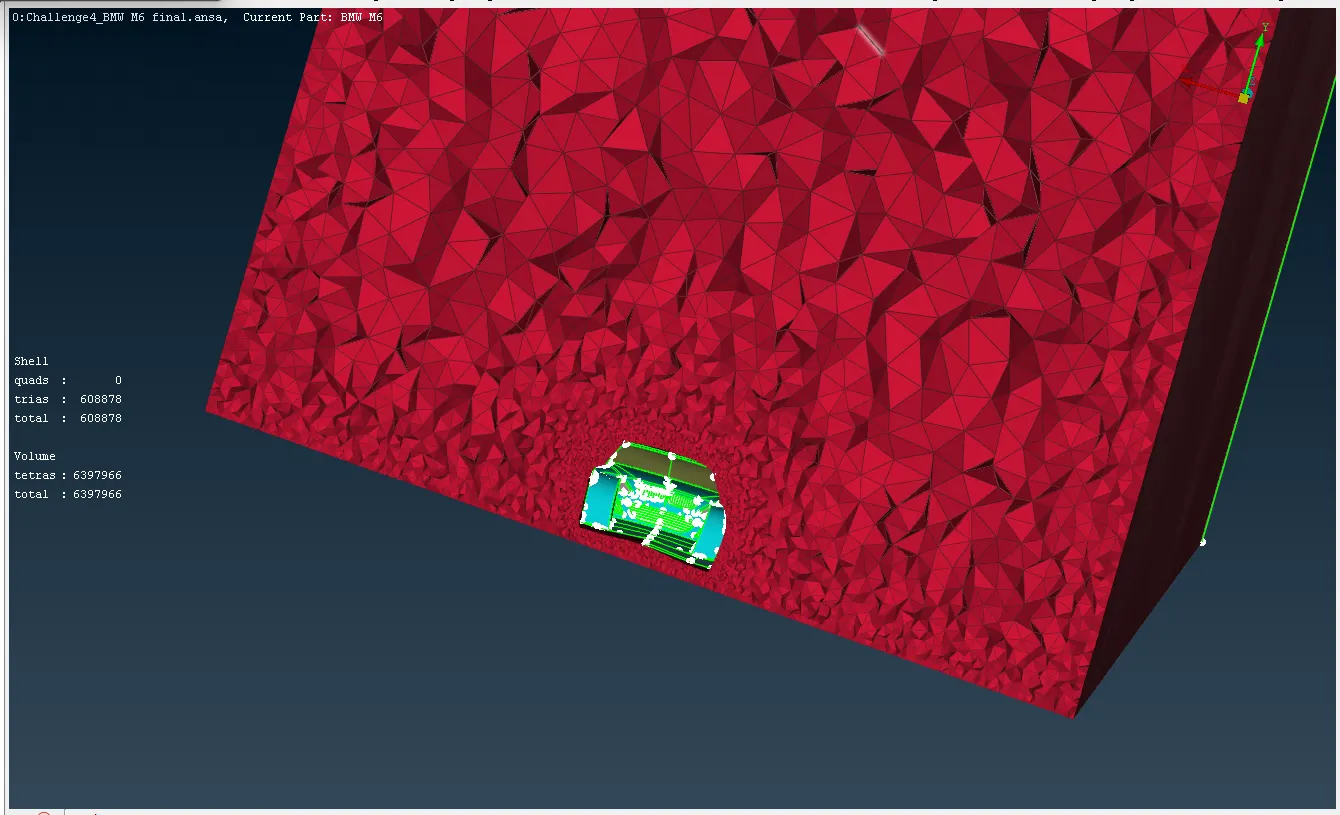
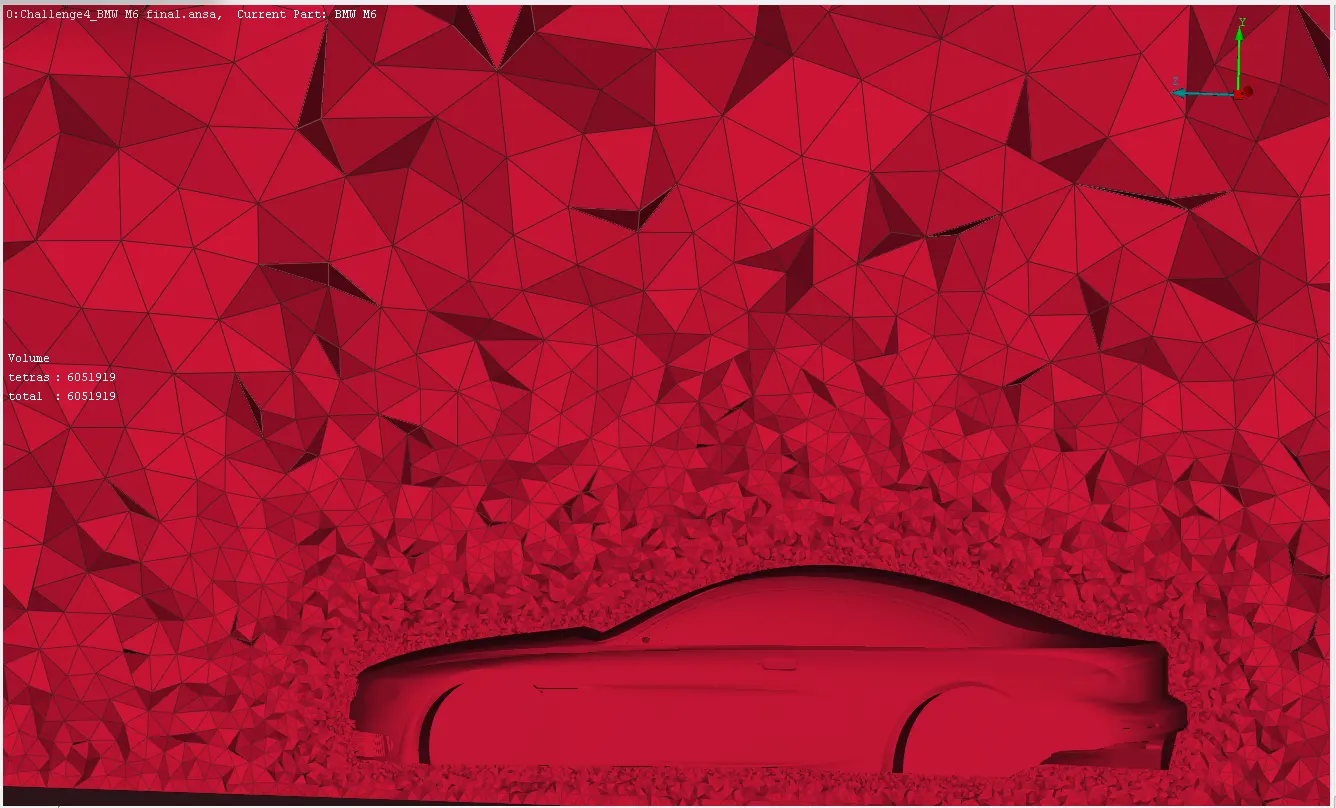
After meshing the wind tunnel to volumetric mesh of the wind tunnel by Volume mesh -> Volumes -> Define -> Whole -> Ok , it create the PIDs of volume mesh. After remesh the wind tunnel by tera CFD as shown below
Conclusion
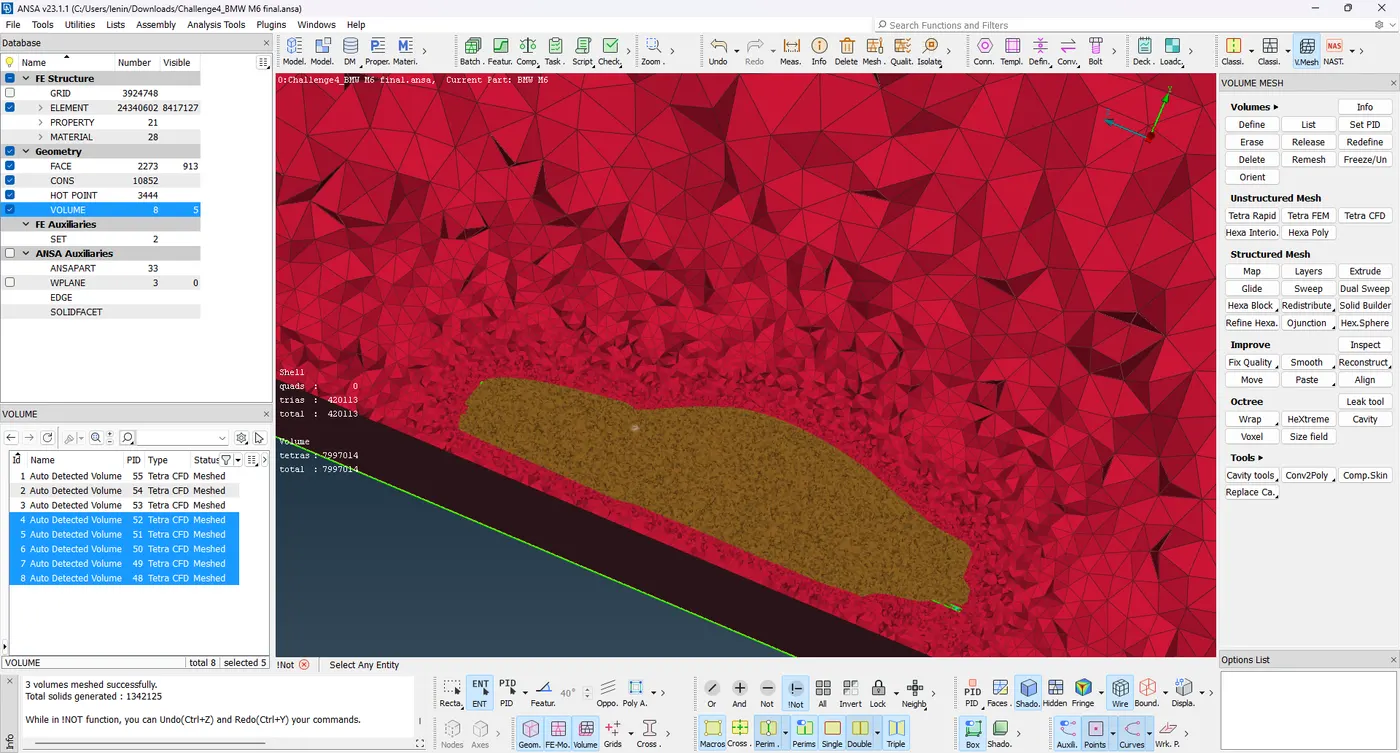
All PIDs are remesh by tera CFD in volume mesh are shown in the image below
Given model is check and solve successfully in below attached link to my worked file.
BMW M6 model.