Week 5 Challenge : Surface wrap on Automotive Assembly
For the given
models, check for the geometrical errors and delete surfaces that are unwanted
for Surface wrap as shown in the videos. After clearing geometry, Merge all 3
models and perform surface wrap.
The target length for Wrap = 3 mm
Write a detailed report on the steps followed to finish this challenge.
ANSWER:
MODEL LINK: https://drive.google.com/file/d/1TQGzU8_wzvu5LYQsY2PtvCyvDgLyzukm/view?usp=sharing
Aim:
Introduction:
Surface wrap is
a 3D modeling technique used to create a smooth and continuous surface that
conforms to a set of specified target features or existing geometry. It is
commonly employed in engineering, product design, and industrial applications
to blend and unify complex shapes, ensuring a seamless transition between
disparate surfaces for improved aesthetics and functionality.
Procedure:
<!--[if !supportLists]-->1. <!--[endif]-->Geometrical error correction and removal of unwanted
surfaces: this step is important before the surface
wrap to achieve a good wrap.
Open the model in the ANSA.
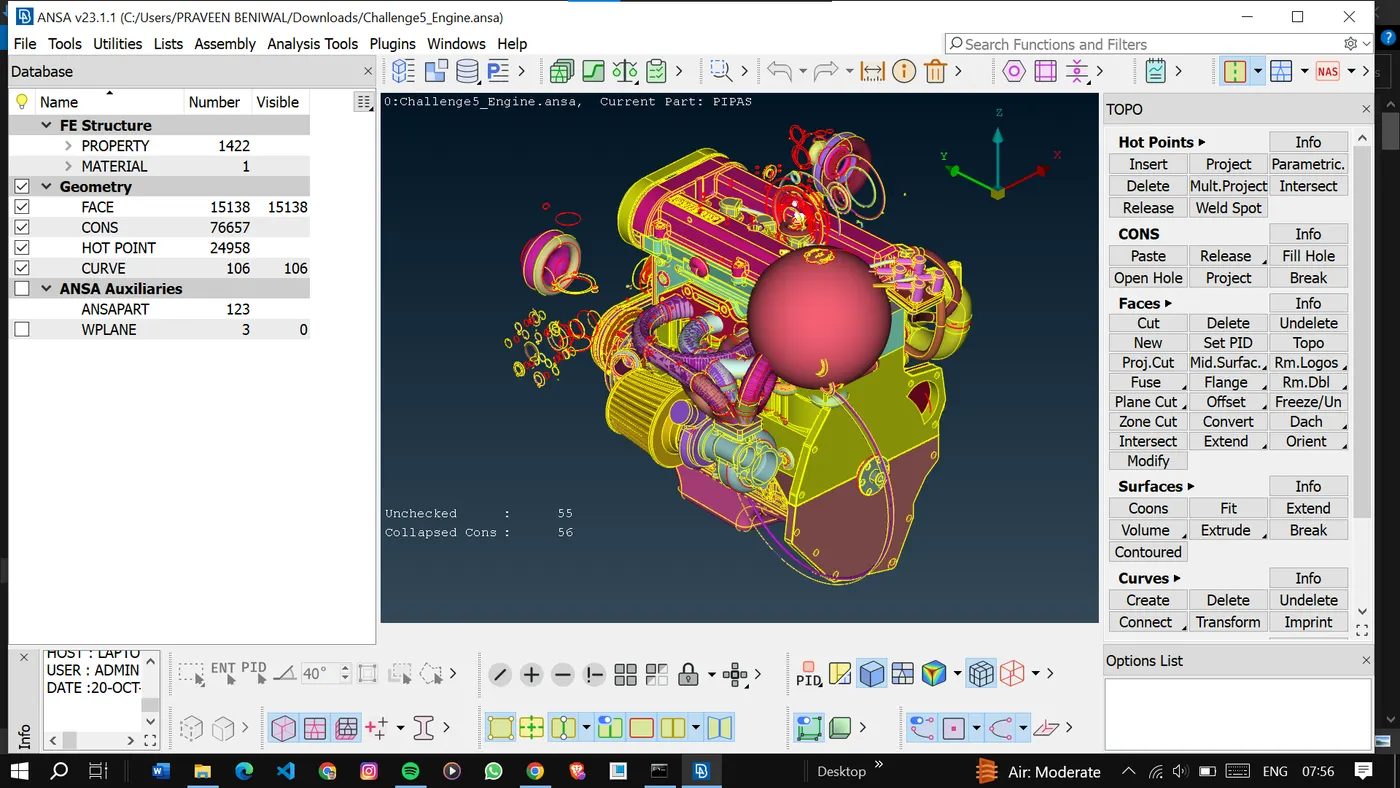
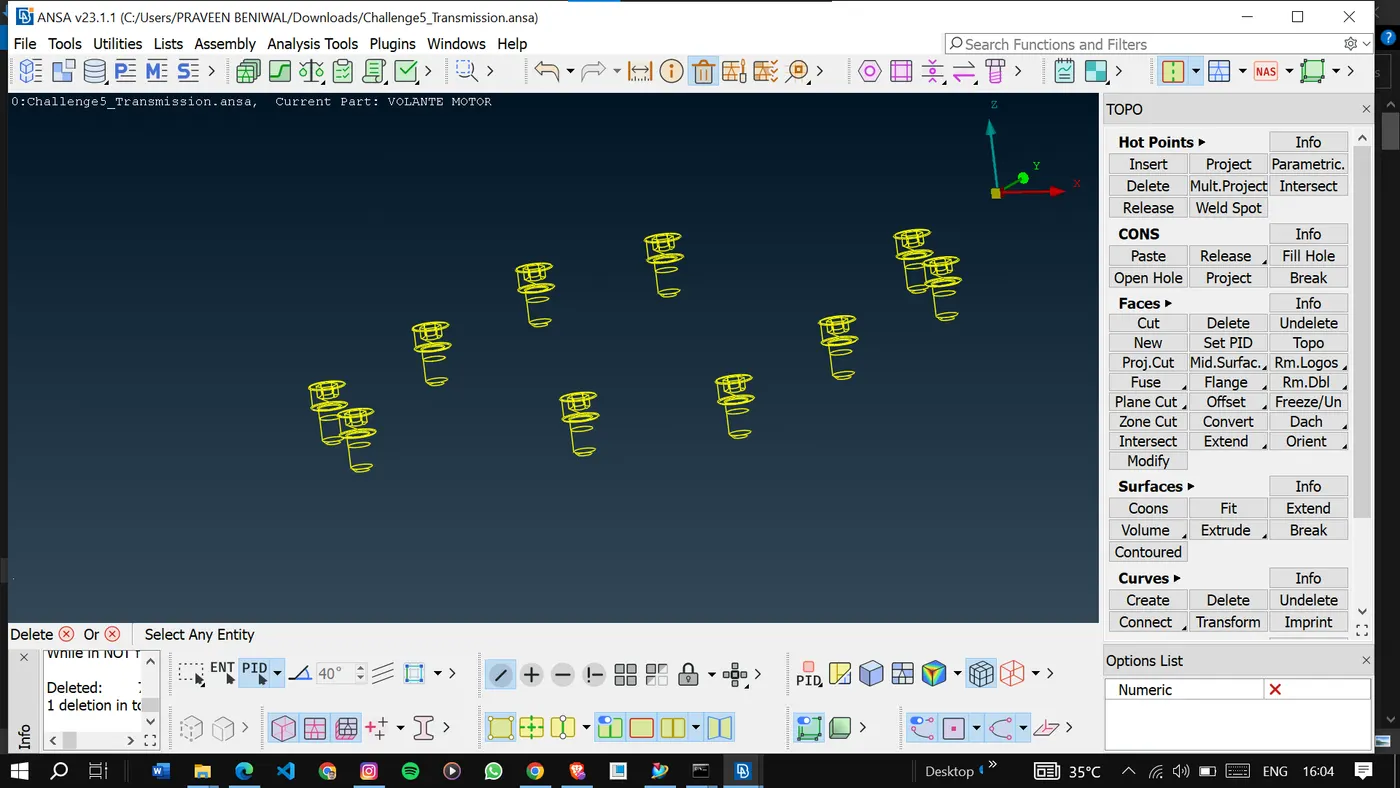
Remove the unwanted surfaces from the model.
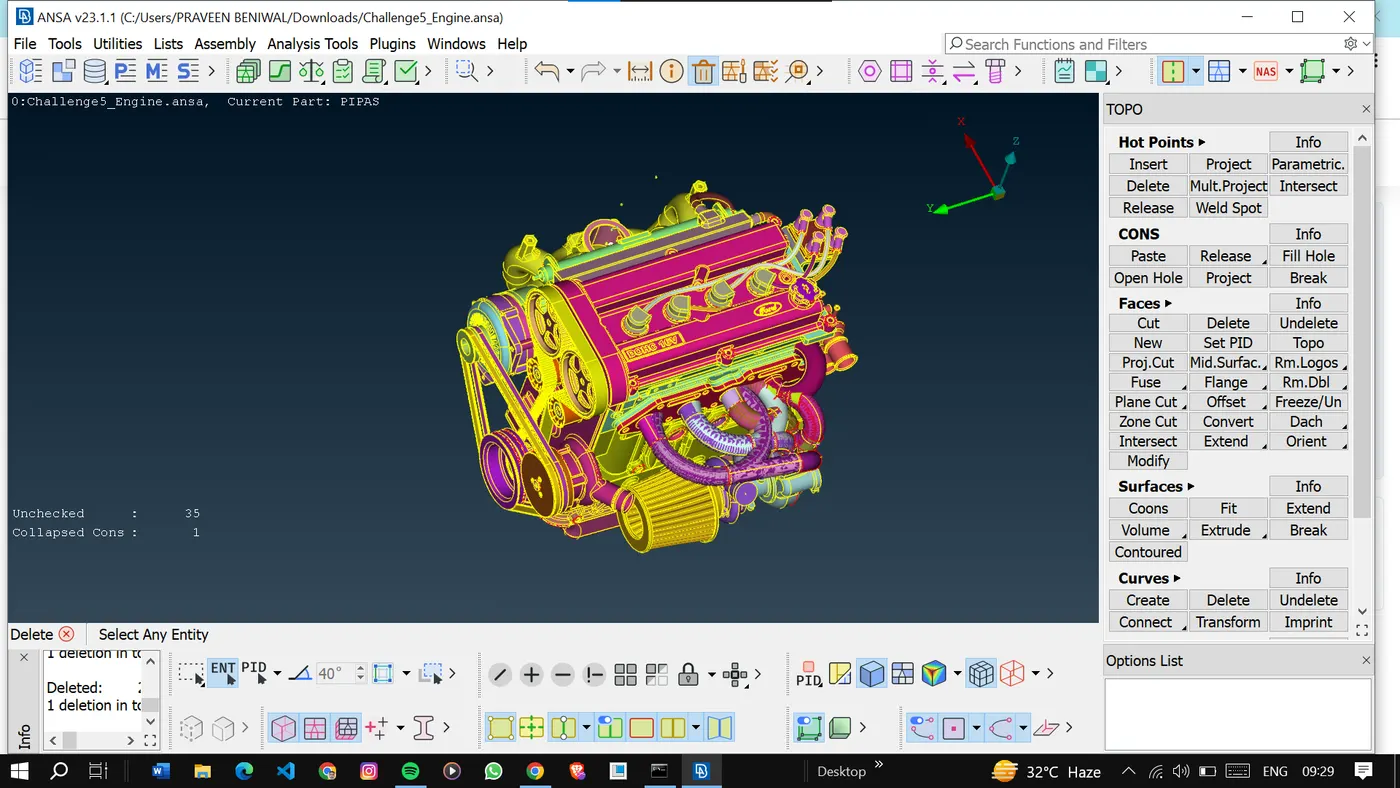
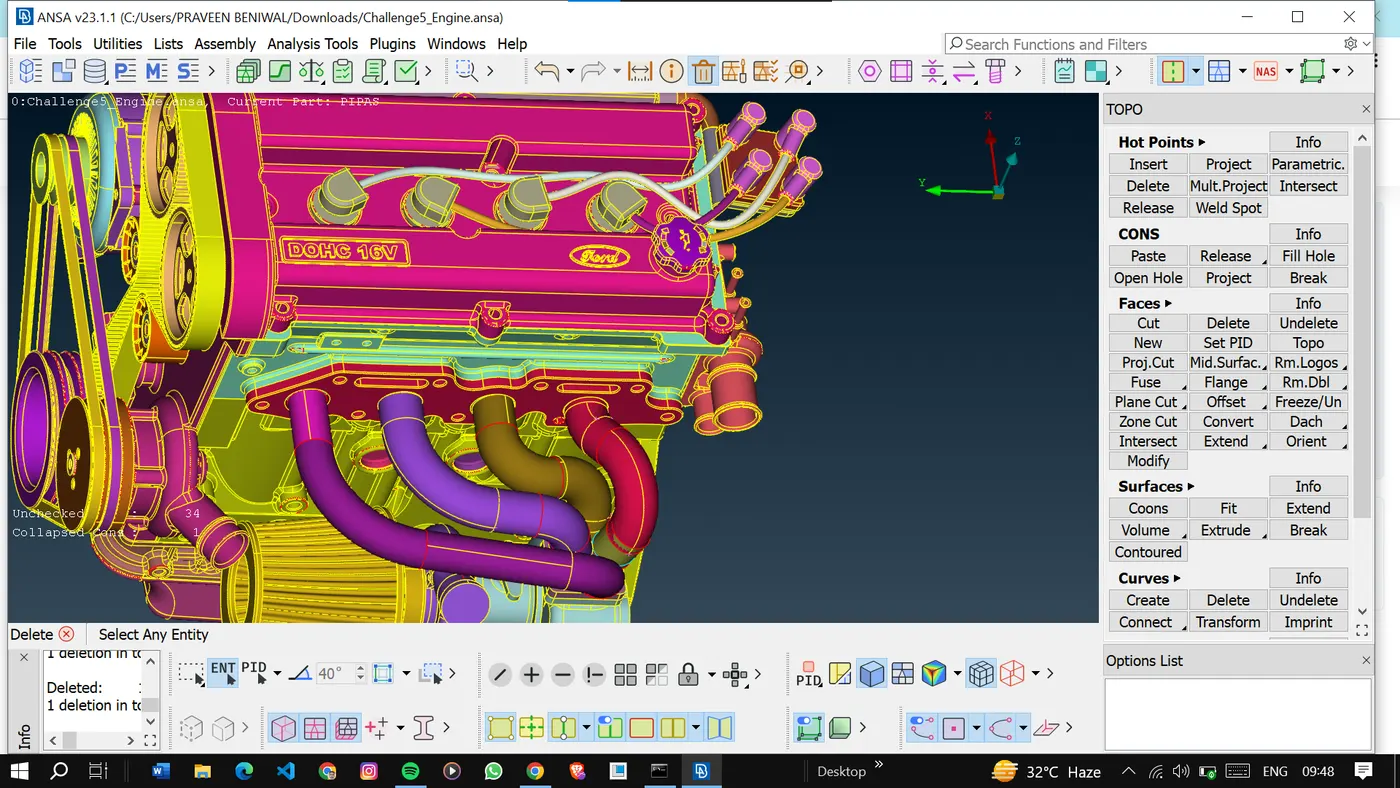
Also, remove the overlapped surfaces and make the new surfaces if needed.
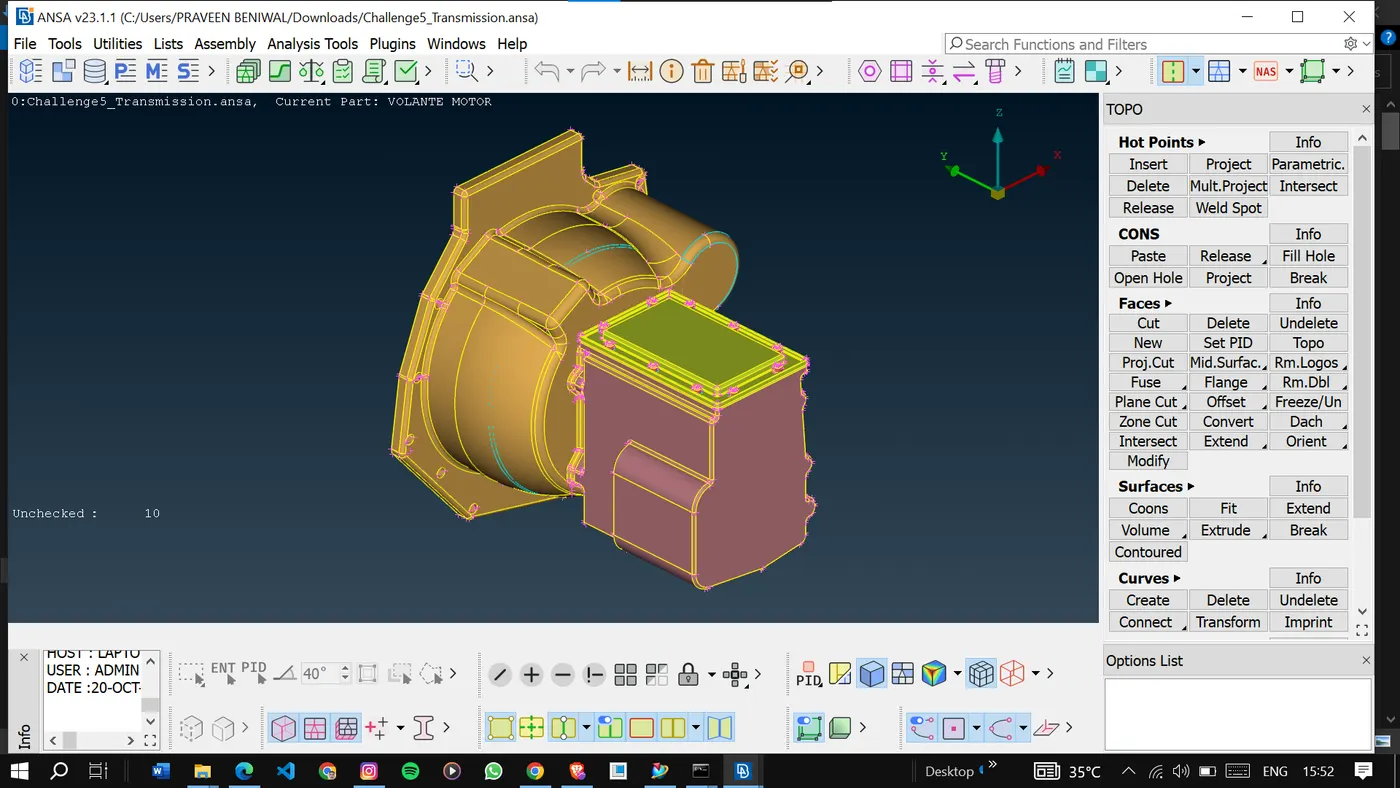
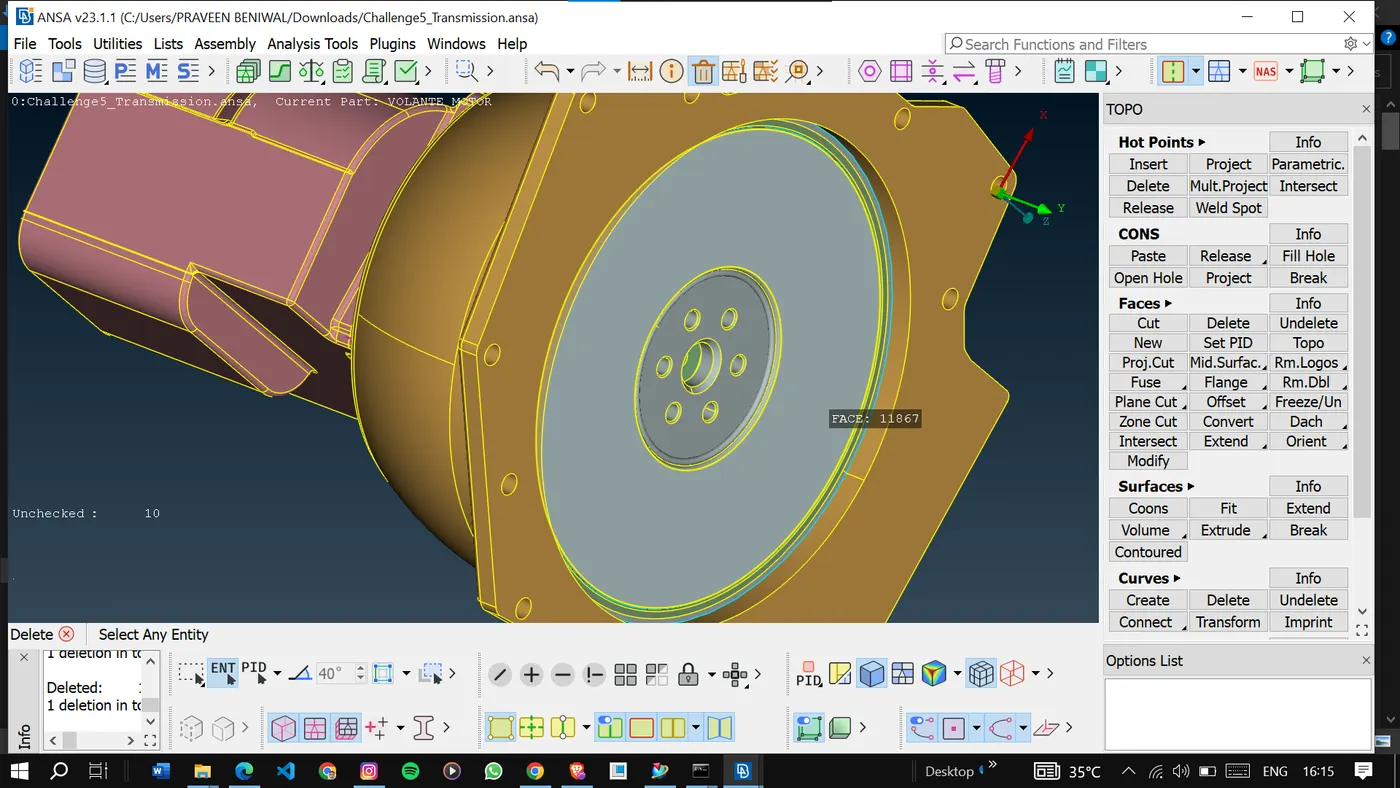
Do the same with the transmission and gearbox model.
Remove all the unnecessary surfaces.
<!--[if gte vml 1]>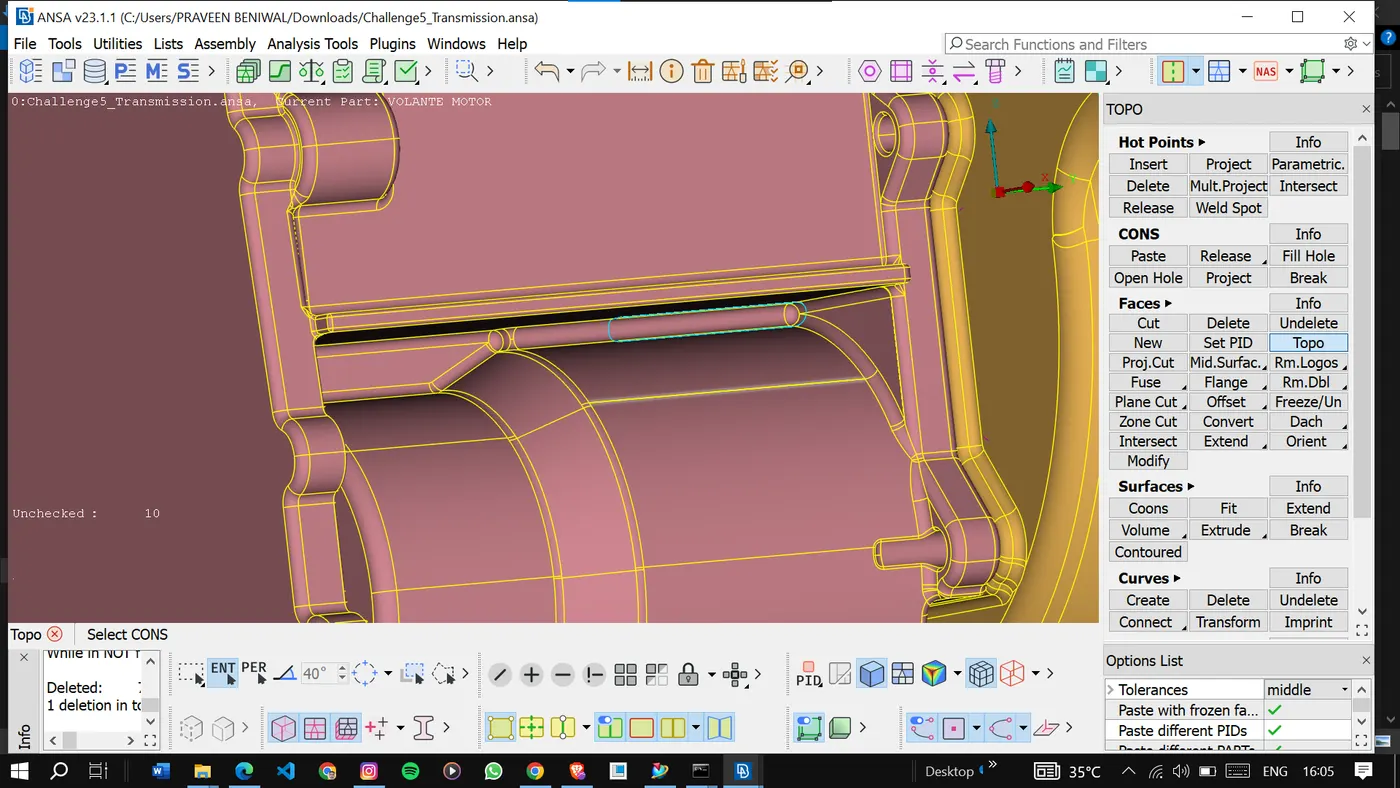
Also, remove the
unchecked surfaces.
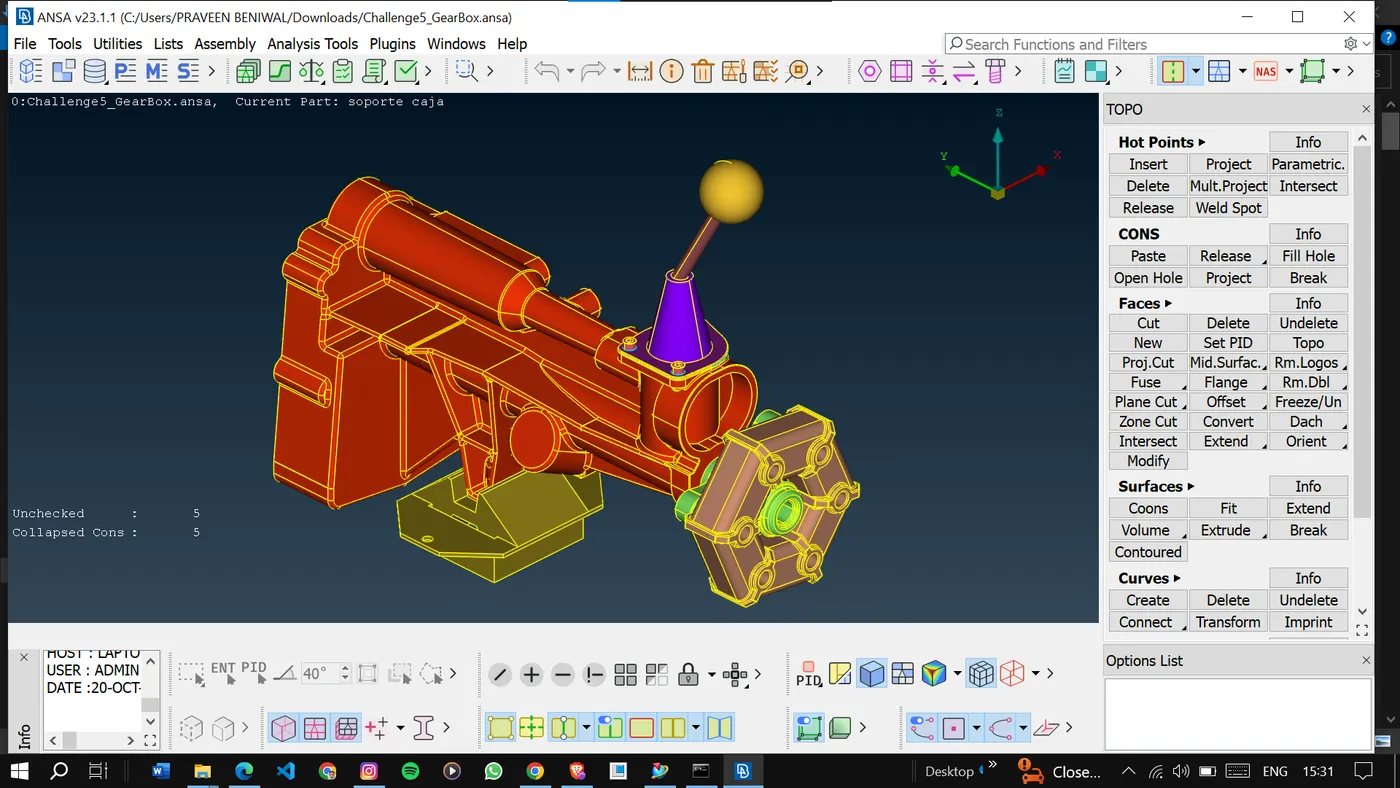
In the gearbox model, there are not many irregularities only a few are there so we will solve that too, remove the unchecked surfaces and fix the collapsed cons before surface wrap.
Once done with
geometric cleanup we can go for merging model.
<!--[if !supportLists]-->2. <!--[endif]-->Merging all the models: in this
step, we will combine all the component models into the main assembly model.
Open a model in ANSA and then click on the file at the top left corner and then click merge and select the model that is required, this can be done for as many model user want to merge.
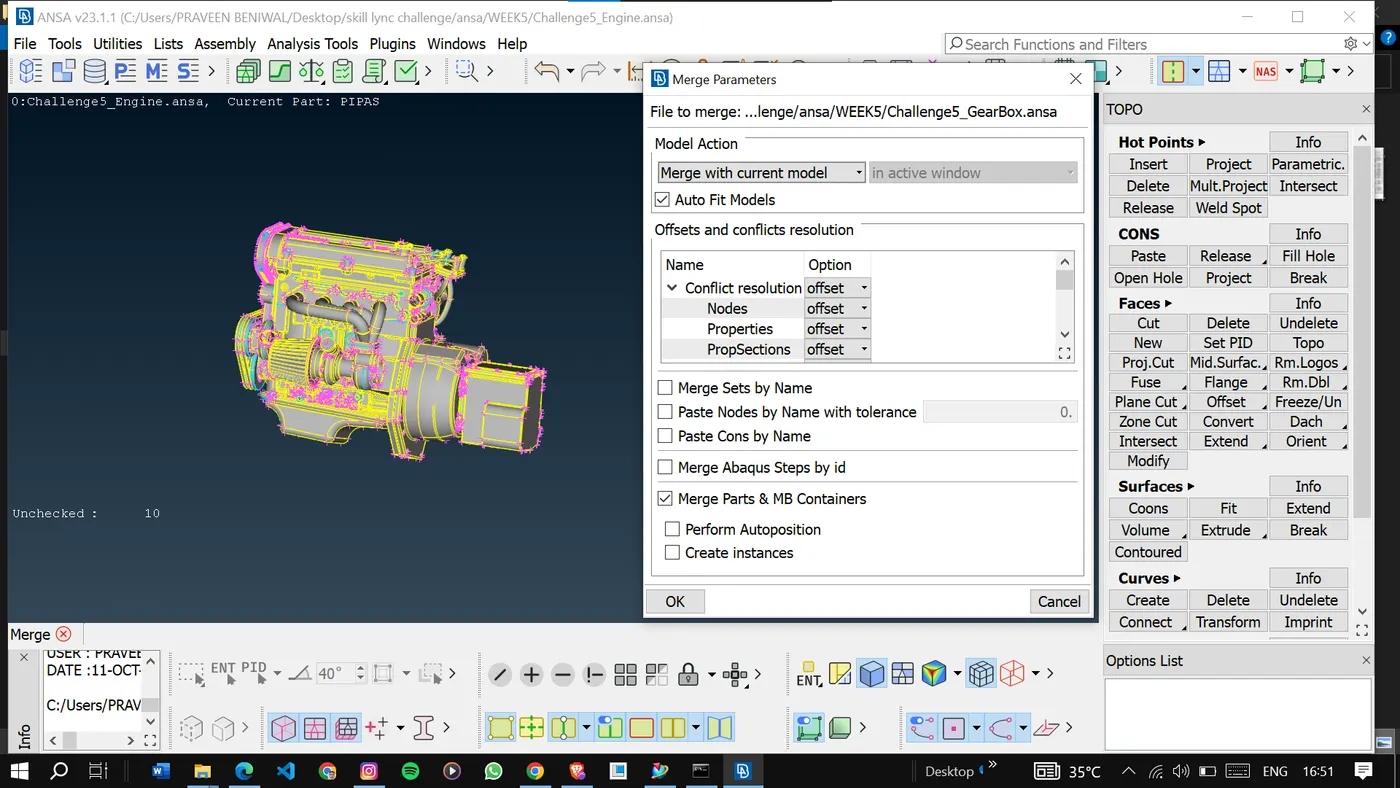
Here we have merged all three models.
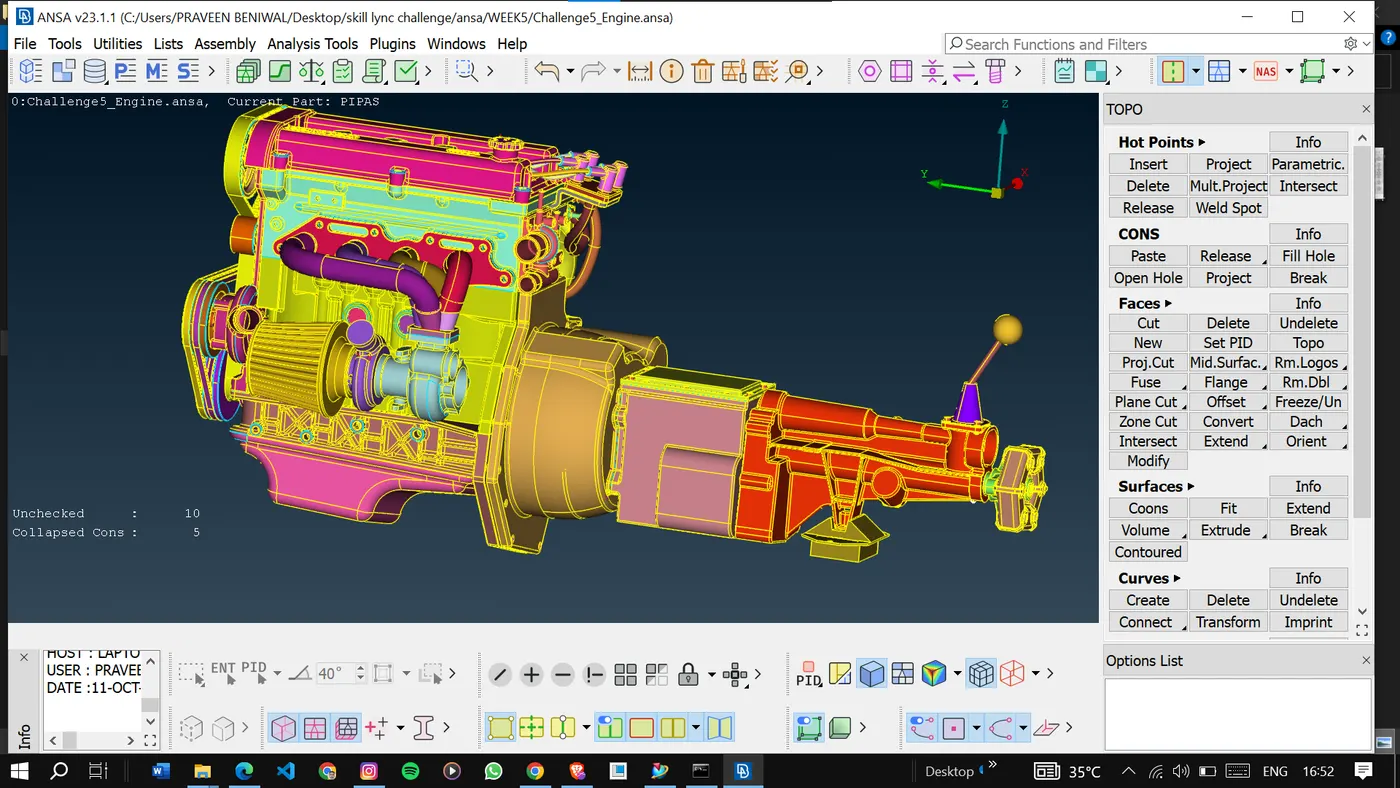
Also, delete surfaces that are very thin or small as it can disturb the surface wrap.
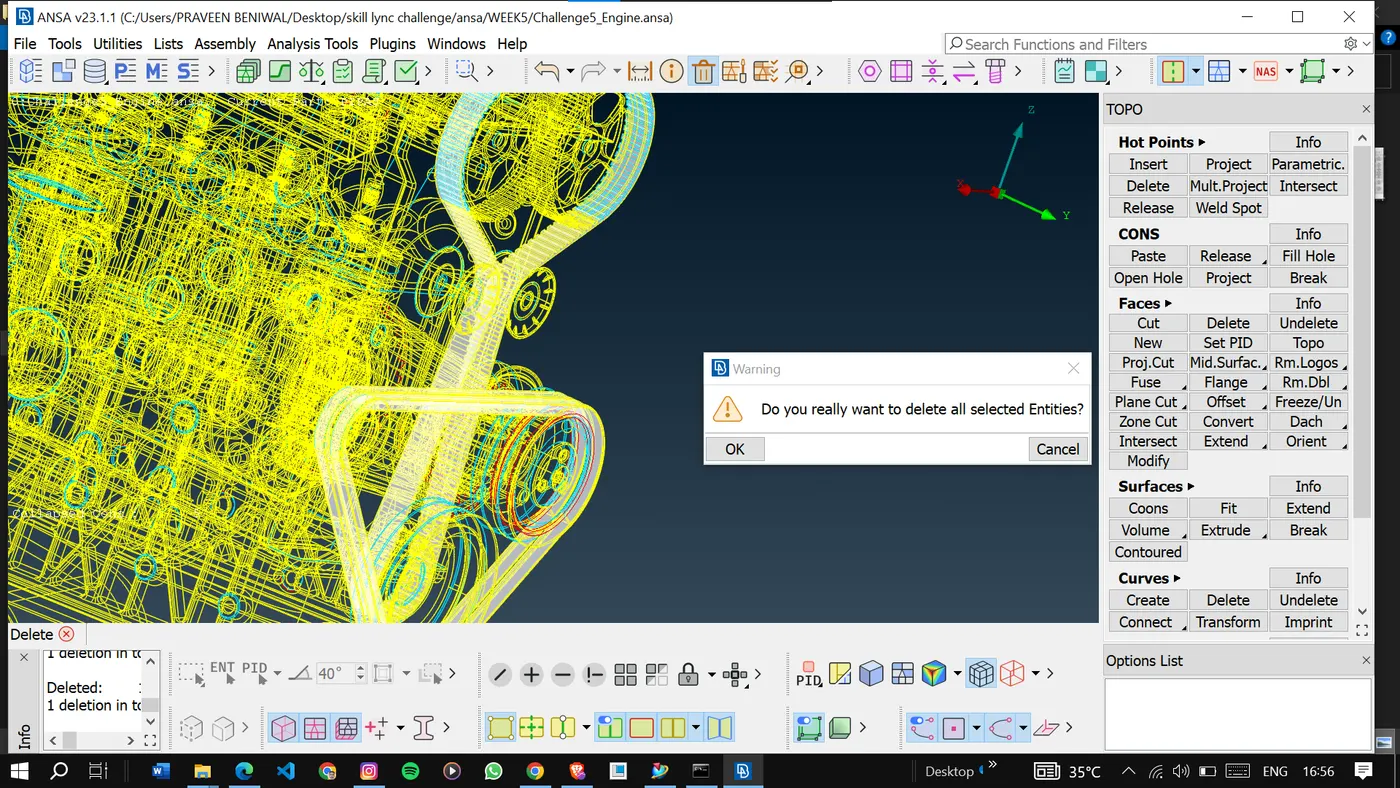
Also, patch the holes present in the model to achieve a proper surface wrap.
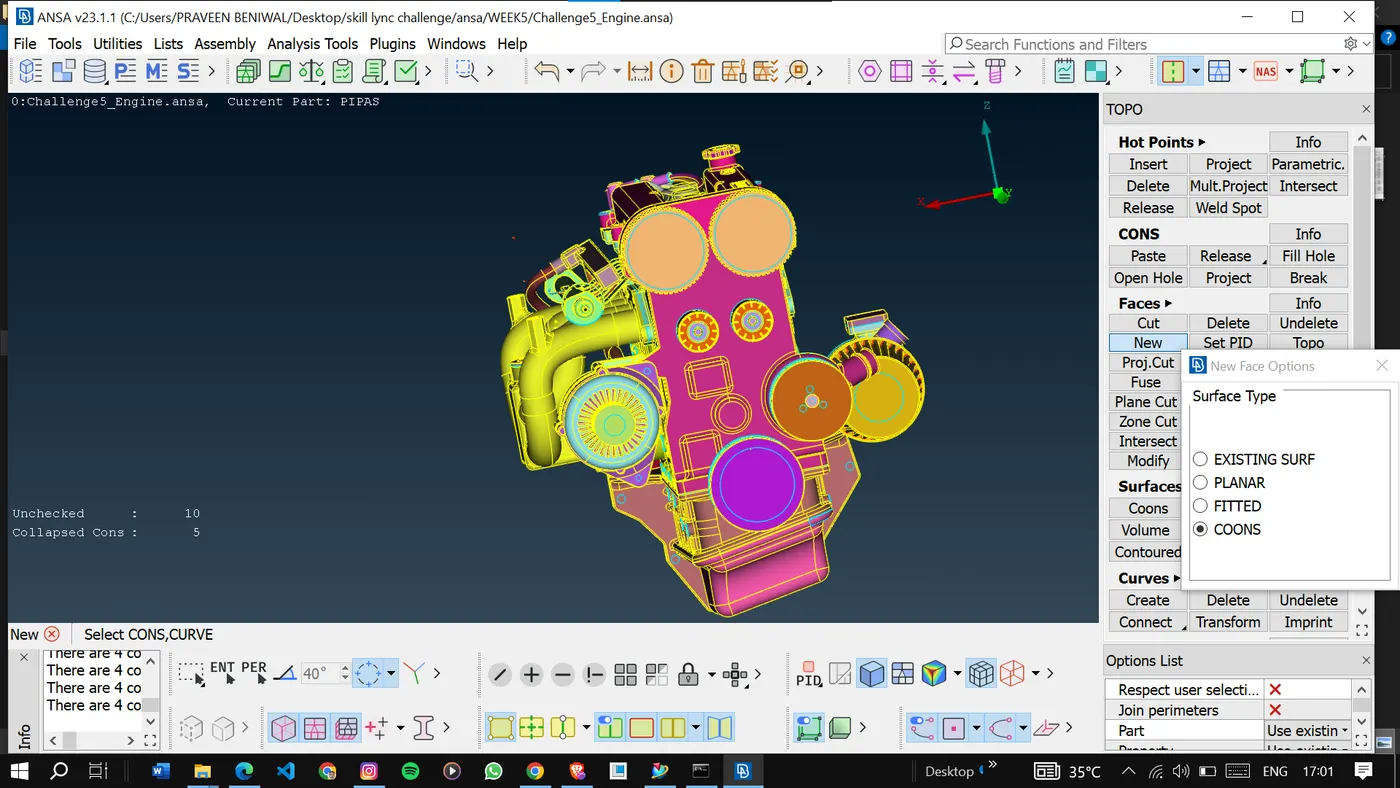
Delete the unchecked
surfaces and fix the collapsed cons before going for the surface wrap.
<!--[if !supportLists]-->3. <!--[endif]-->Surface wrap: Here in this step, we will create an airtight shell over the exterior of
the input geometry.
Before going for wrap compress the unwanted PIDS.
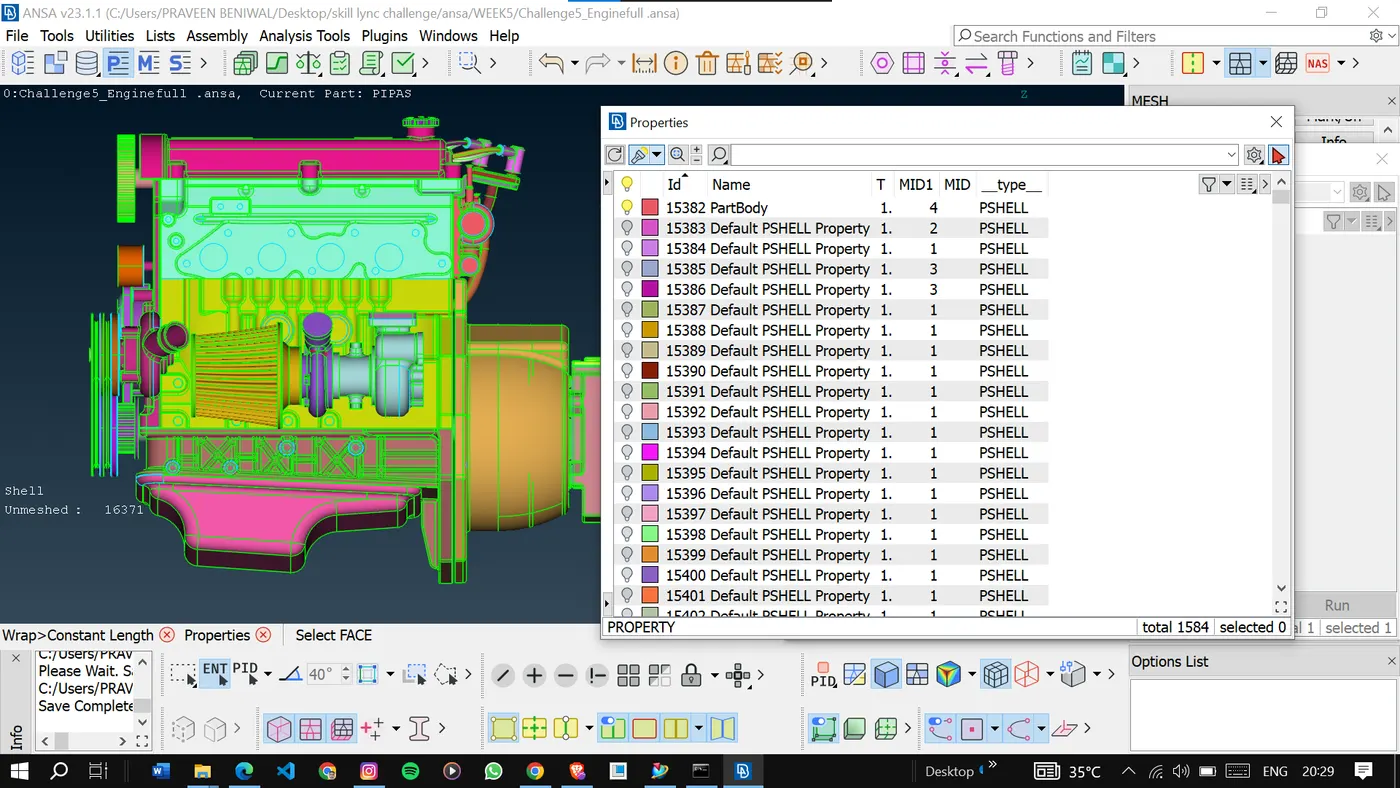
Once left with
the desired PIDS then go for the wrap.
Click on wrap constant length and then double click on empty.
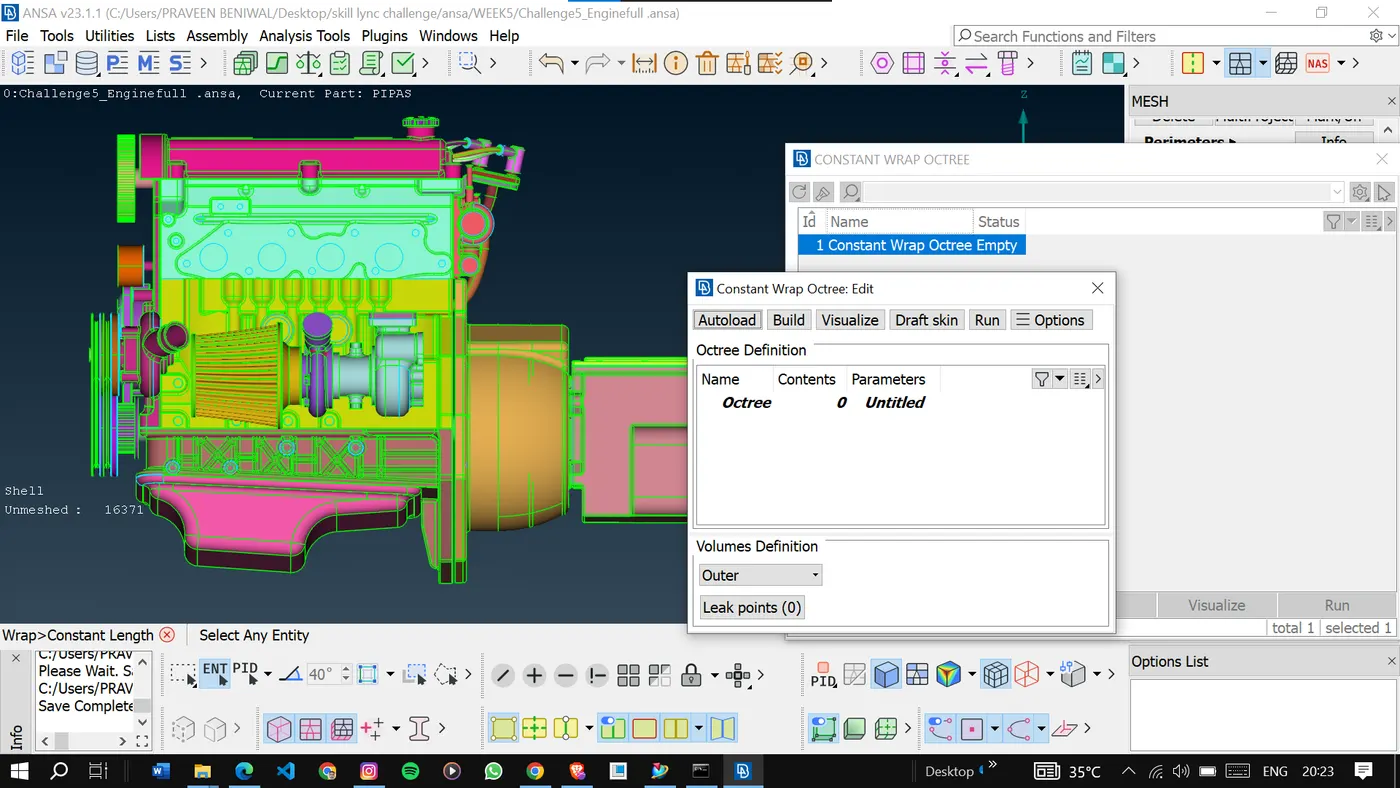
Double-click on untitled to give the target length which is 3 in our case.
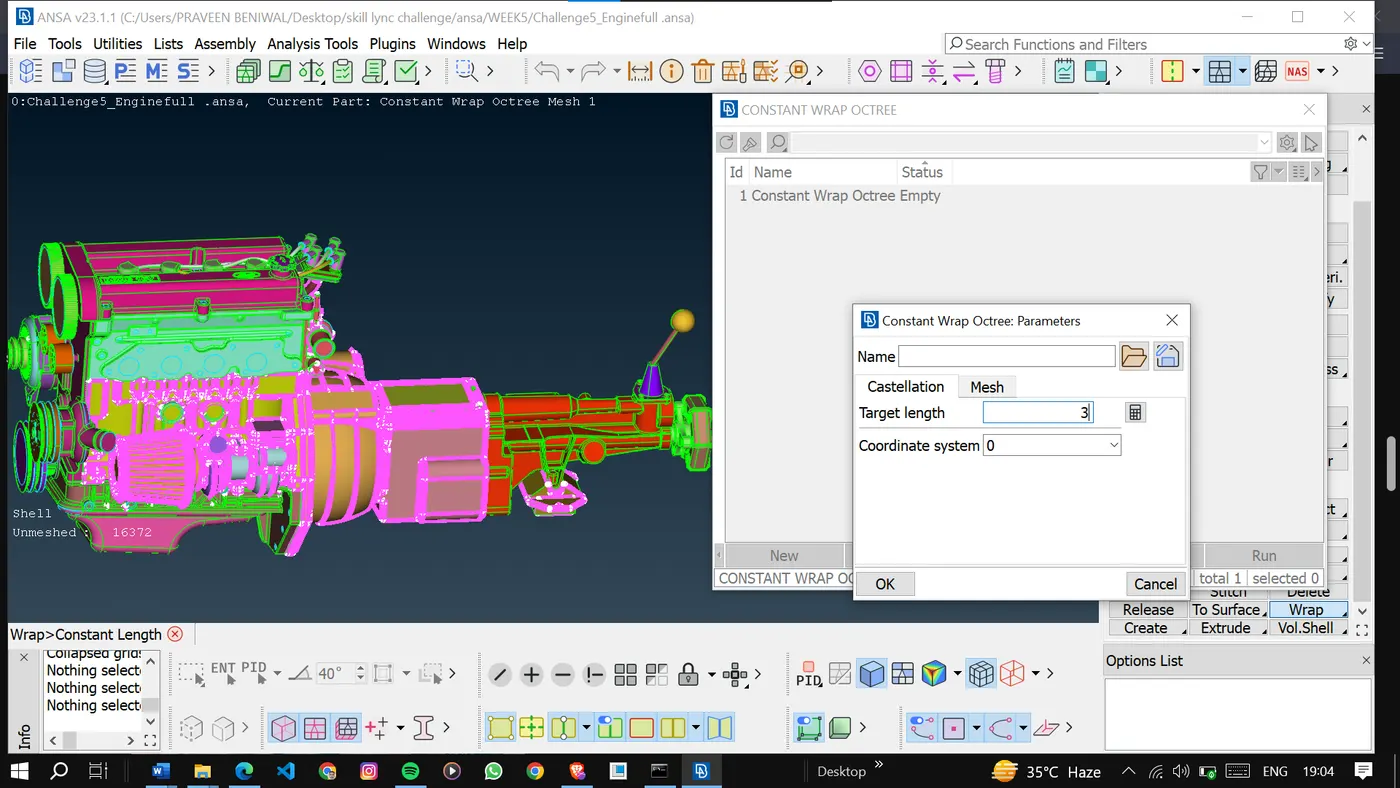
Click OK and select all the PIDS to wrap.
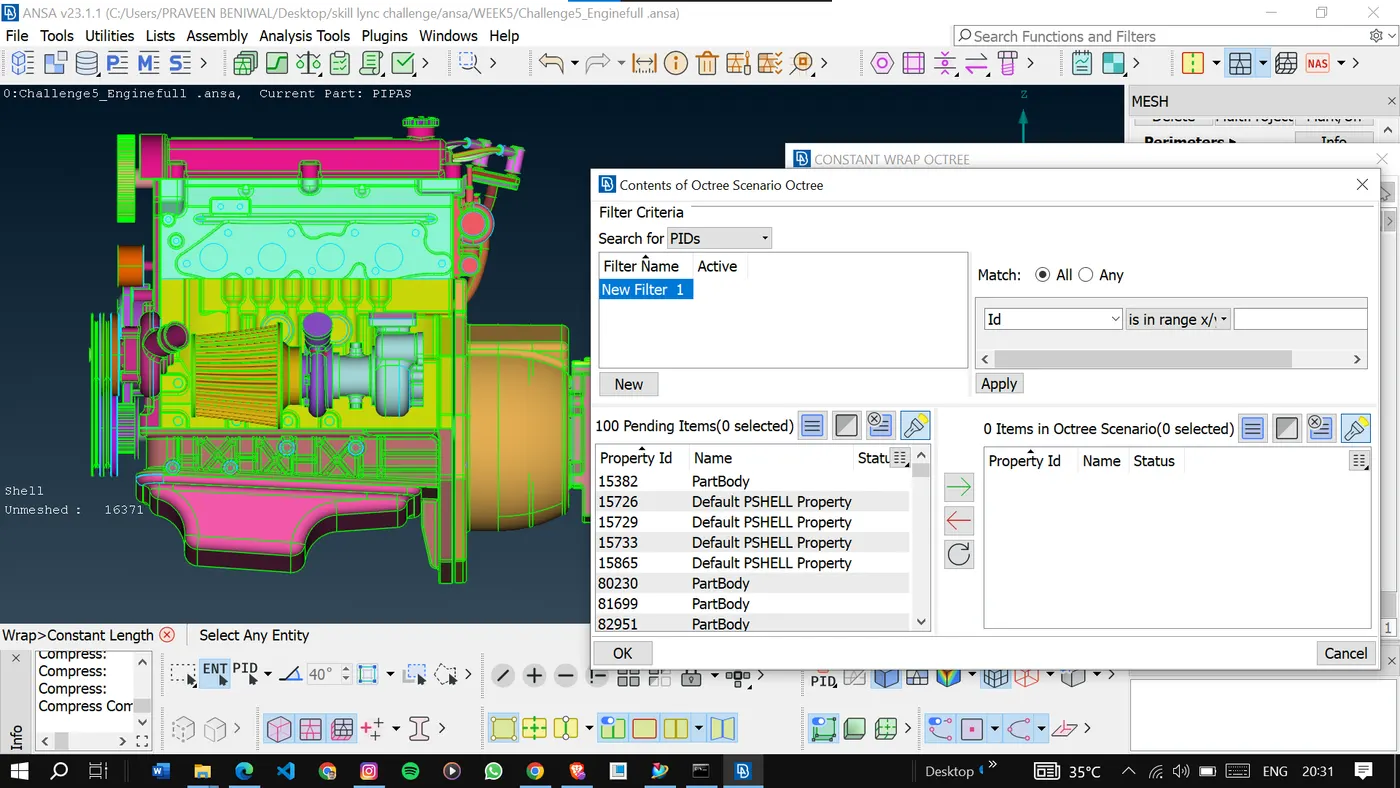
<!--[if gte vml 1]>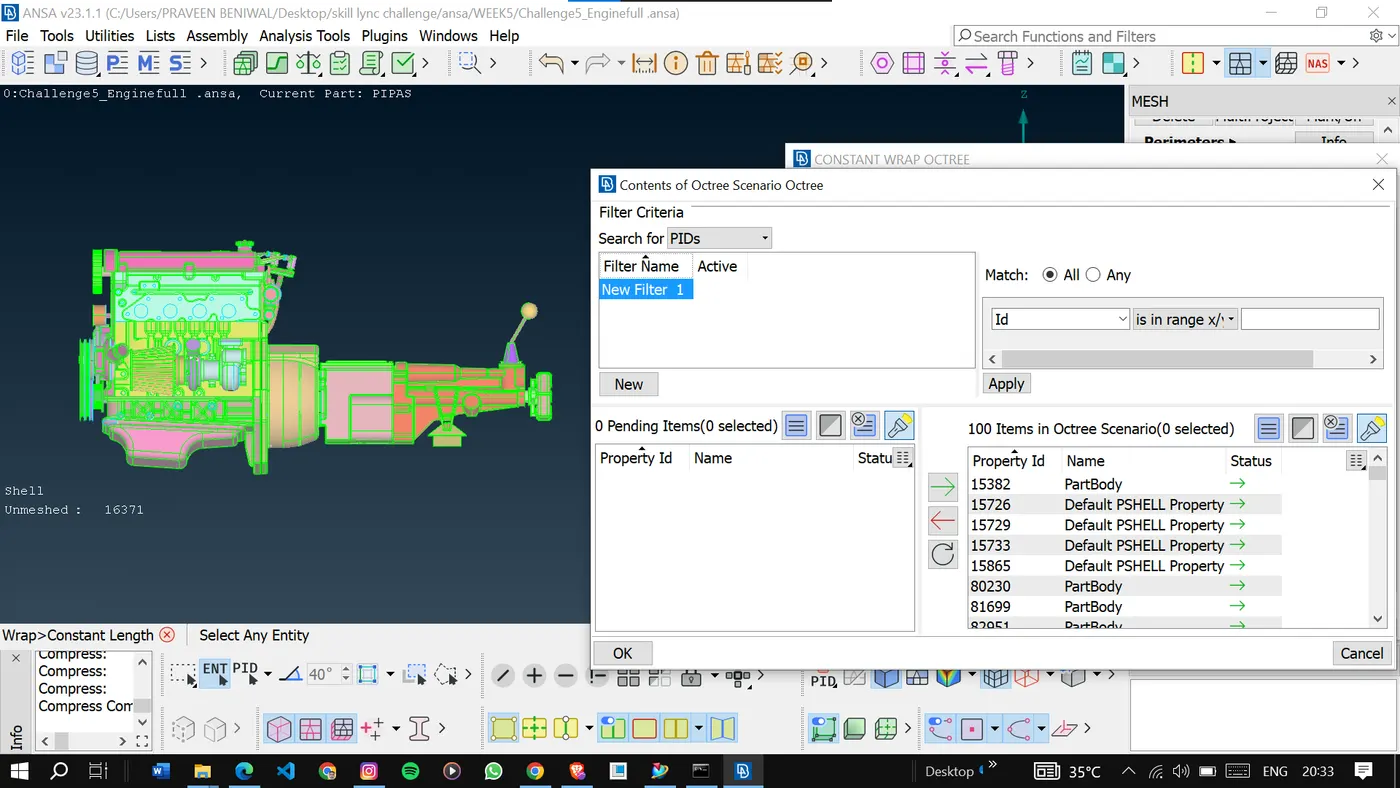
Finally, click
on run to apply the surface wrap on the selected PIDS.
<!--[if gte vml 1]>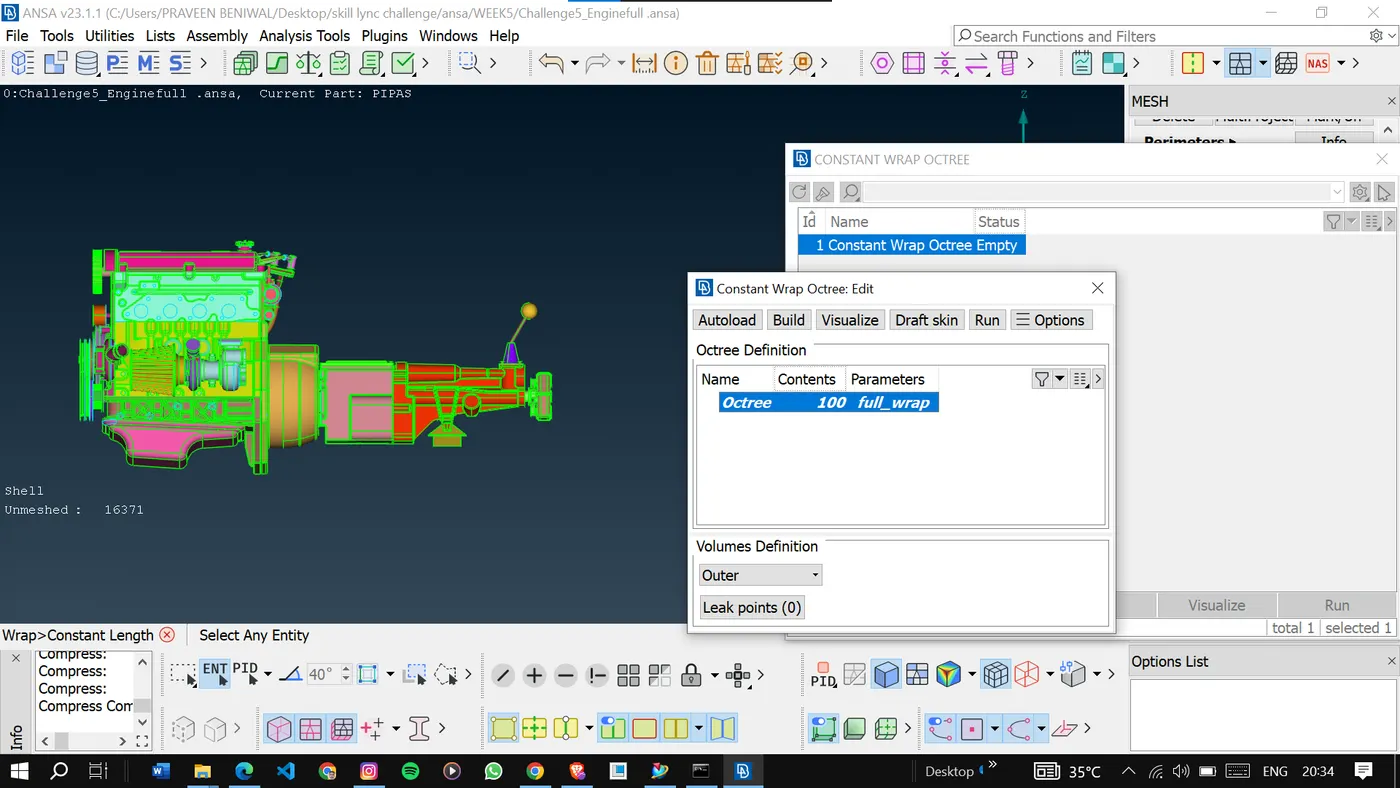
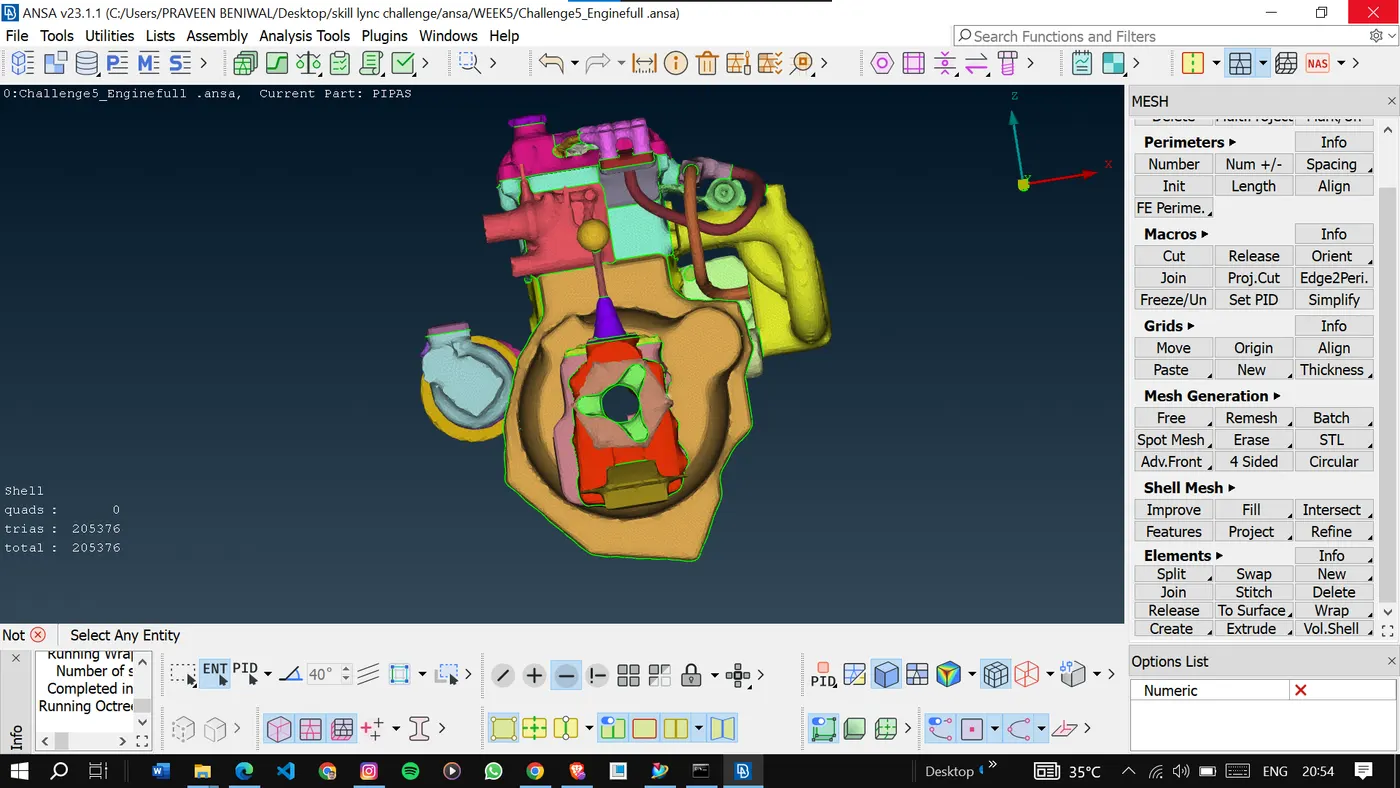
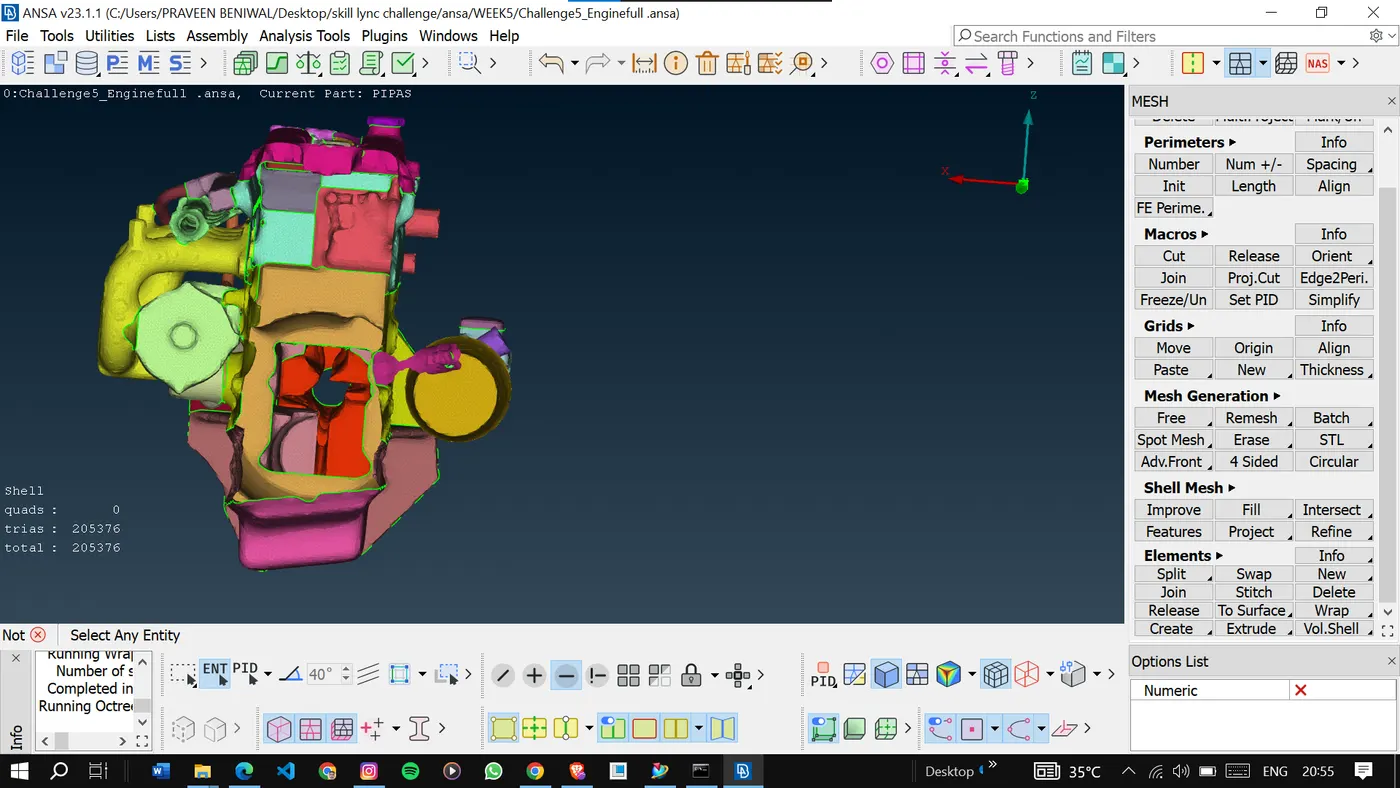
As we can see the surface wrap has been done.
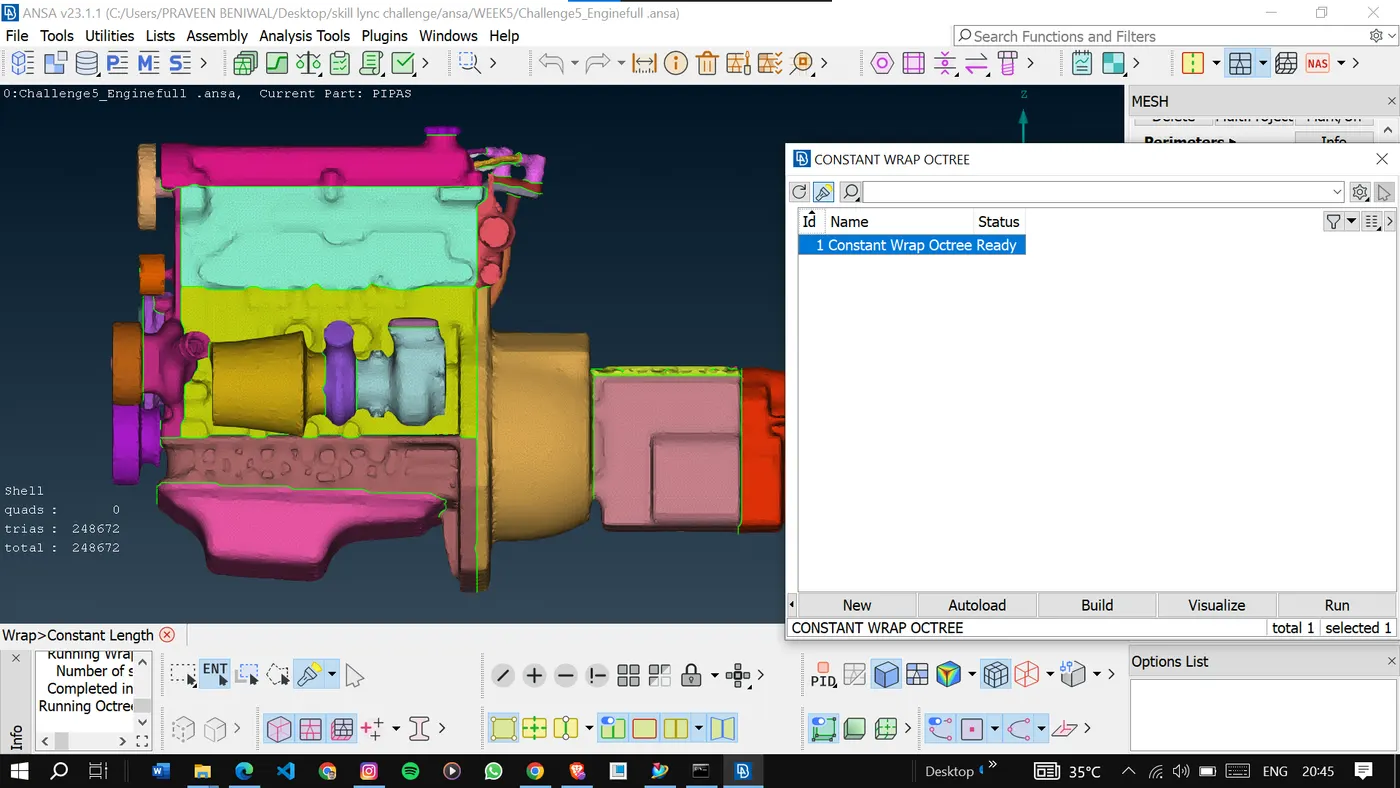
Once the wrap is done, examine the wrap.
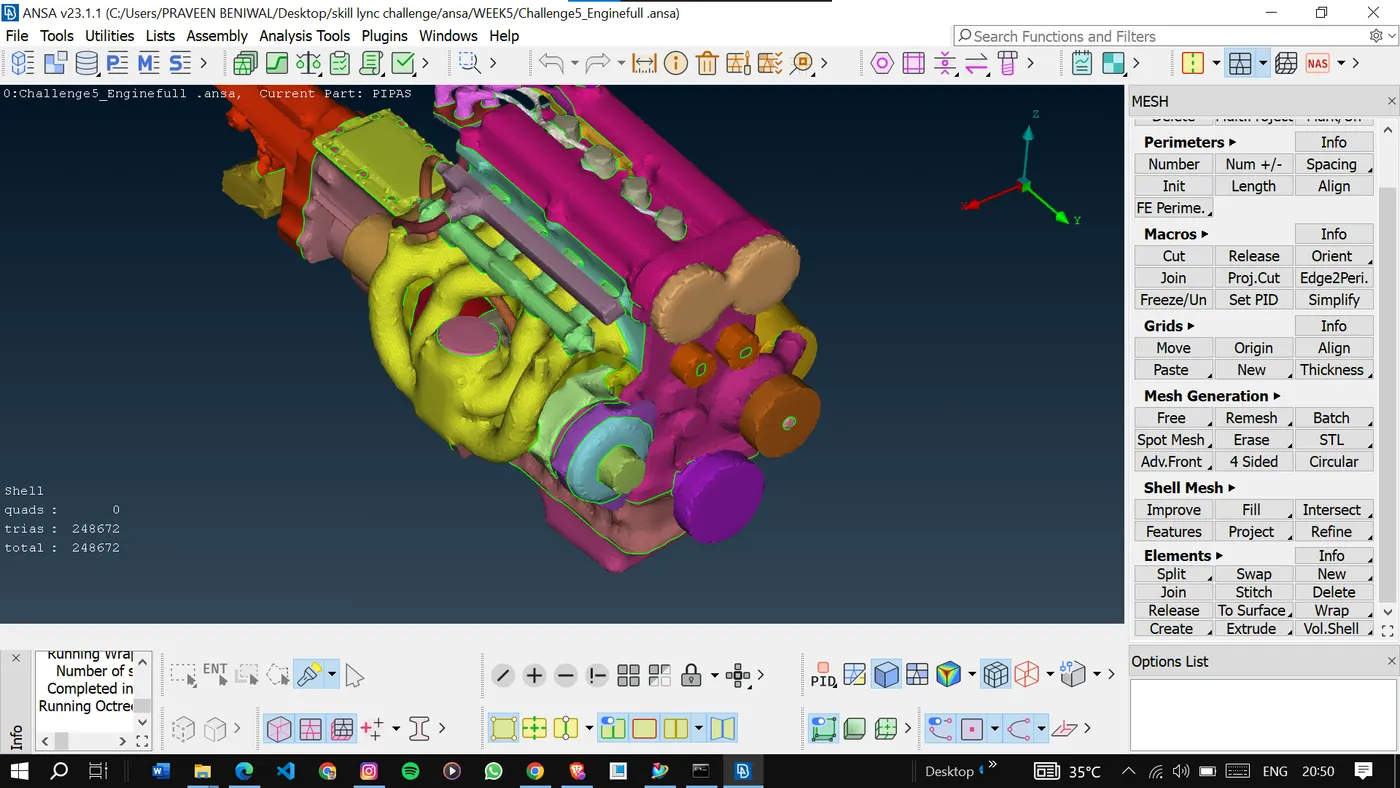
Both the outside and inside wrap look proper.
Result:
Geometrical
errors were rectified, all three models were merged, and surface wrapped the
full model adhering to designated target lengths.
Conclusion:
In
conclusion, this report has outlined the comprehensive process of correcting
geometrical errors, merging models, and generating surface wrap by adhering to
the specified target lengths and utilizing advanced wrapping techniques, an
accurate representation of the geometry has been achieved. This clean and
well-defined mesh will serve as a foundation for subsequent simulations and
analyses, contributing to accurate and reliable results.