Week 2 Challenge : Surface meshing on a Pressure valve
QUESTION:-
For the given model, check for geometrical errors and perform Topology cleanup accordingly. Set three different target lengths as three different cases and mesh the model.
<!-- [if !supportLists]-->· <!--[endif]-->Target length = 1mm, 3 mm, and 5 mm (i.e. 3 cases)
<!-- [if !supportLists]-->· <!--[endif]-->Element type = Tria
Apply any one target length from the above at a time for the entire model as One case. Submit 3 different models for 3 cases.
Write a detailed report on your meshing process and also mention which case is giving good results along with the reason.
ANSWER:-
Aim:
This report aims to perform geometry analysis, topology cleanup, and meshing on a given model with varying target lengths (1mm, 3mm, and 5mm), evaluating mesh quality and identifying the most suitable target length for accurate analysis.
Introduction:
In the realm of fluid dynamics, meshing a pressure valve is essential for accurate simulations. This process involves discretizing the valve's intricate geometry into elements, enabling precise analysis of fluid flow and pressure distribution. A well-structured mesh ensures reliable insights into valve performance and aids in optimizing its design for efficiency and safety.
This report documents the process of meshing and topology cleanup conducted on a specific model for finite element analysis. The aim was to assess the impact of different target lengths (1mm, 3mm, and 5mm) on mesh quality and determine the optimal target length for accurate analysis.
Procedure:
Meshing Process approach :
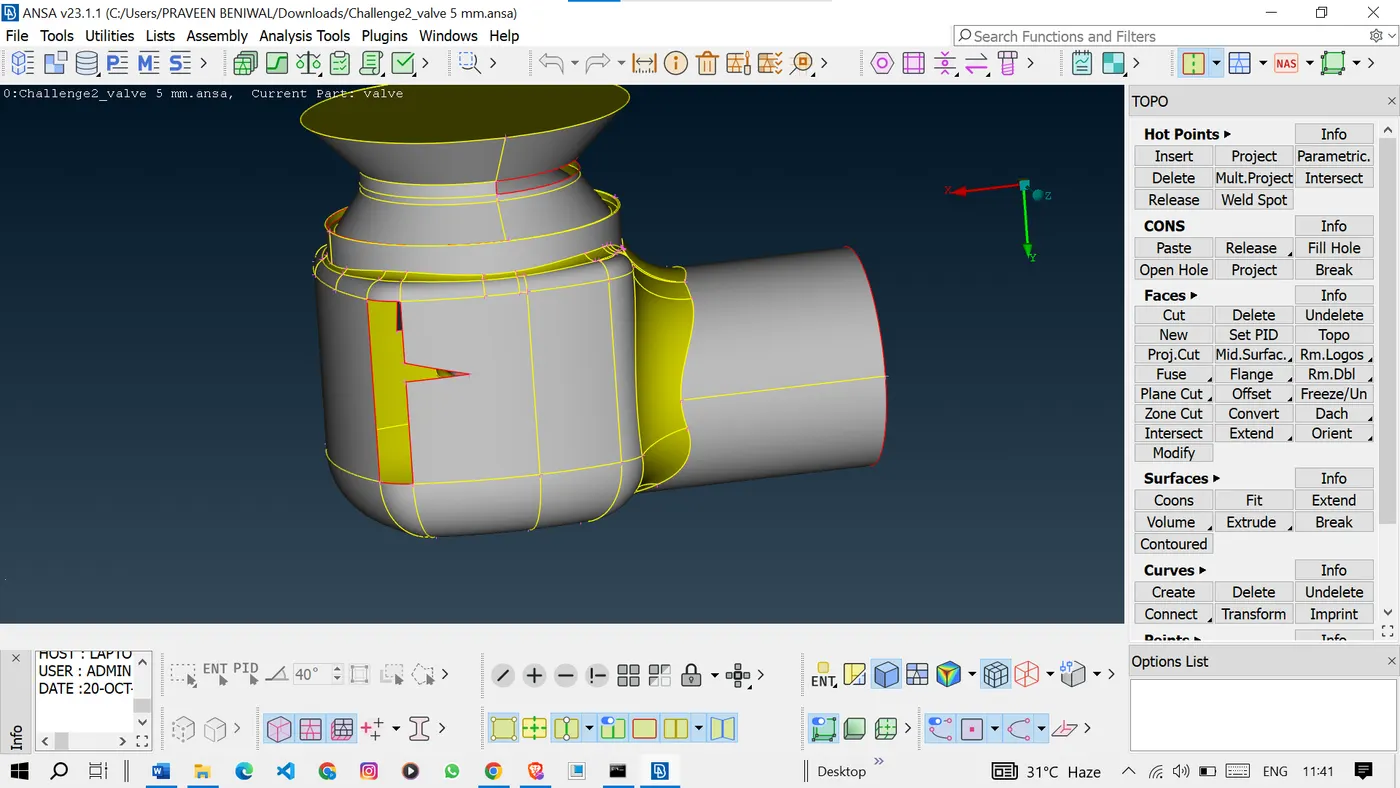
1. Geometry Analysis: Initial geometry inspection revealed minor gaps and overlaps, which were rectified using stitching and removal techniques.
Open the model in the ANSA preprocessor.
 <!--[endif]-->
Go for geometry checks in the checks option.
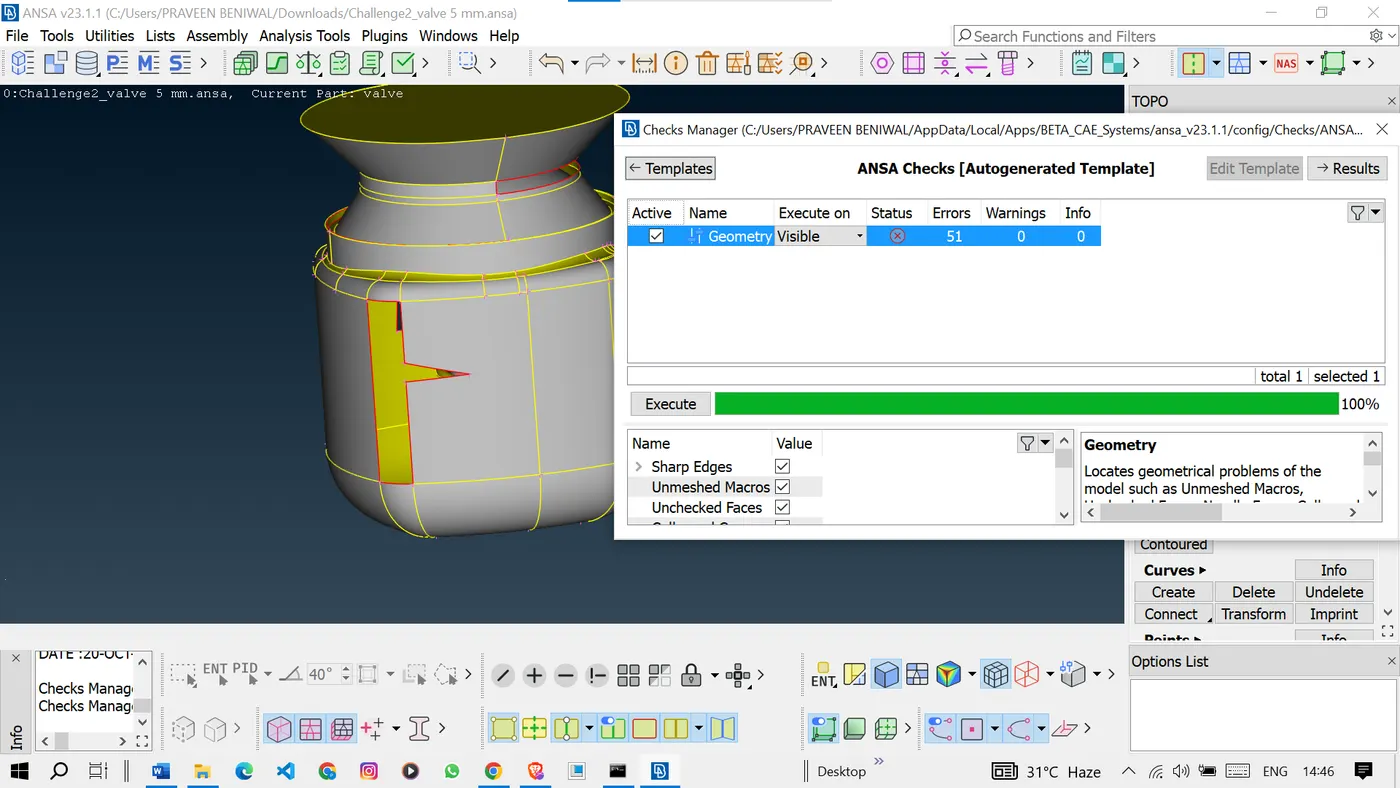
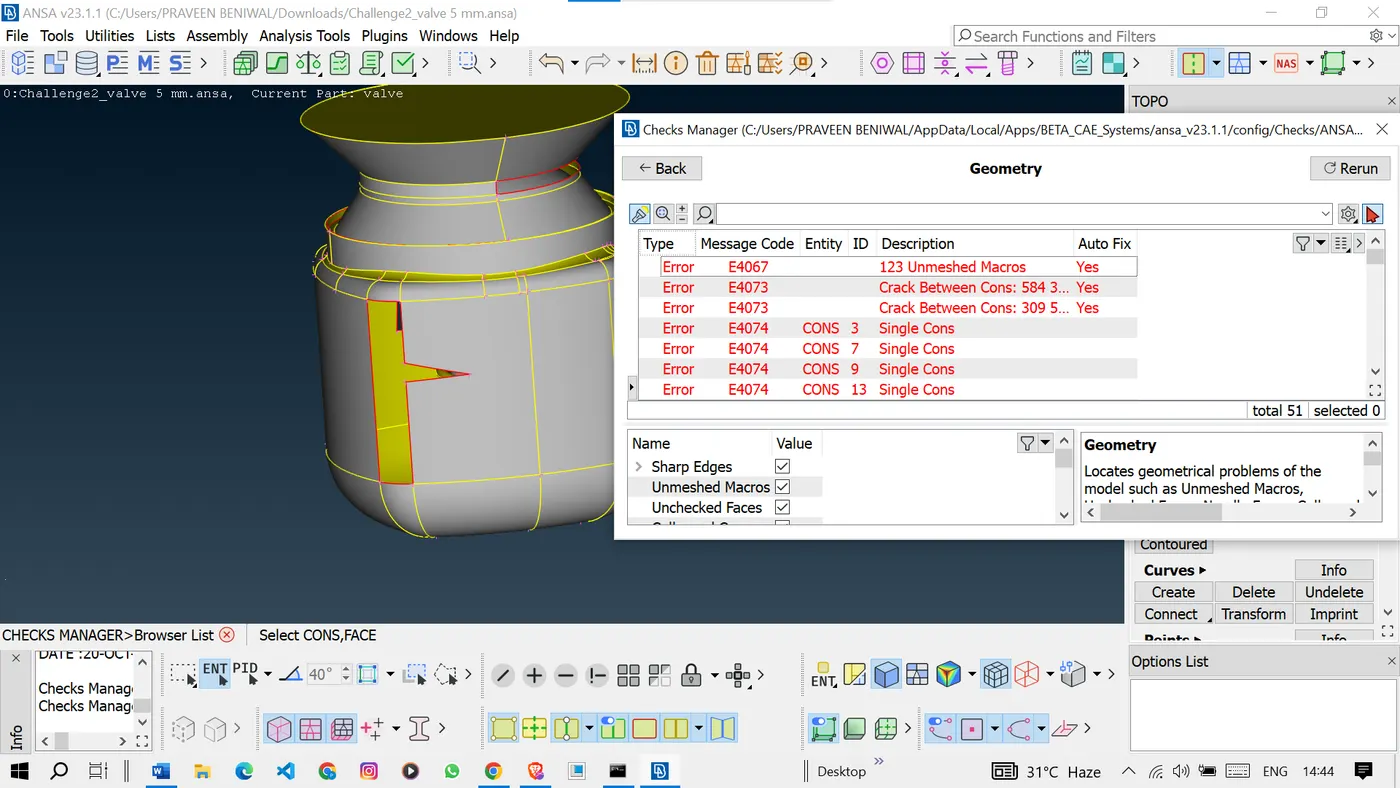 <!--[endif]-->
Select the errors to Check the error present and close the popup window.
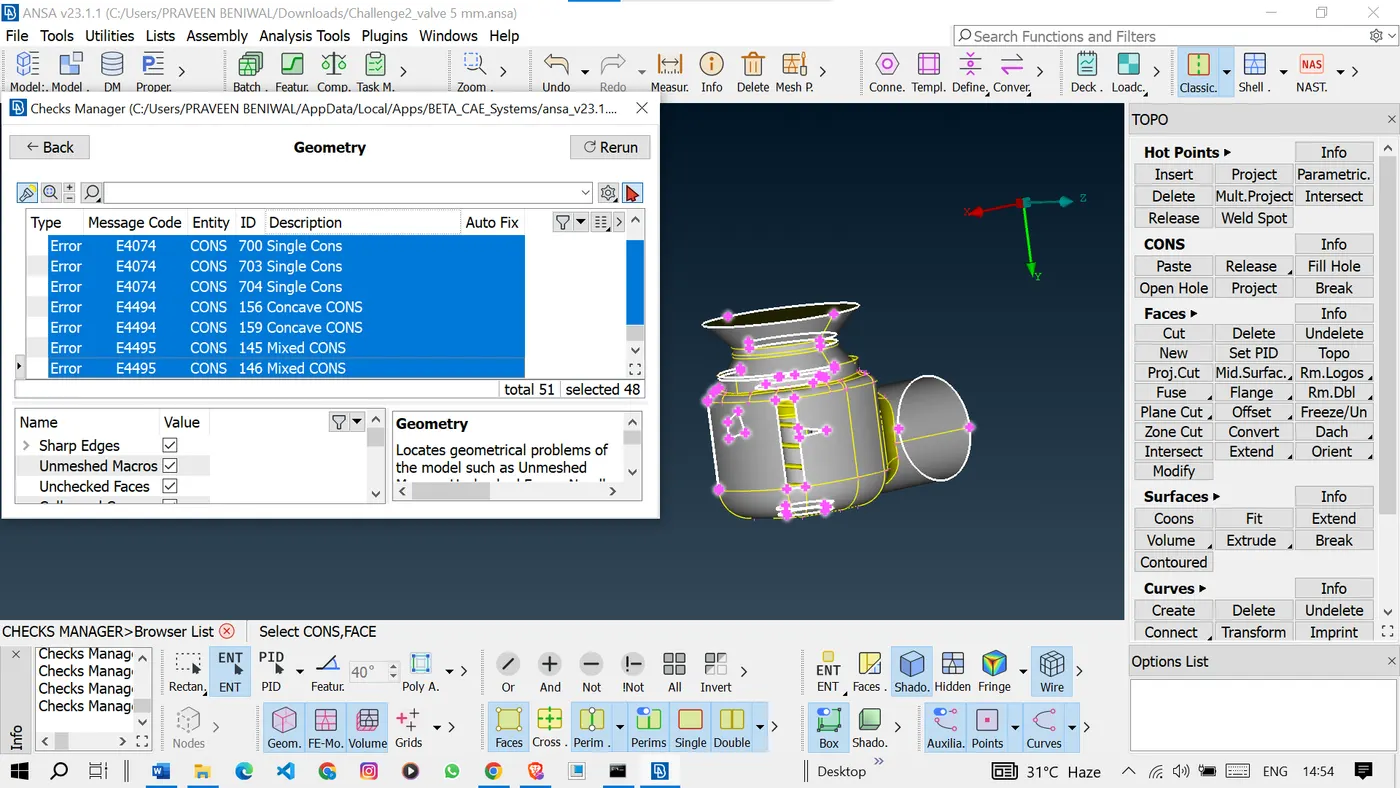 <!--[endif]-->
Then patch surface is using the TOPO option.
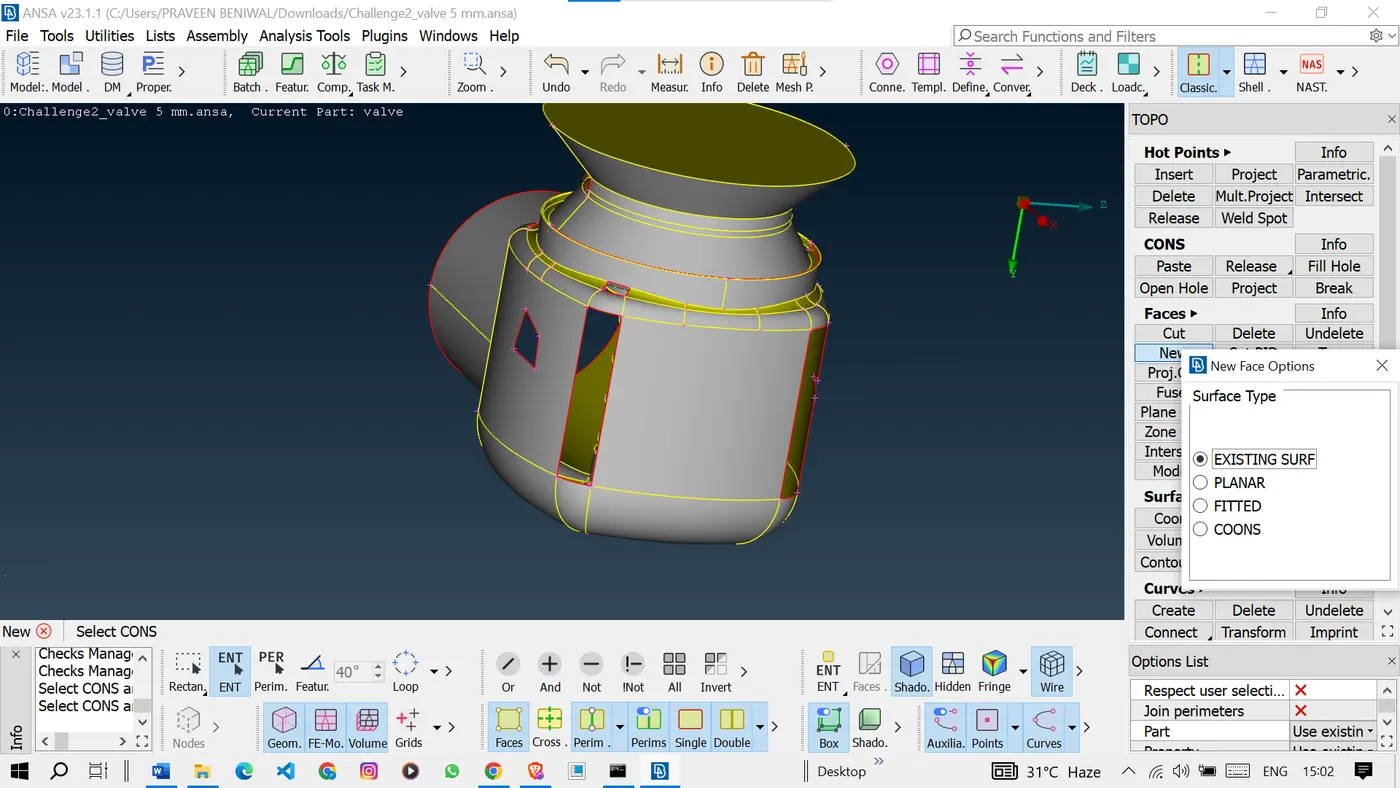 <!--[endif]-->
2. Topology Cleanup: Self-intersections were addressed by carefully adjusting model components. Sliver faces were merged or eliminated to enhance mesh stability.
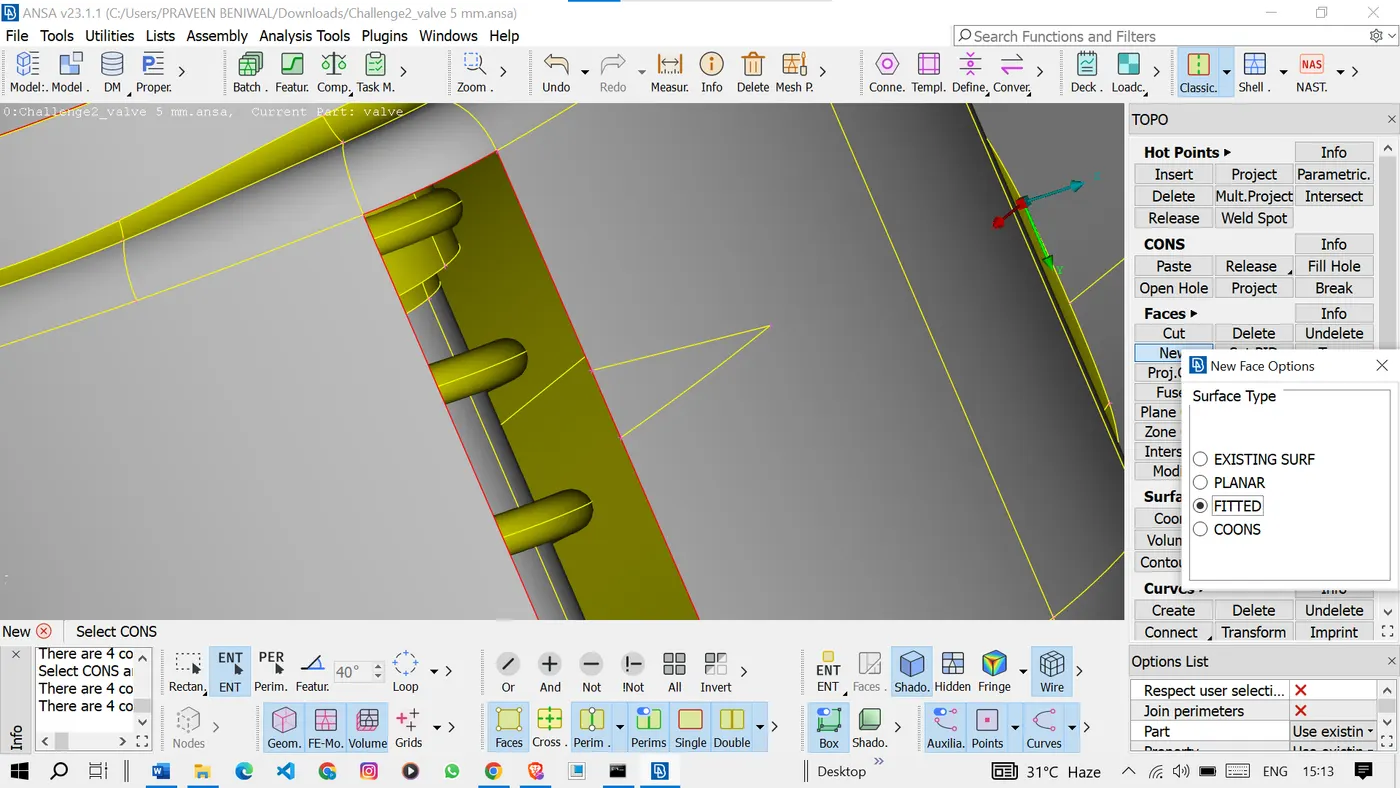
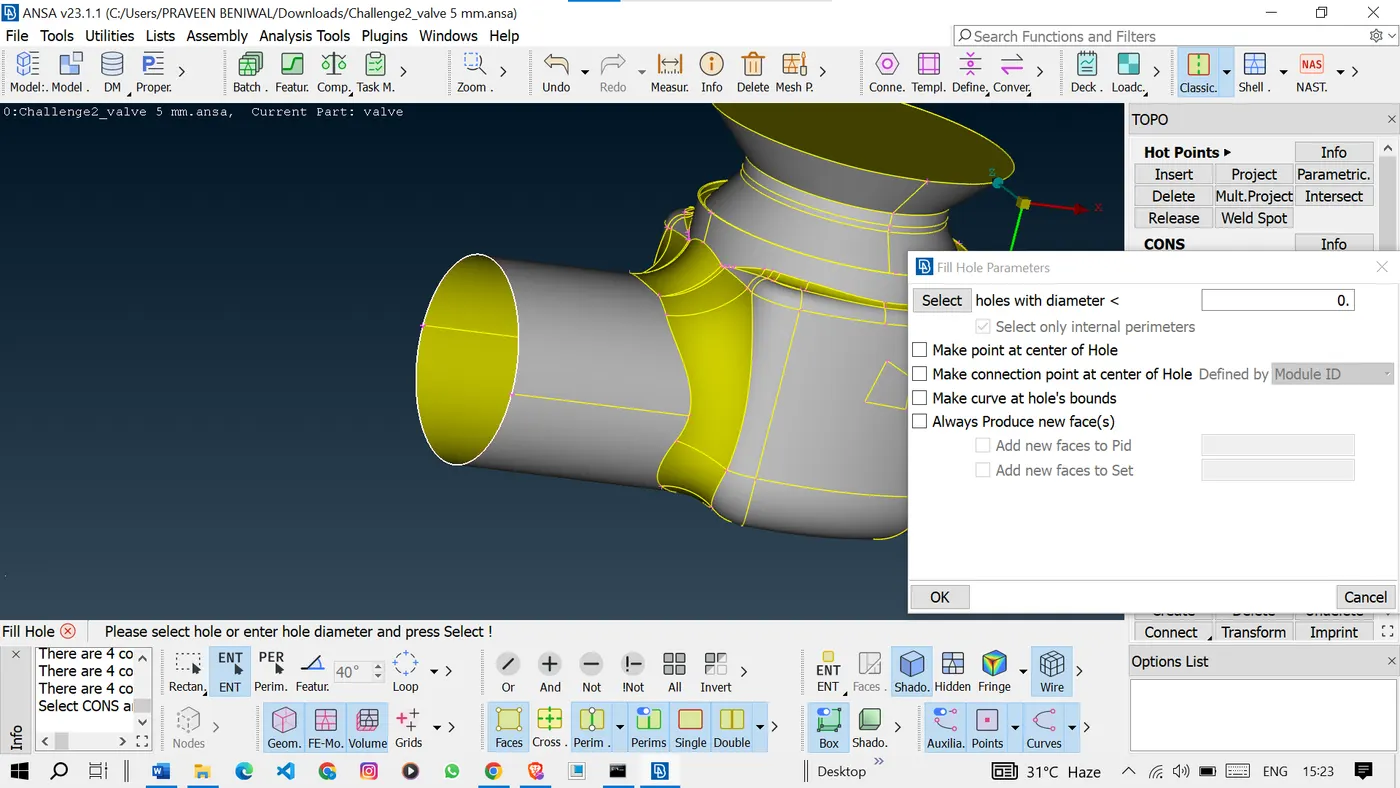
Topo mode is open by default and click on the new under faces option and then by using the faces options such as coons, existing surface, loop, and fill hole to patch the surfaces.
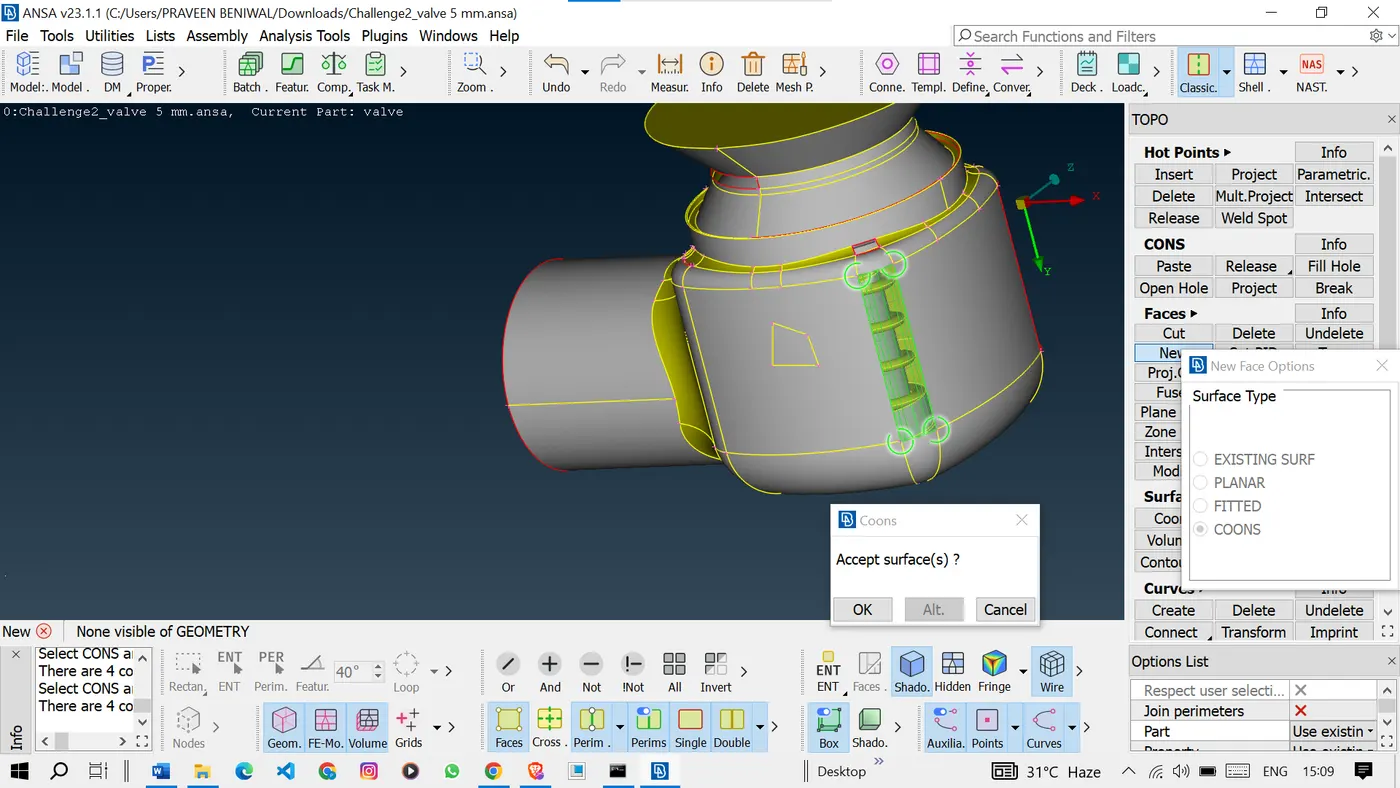
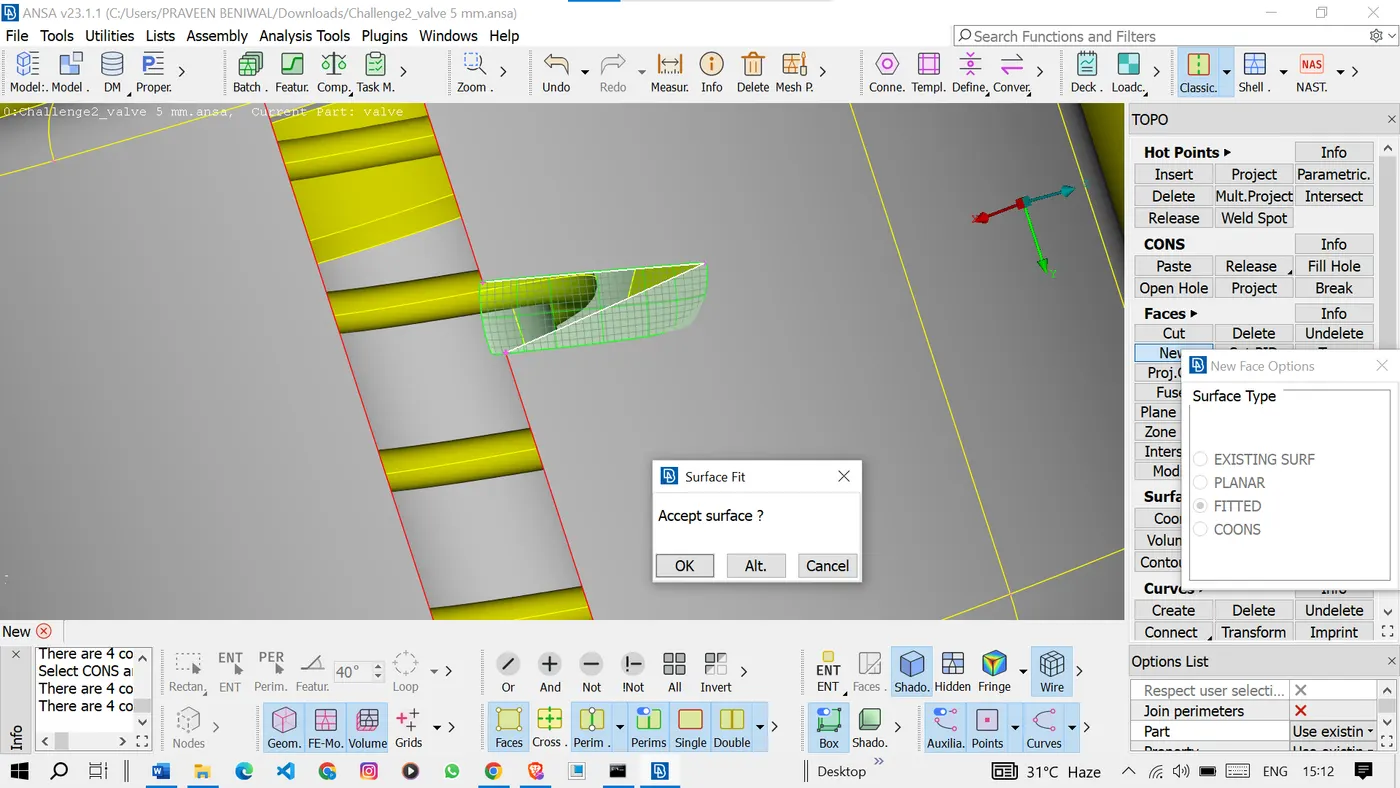
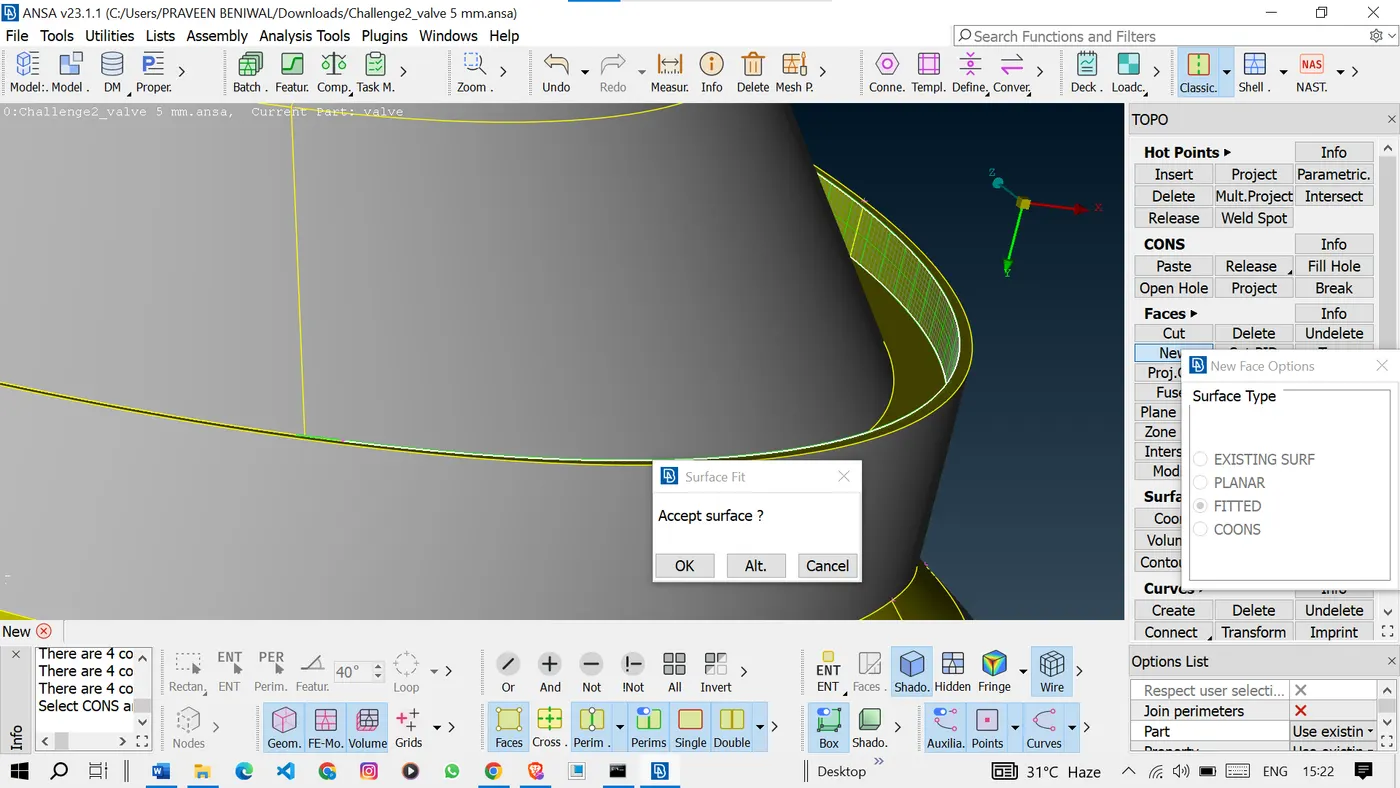
 <!--[endif]-->
To make a vertical surface try to go with selecting the cons in ENT mode it’s easy to get the surface.
The different views can be seen using the visibility tools.
Once done with patching the surfaces once again check for geometrical errors. Only triple cons error is found which is not considered an error.
Now remove the unwanted lines which may disturb the meshing process.
To remove them use the cut option under the faces and right-click on the unwanted line. 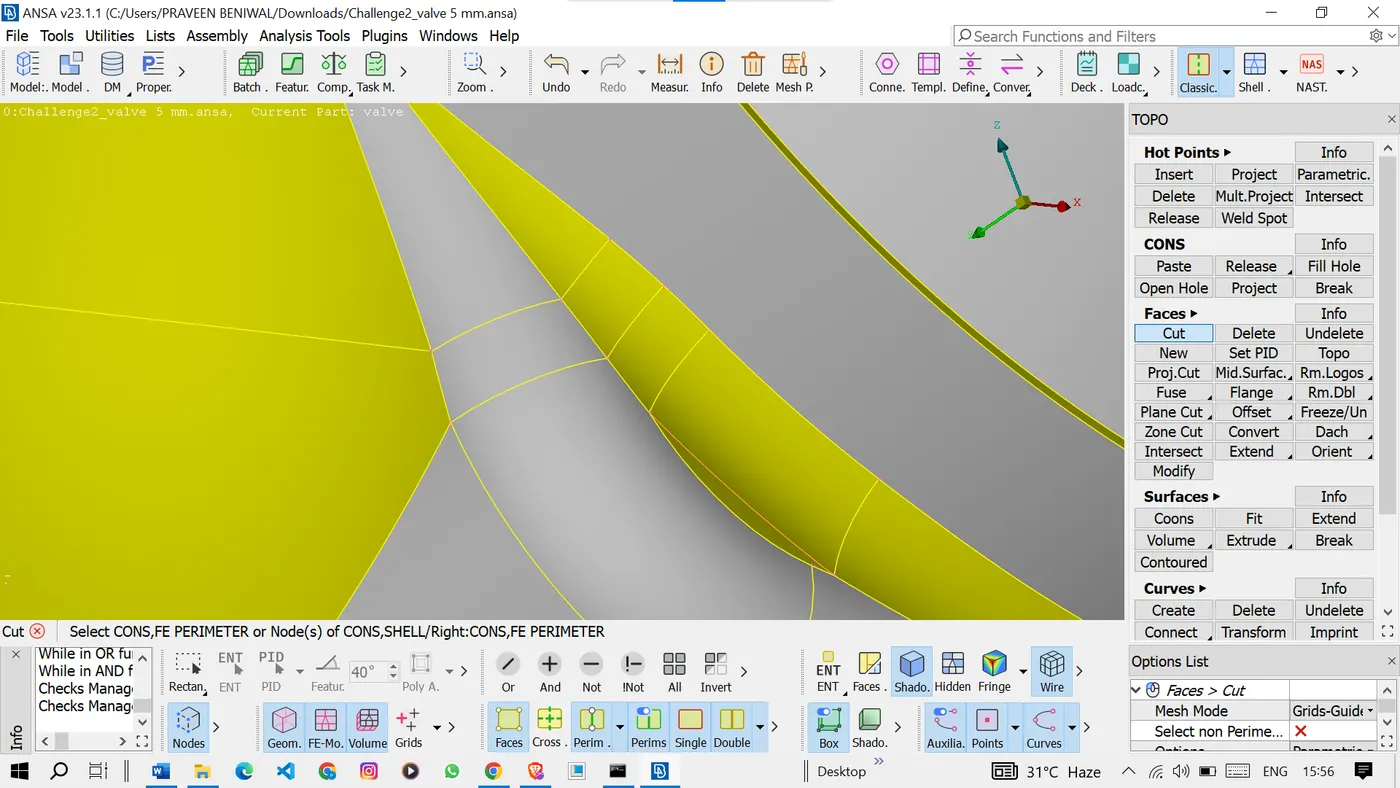 <!--[endif]-->
Now it’s time to create the PIDS.
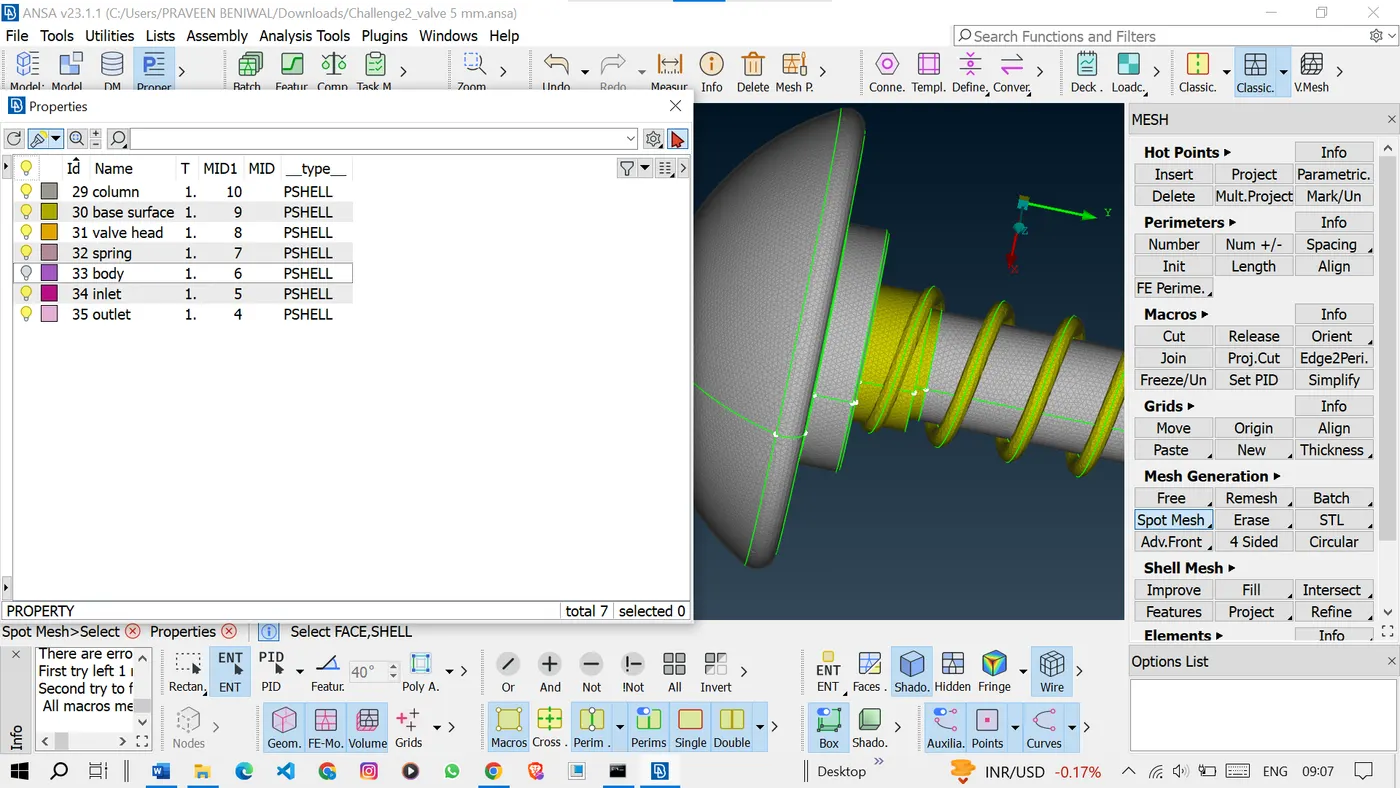
To create the PID right-click in the PID manager and click new to get a PID and assign the name to the PID accordingly. 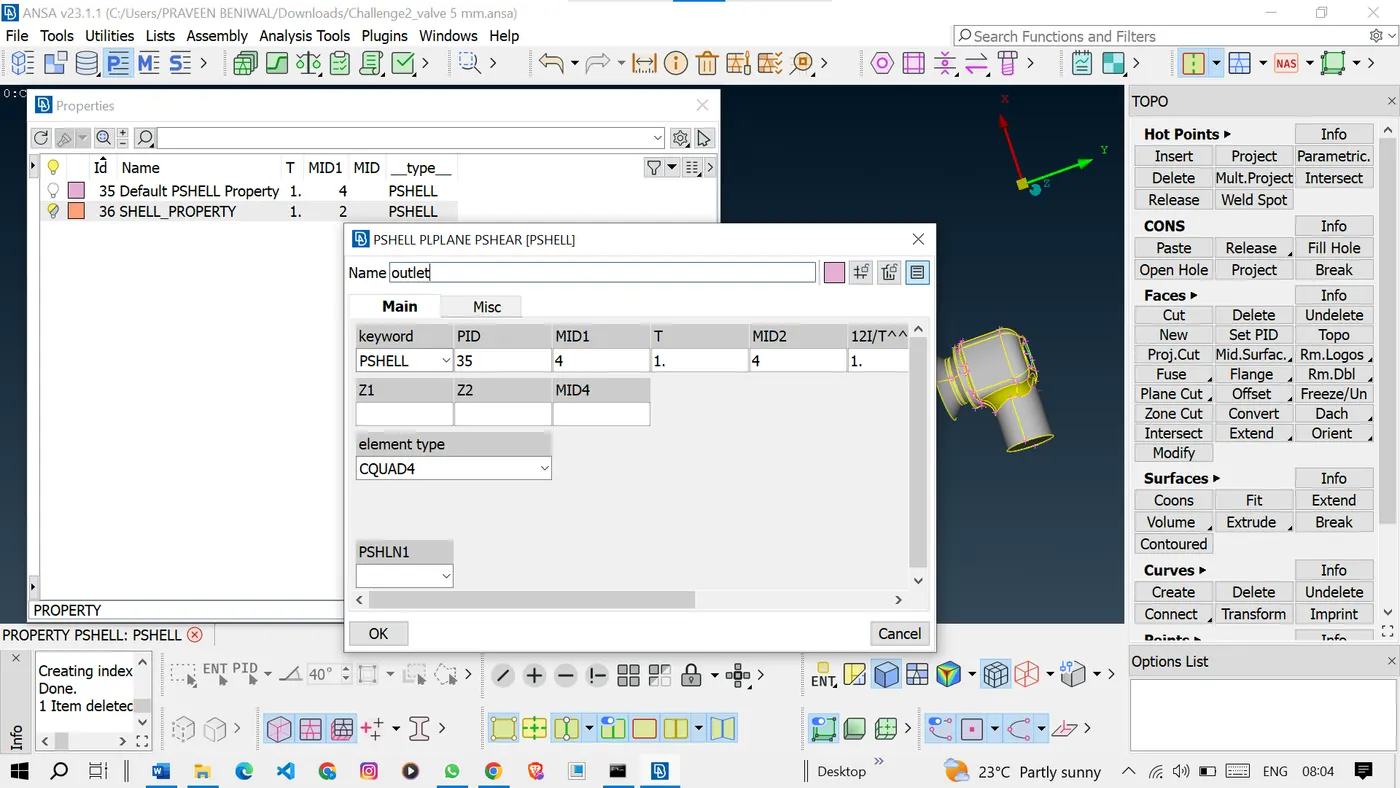 <!--[endif]-->
Once done with the creation of the PIDS it’s time to assign the PIDS to the respective surfaces. 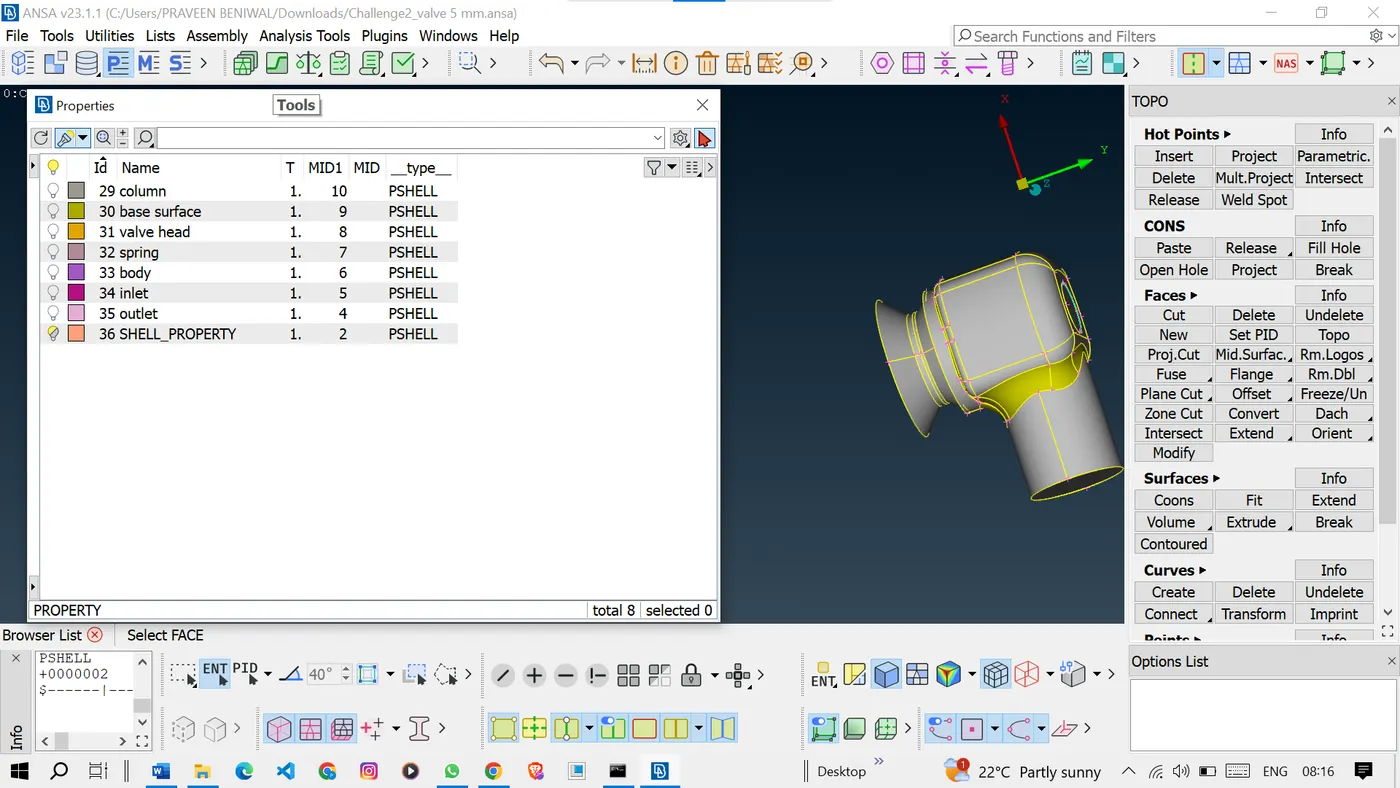 <!--[endif]-->
To assign the PIDS right click on PID and click apply and select the surface and press the middle click the PID will be assigned to the surface similarly do it for all the surfaces.
3. Mesh Generation: Triangular elements were chosen for meshing. The entire model was meshed using each target length, resulting in three distinct meshes.
CASE 1:-
we will go with the target length of 1mm.
before meshing assign the mesh parameter and target length in the perimeter and macros and quality criteria as well. 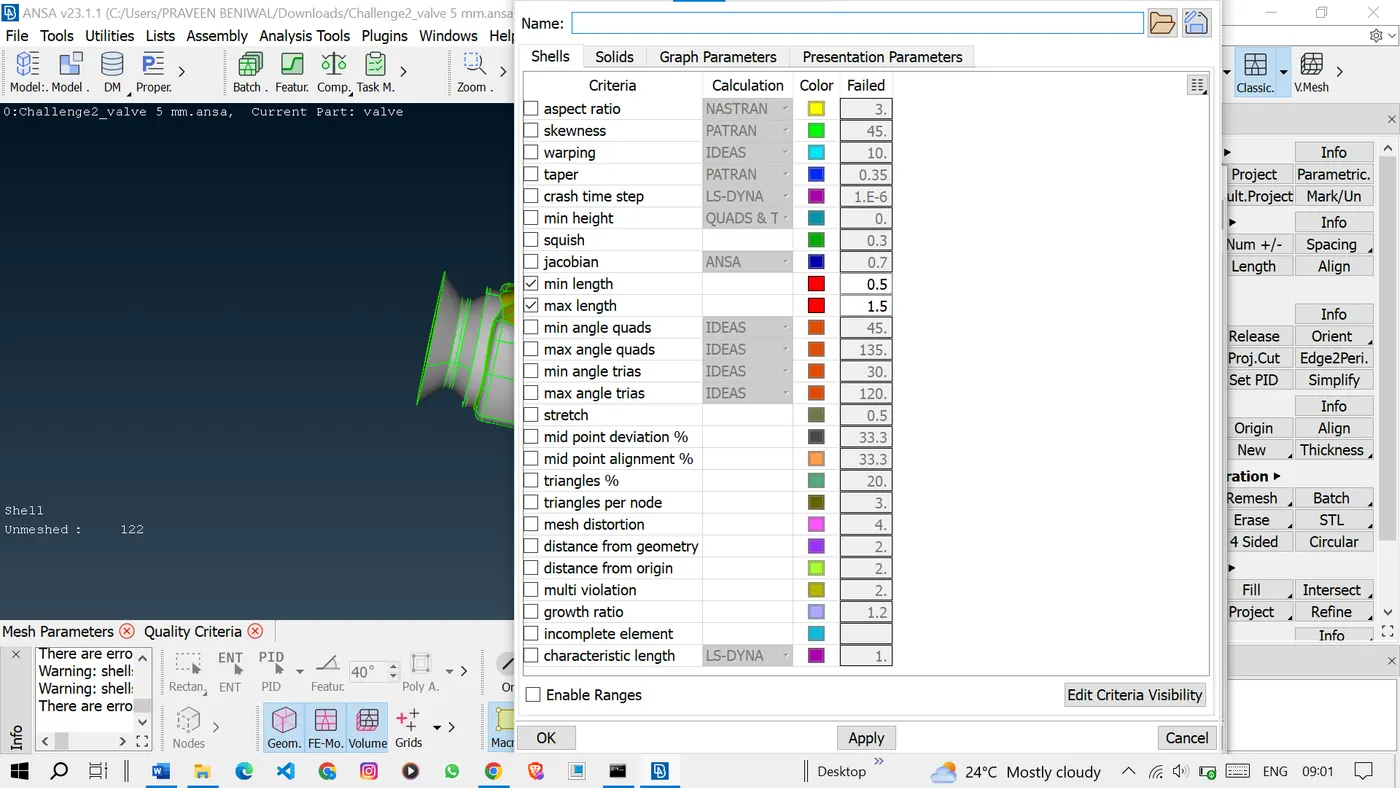 <!--[endif]-->
And also select the mesh type as TRIA.
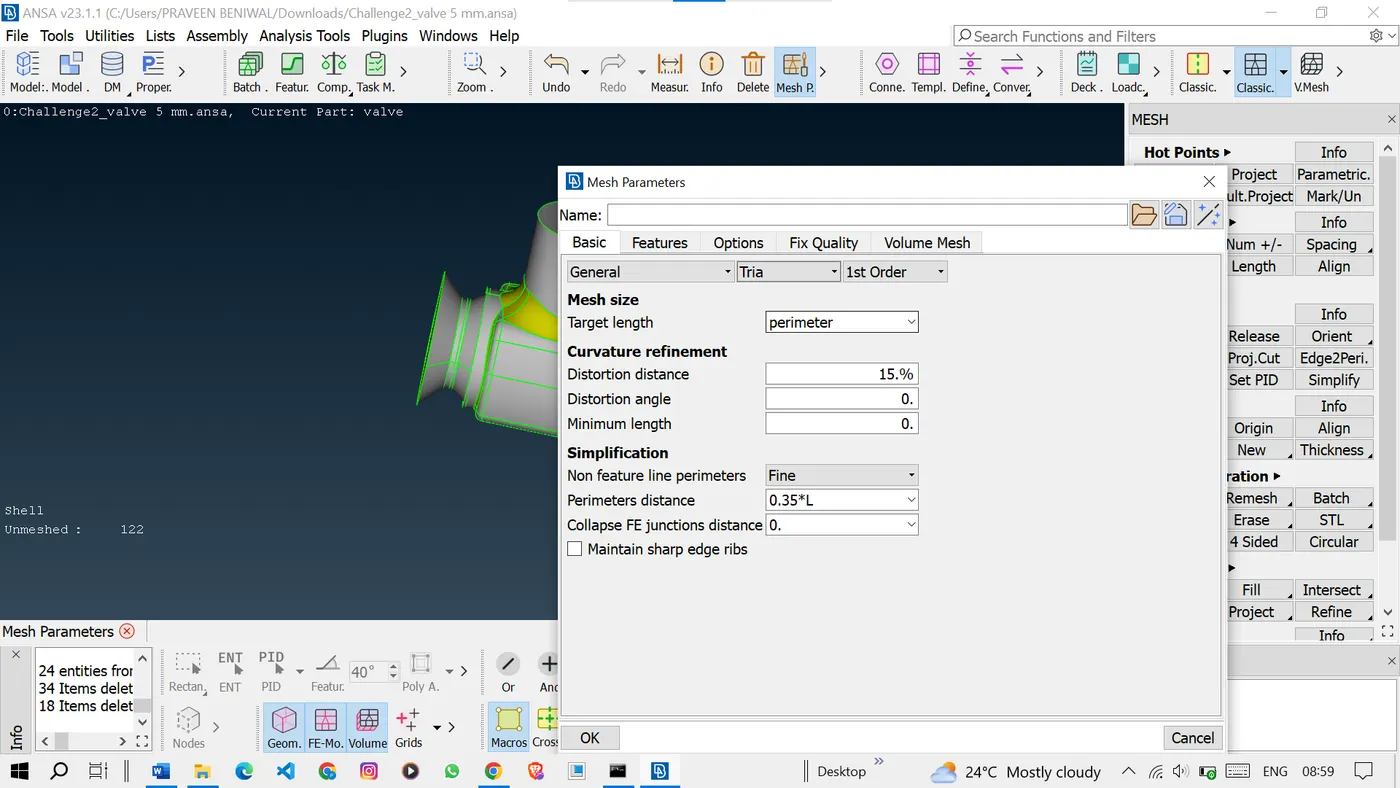 <!--[endif]-->
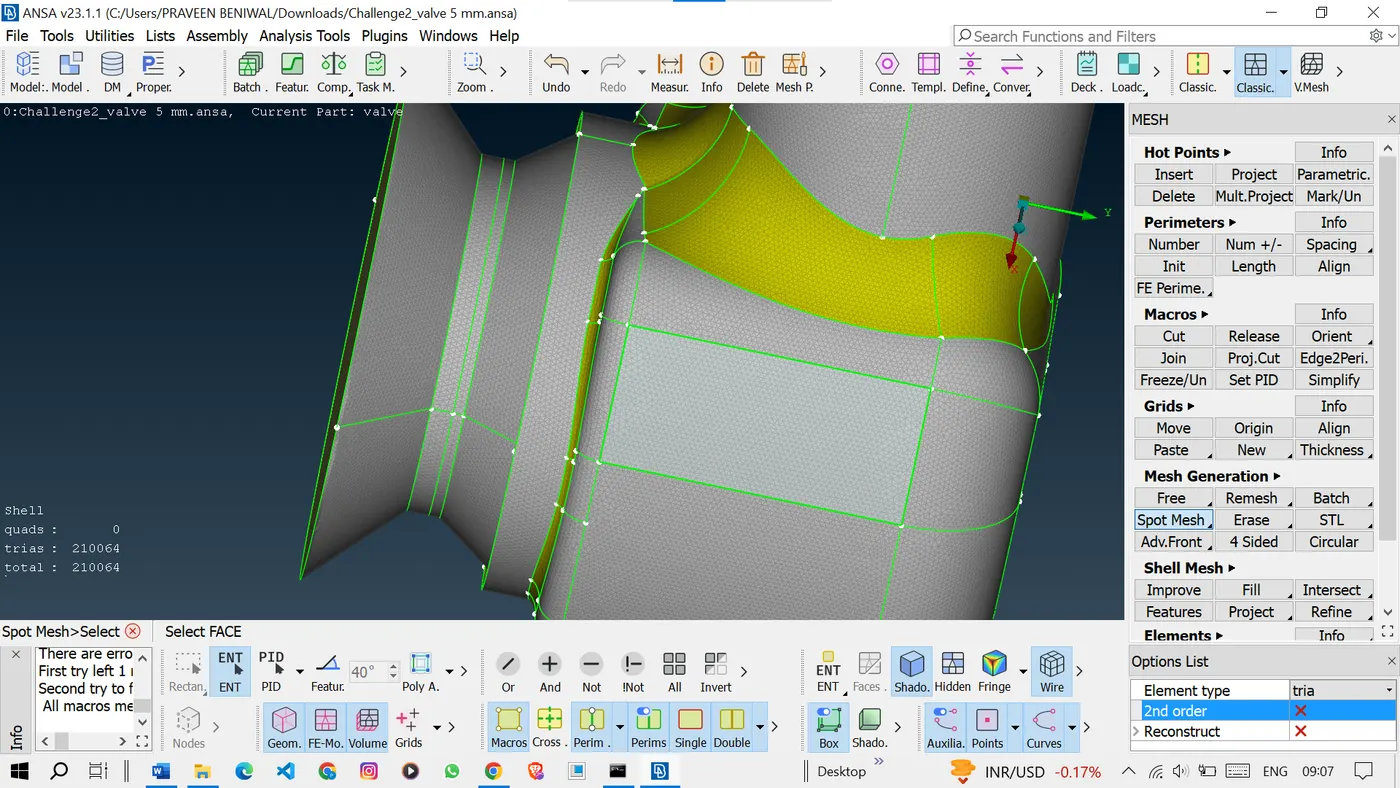
Now we will go for meshing the model so to do that click on the classic mesh and then click on the spot mesh and select the model’s different selection methods after selection press the middle click to execute the meshing process.
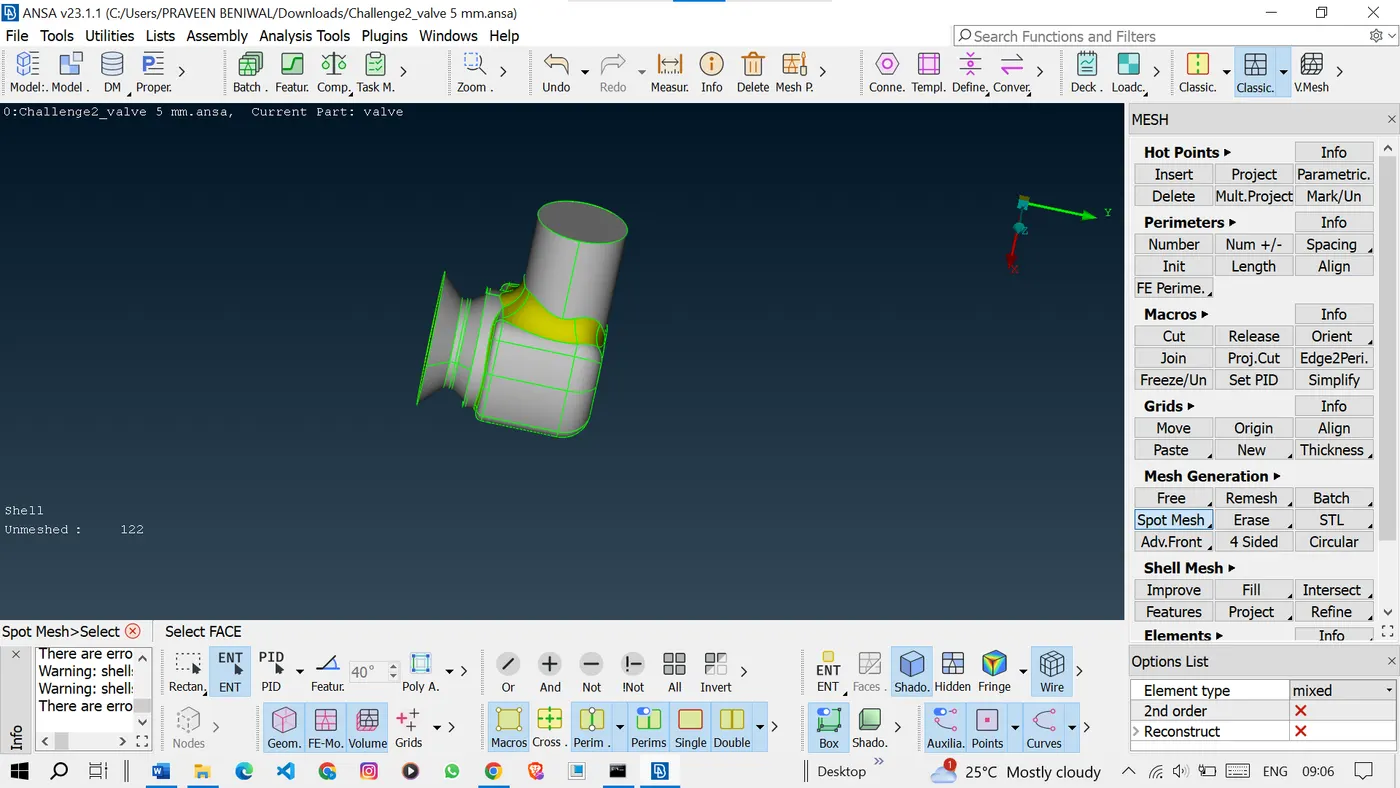
 <!--[endif]-->
As we can see the model meshes with a 1mm target length, and the surfaces look fine.
CASE 2:-
Now we will go with 3mm as the target length.
To do that change the target length to 3 in perimeter and macros and also change the values in mesh parameters and quality criteria.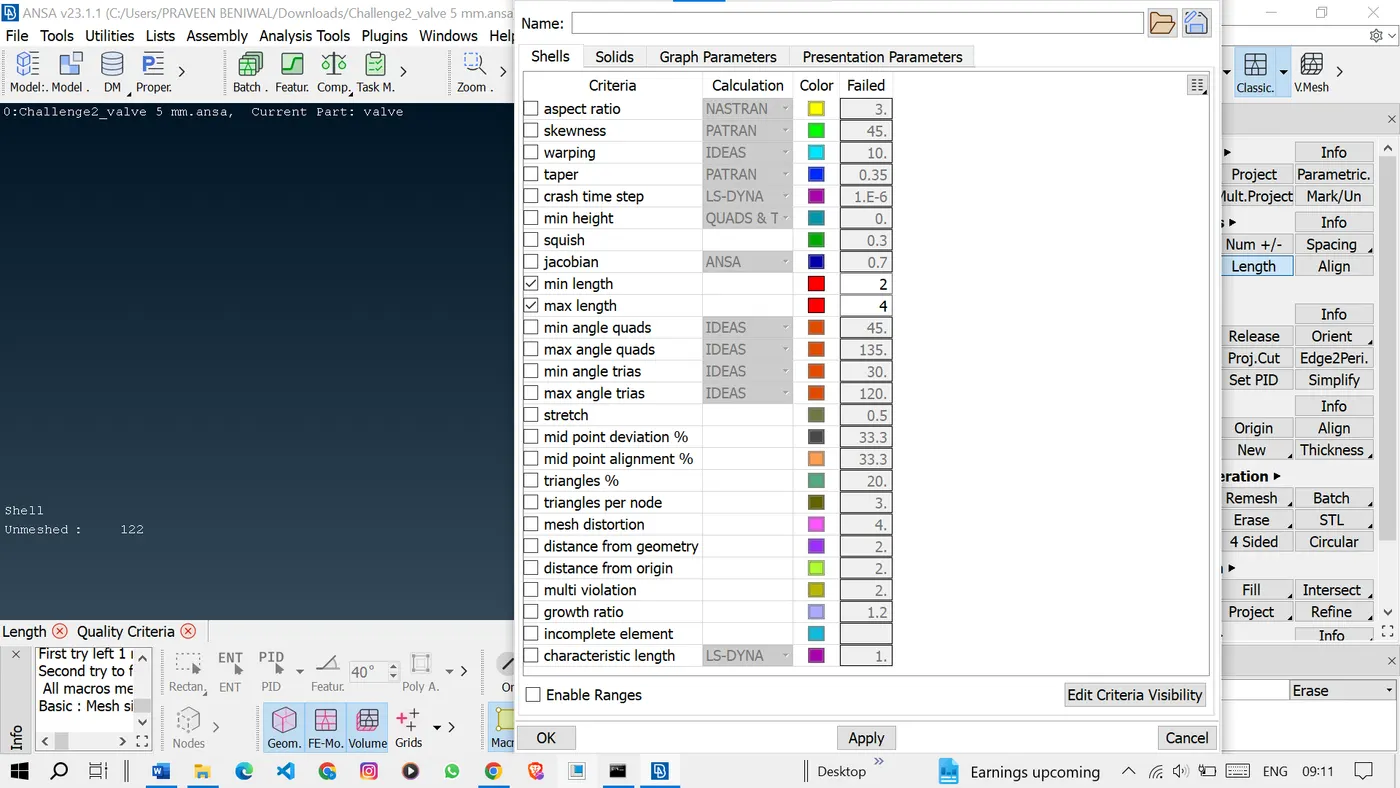 <!--[endif]-->
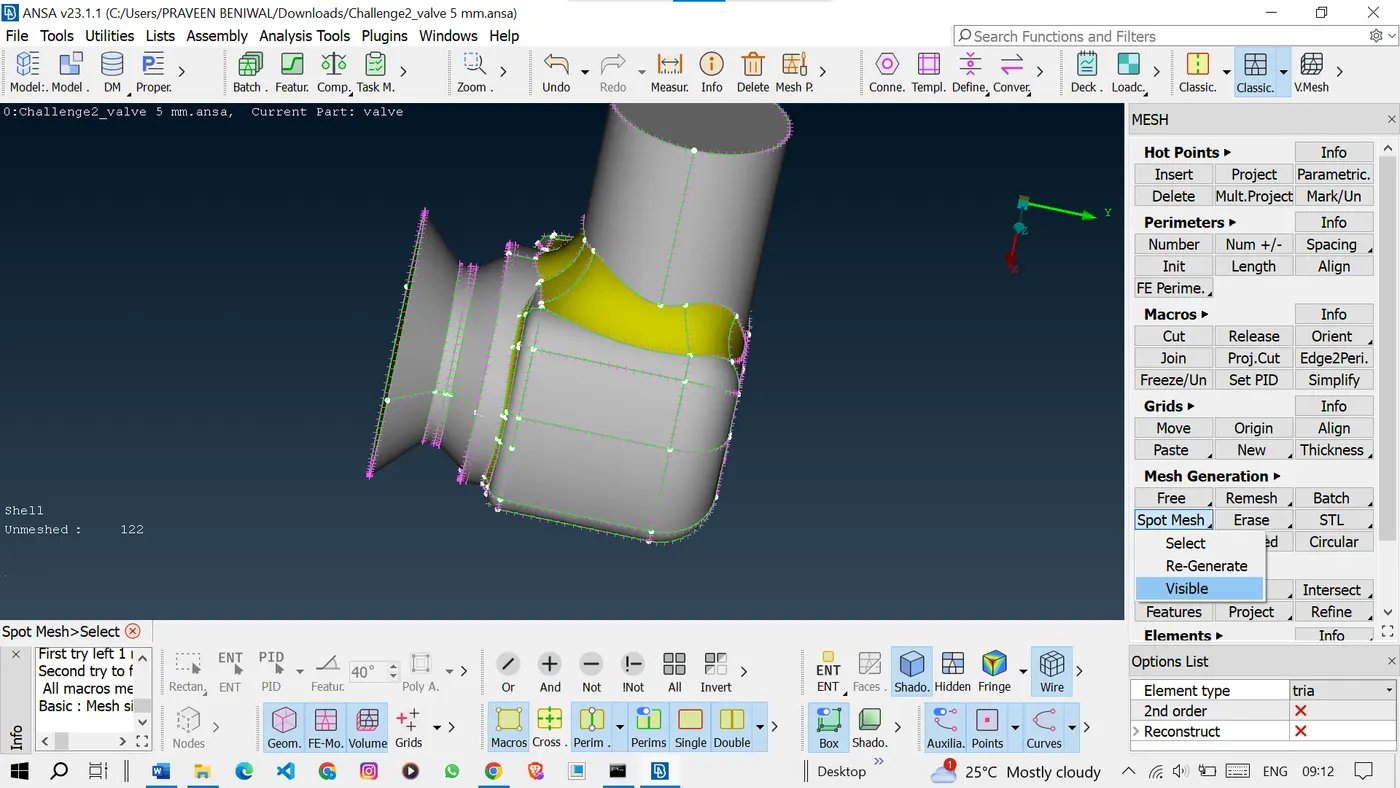
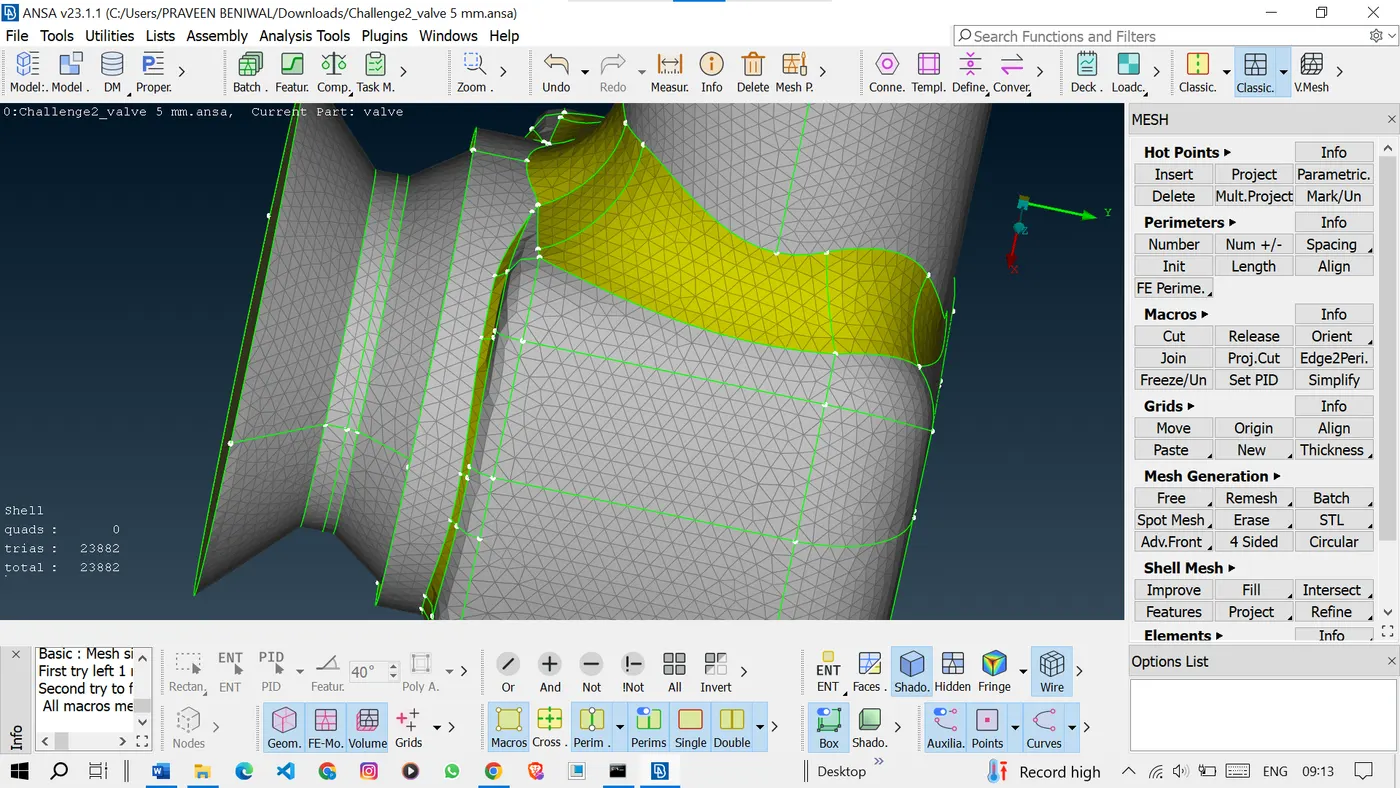
And then click on the spot mesh visible to mesh the whole model in one shot.
 <!--[endif]-->
The model is meshed with the 3mm mesh length and the irregularities can be seen on the spring and valve surfaces.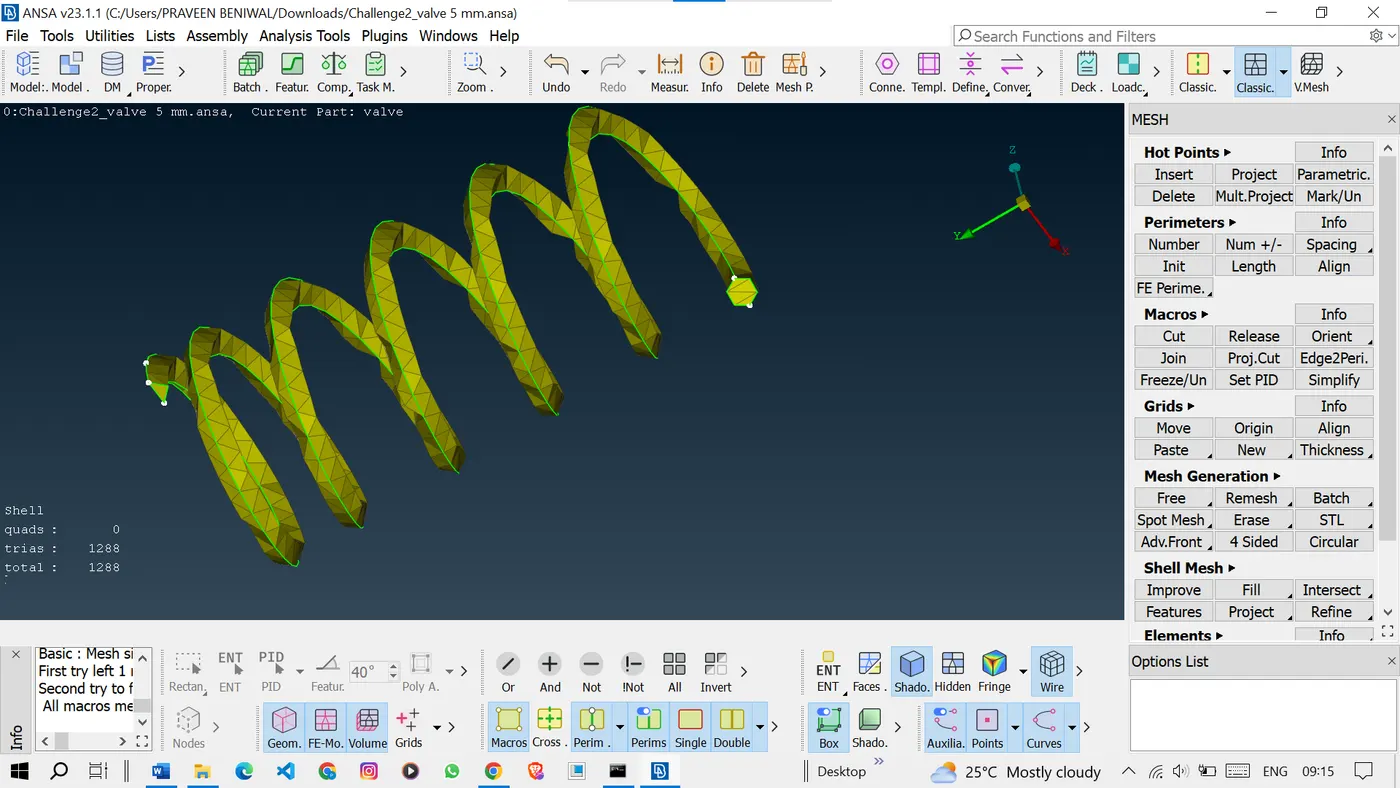 <!--[endif]-->
CASE 3:-
In this case, assign the target length as 5mm.
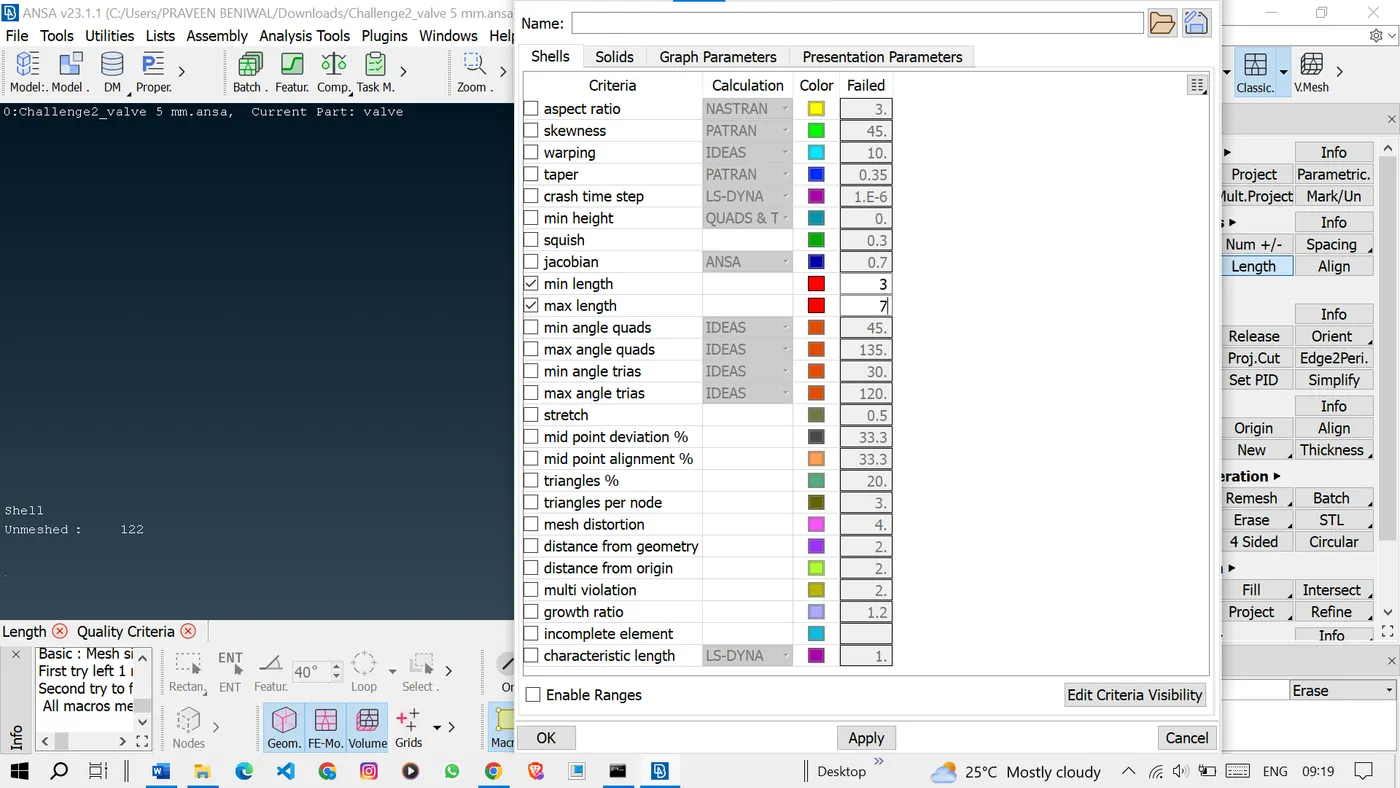
To do that change the values in the perimeters, macros, mesh parameters, and quality criteria.
 <!--[endif]-->
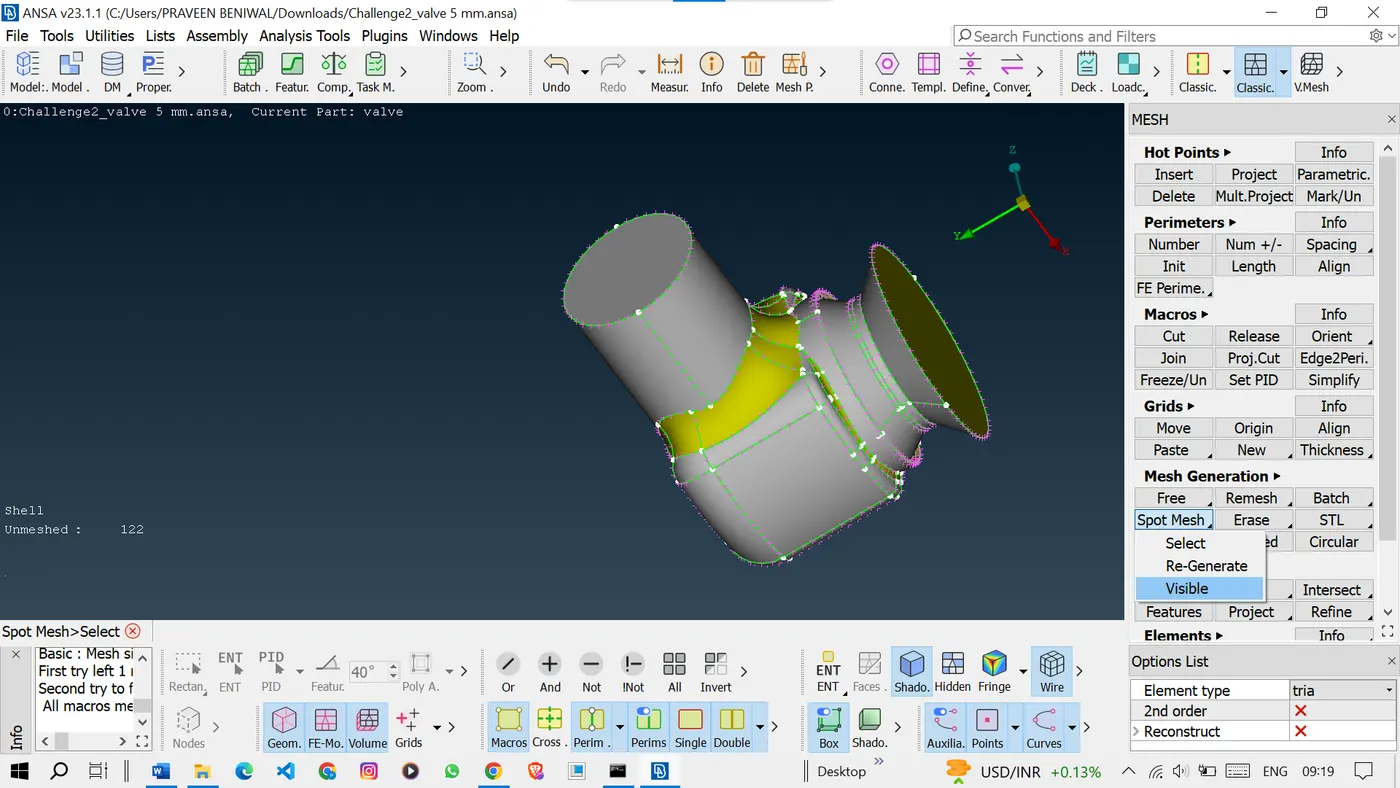
To mesh the model click the spot mesh visible and press the middle click.
 <!--[endif]-->
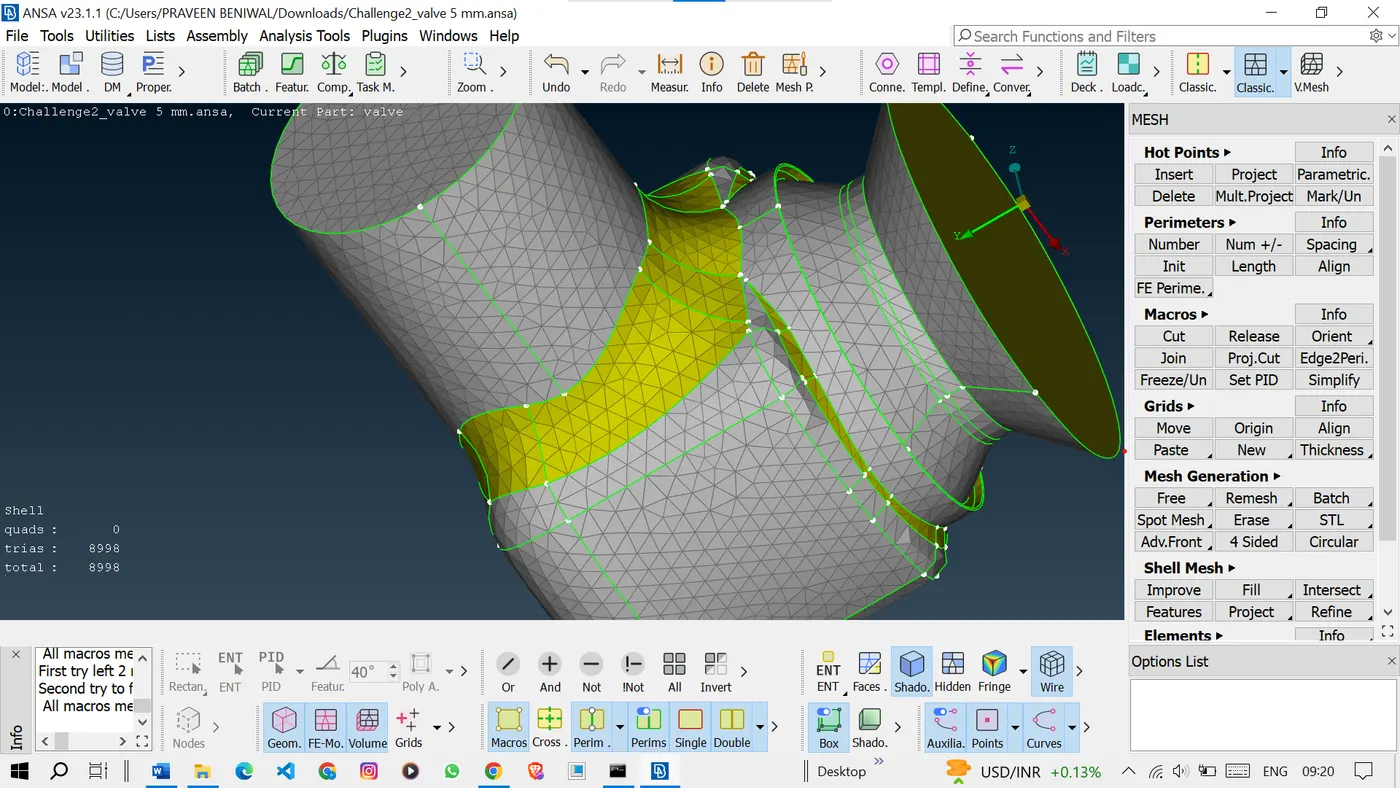
Now we have the meshed model with a target length of 5mm.
 <!--[endif]-->
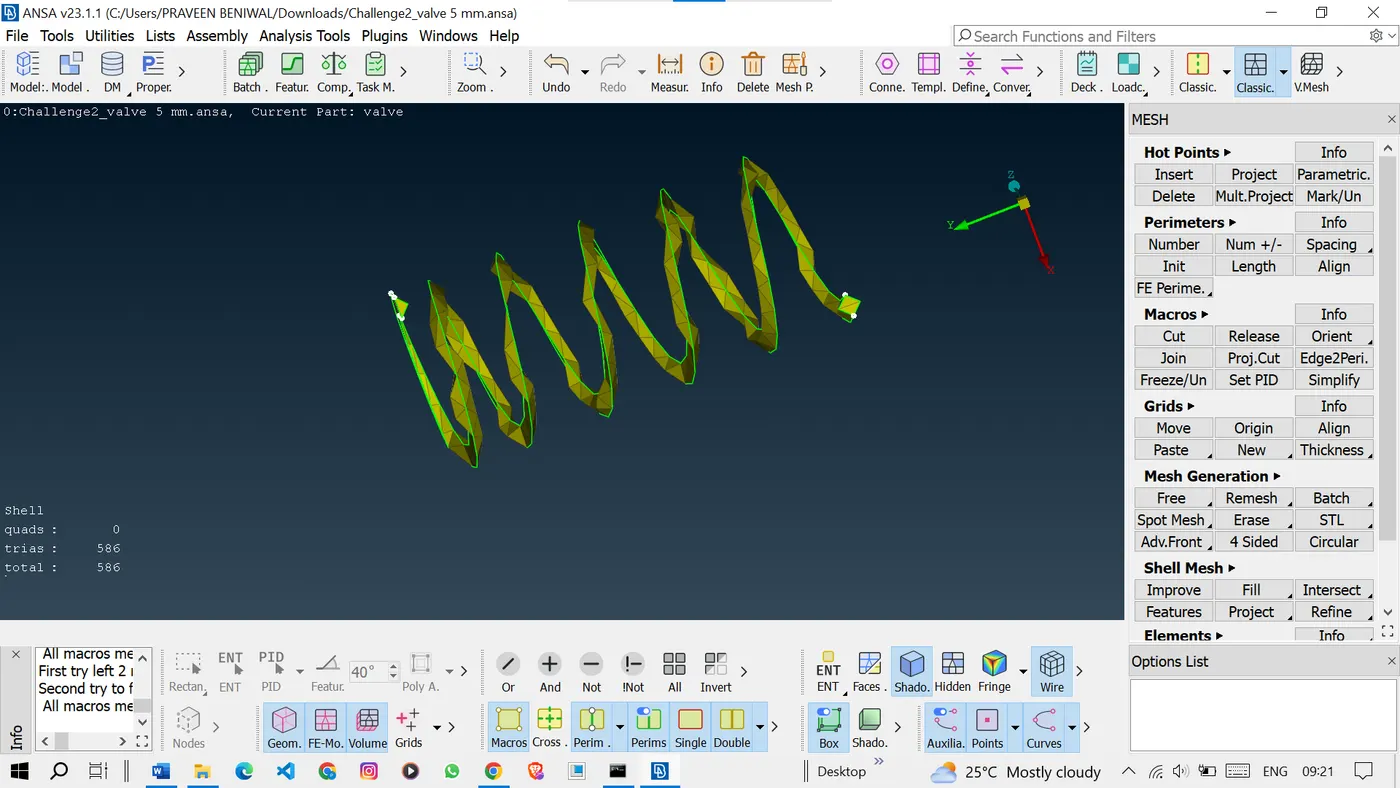
The surface of the spring and valve head is very rough and irregular.
 <!--[endif]-->
Results:-
1. 1mm Target Length: Mesh displayed high element density, yielding refined details. Aspect ratios were improved, because finer elements provide a smooth surface. and it gives the most appropriate result in all three cases.
2. 3mm Target Length: Mesh quality remained balanced with a compromise between detail preservation and computational efficiency.
3. 5mm Target Length: Coarse mesh resulted in faster computation, but finer features were poorly represented.
Conclusion:-
After analyzing the three cases, the case with a target length of 3 mm stands out as the most balanced option. It strikes a good compromise between computational efficiency and accurate representation of geometry. The resulting mesh maintains acceptable element quality metrics while ensuring a reasonable element count. The 1 mm case offers high detail but sacrifices efficiency, and the 5 mm case enhances efficiency but compromises on accurately capturing intricate features.