Week 5 Challenge : Surface wrap on Automotive Assembly
Aim
- To do geometrical clean up of the three models.
- To merge the 3 models.
- To do surface wrap of the merged model with a target length of 3 mm.
Procedure
- Import the geometry into the ANSA software using file>open>file location.
- Once the file is being imported, we have to perform geometrical clean up of the file before we can move onto the surface wrap of the geometry.
- We will be performing geometrical clean up of the Engine model first.
- When we opened the Engine model, we can see lot of entities which are floating around the engine model which are of no use to our analysis.
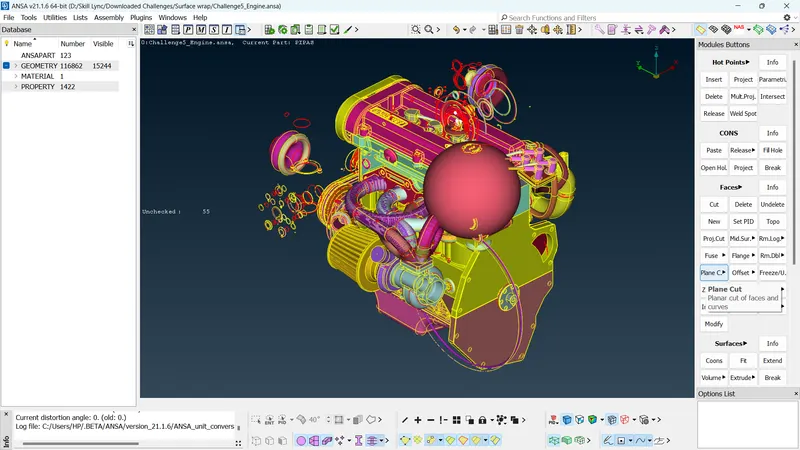
- We can easily delete these enities by setting up a suitable view and making a box selection using delete function.
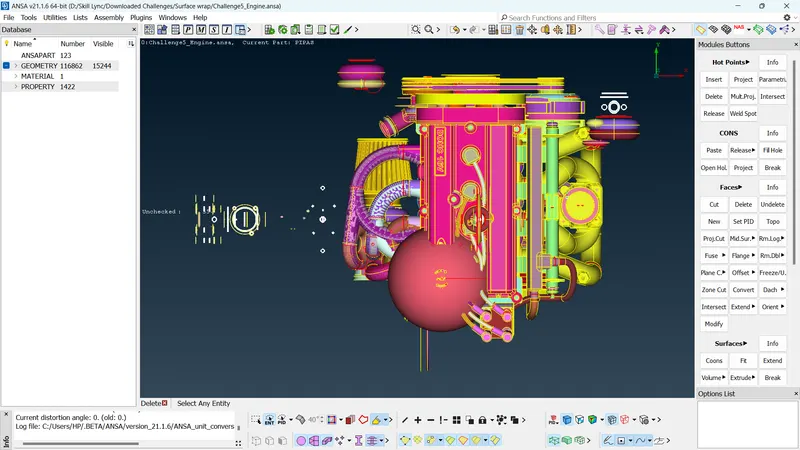
- Similarly by setting up various views of the model, we can delete all the floating entities around the model which are of no use to our analysis.
- Left side of the screen shows unchecked surfaces. Unchecked surfaces are very small surfaces which are of no significance. Right click>Show only on unchecked surfaces to isolate these surfaces and delete them using delete function.
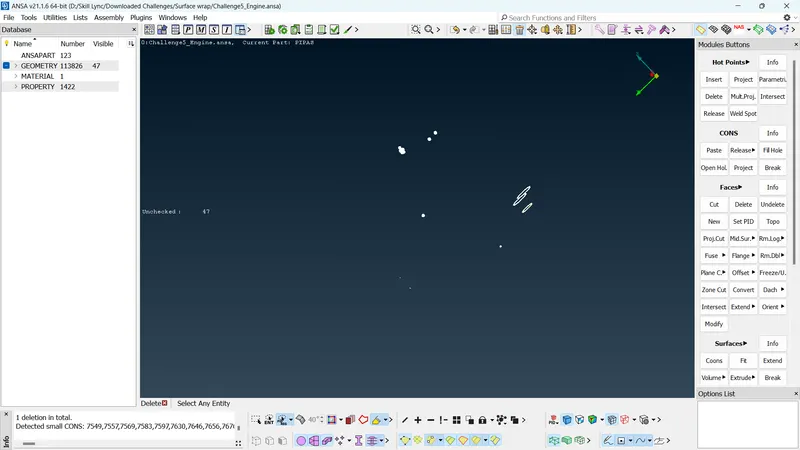
- We can see many rings all throughout the geometry. These are used by designers to create some features in the geometry. We can delete these rings.
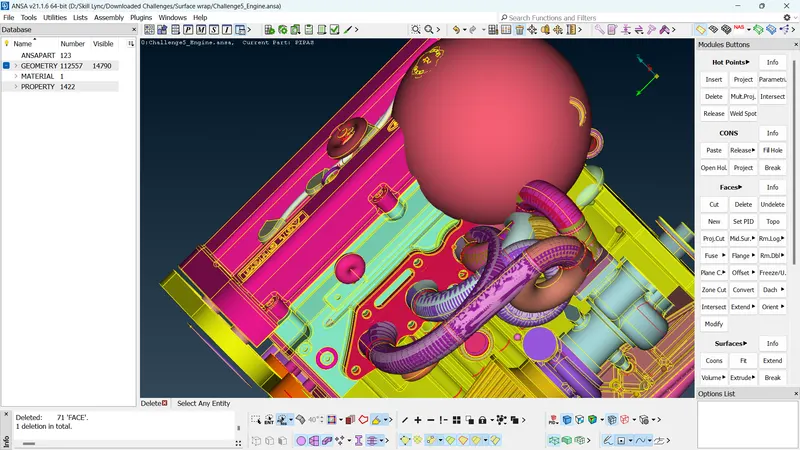
- Since PIDs have already been assigned to the geomerty, we can use Not function and PID selection tool to hide all the required geomerty and delete the rest of the geomerty.
- Once you have carefully isolated the unrequired parts, we can make a box selection to delete them at one go.
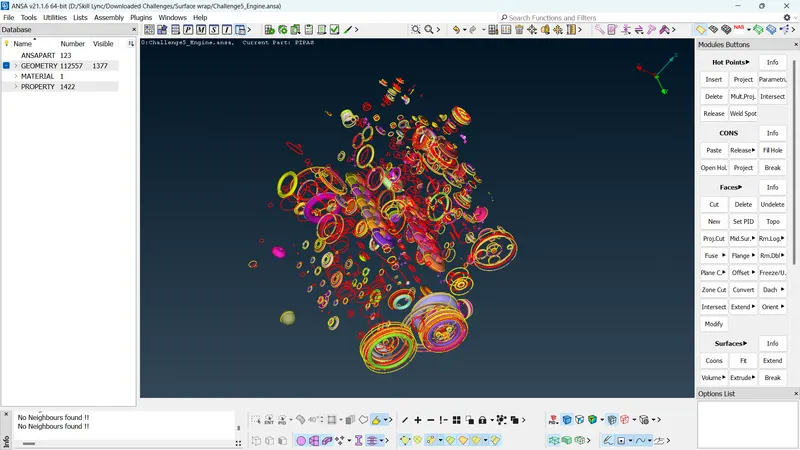
- Make sure to confirm the parts are unrequired before deleting them.
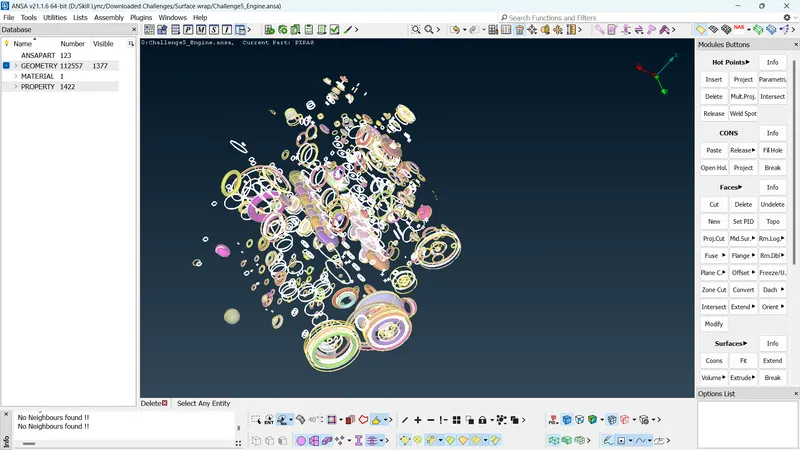
- Once you have deleted these parts, we can move further to clean up the geometry.
- There are lot of overlapped surfaces that needs to rectified.
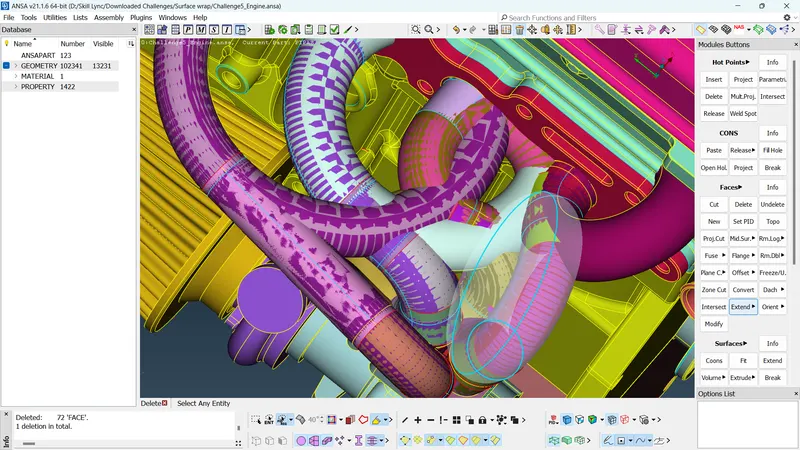
- TOPO fucntion can be used to rectify overlapped single and double cons.
- Once Triple cons are formed after TOPO function, we can rectify these triple cons.
- We can use not function to isolate surfaces that form triple cons and delete unwanted surfaces.
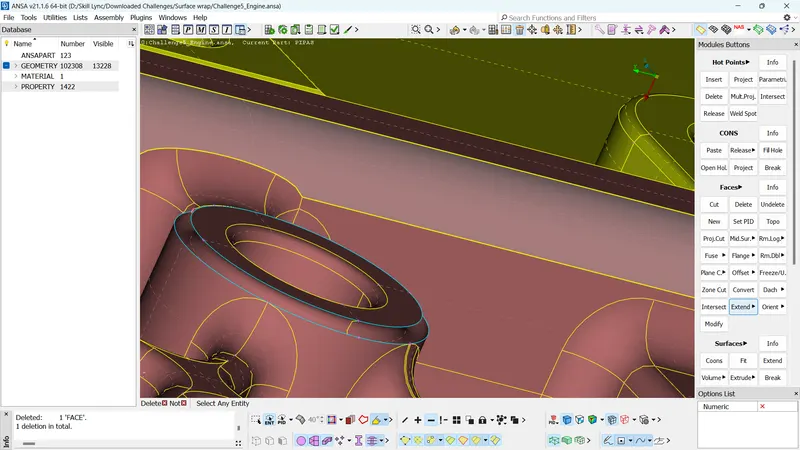
- Since we are only concerned about the external analysis of the geometry, we don't need to give much importance to the interior of the geometry.
- Surface wraps helps in meshing complex geometries.
- Surface wrap creates a wrap around the geometry and mesh that wrap. So we need to only worry about cleaning up the exterior of the geometry and it is well prepared for the wrap. We don't need to solve all the errors.
- Once the engine is cleaned up exteriorly, we can move onto the next models.
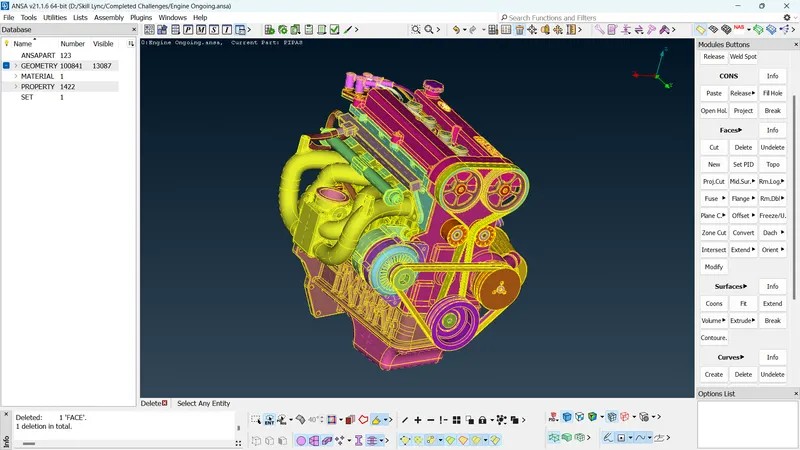
- Next we move onto the transmission model.
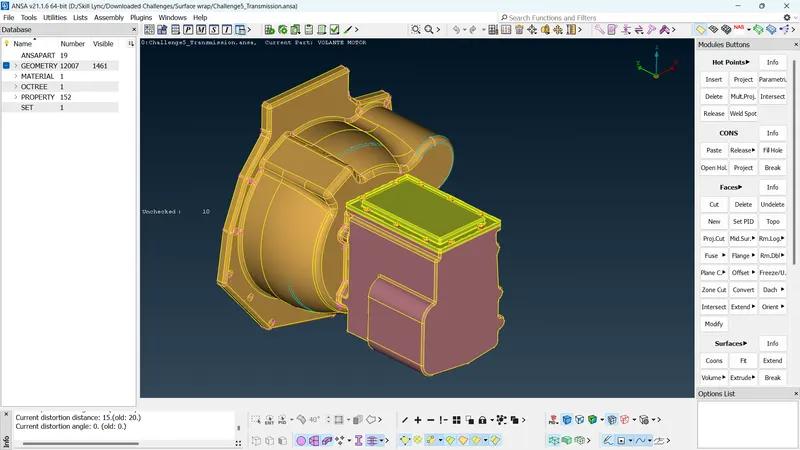
- Only a few triple cons need to be solved for the transmission model.
- We can use not function and delete function to delete unwanted surfaces to solve the triple cons.
- Once we have exteriorly solved the transmission model for wrapping, we can move onto the next model.
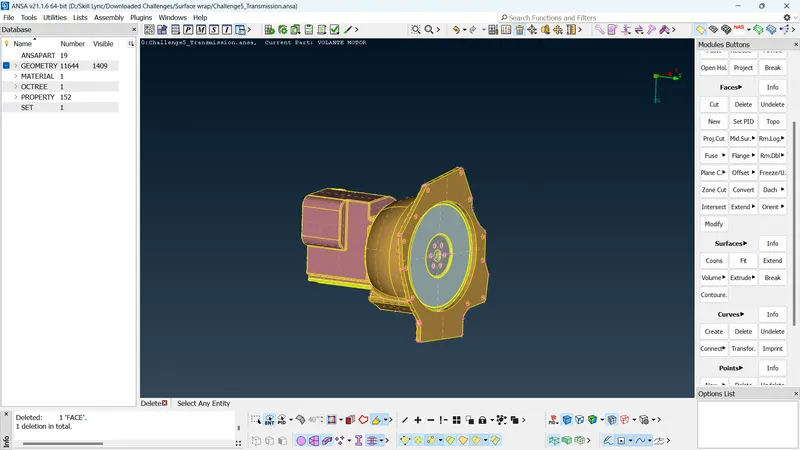
- Next we can open the gearbox model for solving.
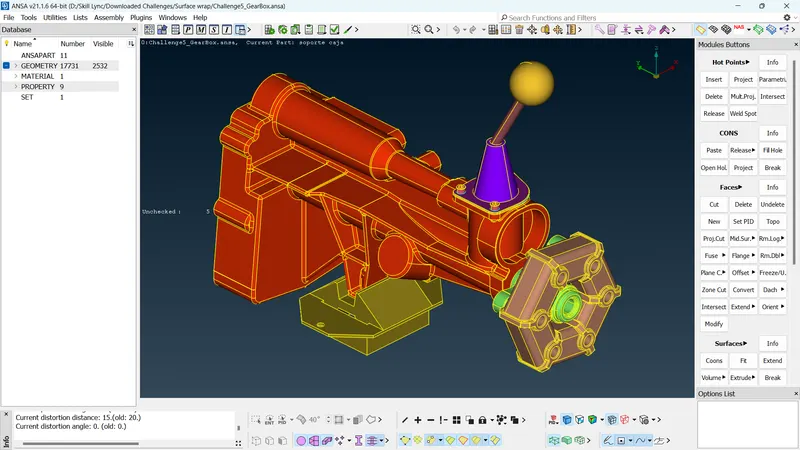
- The gearbox was pretty clean from the outside, only a few triple cons needed to be cleaned up.
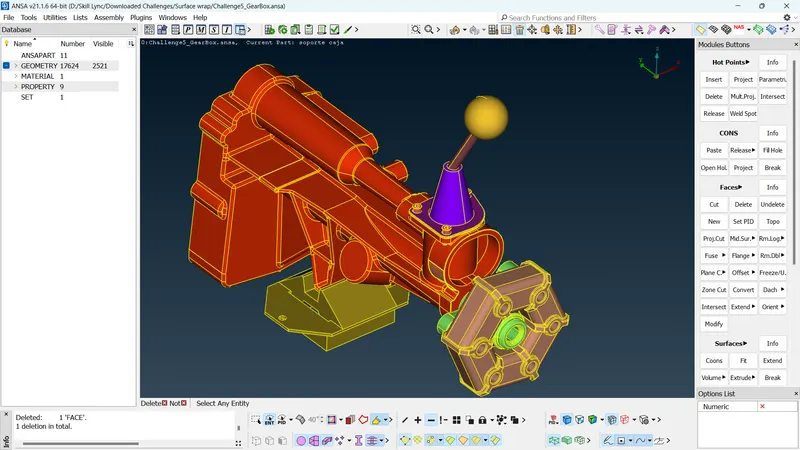
- Once all the three models have been cleaned up from the exterior, the next task is to merge all the three of them together.
- To merge them together, open any one of the model. Then click file>merge>model>click ok.
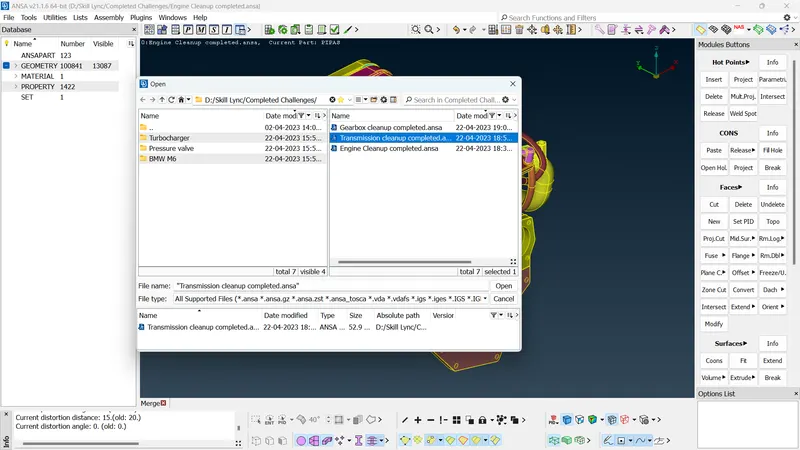
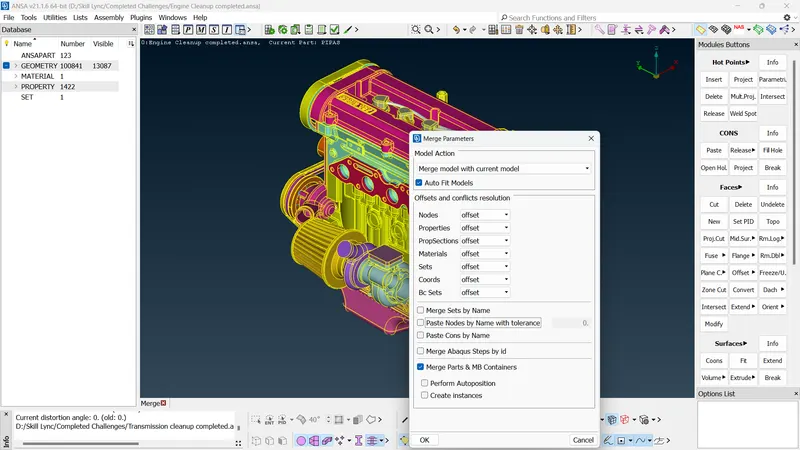
- Do the same for the third model.
- Once all the three models have been assembled together using the merge function, we can move onto the next steps.
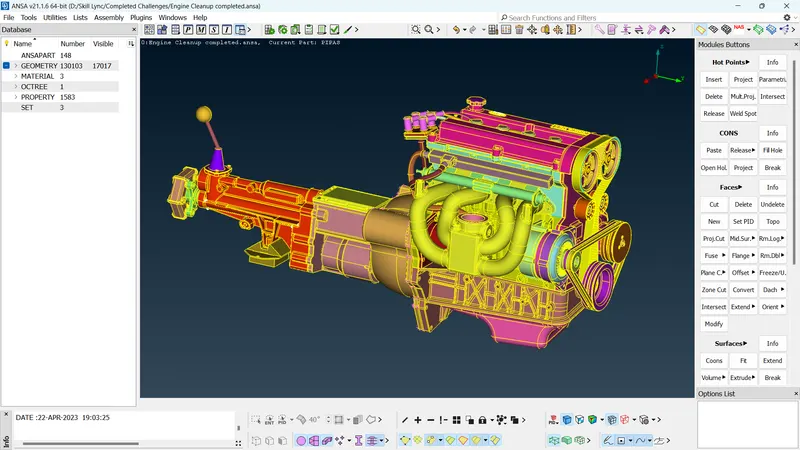
- Before we can move onto the surface wrap of the geometry, we need to cover all the holes. This helps in a more refined definition of the wrap.
- Holes can be filled using the fill hole option or the faces>new>coons/fitted option.
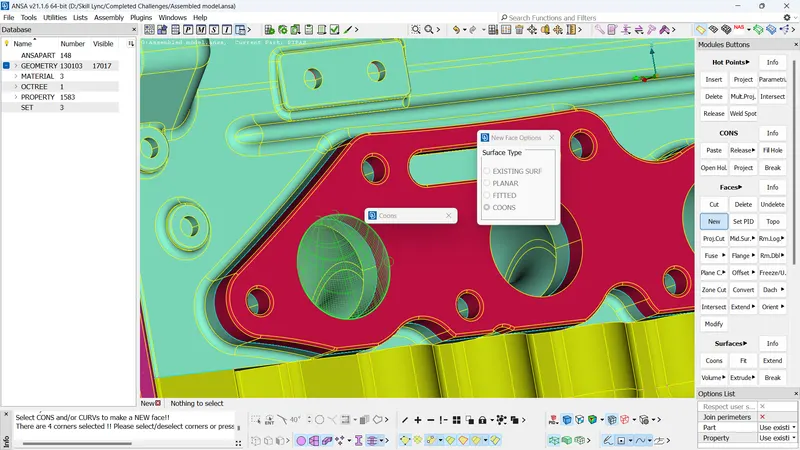
- We can also delete the belts in the engine as they are very thin and do not help in capturing the geometry properly.
- Once all the major holes in the exterior of the geometry has been filled, we can move onto the next steps.
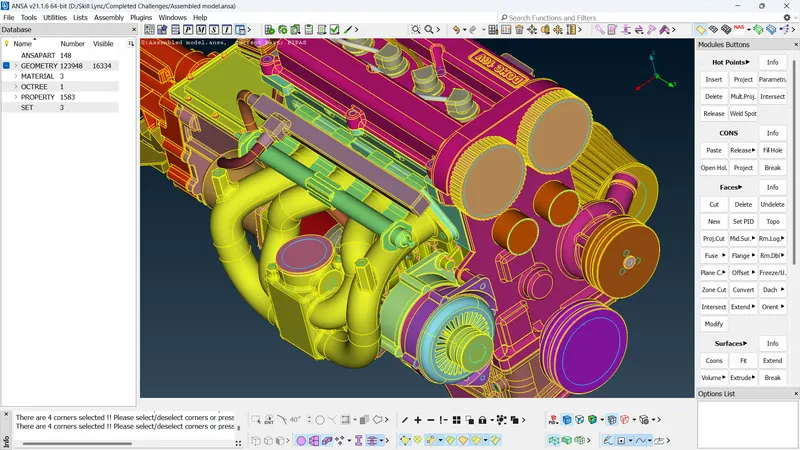
- While checking the property manager, we can see there are lot of PIDs that exist which don't have a part assigned to them.
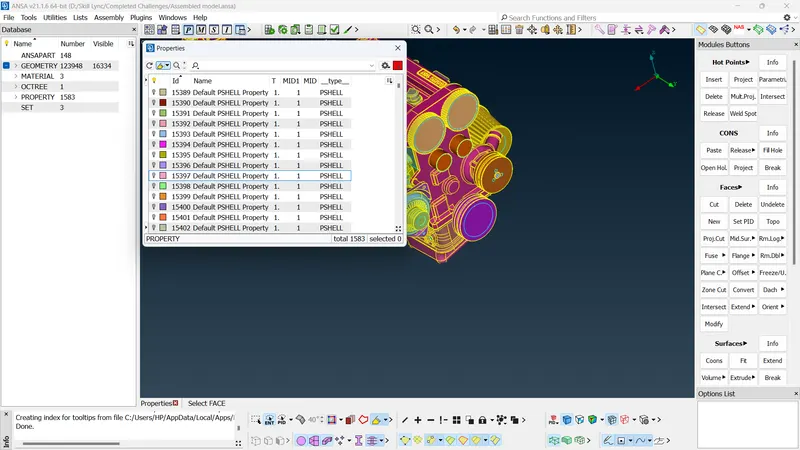
- We can use compress option to delete such PIDs. Once this is done, we can move onto the surface wrap.
- Go to the mesh module.
- Elements>wrap>constant length.
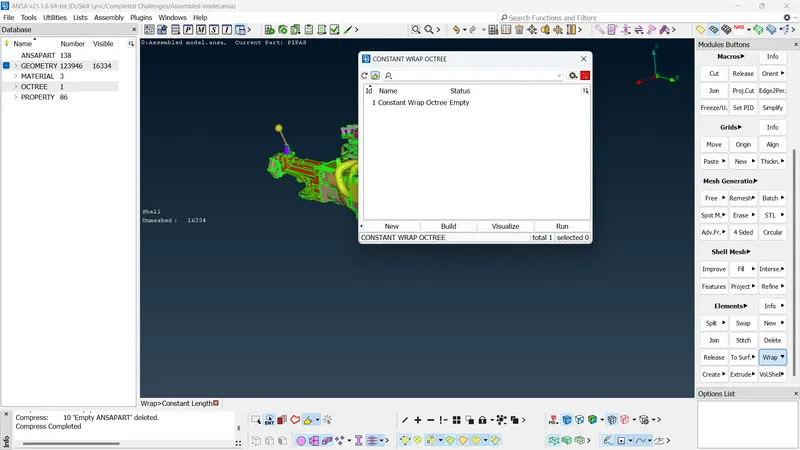
- Double click on empty.
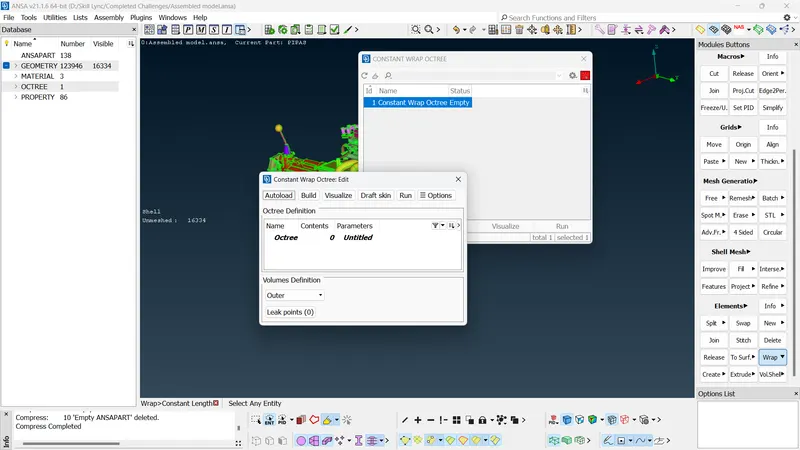
- Double click on parameters.
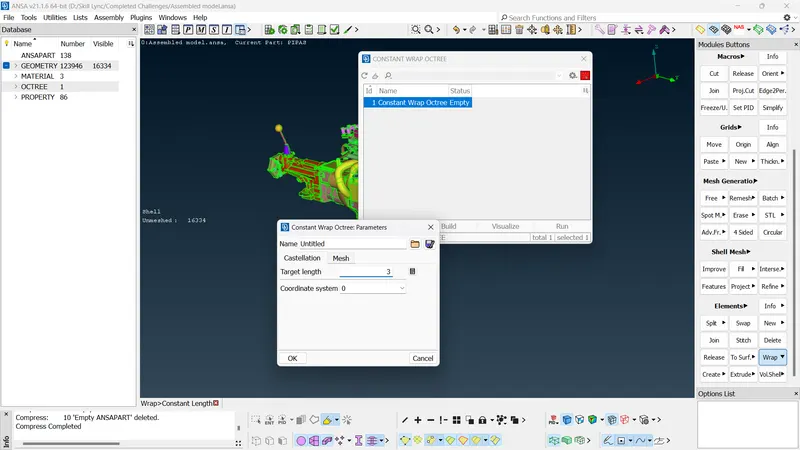
- Give target length as 3 mm.
- Click on mesh.
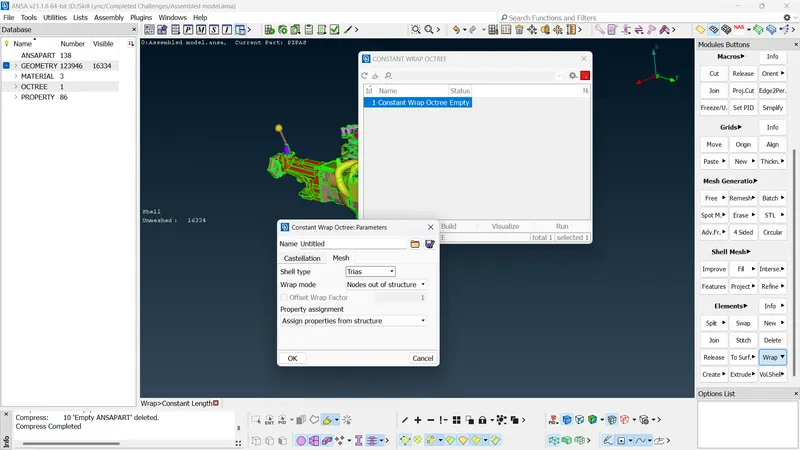
- Make sure wrap mode is node out of structure and property assignment is same as structure. Click OK.
- Next, double click on contents.
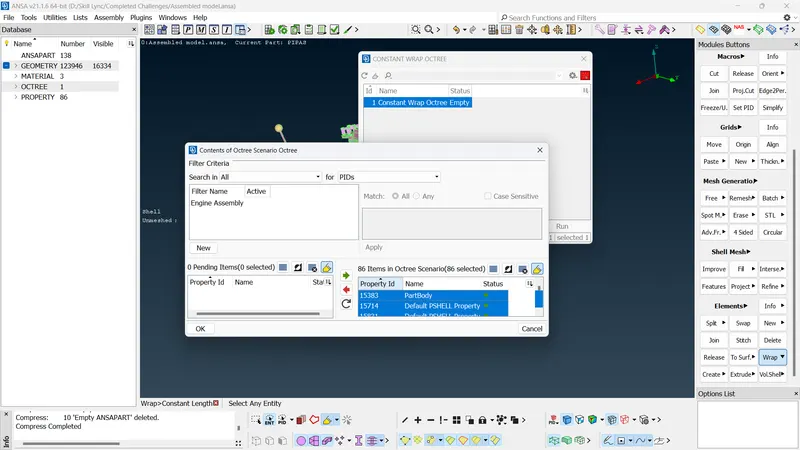
- You can change the name as required here. Select the PIDs you want to warp ( in this case all the PIDs) and click on the green arrow. This will move them into octree scenario. Click ok.
- Click on the run button.
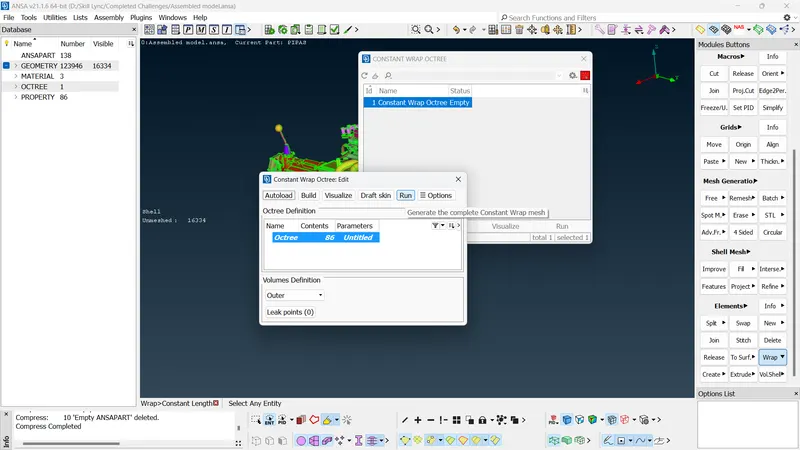
- The program will start generating the surface wrap. Once the wrap is completed, the status will show as ready and you can see the model being surface wrapped.
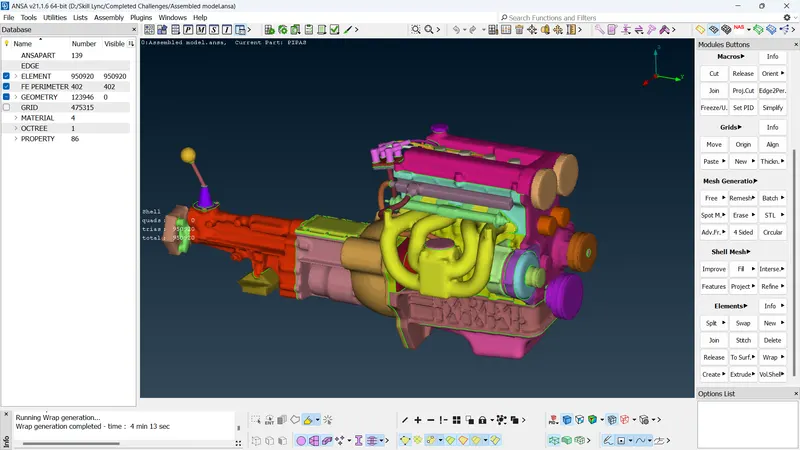
- You can isolate the surface wrap by deselecting geometry in the visibility section in TOPO module
- Also you can isolate the geometry by deselecting the FE mode TOPO module.
Result
- Geometrical clean up all the three bodies was performed.
- All the three bodies were assembled using the merge function.
- The assembled model was surface warapped with 3 mm target length.
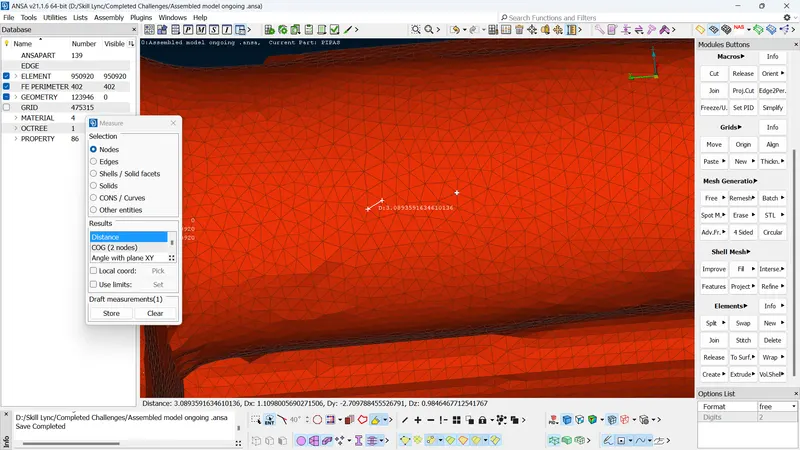
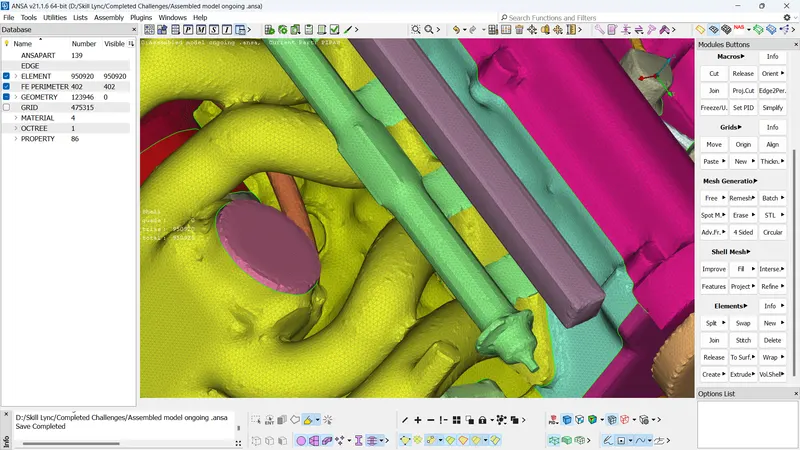
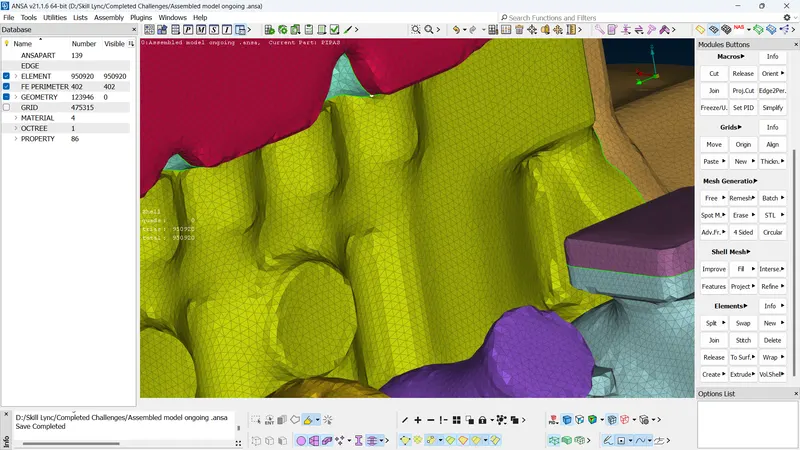
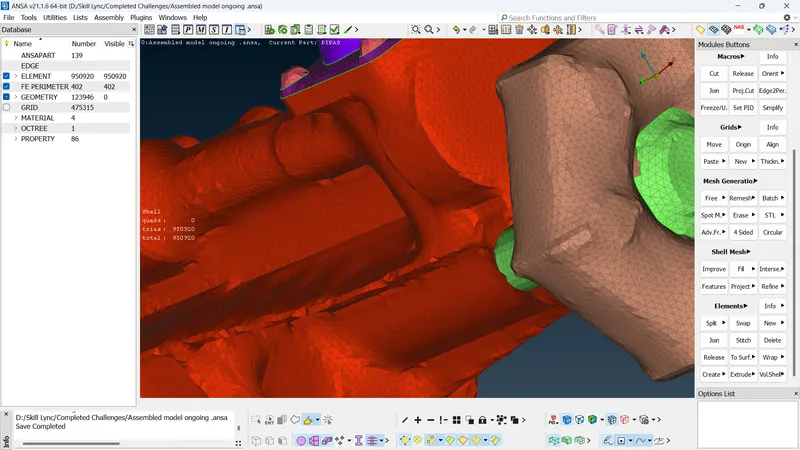
- Use Not function and deselect geometry in the TOPO module to see the common volume created inside the Wrap.
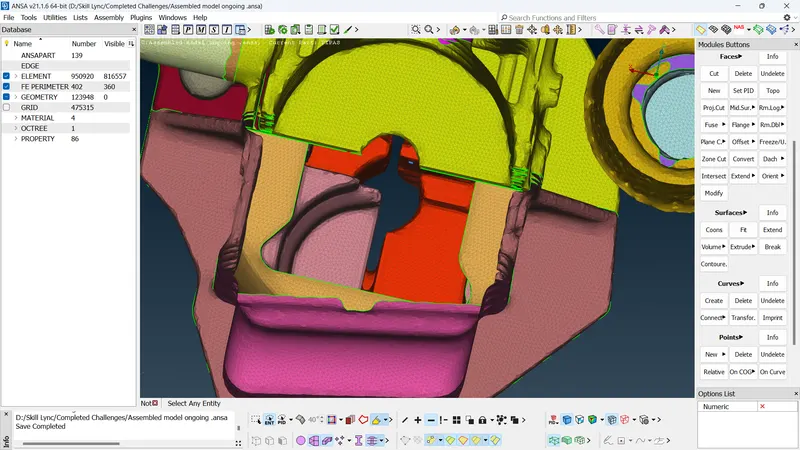
Outcomes
- The purpose of surface wrap. Surface wrap is used to do external CFD analysis of complex geometries by wrapping them inisde a common volume.
- The target length of surface wrap needs to be chosen in an optimal way. Too fine mesh length will result in very large computational time and very coarse mesh length will result in improper capturing of results.
Download link for geometry:
https://drive.google.com/file/d/1HcTld-KCrsFv8M5Rri4V1sQ2KwN8DBTP/view?usp=sharing