Project 1 : CFD Meshing for Tesla Cyber Truck
AIM
- To perform surface cleanup of the given model.
- Assing appropriate PIDs to all the parts of the model.
- Do surface meshing of the model with suitable target length and zero off elements.
- Do volumetric meshing of the model inisde a wind tunnnel.
PROCEDURE
- Import the file into the ANSA software using File>Open>file location.
- The model shows a lot of single cons.
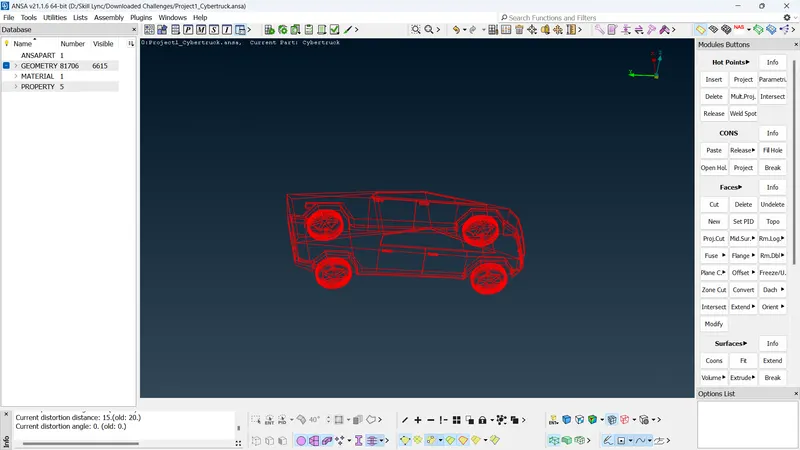
- Perform TOPO function on the whole model.
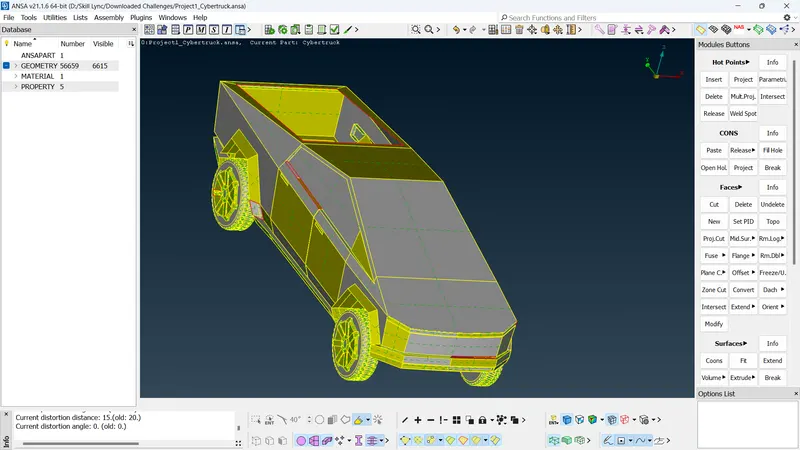
- Once most of the single cons are resolved, we can move onto further clean up of the geometry.
- Upon examination, we can see that the model is symmetric. So we can delete half of the geometry and proceed onto geometric clean up to save time.
- Insert hot points on the mid point of all the horizontal lines of the model using hotpoints>parametric function and create cuts.
- Once the model has been divided into two equal parts.
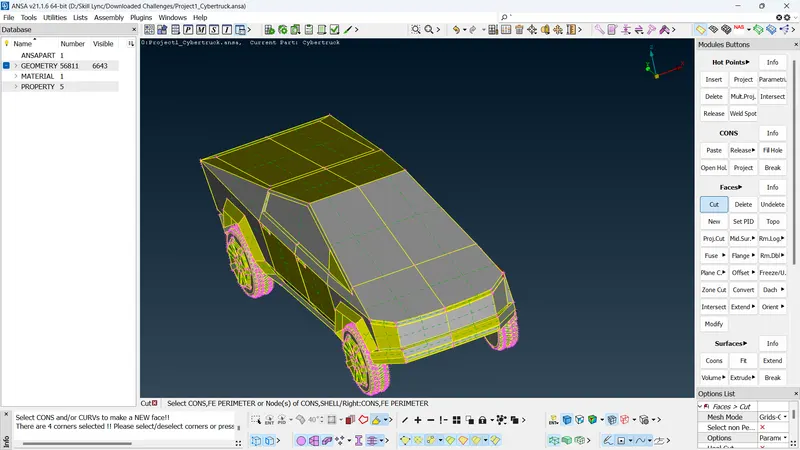
- We can use delete function to delete half of the model by setting up appropriate view.
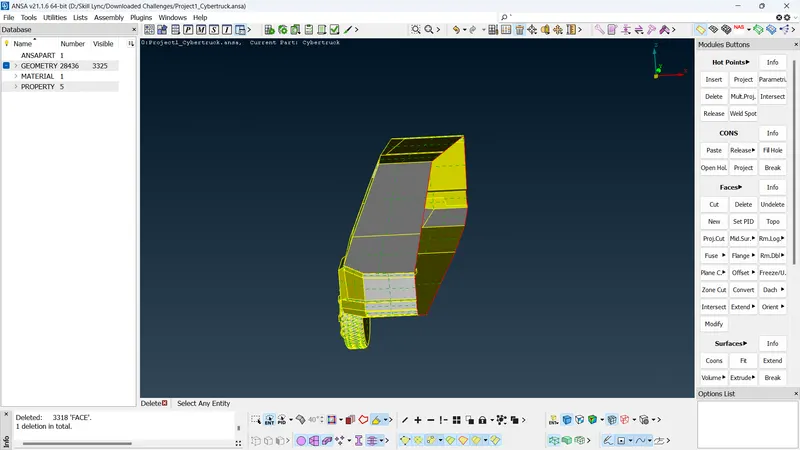
- Our aim is to create a common volume inside the car so that we can easily delete that volume during volumetric analysis.
- Delete unwanted surfaces iniside the car that can create a volume on it's own.
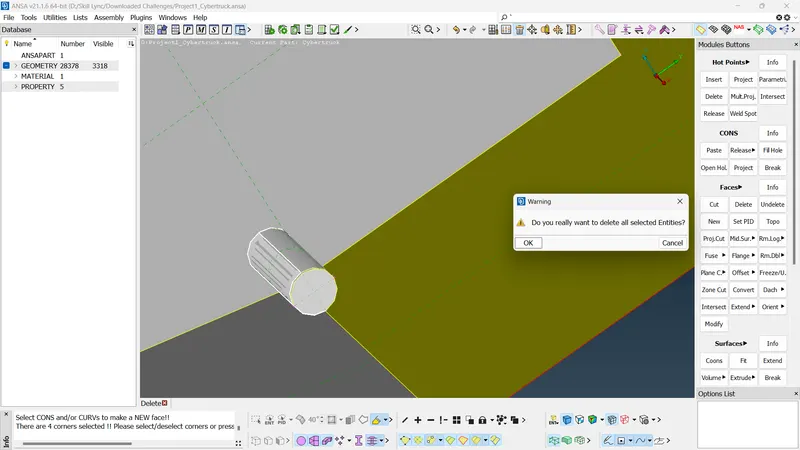
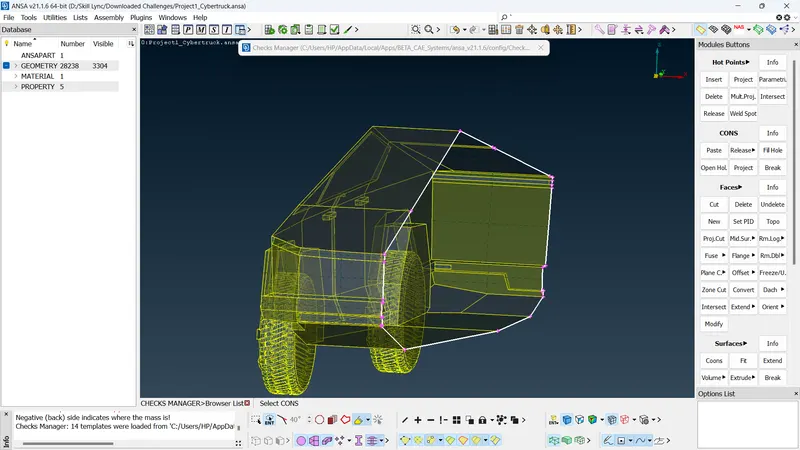
- Perform geometrical checks on the body of the car.
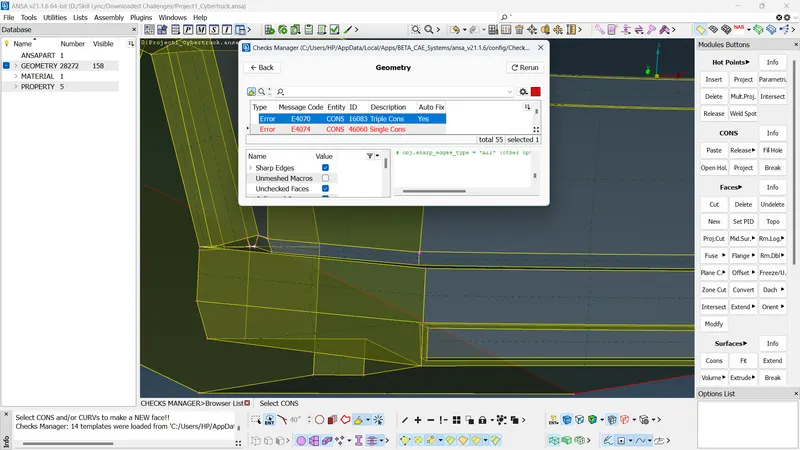
- Ensure only required triple con and single cons are present in the model.
- Ensure that the tyres only have a single volume inside them.
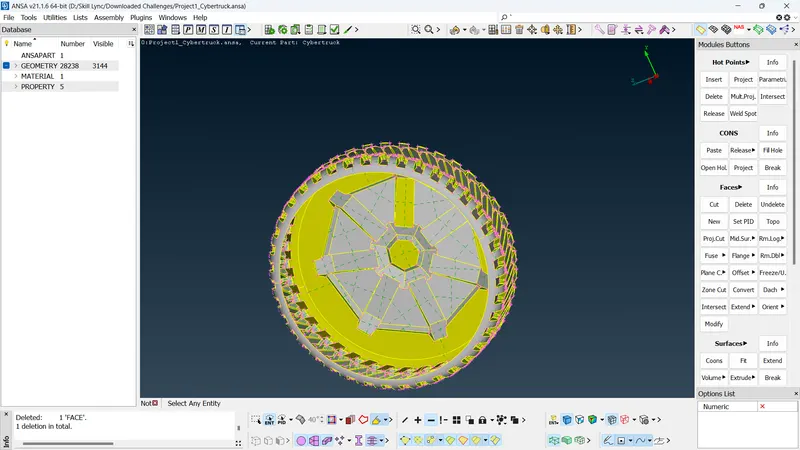
- The tyres are not intersecting with the body.
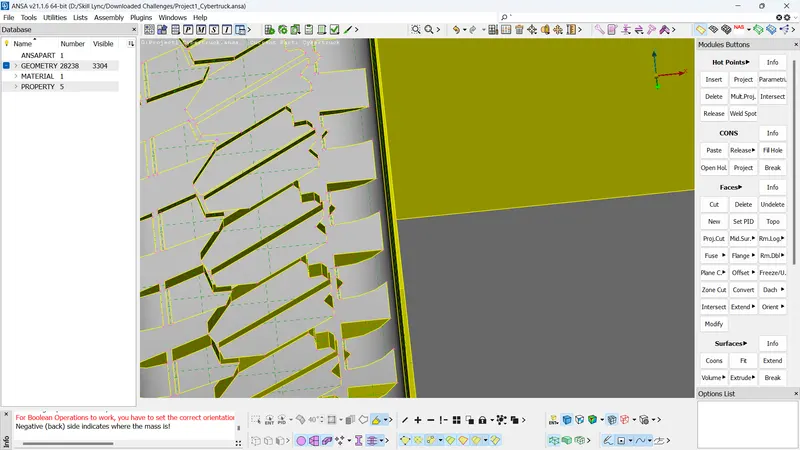
- Perform geometrical checks on the whole body and ensure that only the require single cons and triple con are present.
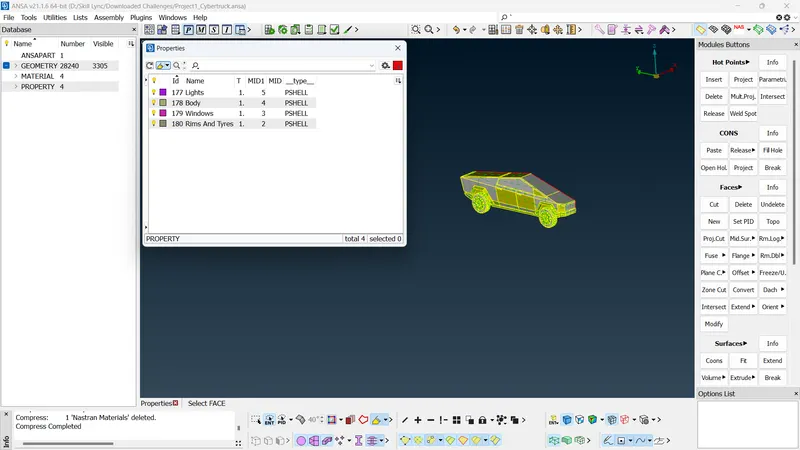
- Next we can move onto PID assignment of the geometry.
- Use compress option to delete unassigned PIDs.
- Next Step is to find out the target length, minimum length and maximum length using measure tool.
- Lights PID was isolated.
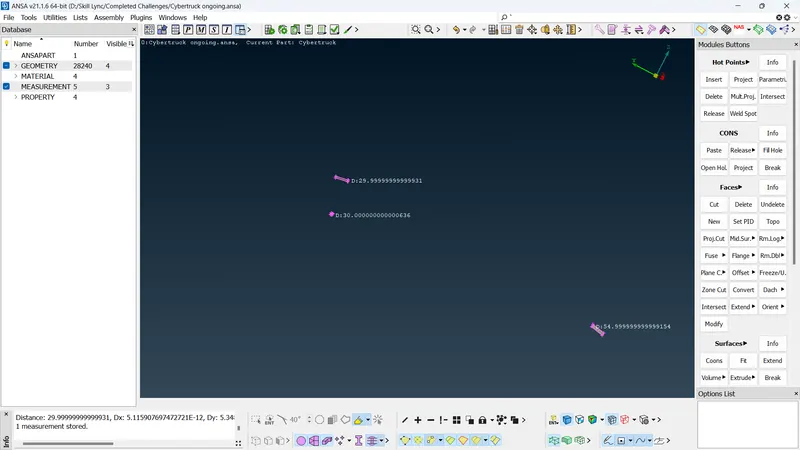
- From measurement, Target Length :- 5, Minimum Length :- 4 mm and maximum Length :- 8 mm Was chosen.
- Windows PID was isolated.
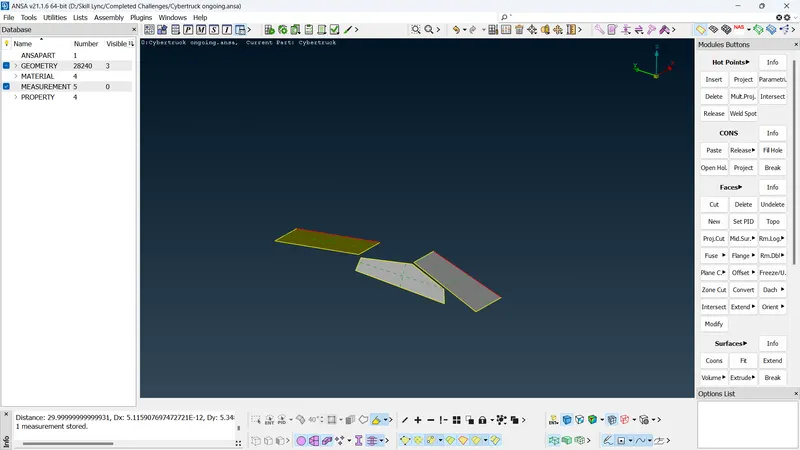
- From measurement, Target Length :- 5 mm, Minimum Length :- 4 mm and Maximum Length :- 8 mm were chosen.
- Tyres and rims were isolated.
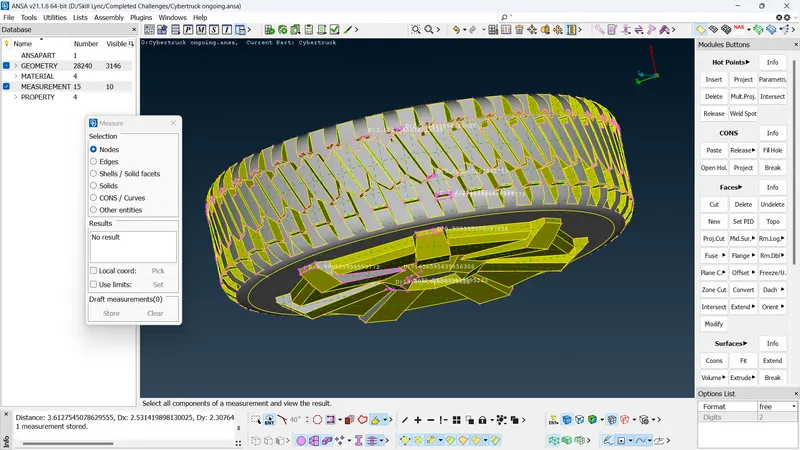
- Upon measurement, Target Length :- 3 mm, Minimum length :- 0.2 mm and Maximum Length :- 5 mm were chosen.
- Body PID was isolated.
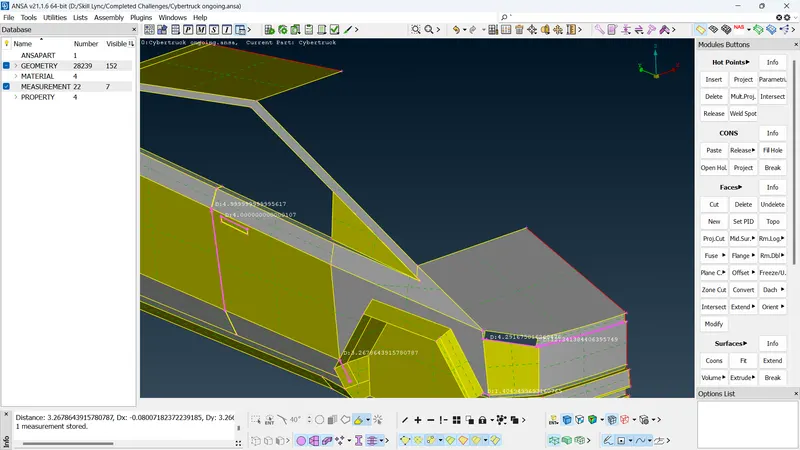
- Upon measurement, Target Length :- 4 mm, Minimum Length :- 1 mm and Maximum Length :- 8 mm were chosen.
- Once all the quality criteria off individual PIDs were found out, we can move onto the meshing process.
- Isolate PIDs, Update their respective quality criteria and do Spot Mesh>Visible.
- You can use hidden mode to check for OFF elements.
- Shell Mesh>Reconstruct can be used to reduce Off elements.
- Grids>Move function is also used to rectify off elements.
- Make sure there are no unmeshed macros after all the PIDs have been meshed with zero Off elements.
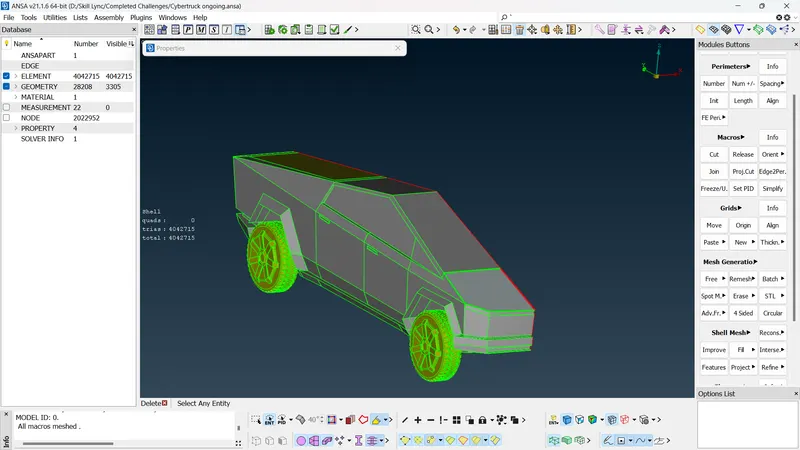
- Once the whole body has been meshed, we can move onto to do the symmetry function.
- Transfer>copy>entities>symmetry>mirror 3 point plane to do the symmetry function.
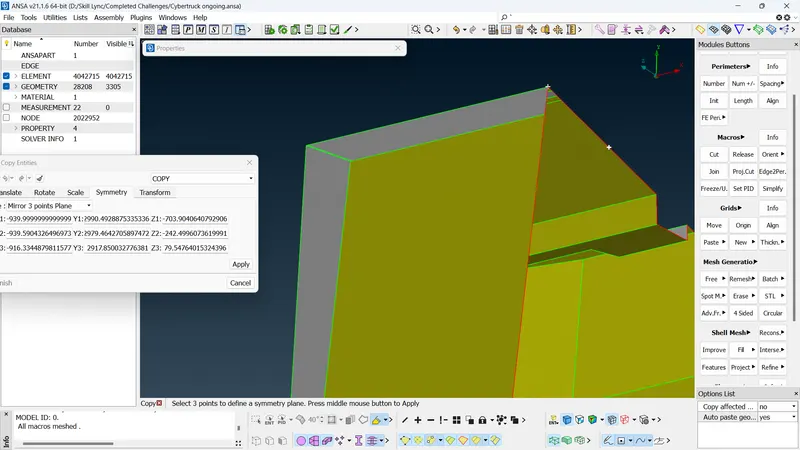
- Click apply to perform symmetry.
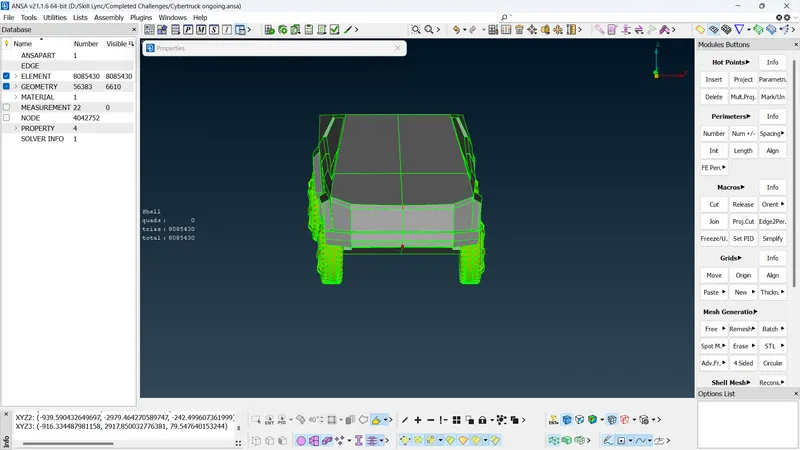
- Use paste option to rectify very close single cons.
- Next step is to construct the wind tunnel.
- The wind tunnel shody have 4 times the model length towards front, 6 times towards back, 3 times towards up, 1 times towards side and as close as possible to down.
- Use measure tool to measure the length of the truck and distance towards ground.
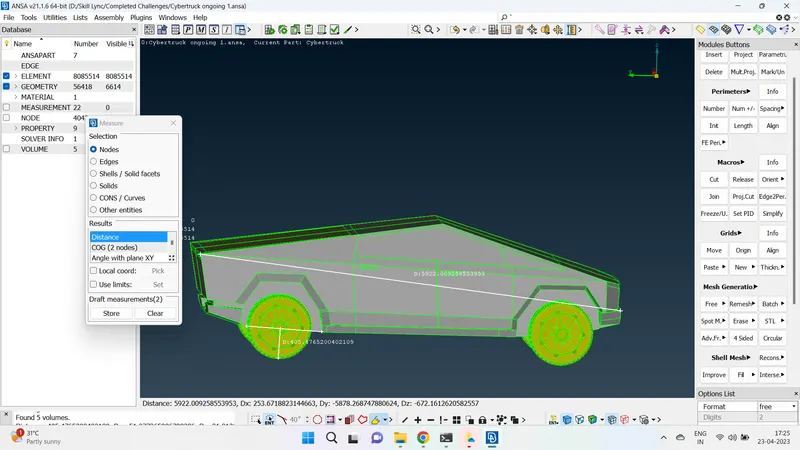
- we can take 5950 mm as length of the truck and 410 mm as distance towards ground.
- Use TOPO>points>relative to create the first reference point. Use this point to create the rest of the reference point of the wind tunnel.
- Use curves to create lines from these reference points.
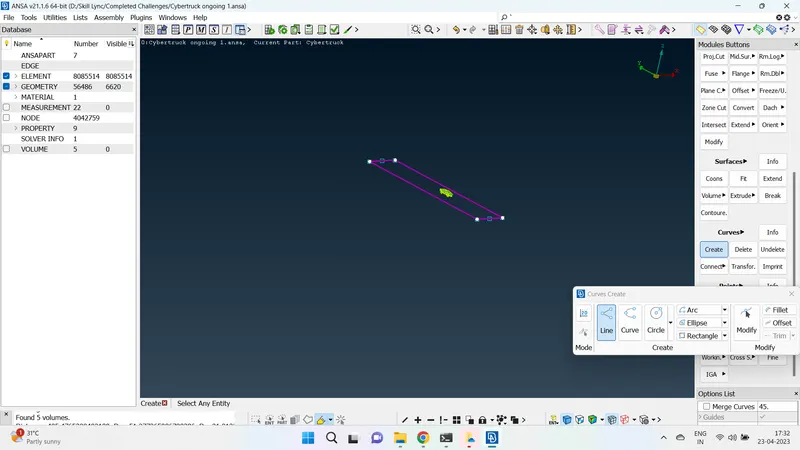
- Create surface using New>Coons/fitted.
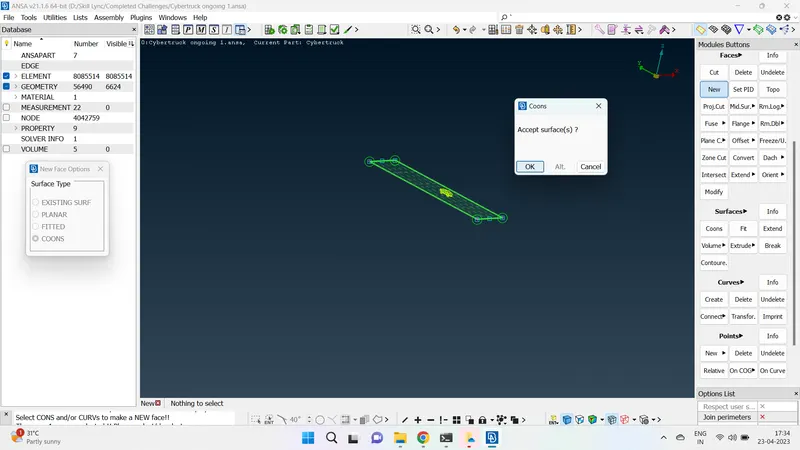
- Faces>offset function to offset the created surface and complete the wind tunnel.
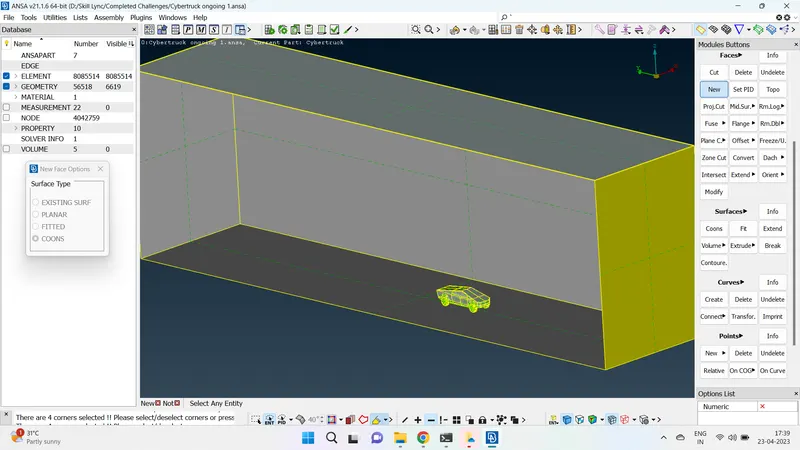
- Assign PIDs to the wind tunnel.
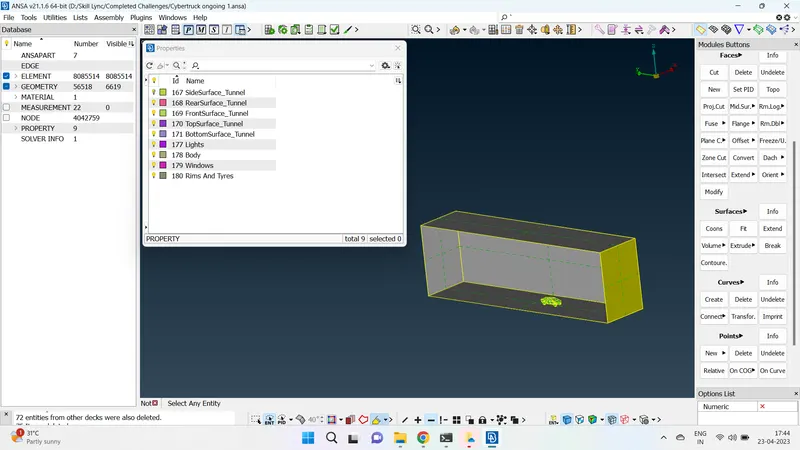
- Once PIDs have been assigned, we can start meshing the tunnel.
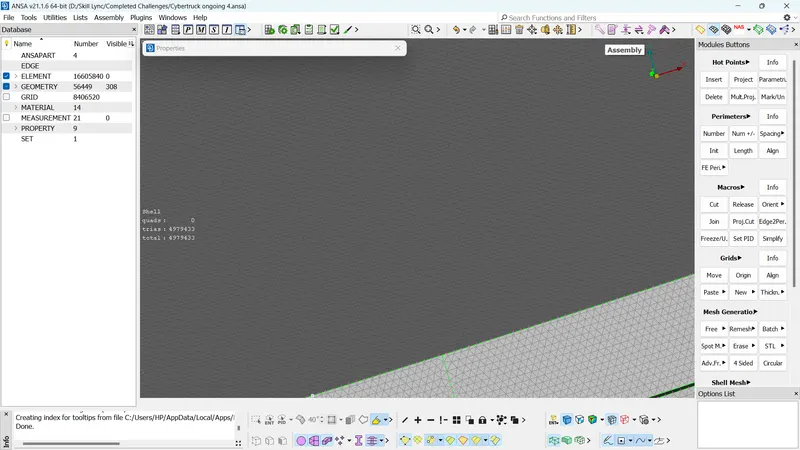
- We are only concerned about the volume near the car. So the top surface of tunnel will have 100 mm mesh length and bottom surface will have 20 mm mesh length.
- Since we our area of intrest moves away as we move away from the car, we can use Perimeters>Spacing>manual with geometric as biasing to increase the mesh length as we move away from the car.s
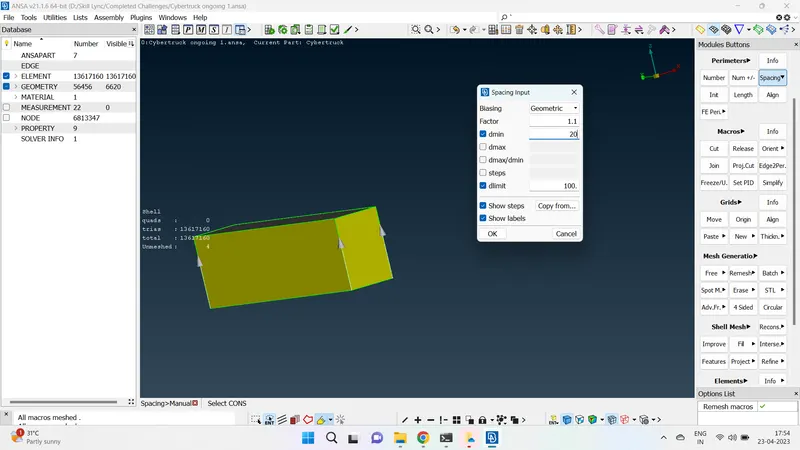
- Once this is done, spot mesh> select to do the meshing of the unmeshed 4 faces.
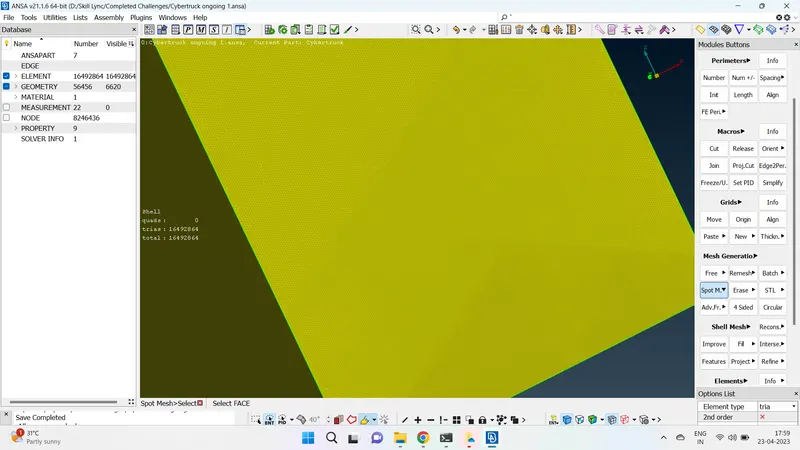
- once all the faces have been meshed. we can move onto volumetric meshing.
- Volumes>Define>auto detect> whole database to select the volumes.
- We are only concerned about the volume between the car and the wind tunnel. Delete all the other material volume.
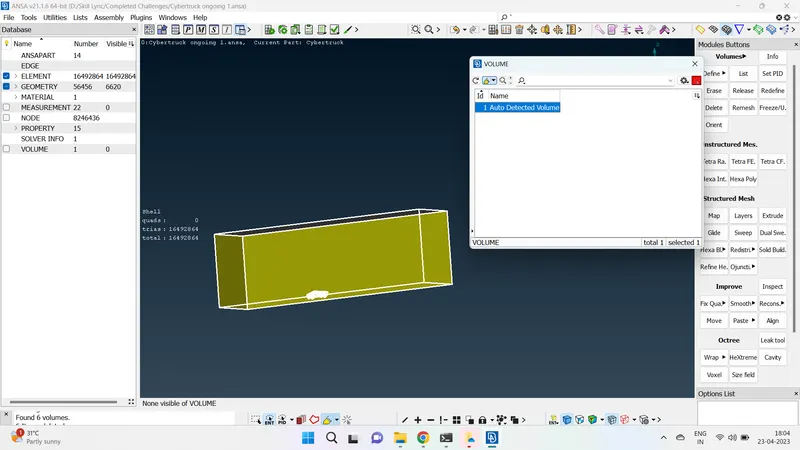
- Right click on the volume>Remesh>Tetra CFD to do volumetric meshing.
Results
- Surface clean up of the geometry was performed.
- Symmetry function was performed.
- PIDs were assigned to inidividual parts of the geometry.
- Quality criteria for inidividual PID was found out and meshing was done individually.
- Body PID was meshed with 4 mm target length, 1 mm minimum length and 8 mm maximum length with zero off elements.
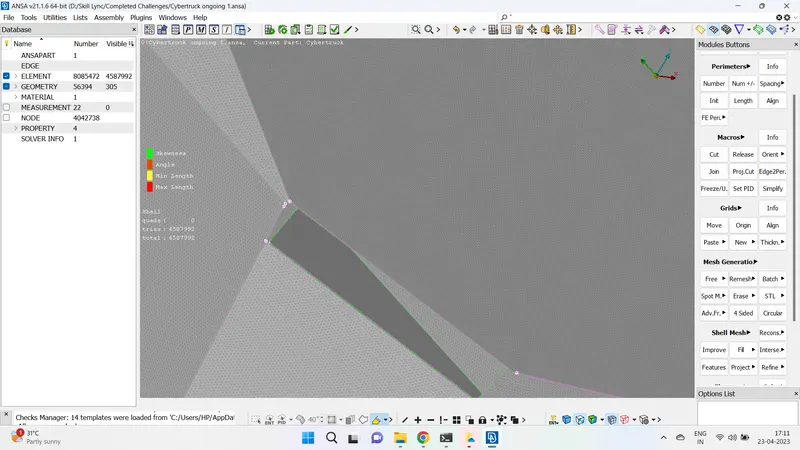
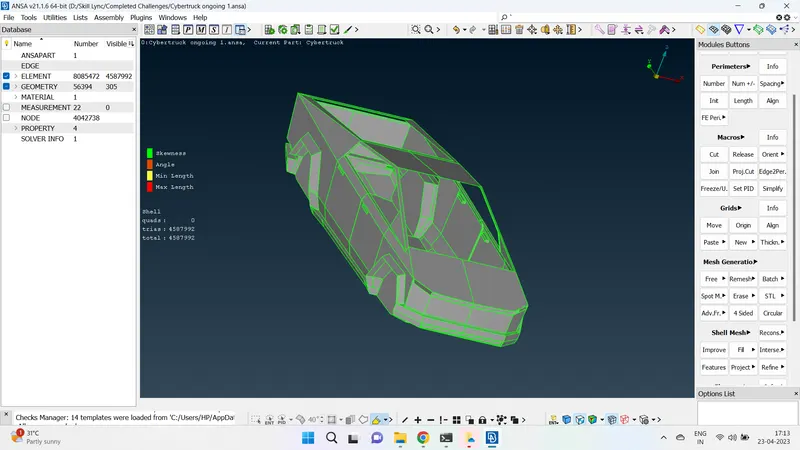
- Ligths and windows were meshed with 5 mm target length, 4 mm minimum length and 8 mm maximum length with zero off elements.
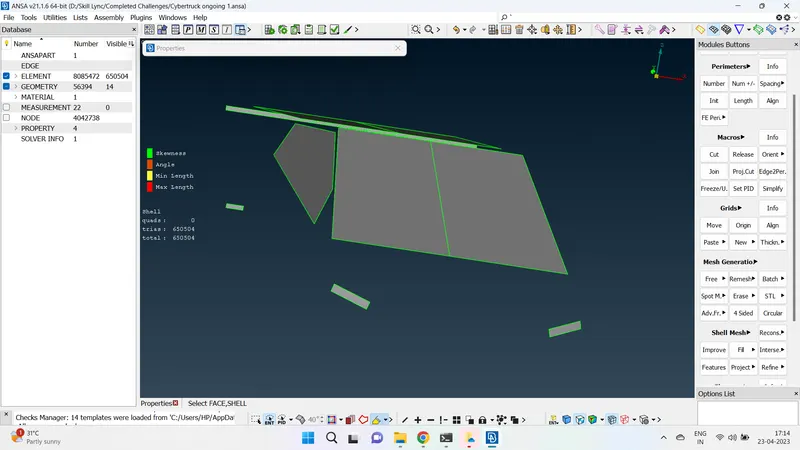
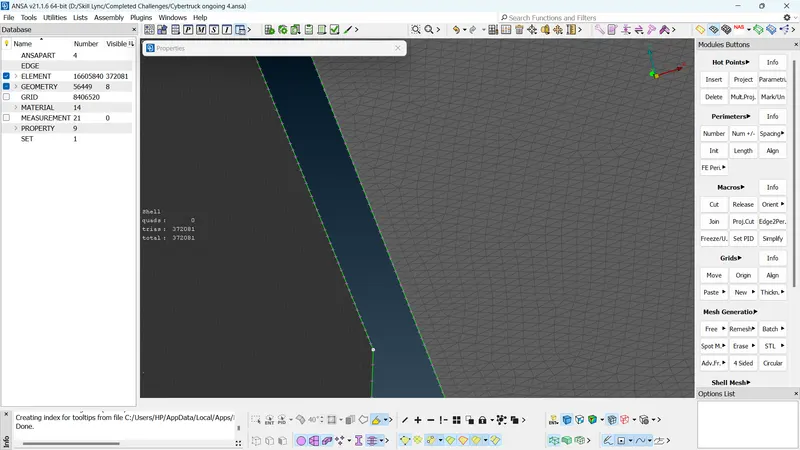
- Rims and tyres were meshed with 3 mm target length, 0.2 mm minimum length and 5 mm maximum length with zero off elements.
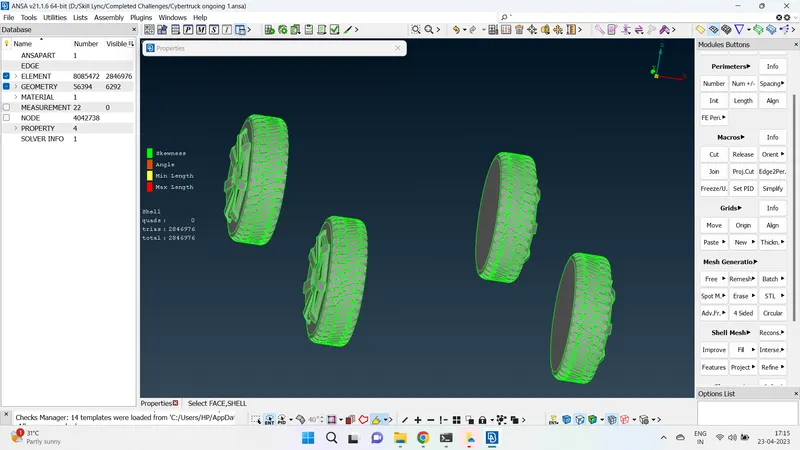
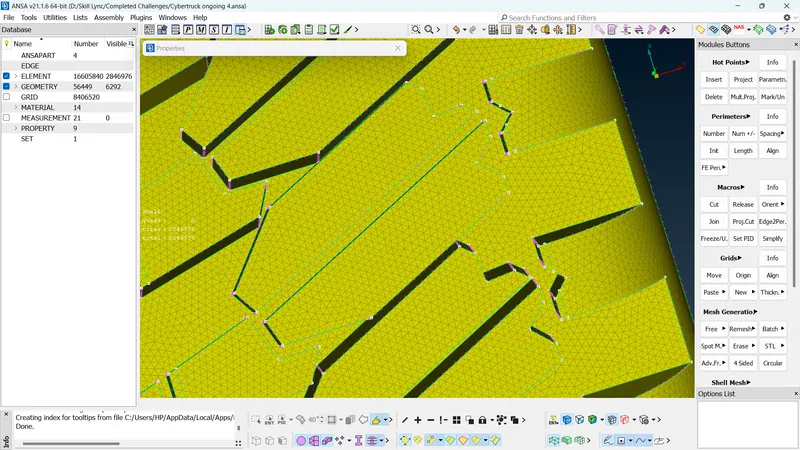
- Whole body was meshed with their respective quality criteria.
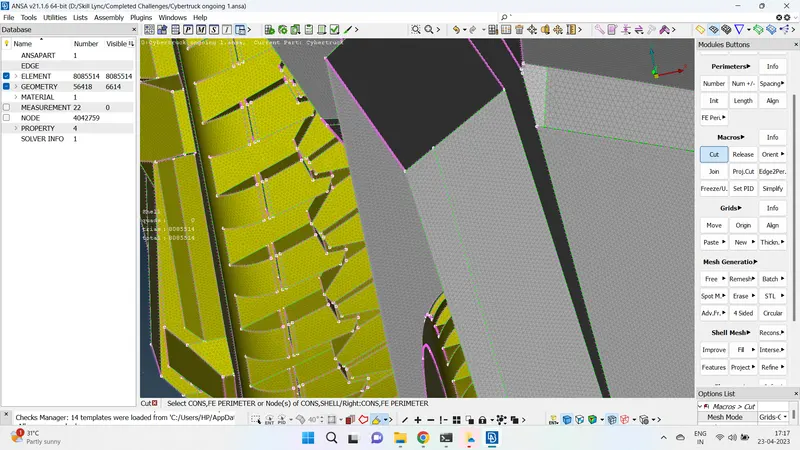
- Wind tunnnel was created around the truck and meshed such that the mesh length became coarser as we move away from the truck using spacing function.
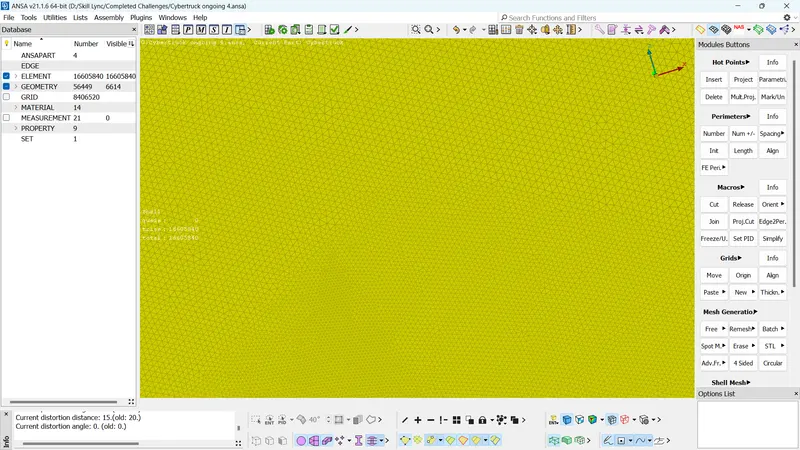
- Volume between car and tunnel is the required volume. Other material volume were deleted.
Outcomes
- How to clean up given geometry effectively for volumetric meshing.
- How to mesh inividual PIDs based on their size and how to figure out their quality criteria based on their size.
- The whole aim is to keep mesh elements as low as possible to reduce computational time. So volumes and surfaces that are our area of interest were meshed with finer mesh size inorder to capture the results properly and as we move away from the area of interest, the mesh size was increased to reduce computational time.
Download link for geometry : https://drive.google.com/file/d/1SnK-1EanGNrKU-c0V6L_Fm4UVibhnhbI/view?usp=sharing