Week 5 Challenge : Surface wrap on Automotive Assembly
Aim:
For the given model, check for the geometrical errors and delete surfaces which are unwanted for surface wrap. After clearing geometry, merge all 3 models and perform surface wrap.
Target Length for wrap is 4mm.
Surface wrap:
- It is a type of surface meshing techniques which is used in the complex geometry having a lot of errors in it.
- Cleaning up such complex geometry is tidies and time consuming. So, for that purpose surface wrap is used.
- Only issue with surface wrap is it does not work on thin surfaces.
- Produces distorted surface mesh near holes, hence holes if any found in model then it needs to be filled.
- Surface wrap works as if mesh blanket is wrapped on the entire model.
Procedure:
- Open ANSA, change to CFD mode then click on the “?” symbol another window is opened in which scroll down you will find “-performance_mode 3” copy and paste it near the “?” symbol click ok.
Engine:
- Drag and drop the Engine model in the ANSA window.
- Check for the units of the model and also check the resolution, Here the curves are captured very well.
- At first, we could see lot of unwanted surfaces attached to the actual model, single cons & triple cons etc.
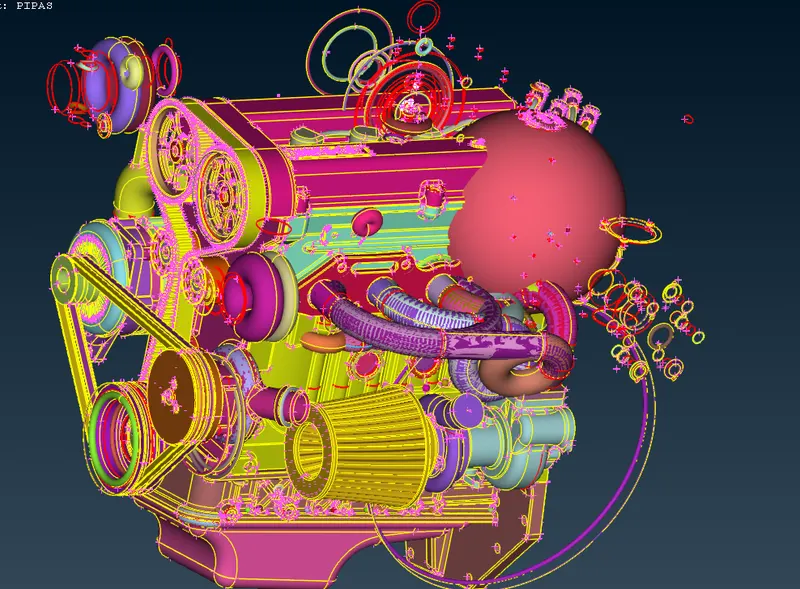
- Do not hit TOPO on the whole model, as it will hang your PC.
- It is necessary to remove all the unwanted surfaces. So using OR option we will hide all the important geometric surfaces by using PID selection. Then delete all the unwanted surfaces using universal delete option.
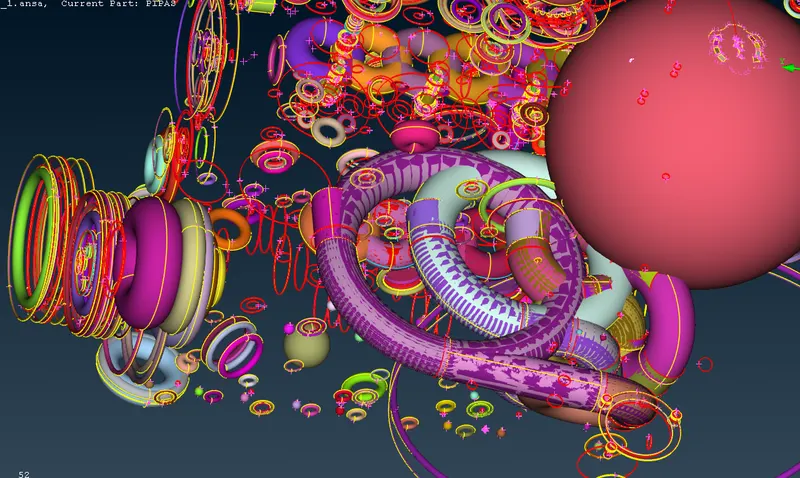
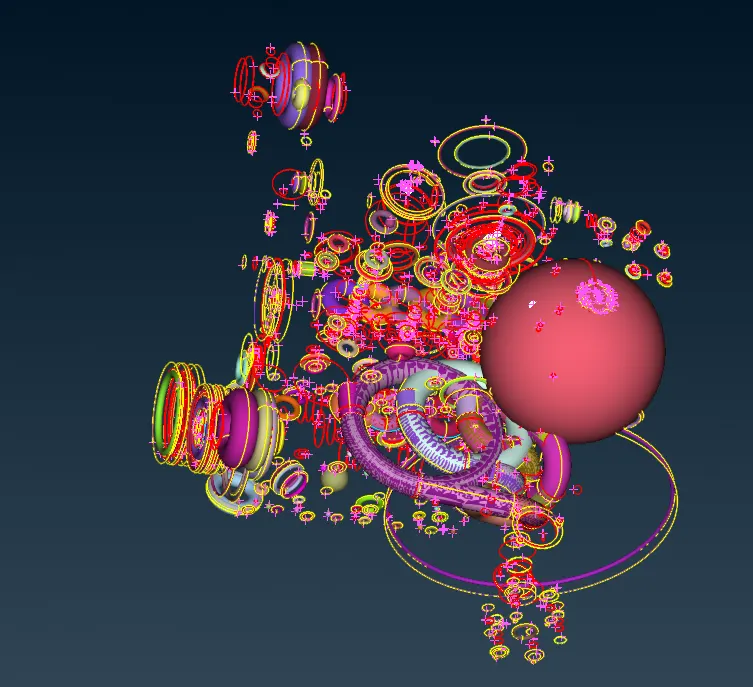
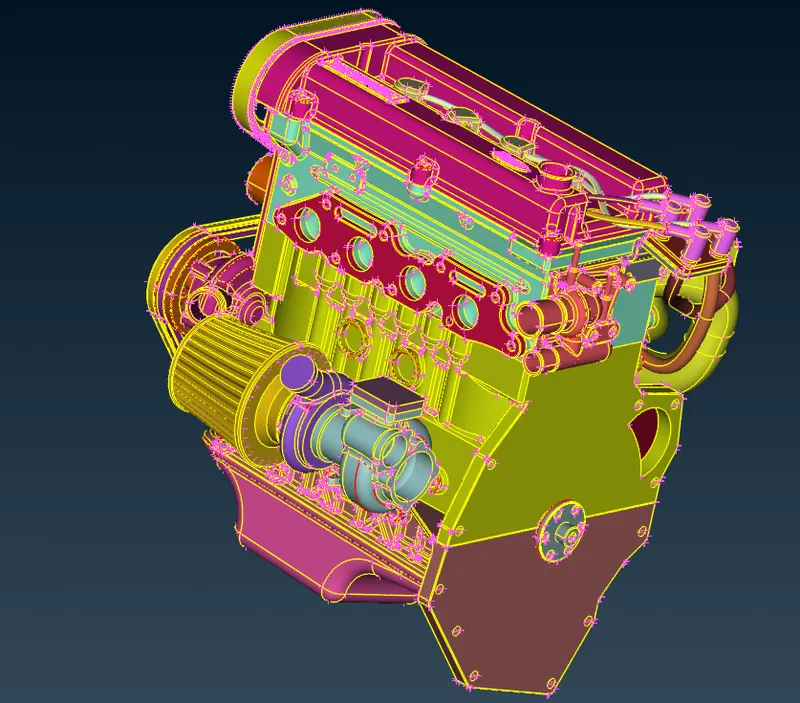
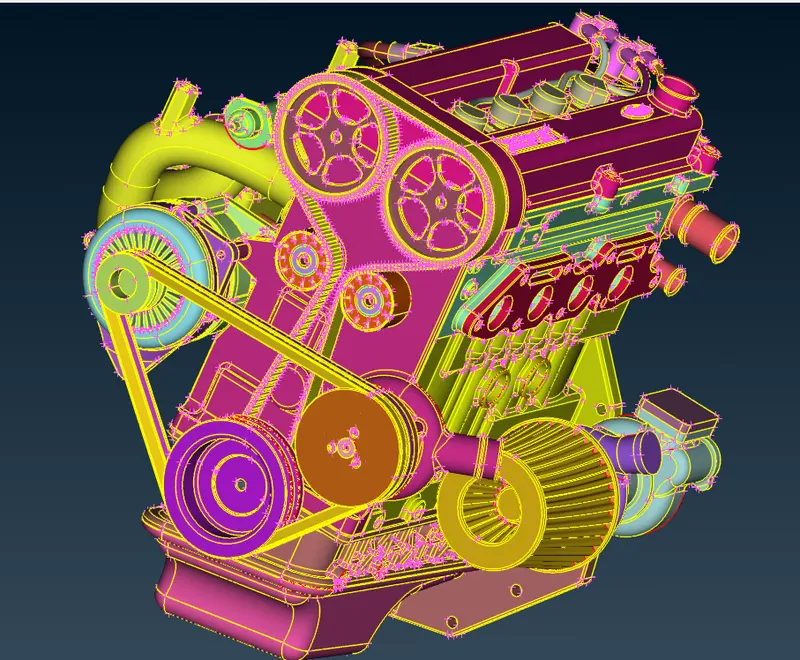
- Try avoiding any thin surfaces in the geometry, as it will not be captured correctly using surface wrap. So delete the Engine belts.
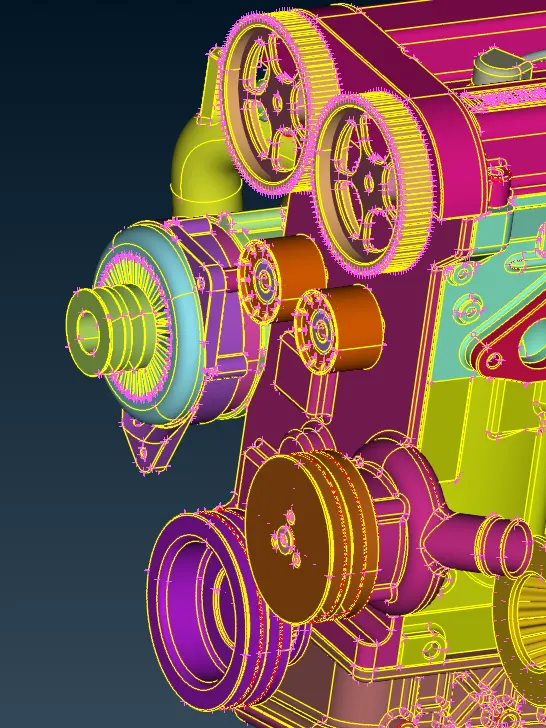
- Remove surface errors which are visible and could be avoided. If need then use localised TOPO and delete the unwanted surfaces.
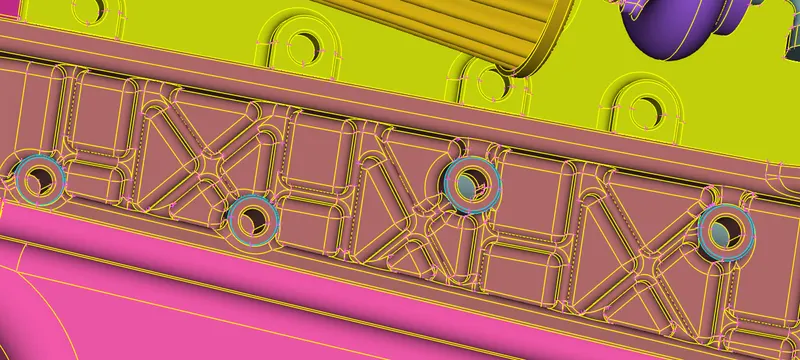
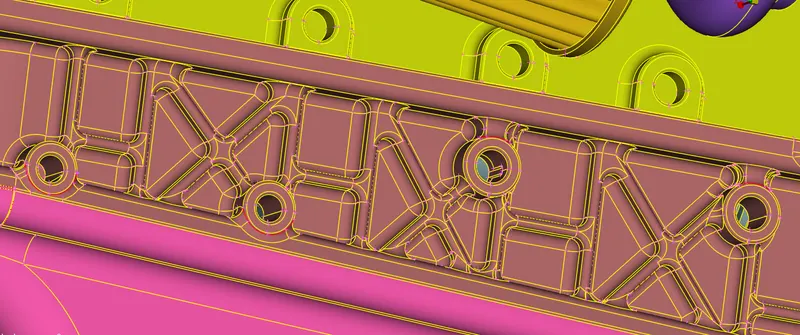
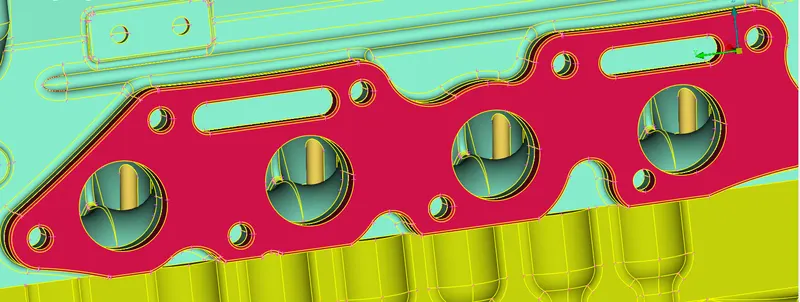
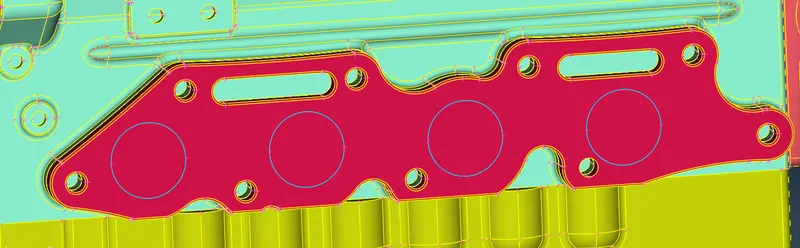
- Try filling all holes in the model using Face command as surface wrap will produce distorted mesh near to holes.
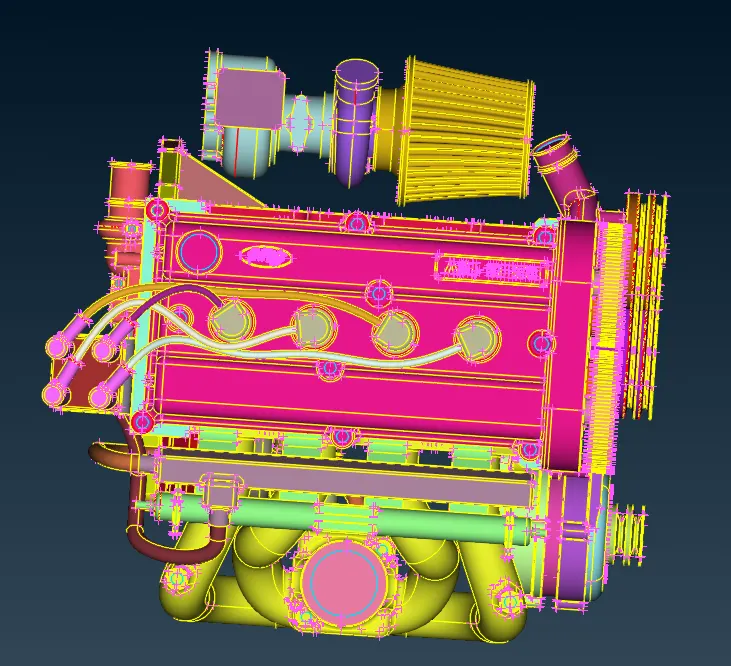
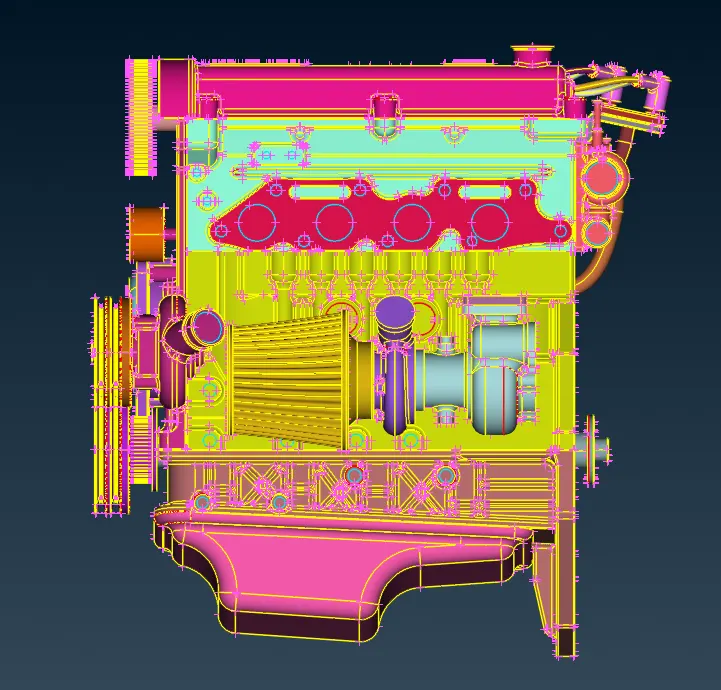
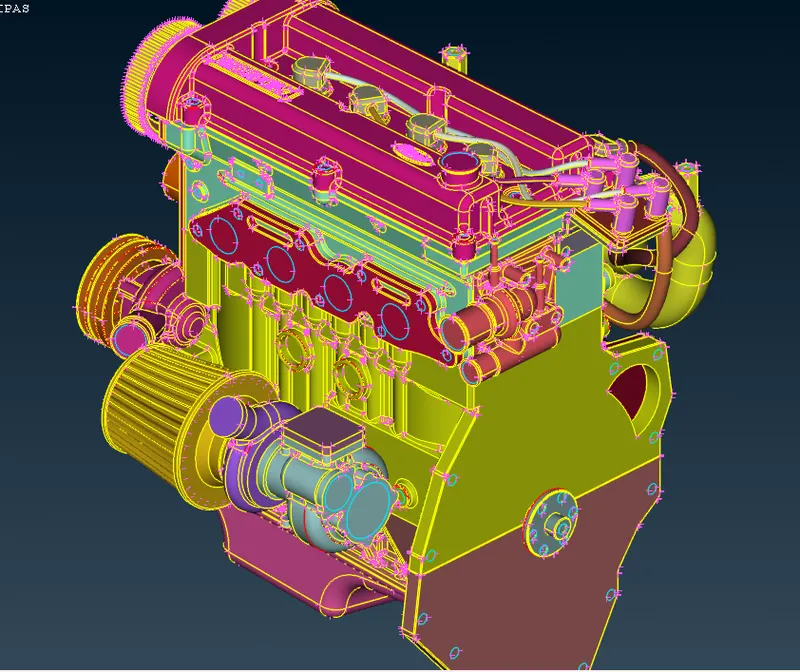
- Surface wrap works even if there are triple cons and single cons appear on the surface.
- Save the Engine model and close.
Transmission:
- Drag and drop the Transmission model in the ANSA window
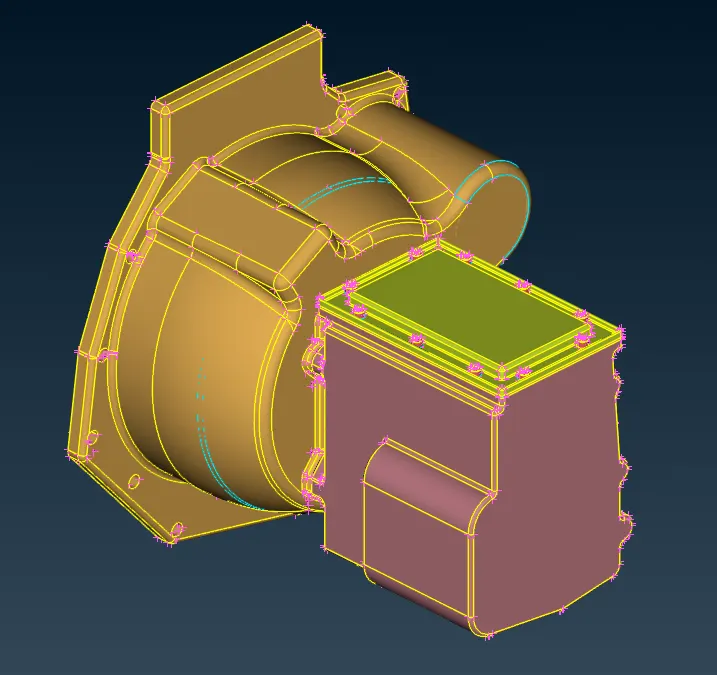
- Similar to Engine model hide all the unwanted surfaces. So using OR option we will hide all the important geometric surfaces by using PID selection. Then delete all the unwanted surfaces using universal delete option.
- At the bolts there appears triple cons, so try deleting the extra surface and resolve the error.
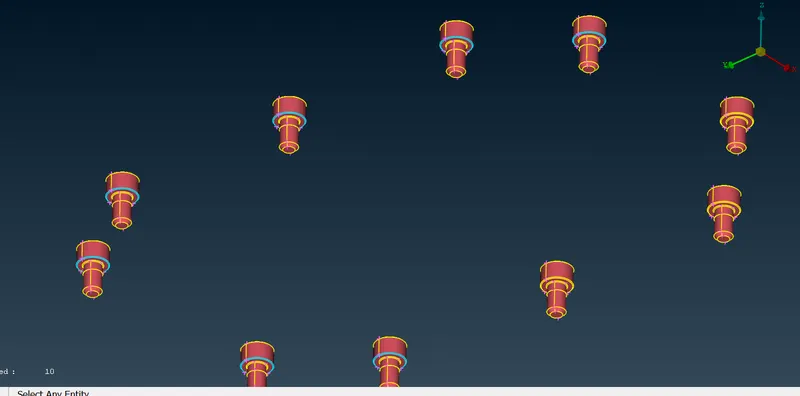
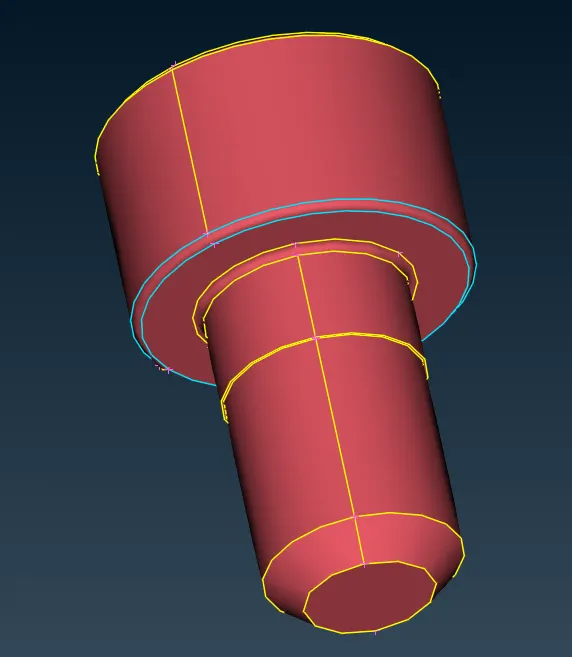
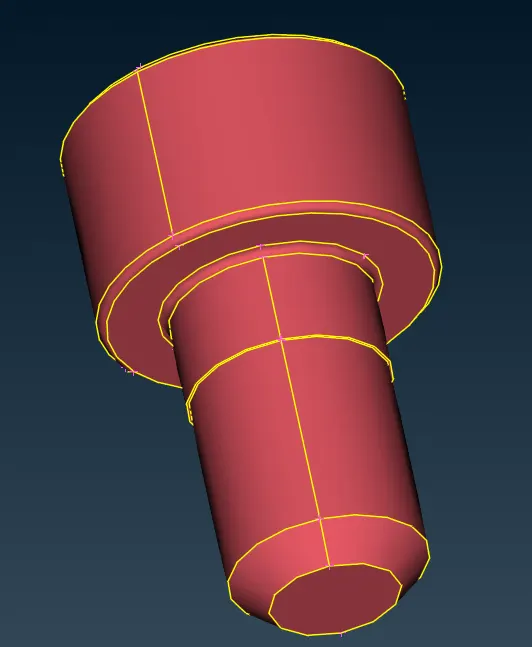
- Remove surface errors which are visible and could be avoided. If need then use localised TOPO and delete the unwanted surfaces.
- Try filling all holes in the model using Face command as surface wrap will produce distorted mesh near to holes.
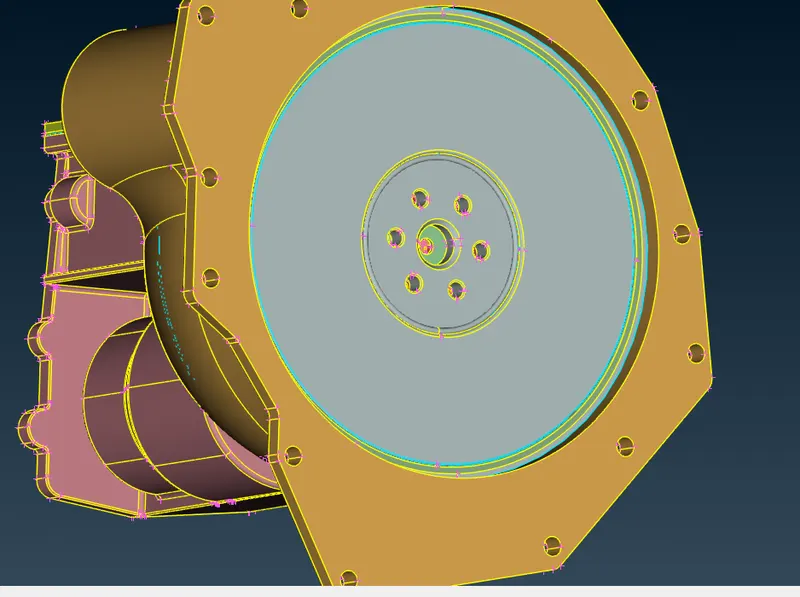
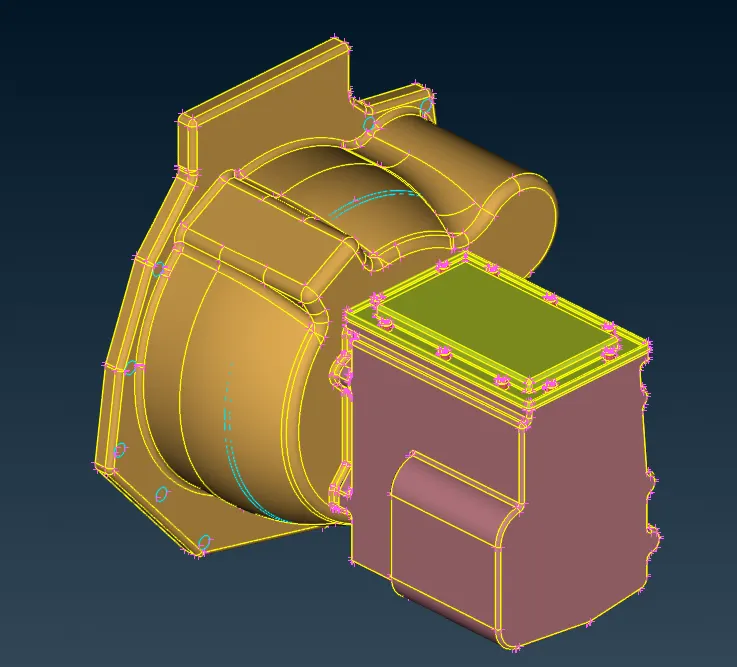
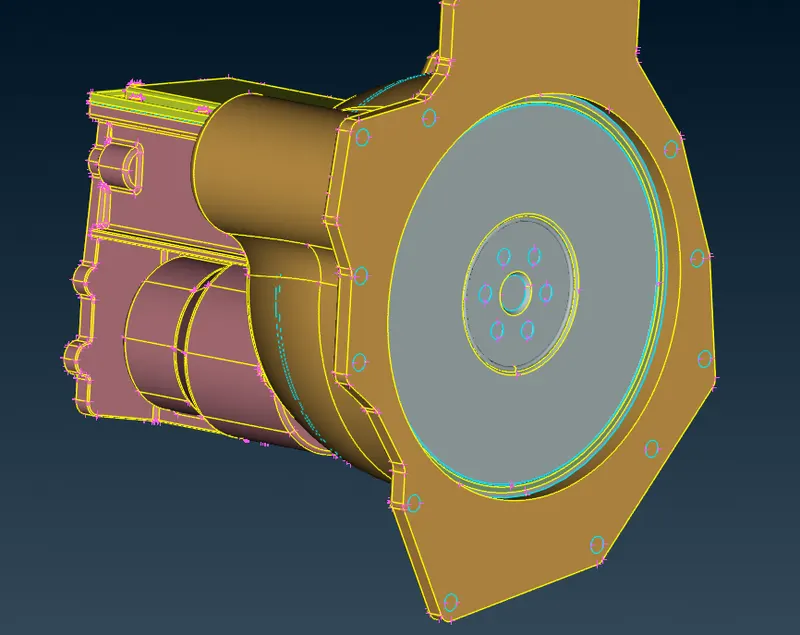
- Surface wrap works even if there are triple cons and single cons appear on the surface.
- Save the Transmission model and close.
Gear Box:
- Drag and drop the Gear Box model in the ANSA window
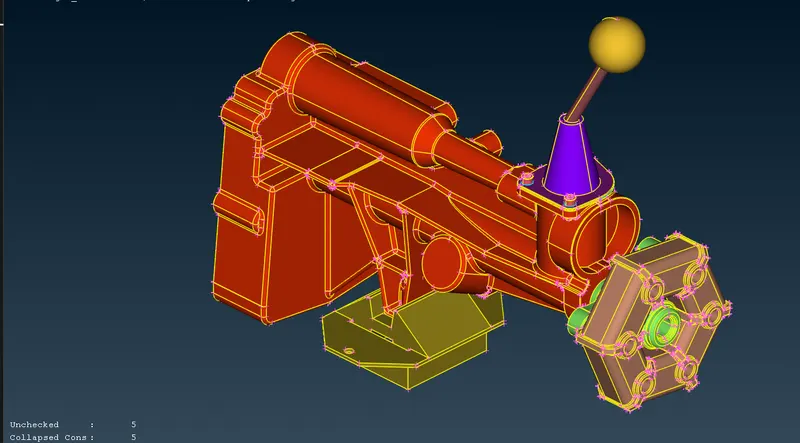
- Similar to Engine model hide all the unwanted surfaces. So using OR option we will hide all the important geometric surfaces by using PID selection. Then delete all the unwanted surfaces using universal delete option.
- At the bolts there appears triple cons, so try deleting the extra surface and resolve the error.
- From the model it appears that there are collapsed cons. So try resolving the issue if they appear on the surface of the model.
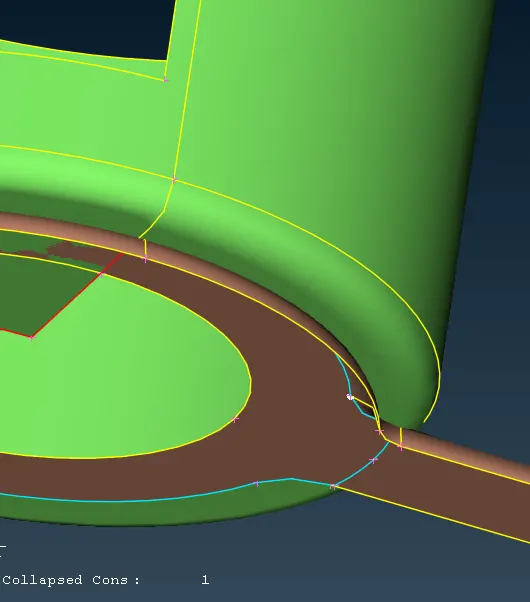
- Try filling all holes in the model using Face command as surface wrap will produce distorted mesh near to holes.
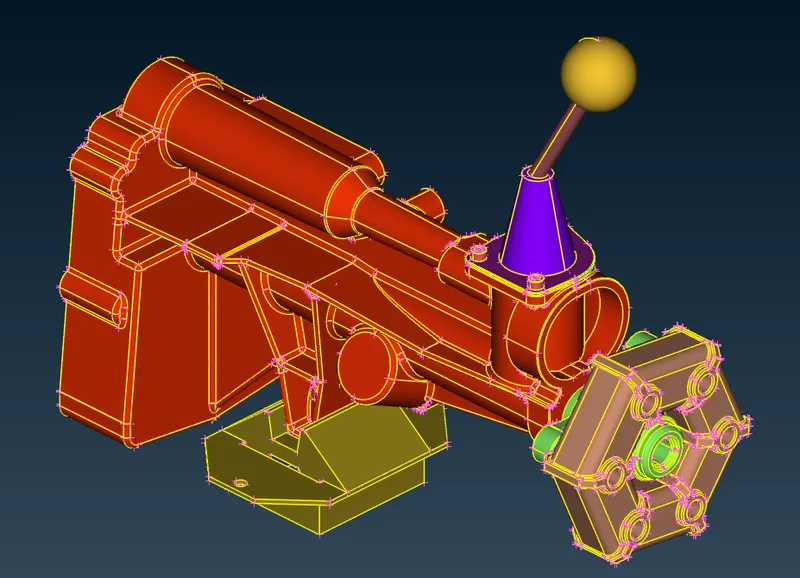
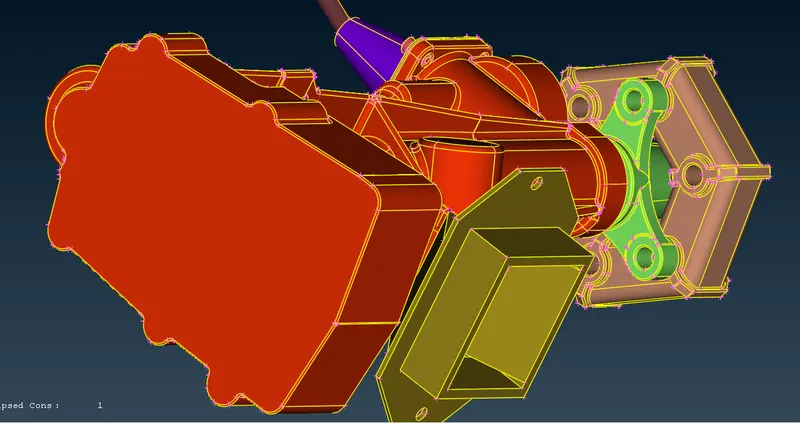
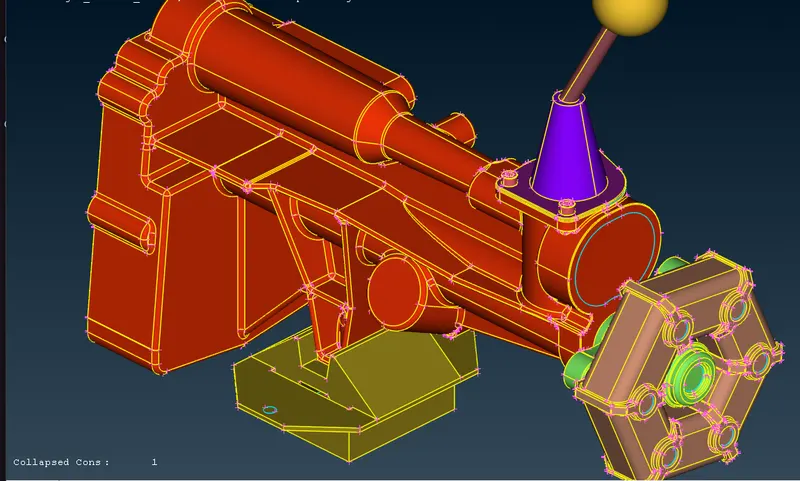
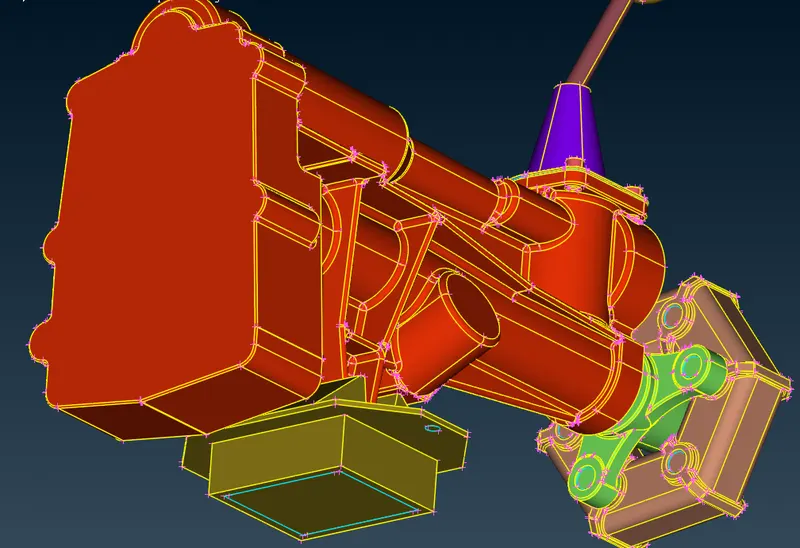
- Surface wrap works even if there are triple cons and single cons appear on the surface.
- Save the Transmission model and close.
Assembly:
- Open the resolved Engine model and call transmission & Gear box model one by one.
- File >> Merge >> Open the transmission model >> Ok >> Ok.
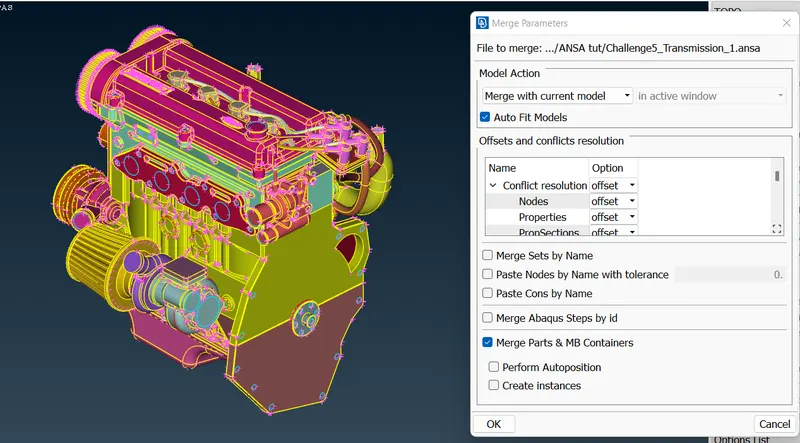
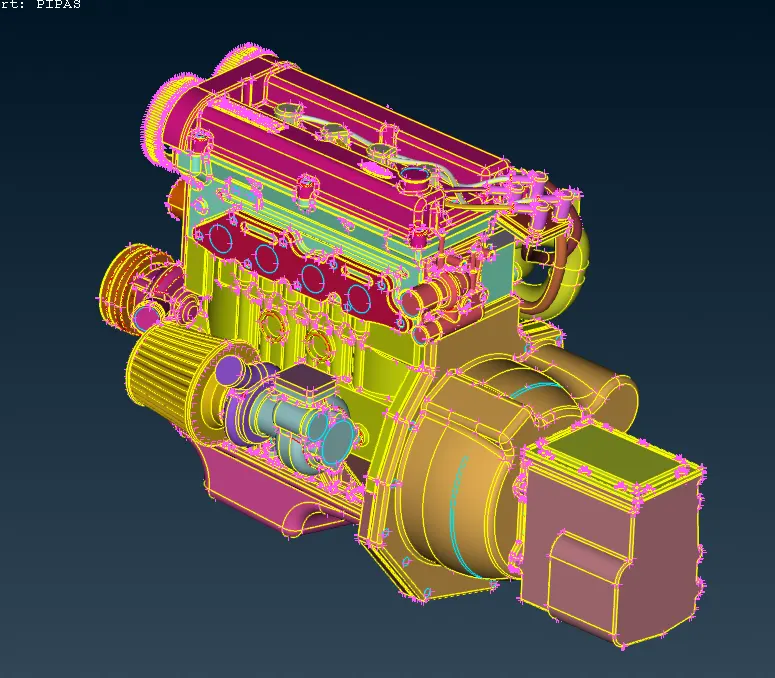
- Similarly, File >> Merge >> Open the gear box model >> Ok >> Ok.
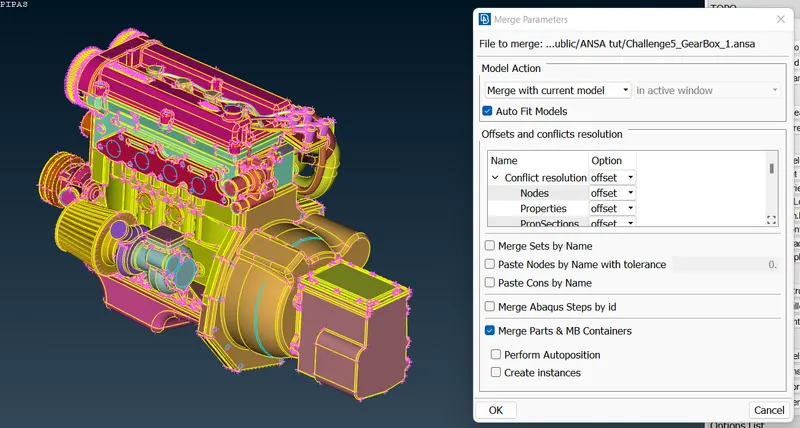
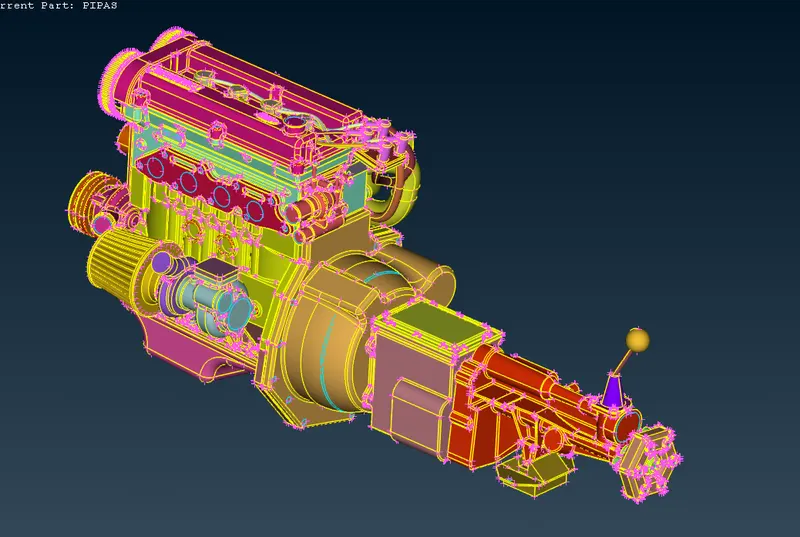
- Since the model are created in the 3D space at the specified coordinate location. Hence without any transformation option the model appears to be assembled.
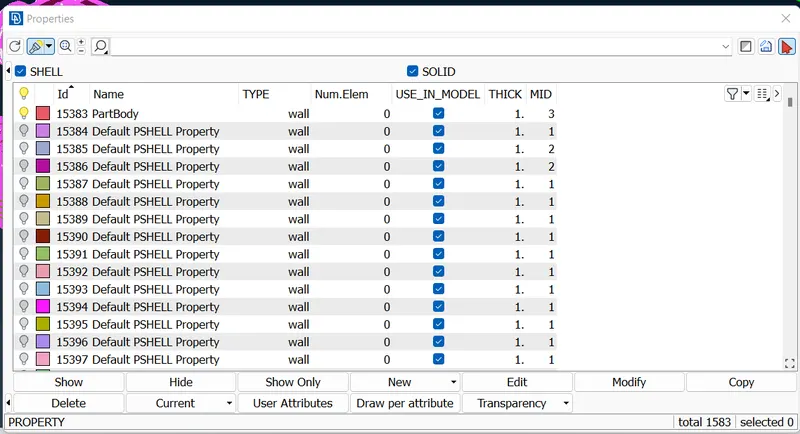
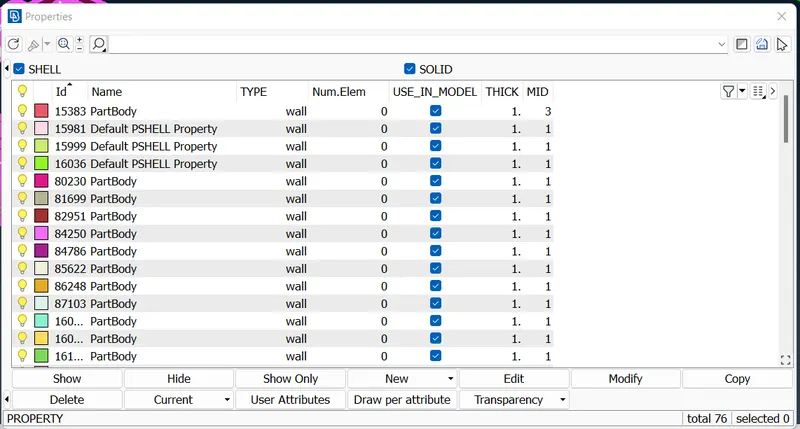
- Delete the unnecessary PID by using compress option.
Surface Wrap:
- Mesh >> Element >> Wrap >> constant Length >> New >> double click parameter >> Constellation >> 4mm >> mesh >> Ok.
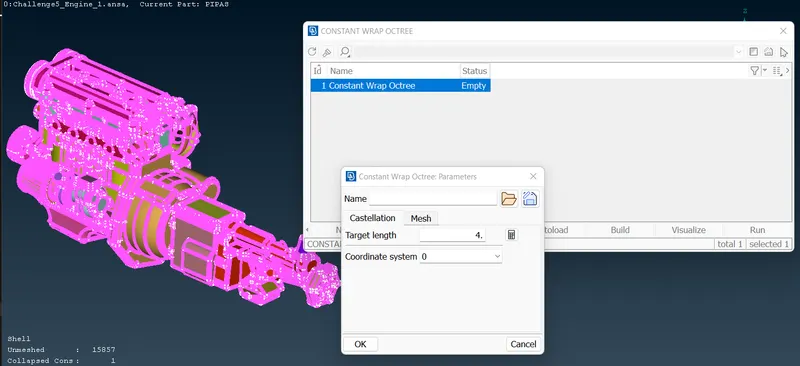
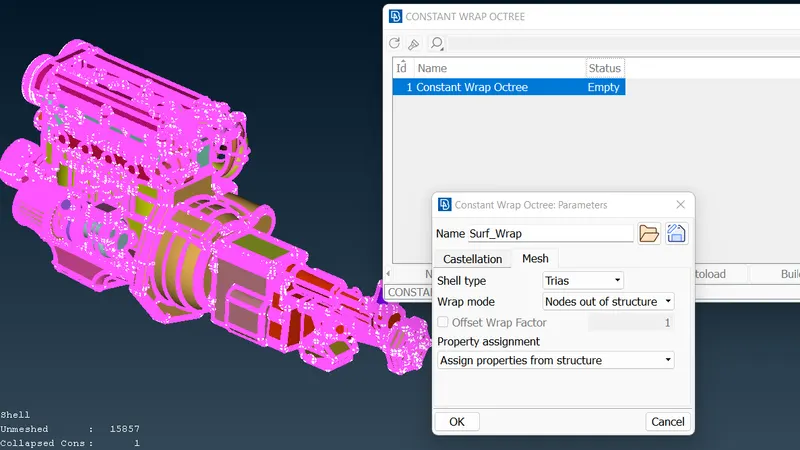
- Surface wrap will assign PID to mesh element from the geometry.
- Double click the constant wrap tree >> content >> select all the PID and slide to next window >> OK.
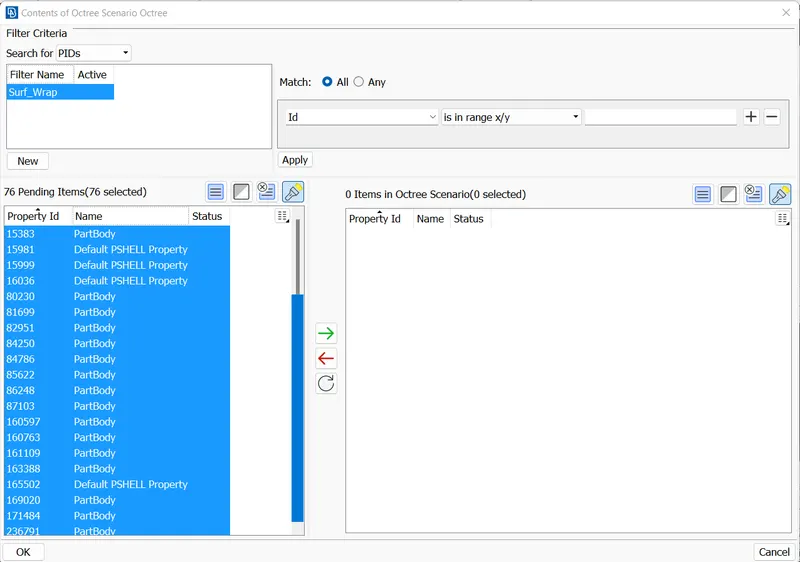
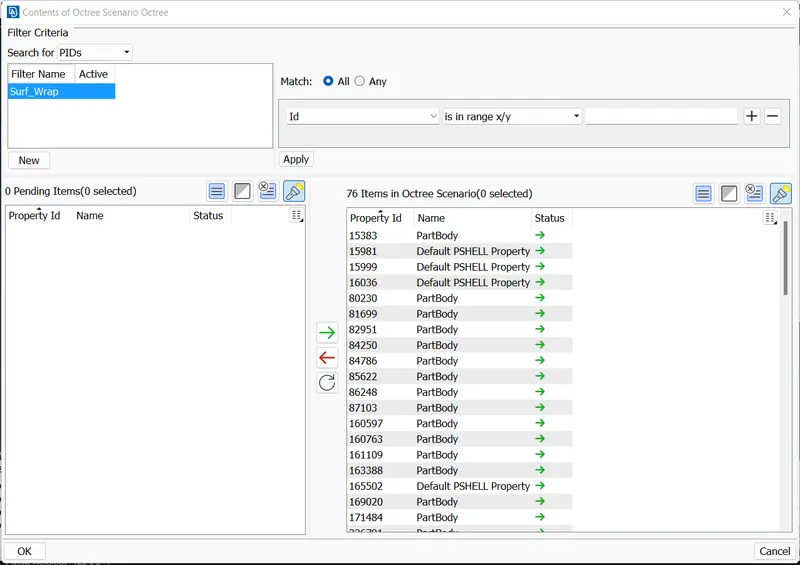
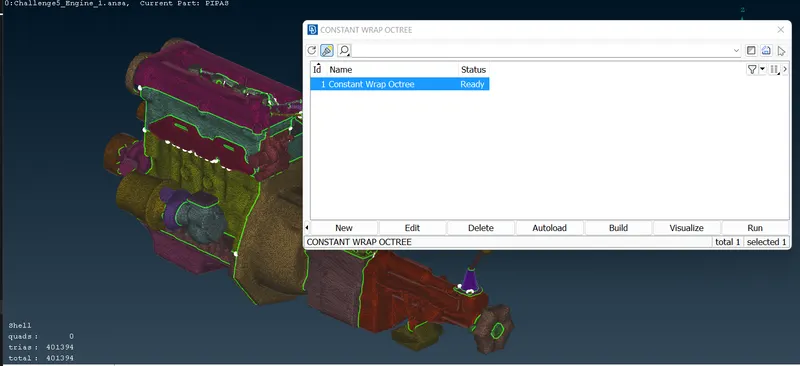
- Click on Run command and wait for the system to complete the surface wrap.
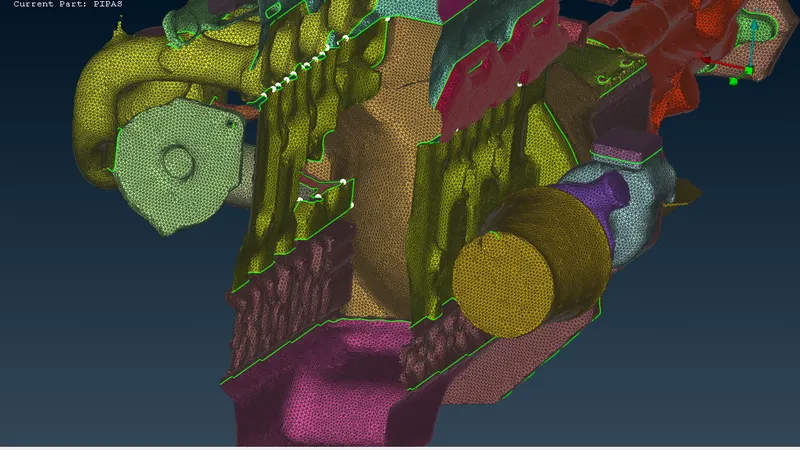
- Surface wrap is completed, now hide the half surface mesh to view inside. We have only surface mesh and not internal volume.
Result:
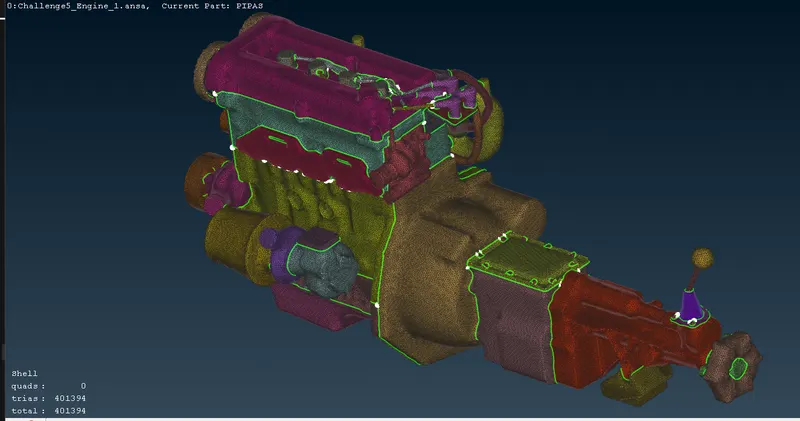
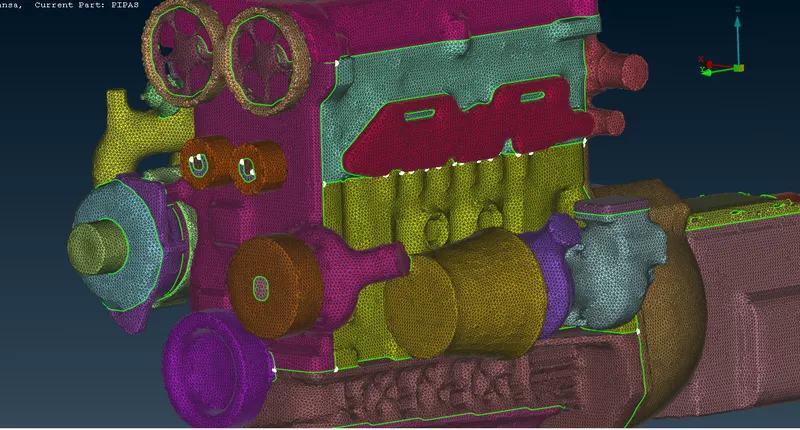
- Elements in Surface mesh is 4,01,394 for whole geometric model.
Conclusion:
- Thus, given Geometrical model is resolved from all the errors and is prepared for surface wrap.
- Surface mesh is applied over the assembled model using surface wrap.
Mesh Model File:
https://drive.google.com/file/d/1VzwC3KLGuaICNAjs8mxWNIXBG2LJyRdM/view?usp=share_link