Week 5 Challenge : Surface wrap on Automotive Assembly
WEEK 5 CHALLENGE: SURFACE WRAP ON AUTOMOTIVE ASSEMBLY
AIM:
- To check for the geometrical errors and delete the unwanted surfaces for the given models.
- To merge all the three models
- To perform surface wrap of target length 3 mm after merging.
- To write a detailed report on challenge completion.
PROCEDURE:
1. Patch the missed surfaces:
- First we need to import the geometry model from the source folder.
- The geometry file contains lot of ir-regularities, discontnuities, so we need to patch all the missing and open surfaces in the geometry.
- This can be done by the following procedure;
TOPO → faces → new → here we can select any method → select the cons (this can be done by entity or PID method) → middle click or surface click.
2. Removing overlapped surfaces:
- At some areas of the geometry, we need to clear the overlapped surfaces.
- This can be done by following procedure;
TOPO → delete → select the surface to be deleted by using entity or PID mode.
- Sometimes we need to project the cons to make the single cons into triple cons.
- This can be done by the following procedure;
TOPO → cons → project → select the cons → middle click → select the face where the cons has to be projected → middle click.
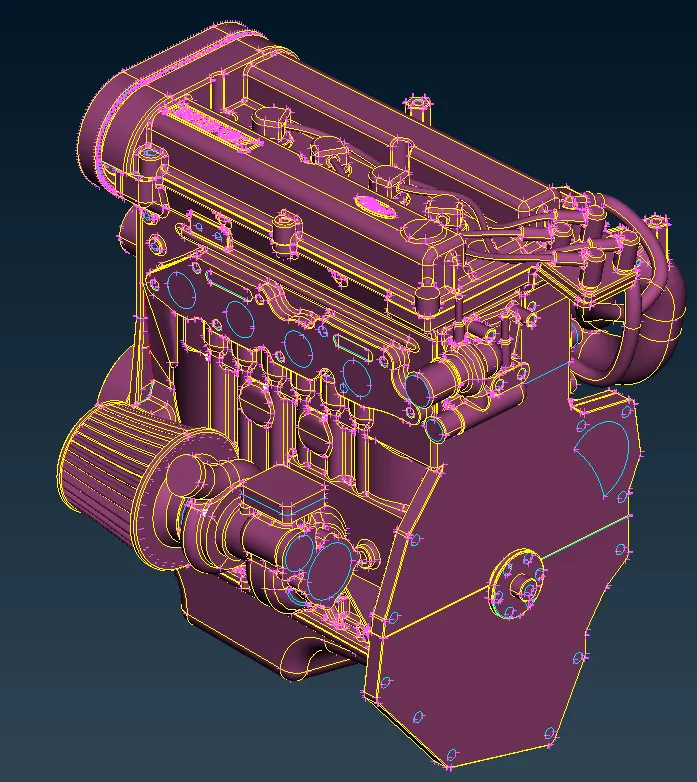
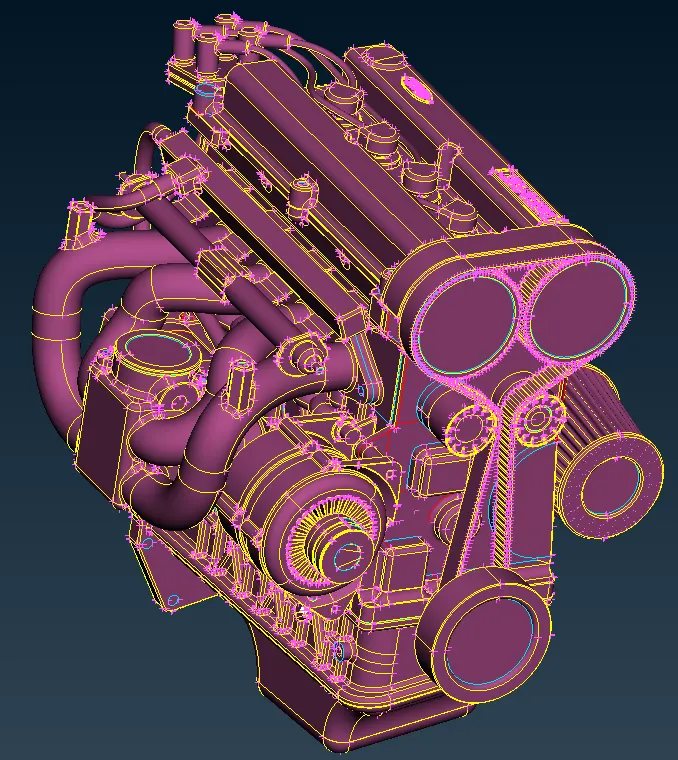
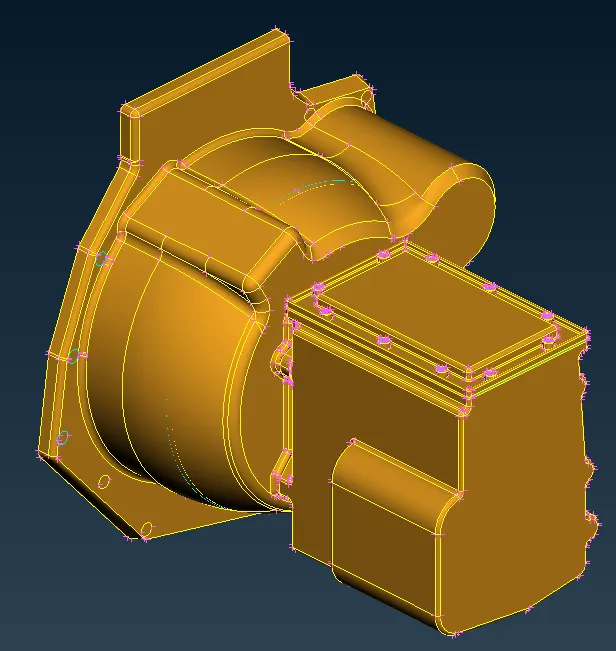
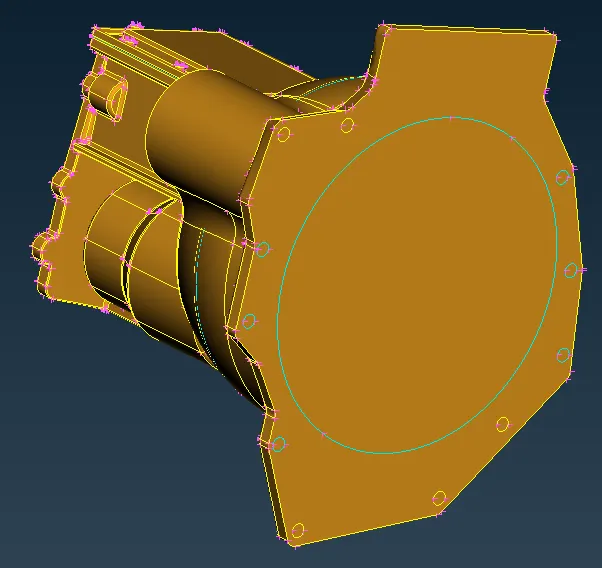
- The below are the images of the three models, which are individually cleaned up.
Engine:
Transmission:
Gear box:
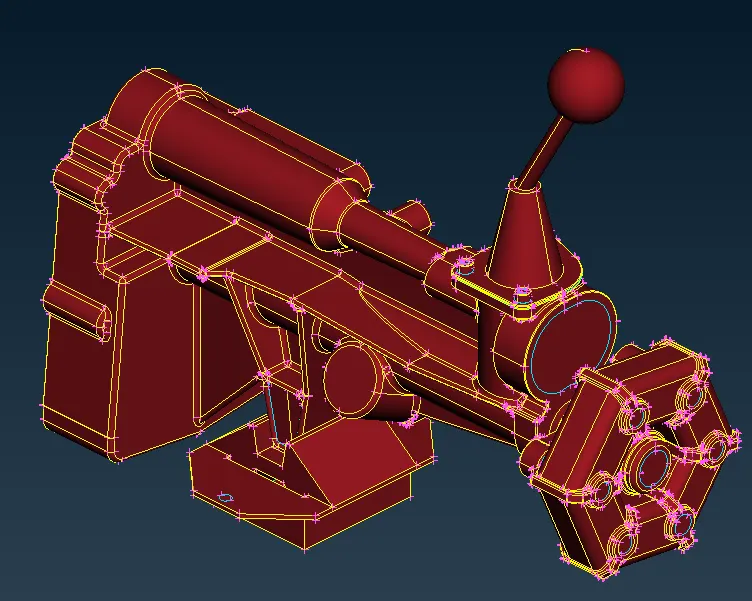
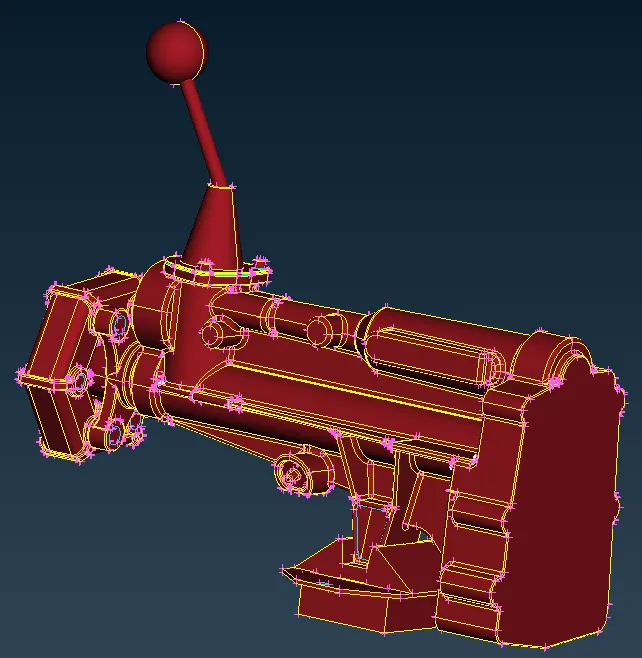
3. PID assigning:
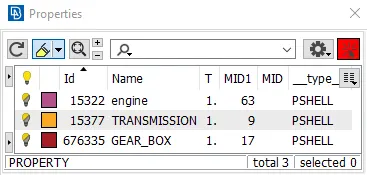
- Now we need to create single PID (Property ID) for the whole geometry, so totally 3 individual models.
- This can be done by the following procedure;
Properties → right click on the properties screen → new → PSHELL → PSHELL → box pops-up → name has to be given.
- Similarly we need to create as many as required individually for each model.
- Now we need to assign the created PID 's to the respective surfaces required and we need to make sure that cross-hatches option is enabled.
- This can be done by the following procedure;
Properties → right click on the PID → apply → select the cross hatch present in the surface of the geometry → middle click on the mouse.
4. Model merge:
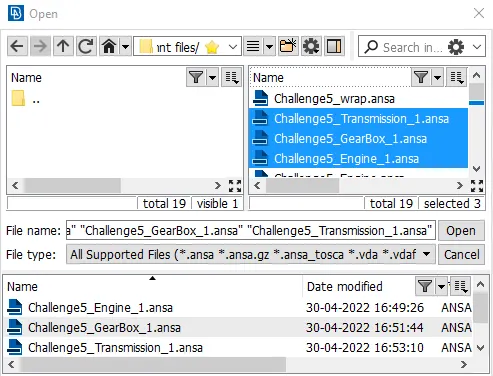
- Geometry cleanup and PID has been done to all the 3 models separately.
- Now we need to merge the 3 individual models into a single model, collectively called automotive assembly.
- This can be done by the following procedure;
File → Merge → Select the model to be merged → ok
5. Surface wrap:
- Now we have made into single model by merging all the 3 geometries.
- Now we can proceed to perform surface wrap.
- This can be done by the following procedure;
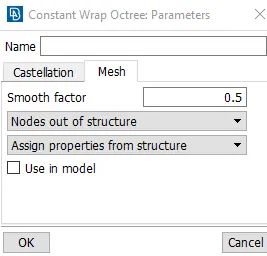
MESH → Elements → Wrap → Constant length → double click zero → give target length (3mm) → smooth factor (0.5) → ok
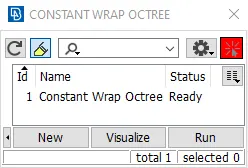 →
→ 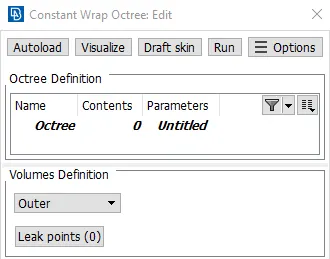 →
→ 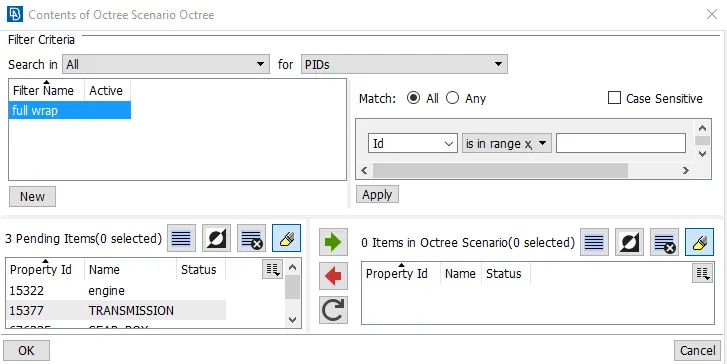 →
→ 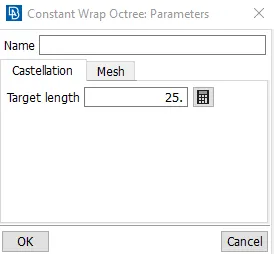 →
→ 
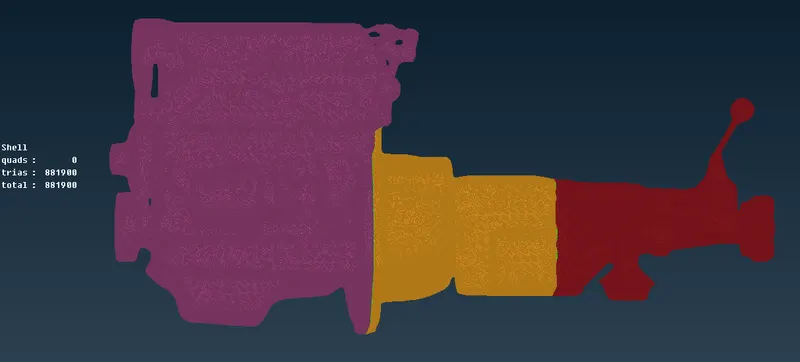
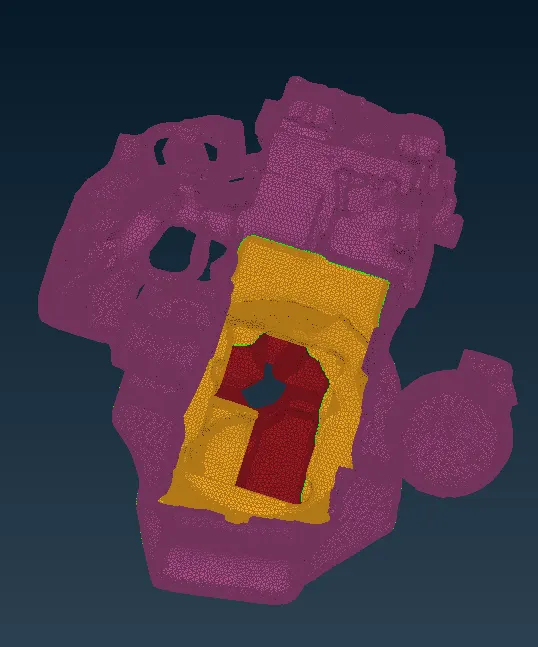
Full length view:
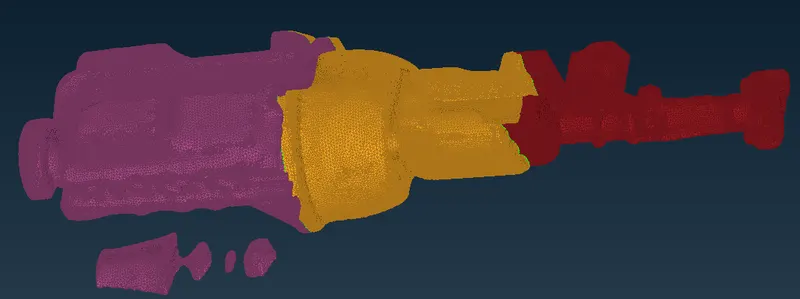
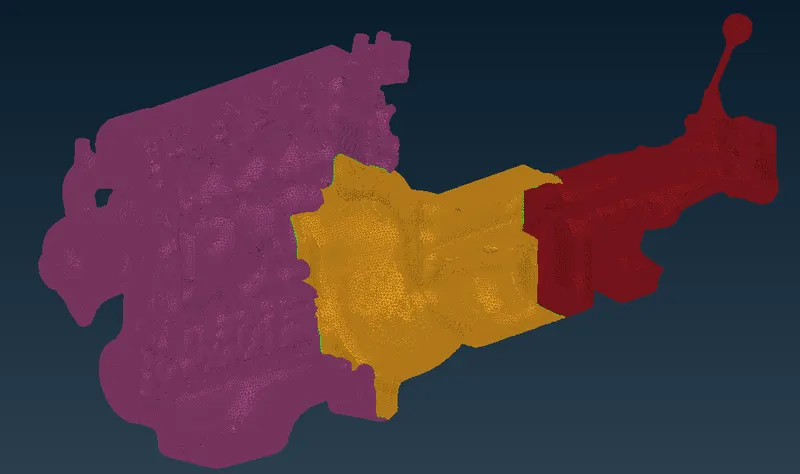
Sectional view:
CONCLUSION:
- From the above images, we can confirm that surface wrap is perfect, because by hiding the two opposite end surfaces, we can say the model volume has empty space inside.
- Geometry clean-up is done.
- Three model merging is done.
- Surface wrap is done with 3mm target length.
FILE LINK:
https://drive.google.com/file/d/1NQV9jCD-LgfM1f5nT_EjeidPj3z3bcdY/view?usp=sharing